manuals.online logo
Brands
  1. Home
  2. •
  3. Brands
  4. •
  5. Denver
  6. •
  7. Car Receiver
  8. •
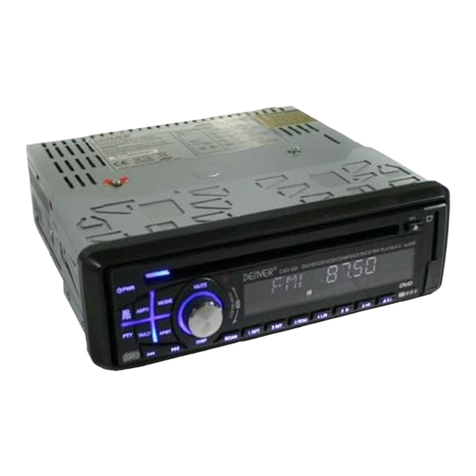
  9. Denver CAU-438 User manual

Denver CAU-438 User manual

Other manuals for CAU-438

2

Other Denver Car Receiver manuals

Denver CAD-451 User manual

Denver

Denver CAD-451 User manual

Denver CAN-400 User manual

Denver

Denver CAN-400 User manual

Denver CDB-440BT User manual

Denver

Denver CDB-440BT User manual

Denver CAD-470 User manual

Denver

Denver CAD-470 User manual

Denver CAD-471 User manual

Denver

Denver CAD-471 User manual

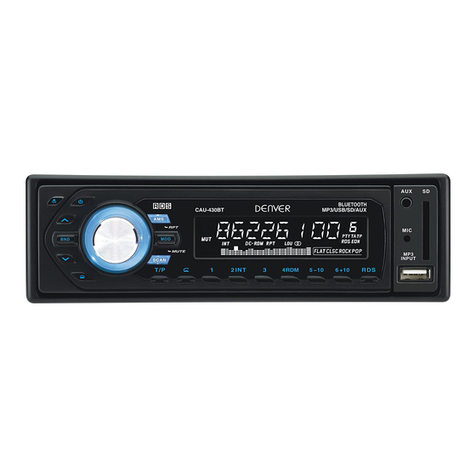
Denver CAU-430BT User manual

Denver

Denver CAU-430BT User manual

Denver CAU-435 User manual

Denver

Denver CAU-435 User manual

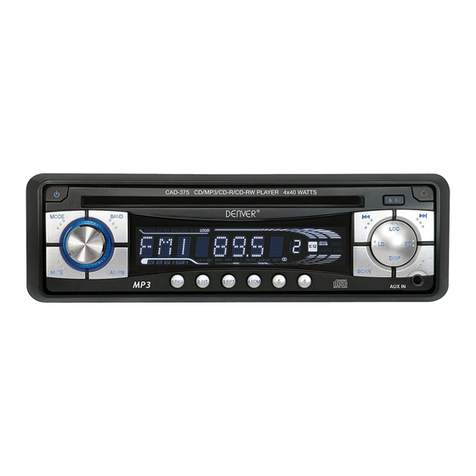
Denver CAD-375 User manual

Denver

Denver CAD-375 User manual

Denver CAD-460 User manual

Denver

Denver CAD-460 User manual

Denver CAT-131 User manual

Denver

Denver CAT-131 User manual

Denver CDB-440BT User manual

Denver

Denver CDB-440BT User manual

Denver CAU-430 User manual

Denver

Denver CAU-430 User manual

Denver CAD-495 User manual

Denver

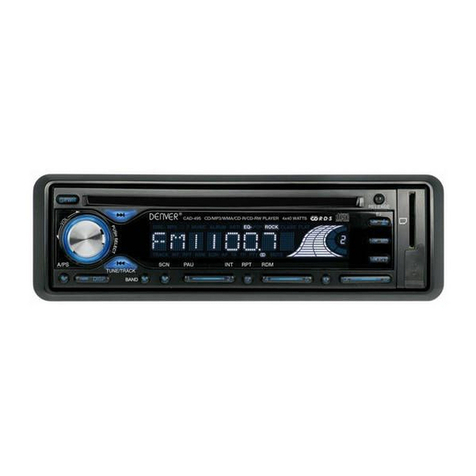
Denver CAD-495 User manual

Denver CAU-437BT Installation instructions

Denver

Denver CAU-437BT Installation instructions

Denver CAU-410 User manual

Denver

Denver CAU-410 User manual

Denver CAD-520 User manual

Denver

Denver CAD-520 User manual

Denver CAD-490 User manual

Denver

Denver CAD-490 User manual

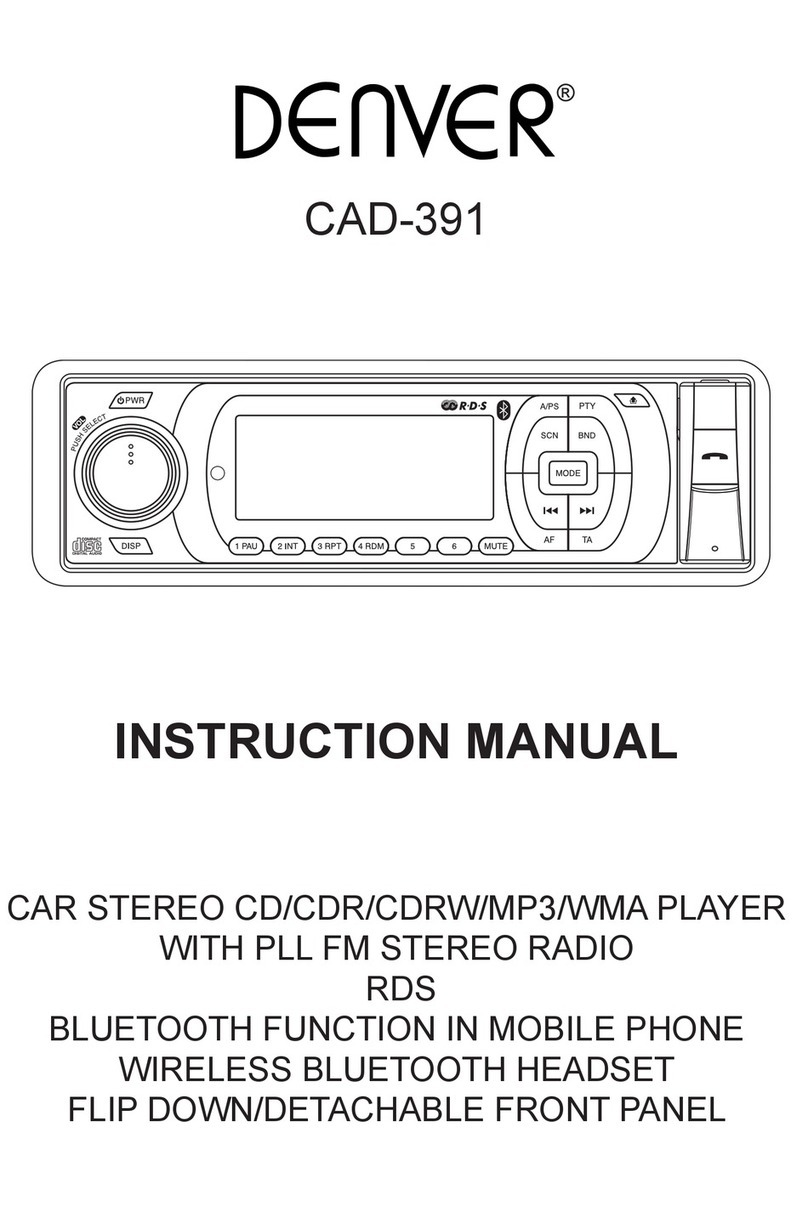
Denver CAD-391 User manual

Denver

Denver CAD-391 User manual

Denver CAP-4320 User manual

Denver

Denver CAP-4320 User manual

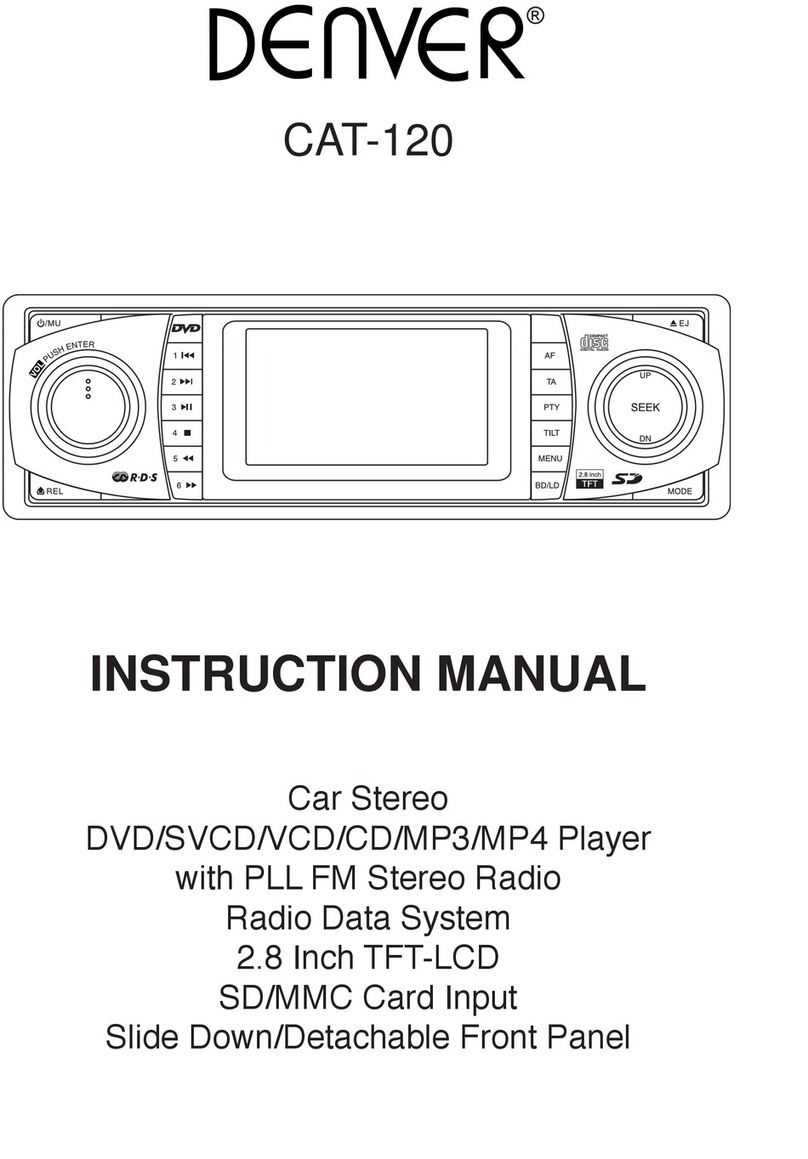
Denver cat-120 User manual

Denver

Denver cat-120 User manual

Denver CAD-474BT User manual

Denver

Denver CAD-474BT User manual

Denver CAU-438 User manual

Denver

Denver CAU-438 User manual

Denver CAD-350 User manual

Denver

Denver CAD-350 User manual

Denver CADI-480 User manual

Denver

Denver CADI-480 User manual

Popular Car Receiver manuals by other brands

Linear Series LS5050 Operation and installation manual

Linear Series

Linear Series LS5050 Operation and installation manual

Kenwood KRC-160 instruction manual

Kenwood

Kenwood KRC-160 instruction manual

Sony XR-CA430X Service manual

Sony

Sony XR-CA430X Service manual

T+A Elektroakustik K1 CD-RECEIVER operating instructions

T+A Elektroakustik

T+A Elektroakustik K1 CD-RECEIVER operating instructions

SoundMax SM-CDM1052 instruction manual

SoundMax

SoundMax SM-CDM1052 instruction manual

Xtrons HD107HD user manual

Xtrons

Xtrons HD107HD user manual

Mopar RB3 manual

Mopar

Mopar RB3 manual

Clarion ADDZEST DMZ615 owner's manual

Clarion

Clarion ADDZEST DMZ615 owner's manual

Sony XAV-601BT Specifications

Sony

Sony XAV-601BT Specifications

PIE GM12-POD/S Operation manual

PIE

PIE GM12-POD/S Operation manual

Hyundai H-910H instruction manual

Hyundai

Hyundai H-910H instruction manual

Sony XR-C6100 Service manual

Sony

Sony XR-C6100 Service manual

Sony CDX-L600X - Fm/am Compact Disc Player Installation/connections

Sony

Sony CDX-L600X - Fm/am Compact Disc Player Installation/connections

Motorola VWA63 Service manual

Motorola

Motorola VWA63 Service manual

Sound Storm STM93R user manual

Sound Storm

Sound Storm STM93R user manual

Nextar D3201 instruction manual

Nextar

Nextar D3201 instruction manual

Alpine CDE-163BT owner's manual

Alpine

Alpine CDE-163BT owner's manual

Kenwood KDC-X303 quick start guide

Kenwood

Kenwood KDC-X303 quick start guide

manuals.online logo
manuals.online logoBrands
  • About & Mission
  • Contact us
  • Privacy Policy
  • Terms and Conditions

Copyright 2025 Manuals.Online. All Rights Reserved.

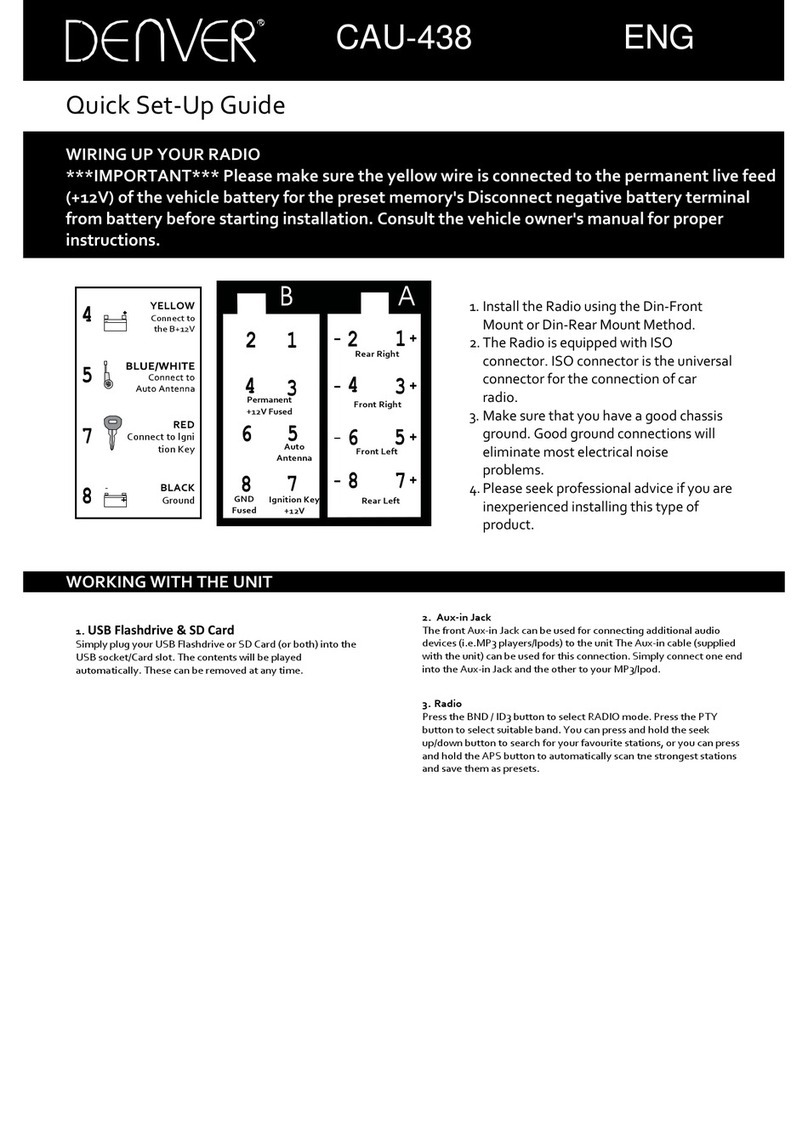
CAU-438 ENG
Quick Set-Up Guide
WIRING UP YOUR RADIO
***IMPORTANT*** Please make sure the yellow wire is connecte to the permanent live fee
(+12V) of the vehicle battery for the preset memory's Disconnect negative battery terminal
from battery before starting installation. Consult the vehicle owner's manual for proper
instructions.
1. Install the Radio using the Din-Front
Mount or Din-Rear Mount Method.
2. The Radio is e uipped with ISO
connector. ISO connector is the universal
connector for the connection of car
radio.
3. Make sure that you have a good chassis
ground. Good ground connections will
eliminate most electrical noise
problems.
4. Please seek professional advice if you are
inexperienced installing this type of
product.
WORKING WITH THE UNIT
1. USB Flashdrive & SD Card
Simply plug your USB Flashdrive or SD Card (or both) into the
USB socket/Card slot. The contents will be played
automatically. These can be removed at any time.
2. Aux-in Jack
The front Aux-in Jack can be used for connecting additional audio
devices (i.e.MP3 players/lpods) to the unit The Aux-in cable (supplied
with the unit) can be used for this connection. Simply connect one end
into the Aux-in Jack and the other to your MP3/lpod.
3. Ra io
Press the BND / ID3 button to select RADIO mode. Press the PTY
button to select suitable band. You can press and hold the seek
up/down button to search for your favourite stations, or you can press
and hold the APS button to automatically scan tne strongest stations
and save them as presets.
YELLOW
Connect to
the B+12V
RED
Connect to lgni
tion Key
BLACK
Ground
Permanent
+12V Fuse
Auto
Antenna
Ignition
Key
+12V
GND
Fuse
Rear Left
Front Left
Front Right
Rear Right
ALL RIGHTS RESERVED, COPYRIGHT DENVER ELECTRONICS A/S
Electric and electronic e uipment and included batteries contains materials, components and substances that can be
hazardous to your health and the environment, if the waste material (discarded electric and electronic e uipment and
batteries) is not handled correctly.
Electric and electronic e uipment and batteries is marked with the crossed out trash can symbol, seen below. This
symbol signifies that electric and electronic e uipment and batteries should not be disposed of with other household
waste, but should be disposed of separately.
As the end user it is important that you submit your used batteries to the approriate and designated facility. In this
manner you make sure that the batteries are recycled in accordance with legislature and will not harm the
environment.
All cities have established collection points, where electric and electronic e uipment and batteries can either be
submitted free of charge at recycling stations and other collection sites, or be collected from the households. Additional
information is available at the technical department of your city.
Imported by:
DENVER ELECTRONICS A/S
Stavneagervej 22
DK-8250 Egaa
Denmark
www.facebook.com/denverelectronics