2 Easy Operation
2.1 Power Supply
To supply power for the camera, or 8 AA batteries are needed.
The following batteries with 1.5V output can be used:
1. High-density and high-performance alkaline batteries (Recommended)
2. Rechargeable alkaline batteries
3. Rechargeable NiMH batteries
When in Test Mode, camera will be automatically shut down to save power if
without any operation within 3 minutes; it could be waked up by any movement
detection.
When in low power state, camera will also automatically shut down.
2.2 Insert SD ard
Insert SD-card with back up into the card slot.
2.3 Enter into the TEST Mode
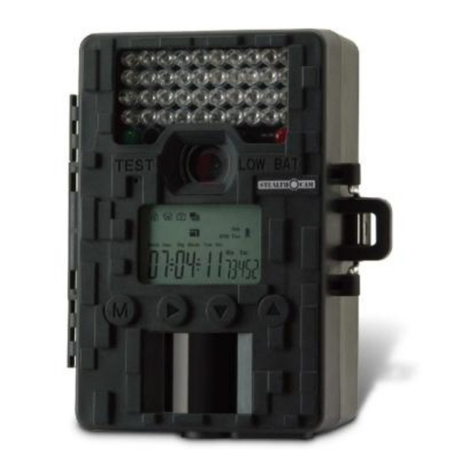
Turn the power switch to the TEST position to enter into the TEST mode. There are
some functions in TEST mode: user settings, manually capture, preview.
2.3.1 User Settings
Press the MENU button. The camera can be set (mode, picture resolution, video
resolution& length,etc) The detailed operations will be described in following chapter.
2.3.2 Manual Capturing
press OK to manually capture photos or record video.
2.3.3 View Images or Videos
There are two ways to view the captured images or videos:
1. LCD screen on camera
2. TV monitors which connects to camera with TV cable
press right arrow to view captured files, the latest image will be shown in the LCD
screen or TV monitor. Press UP to view the last and press DOWN for the next. The
detailed operations like deleting images or videos will be described in “Advanced
Operations” chapter.
2.4 Power on and Enter into the ON Mode
Before switching on, please pay attention to the following items:
1. Don’t face light source directly. These may cause false triggers
2. The height from ground for placing should be 1-2 meters. For example for deer
height is good size appropriately.
After switching on the camera, the red light will blink for about 10s. The 10s is a
