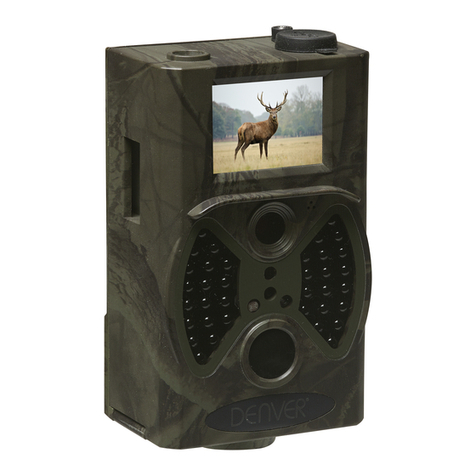
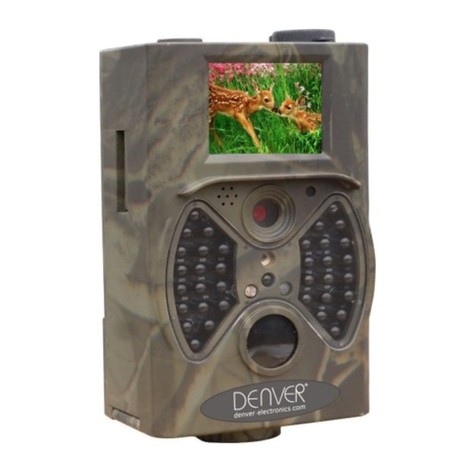
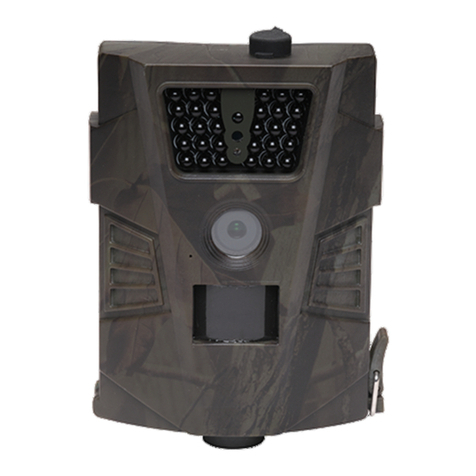
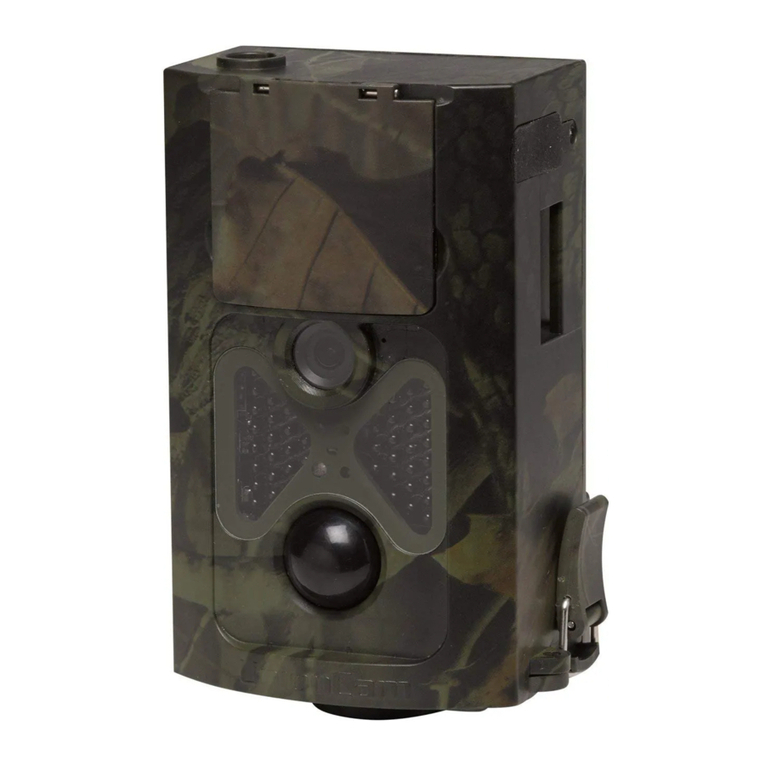
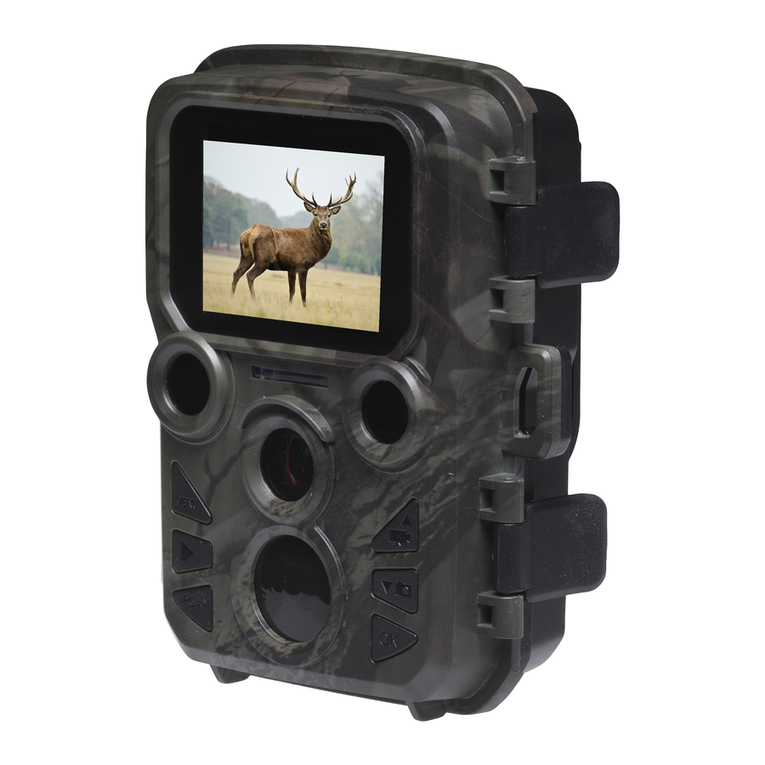
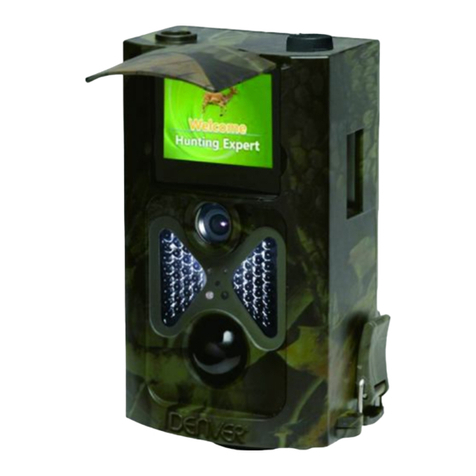
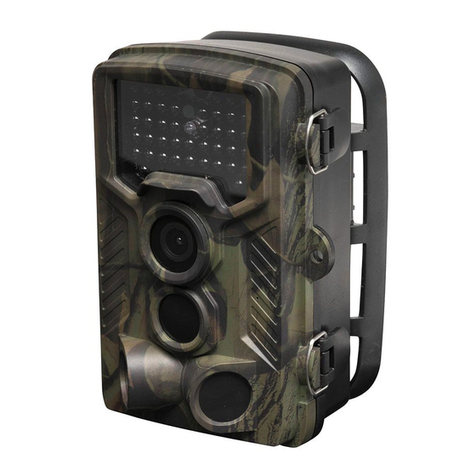
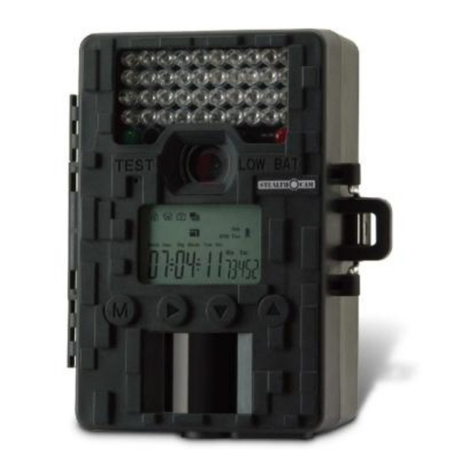
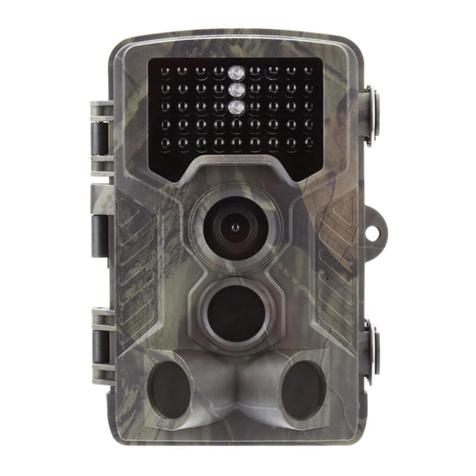
Denver HC-300A User manual

ENG-1
User Manual
HC-300A

ENG-2
Contents
1. Instructions...................................................................................................... 3
1.1 GeneralDescription................................................................................. 3
1.2 CameraBodyInterface ............................................................................ 3
1.3 Cameracomponentsandfeatures............................................................. 3
1.4 RemoteControl....................................................................................... 3
1.5 ShootingInformationDisplay ................................................................... 4
1.6 Supported Format................................................................................... 4
2.Cautions.............................................................................................................. 5
3.1 PowerSupply.......................................................................................... 6
3.2 InserttheSD-card ................................................................................... 6
3.3 Poweron andEnterintotheONMode...................................................... 6
3.4 EnterintotheTEST Mode ........................................................................ 7
3.4.1 CustomSettings............................................................................. 7
3.4.2 Manual Capturing.......................................................................... 7
3.4.3 ViewImagesorVideos................................................................... 7
3.5 PowerOff............................................................................................... 7
4.AdvancedOperations ........................................................................................... 8
4.1 Settings Menu......................................................................................... 8
4.1.1Photo Setting.................................................................................... 8
4.1.2VideoSetting.................................................................................... 8
4.1.3 SystemSetting............................................................................... 9
4.1.4Default........................................................................................... 10
4.1.4 GeneralSettings .......................................................................... 10
4.1.5 Set CameraMode........................................................................ 10
4.1.6 FormatSD-Card........................................................................... 10
4.1.7 Set Photo Size...............................................................................11
4.1.8 Set Video Size...............................................................................11
4.1.9 Set DateandTime ........................................................................11
4.1.10 Set Multi......................................................................................11
4.1.11 Set ISO.........................................................................................11
4.1.12 Set Video Length ......................................................................... 12
4.1.13 Set Video Sound.......................................................................... 12
4.1.14 Set Delay..................................................................................... 12
4.1.15 Set Timer.................................................................................... 12
4.1.16 EnterPassword............................................................................ 12
4.2 Playback............................................................................................... 13
4.2.3 ViewingPhotoorVideo................................................................ 13
4.2.4 DeletePhotoorVideo.................................................................. 13
4.3 FileNumbering..................................................................................... 13
4.4 FirmwareUpgrade................................................................................. 13
Appendix :Technical Specifications....................................................................... 14
Appendix Ⅱ:PartsList .14

ENG-3
1. Instructions
1.1 General Description
This digitaltrailcameraisasurveillancecameraworkingautomatically.Itcan be
triggeredatoncebyanymovementofhuman (oranimals)inacertain region of
interested (ROI) monitoredbyahigh sensitivePassiveInfrared(PIR) motion sensor,and
then automaticallycaptureshighqualitypictures(up to12M pixels)orrecords1080p HD
video clips(WVGA orQVGA).
At sunrisetheunitbeginstotakecolorphotosand videountilthere is insufficient light
(dusk)when itbeginsto takeinfrared (monochrome)photosandvideo.
It is easytouse; there is a2.0 inch colorfulLCDdisplayon camera.It isresistant against
waterand snow foroutsideuses.
1.2 CameraBodyInterface
ThecamerahasthefollowingI/Ointerfaces:USBconnector,SD-card slot,TV output.
Takeafewmomentstofamiliarizeyourselffollowingthecameracontrols and displays.It
is helpfultobookmarkthis sectionandrefertoit asyoureadthroughtherest of the
manual.
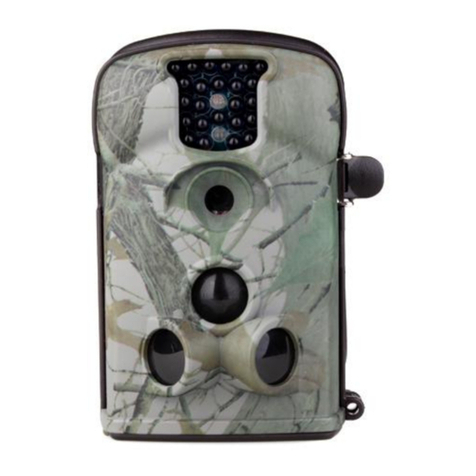
1.3 Cameracomponentsand features
1) Bottomcover
2) SD-Card slot
3) USBconnector
4) TV outconnector
5) PIR
6) Infraredflash
7) Lens
8) 2 inchcolorLCD Display
9) Soundrecorder
10) Lock
11) Powerswitch
12) Batterydepot
13) Portableremotecontroller
1.4 RemoteControl

ENG-4
Note: Press thepunctuation ” forlaserlight.
Note(UnderTESTmode):
1. Press Shot”directly, the camerawill takepictureorvideo
directly.
2.Press OK”directly,thepictureorvideo recordedcanbeviewed.
3.Viewing picture,press Up”or Down”.
4.Viewing video, press Left”tostart, again tostop,press OK”to
return.
1.5 ShootingInformation Display
Whenthecamerais turnedon(thepowerswitchis slidtoTESTposition),theshooting
informationwill bedisplayed inthemonitor.
1.6 SupportedFormat
Item Format
Photo JPG
Video AVI
FileFormat FAT32

ENG-5
Herearesomeimportant notices.You don’t needtoconcernaboutthefilesystem
format ofthecameraunless youhaveproblems with readingtheSD-cardbyyourother
equipment.Ifthis happened,pleaseformattheSD-cardinthecameraorin acomputer
at first andthenreinsertthecardinto yourcameratotryagain.
2.Cautions
Theworkingvoltageofthecamerais 9.0V.Thecamerais suppliedbyfouror8XAA
batteries.
Pleaseunlockthewrite-protectbeforeinsertingtheSD-card.
PleaseinserttheSD-cardwhenthepowerswitchisat OFF positionbeforetestingthe
camera.
Pleasedonot insert ortakeouttheSD-card when thepowerswitch is at ON position.
It is recommendedto formattheSD-cardbythecamerawhenused at thefirsttime.
Thecamerawill beinUSBmodewhenconnectedtoaUSBportofacomputer.Inthis
case,theSD-cardfunctionsasaremovabledisk.
Pleaseensuresufficient powerwhenhavingfirmwareupgrade,otherwisetheupgrade
process couldbeinterrupted incorrectly.Ifanyfaultoccursafterimproper upgrading
process, thecameramaystop functionproperly.

ENG-6
3. Easy Operations
3.1 Power Supply
To supplypowerforthecamera, fouror8XAA sizebatteriesareneeded.
Open thebottomcover.Confirm thatthepowerswitch is attheOFF (Right)position,pull
outthebatterydepot.Loadthefullycharged batteriesintothedepot accordingthe
polaritiessign shown below.Pushbackthebatterycompartment to thebattery
chamber.
Thefollowingbatterieswith 1.5V output can beused:
1. High-densityandhigh-performancealkalinebatteries(Recommended)
2. RechargeableNIMHbatteries
WheninTestMode,camerawill beautomaticallyshutdownto savepowerif without
anyoperation within3 minutes;itcouldbewakedup byanymovement detection.
Wheninlow-batterystate,camerawill bealsoautomaticallyshut down.Pleasechange
thebatteriesintime.
3.2 InserttheSD-card
Insert SD card intothecard slot withmarked sideupwards.
PleasenotethattheSDcard can onlybeplugged in onedirection.Makesurethat the
write-protectswitchoftheSD-card is onthe “write”position.
3.3 Power onand Enterinto theONMode
Before switchingon,pleasepayattentionto thefollowing:
1. Avoid temperature andmotiondisturbancesthatcouldbeconstruedasanimals
orhumanssuchastreesthatareexposedtodirect sunlightformuchoftheday
oranyotherheat source.Thesemaycausefalsetriggers.
2. Theheightfromgroundforplacingthecamerashould1 meterwith theobject.
Forexamplefordeerwasteheight is good sizeappropriately.In general,oneto
two metersare preferred.
Slidethepowerswitchto theONpositiontopoweronthecameraandenterinto theON
mode.
Afterswitchingonthecamera, themotion indication LED (red)will blink forabout15s.
The15sisabufferingtimebeforeautomaticcapturingphotosorvideos,e.g.forclosing
and lockingthebottomcover,fixingthecameraon atree andwalkaway.
In ON mode,thecamerawill takepicturesorvideosautomaticallyaccordingto the
defaultsettings orpreviouscustomsettings.Thecamerahasthesoundrecording
function,sothesoundwill beembedded inthevideo clip whilecapturingavideo.

ENG-7
3.4 EnterintotheTEST Mode
Slidethepowerswitchto theTEST positiontoenterinto theTEST mode.Therearesome
functionsinTEST mode:Customsettings, manualcapture,preview.
3.4.1 CustomSettings
PresstheMENUswitchto enterinto menusetting.Thecameracanbetakenovercontrol
to manuallycustomizethecamerasettings which displayonthecameraorexternal TV
monitor.Thedetailedoperationswill bedescribed in “Advanced Operations”chapter.
3.4.2 Manual Capturing
Youcanpress OKto manuallycapturephotosorrecordingvideo.
3.4.3 View ImagesorVideos
Therearetwo waysto viewthecapturedimagesorvideos:
1. LCD screen on camera.
2. TV monitorswhich connectstocamerawith TV cable.
Turn righttheselect switch toviewimages, thelatest imagewill beshown intheLCD
screenon cameraorTV monitor.PressUPto viewthepreviousimageand pressDOWN
forthenext.Thedetailed operationslikedeletingimagesorvideoswill bedescribed in
“AdvancedOperations”chapter.
3.5 Power Off
Slidethepowerswitchto OFF positiontopoweroffthecamera.Pleasenotethat evenin
theOFF mode,thecamerastill consumescertain powerat µAlevel.
Therefore,pleaseremovethebatteryifthecamerawill notbeusedforalongtime.

ENG-8
4.AdvancedOperations
Fromthebasicoperationsofthecamerainpreviouschapter,weknowthatthecamera
hasthreebasicoperation modes:
1. OFF mode:Powerswitchis atOFF position (Right).
2. ON mode: Powerswitchisat ONposition (Left).
3. TEST mode:Powerswitch is at TEST position (Middle).
In theabovethree modes, theOFF modeis thespecified safemodewhenreplacingthe
SD-cardorbatteriesand transportingthecamera.
This chapterexplainstheadvancedoperationsforcustomizingthecamerasettings.The
settings canonlybecustomizedinTEST modeand theremotecontrolisneeded.
4.1 SettingsMenu
To view thecamerasettings menu,press MENUin theTEST mode(called settings menu
in this chapter).Thesettings menu will beshownontheLCDon cameraortheexternal
TV monitor.
4.1.1PhotoSetting
4.1.2VideoSetting

ENG-9
4.1.3 System Setting

ENG-10
4.1.4Default
DefaultSettings are listed asbelow:
Setting Default Items
Mode Camera Camera, Video,Camera&Video
Resolution
(Camera) 12MP,8MP,5MP Interpolated
Interval 1 Seconds 1-30Seconds,1-30 Minutes
Multi Single Single,3,6,9Pictures
ISO 200 100,200,400
Resolution
(Video) 1080P 1080P,720P,WVGA ,QVGA
Video Length 10s 10s,30s,60s,90s
Date/Time Sameaslasttime
YY/
MM/DD,MM/DD/YY,DD/MM/YY
Adjust
Distance High High,Normal, Low
Language English English,French,Germany,Spanish ,
Russian,Danish,Dutch,Poland,
Portuguese,Swedish,Italian,Finnish
Timer 0 0 0to23 59 59
Adjust
Format Internal Memory
Internal Memory,SD Card
TV Mode NTSC NTSC,PAL
Password Off Off,On
4.1.4 General Settings
Theoperatingstepsaresuitableforfollowingmenu items:CameraMode,Photo Size,
Video Size,Multi,VideoLength,Delay,and Timer.
4.1.5 Set CameraMode
Therearethreecameramodes:Camera,Video and Camera+Video.Thewayto setthe
cameramodeis viasettingmenu.
Thefollowingshowshowtoset cameramodetoVideo,provided thattheprevious
optionis Photo:
a) PressMENUto displaythesettingmenu.
b) PressDOWNtoselect Mode.
c) PressRIGHT to select Video.
d) Pressdowntheselectswitchto savethecurrent setting.
PressMENUto cancelsettingandreturnto infodisplay.
4.1.6 Format SD-Card
Thesystemwill deleteallimagesorvideosstoredin theSD-card afterformatting,make
surethat youhavemadeabackup of importantdata.
a) PressMENUto displaythesettingmenu.
b) PressRIGHT to selectSystemsetting.
c) PressDOWNtoselect Format.
d) PressRIGHT to selectSDCard.
e) Pressdowntheselectswitchto chooseEntertoenterinto submenu.
f) Pressdownto select OK.OKwill behighlighted.
g) PressOKto startformattingtheSD-card.Duringformatting,thedisplayscreen
will showamessage “PleaseWait”asbelow.
PressMENUto cancelsettingandreturnto infodisplay.
PleaseWait!

ENG-11
4.1.7 Set PhotoSize
This parameterhasthreevalues:12MP,8MPand 5MP.Thedefaultvalueis5megapixels.
Thefollowingshowshowtosetpixelsizeas5MPixel:
a) PressMENUto displaythesettingmenu.
b) PressDOWNtoselect Resolution.
c) PressRight toselect12MPixel.
d) Pressdowntheselectswitchto savethecurrent setting,then press menuto
returnto infodisplay.
PressMENUto cancelsettingandreturnto infodisplay.
4.1.8 Set VideoSize
This parameteralsohasfourvalues:1080P,WVGA, QVGA.
Thedefaultvalueis1080P; thefollowingshowshowtoset 720P video sizeasprovided
thatthepreviousoption is at WVGA:
a) PressMENUto displaythesettingmenu.
b) PressDOWNtoselect Resolution.
c) PressRIGHT to select WVGA.
d) Pressdowntheselectswitchto savethecurrent setting,then press menuto
returnto infodisplay.
PressMENUto cancelsettingandreturnto infodisplay.
4.1.9 Set Dateand Time
Youcan changethedateand timeofthedevicebysettingthis parameterwhen
necessary,e.g.,aftereverybatterychange.Thedateformat isday/month/year,thetime
format is hour:minute:second.Thevalidvalueforyear isbetween2010 and 2050.
Providedthatthedateand timeare neededtobesettoNovember15th,2011 and half
pastten,thestepsare asfollowing:
a) PressMENUto displaythesettingmenu.
b) Pressright enterinto “system”.
c) PressDOWNtoselect Date/Time.
d) PressRight toDisplayDate/TimeInterface,PressUP and DOWNto changethe
Value.
e) Pressdowntheselectswitchto saveall current setting,thenpress MENUto
returnto infodisplay.
PressMENUto cancelsettingandreturnto infodisplay.
4.1.10 Set Multi
This parameteraffectsthenumberofpicturestakenforeachtriggeringin thecamera
mode.It hasfourvalues: “1Photo”, “3Photos”“6Photos”and “9 photos”.Itsdefault
valueis “1Photo”.Thefollowingshowshowtosetphotoburst to 3Photos,provided
thatthepreviousoption is 1 Photo:
a) PressMENUto displaythesettingmenu.
b) PressDOWNtoselect Multi.
c) PressRIGHT to select3pictures.
d) Pressdowntheselectswitchto savethecurrent setting,then press MENUto
returnto infodisplay.
PressMENUto cancelsettingandreturnto infodisplay.
4.1.11 Set ISO
This menucouldonlyhelp youget abetterphotoat night,thereare3values:
100,200,400.
a) PressMENUto displaythesettingmenu (underCAMERAcolumn).
b) PressDOWNtoselect ISO(100/200/400 selectable)
c) Presstheselectswitchto savethecurrent setting,thenpress MENUto return
to infodisplay.
PressMENUto cancelsettingandexit.

ENG-12
4.1.12 Set VideoLength
Thefollowingshowshowtoset video lengthto 30 Seconds,providedthattheprevious
valueis 10Seconds:
a) PressMENUto displaythesettingmenu (underVIDEOcolumn).
b) PressDOWNtoselect Video Length.
c) Pressdowntheselectswitchto savethecurrent setting,then press MENUto
returnto infodisplay.
PressMENUto cancelsettingandexit.
4.1.13 Set VideoSound
Thefollowingshowshowtoturnoff thesound ofthevideo:
a) PressMENUto displaythesettingmenu.
b) PressDOWNtoselect Voice.
c) PressRIGHT todisplaytheVOICEsettingInterface.
4.1.14 Set Delay
This parametermeansthat howlongthePIR (PassiveInfrared motionsensor)will be
disabled aftereachtriggeringin ONmode.DuringthistimethePIR ofthedevicewill not
reacttothemotionofhuman (oranimals). Theminimumintervalis 5seconds, it means
thePIR worksall thetimeand mediais takenalmost continuously.Themaximum
interval is30minutes;itmeansthePIR will bedisabledfor30 minutesaftereach
triggering.Thedefaultvalueis 5 seconds.
Thefollowingshowshowtoset PIR TriggeringInterval Timeas1minuteprovidedthat
previousoption is5 seconds.
a) PressMENUto displaythesettingmenu.
b) PressDOWNtoselect Delay.
c) PressRIGHT toenterinto theintervalsetting.
d) PressDOWNtoselect 1 minute.
e) Pressdowntheselectswitchto savethecurrent setting,then press MENUto
returnto infodisplay.
PressMENUto cancelsettingandreturnto infodisplay.
4.1.15 Set Timer
This parameterdefinesacertaintimelapseinadaywhen TheCameracan betriggered.
In therest ofthetimethedeviceis shut off.Theeffectivevalueof thehourrangesfrom
0 to23whiletheminuterangesfrom0to59.
Providedthatthecamerashould work fromeight a.m.tofivep.m.,thestepsareas
follows:
a) PressMENUto displaythesettingmenu.
b) PressDOWNtoselect Timer.
c) PressRIGHT to selectitem, press UPorDOWNtochangethevalueuntilthe
starttimechangesto8 and thestoptimechangesto17.
d) Pressdowntheselectswitchto saveall current setting,thenpress MENUto
returnto infodisplay.
PressMENUto returntopreviousmenu.
4.1.16 Enter Password
If thepassword settingisselectedasOn,afterswitchingonthecamera, theLCD screen
on camerawill promptto enterpassword.Thedefault passwordis off.It can bechanged
wherethestepsareasfollowing:
a) PressMENUto displaythesettingmenu.
b) PressDOWNtoselect Password.
c) PressUptoselectOn,thenpress Right toselect4numbersaspassword.
d) PressOKto savethecurrent setting,thenpress MENUto returnto infodisplay.
e) TheLCD screen will prompt to enterpasswordnext timeyouswitchonthe
camera.
PressMENUto cancelsettingandreturnto previousmenu.

ENG-13
4.2 Playback
In playbackmode,imagesorvideoscanbeviewed,deleted.Theimagesand videoscan
beviewedon:LCDscreen on cameraand TV monitorwhichconnectto camerawith TV
cable.Forsimplicity,operationswithPCwon’tbeintroducedhere.
4.2.3 ViewingPhotoor Video
a) Switch toTEST modeandenterinto infodisplay.
b) Pressright theselectswitchto viewthelatestpicture(orvideo)in LCDscreen
on camera,TVmonitororImageviewerwithTV-in connector.
c) PressLeft to start playingthevideo when viewing.
d) PressLeft againto stopplayingthevideo.
e) PressUPto viewthepreviouspicture(orvideo)and DOWNforthenext.
f) Pressdowntheselectswitchtoreturntoinfodisplay.
Whenviewimages, thetotal numberof allimagesintheSD-cardandtheindexofthe
displayingimagewill beshownrespectively.
4.2.4 DeletePhotoor Video
Theoperationsareasfollowing:
a) PressRight todisplayPhotosand Videos.
b) PressMenutoselectDelete.
c) Pressright to selectdeletecurrent ordeleteall.
d) PressOK, CancelandOKareprompted.
e) PressOKto deletetheimageorvideo.
Presscancelto cancel,and thenpress MENUandpress down theselectswitch to return
to infodisplay.
Pleasenotethat afterdeletingapictureoravideo file,thedeletedfilescan’tberestored!
Furthermore,inordertodeleteall theimagesand videoclipsintheSD-card,itis
suggestedtoformat theSD-card
4.3 FileNumbering
Imagesand videosareseparatelysavedinthepre-namedfolder(104MEDIA). File
numberingcontinuesbyaddingoneto thelastnumberforeachnewimageorvideo.
Thesavingnameis likePTDC0001.JPBorPTDC0001.AVI. Throughthesuffixyou can
distinguishwhetherthefileis animage(with suffix.jpg)oravideo(with suffix.avi).
4.4 FirmwareUpgrade
This camerais equipped with anautomaticupgradefunctionforyou.Upgradingis
neededonlywhen an improvedfirmwareis available.Theoperationsareasfollowing:
1. Unziptheupdatefile.
2. CopytheXXX.bin fileto SD card.
3. InserttheSD card intothecamera.
4. Poweronthecamera(Test Mode).
5. Thecamerawill readitand updateitself automatically.When updatingthe
camera, itsscreenis black.
6. Thescreenwill light onafterbeingfinished.
7. PlugouttheSD card,then insertit into pc,deletetheXXX.bin fileintheSDcard
(If youdon'tdothis,thecamerawill enterupdatemodewhen poweron again).
8. InserttheSD card intothecameraforitsworking.

ENG-14
Appendix :TechnicalSpecifications
Image SensorType(True Megapixels) 5MegaPixelsColorCMOS
Memory SD Card 8GB~32GB
Lens F=3.1; FOV=60
Size 145mm *80mm *55 mm
IR Filter: Full Automatic IR Filter
TFT DisplayScreen: 2.0 inch
PIR Sensitivity 3sensitivitylevels: High/Normal/Low
PIR SensorSight Angle 60 Degrees
PIR SensingDistance 65ft/20m
NumberofIR LED 36 LEDsBlackorWhite
Max Night Vision LightingDistance 65ft/20 meters
TriggerSpeed 1.1 second
Default camerapassword 1314
TriggeringInterval: 1second ~60mins(default 5sec)
Selectable Image Resolution: 12MP/8MP/5MPInterpolated
Multiple Frame 1/3/6/9
Video Resolution 1080P/720P/VGA
File Format JPEG/AVI
Date Time Imprint Yes
Moon Phase Imprint Yes
Exposure: Auto
Device SerialNo 4Digitsand 26 alphabet set byyourself
Default cameraID CAM000
Periodic shot 1Second~24Hours
Stand-bycurrent 0.2mA
Stand-bytime 3Months(8 AA battery)
Interface TV out (NTSC/PAL); USB;SD Card Holder
FixMethod Belt,Tripod Nail
Operation Temperature -30 ~+70 C/-22~+158 F
PowerSupply 8×AAbatteriesExternalpower9V DC
CameraSocket Yes
Waterproof IP54
Appendix : PartsList
Part Name Quantity
Digital Camera 1
Wirelesscontroller 1
USBCable 1
TVcable 1
Solar powersupply Optional
Table of contents
Other Denver Scouting Camera manuals

Denver
Denver WCT-5003 User manual

Denver
Denver WCT-8020W User manual

Denver
Denver WCT-5003 User manual

Denver
Denver WCT-3004 User manual

Denver
Denver WCT-5005 User manual

Denver
Denver HC500A User manual

Denver
Denver WCT-3004 User manual

Denver
Denver WCT-3004 MK3 User manual

Denver
Denver WCT-5003MK2 User manual

Denver
Denver WCL-8040MK2 User manual

Denver
Denver WCS-5020 User manual

Denver
Denver ACT-5050W User manual

Denver
Denver WCS-5020 User manual

Denver
Denver WCM-5003 User manual

Denver
Denver WCT-5003 User manual

Denver
Denver WCM-8010 MK3 User manual

Denver
Denver WCT-5002 User manual

Denver
Denver WCT-8010 User manual

Denver
Denver WCM-8010MK2 User manual

Denver
Denver HSM-3004 User manual