Design Nanoleaf Beta User manual
User Manual
Nanoleaf Beta
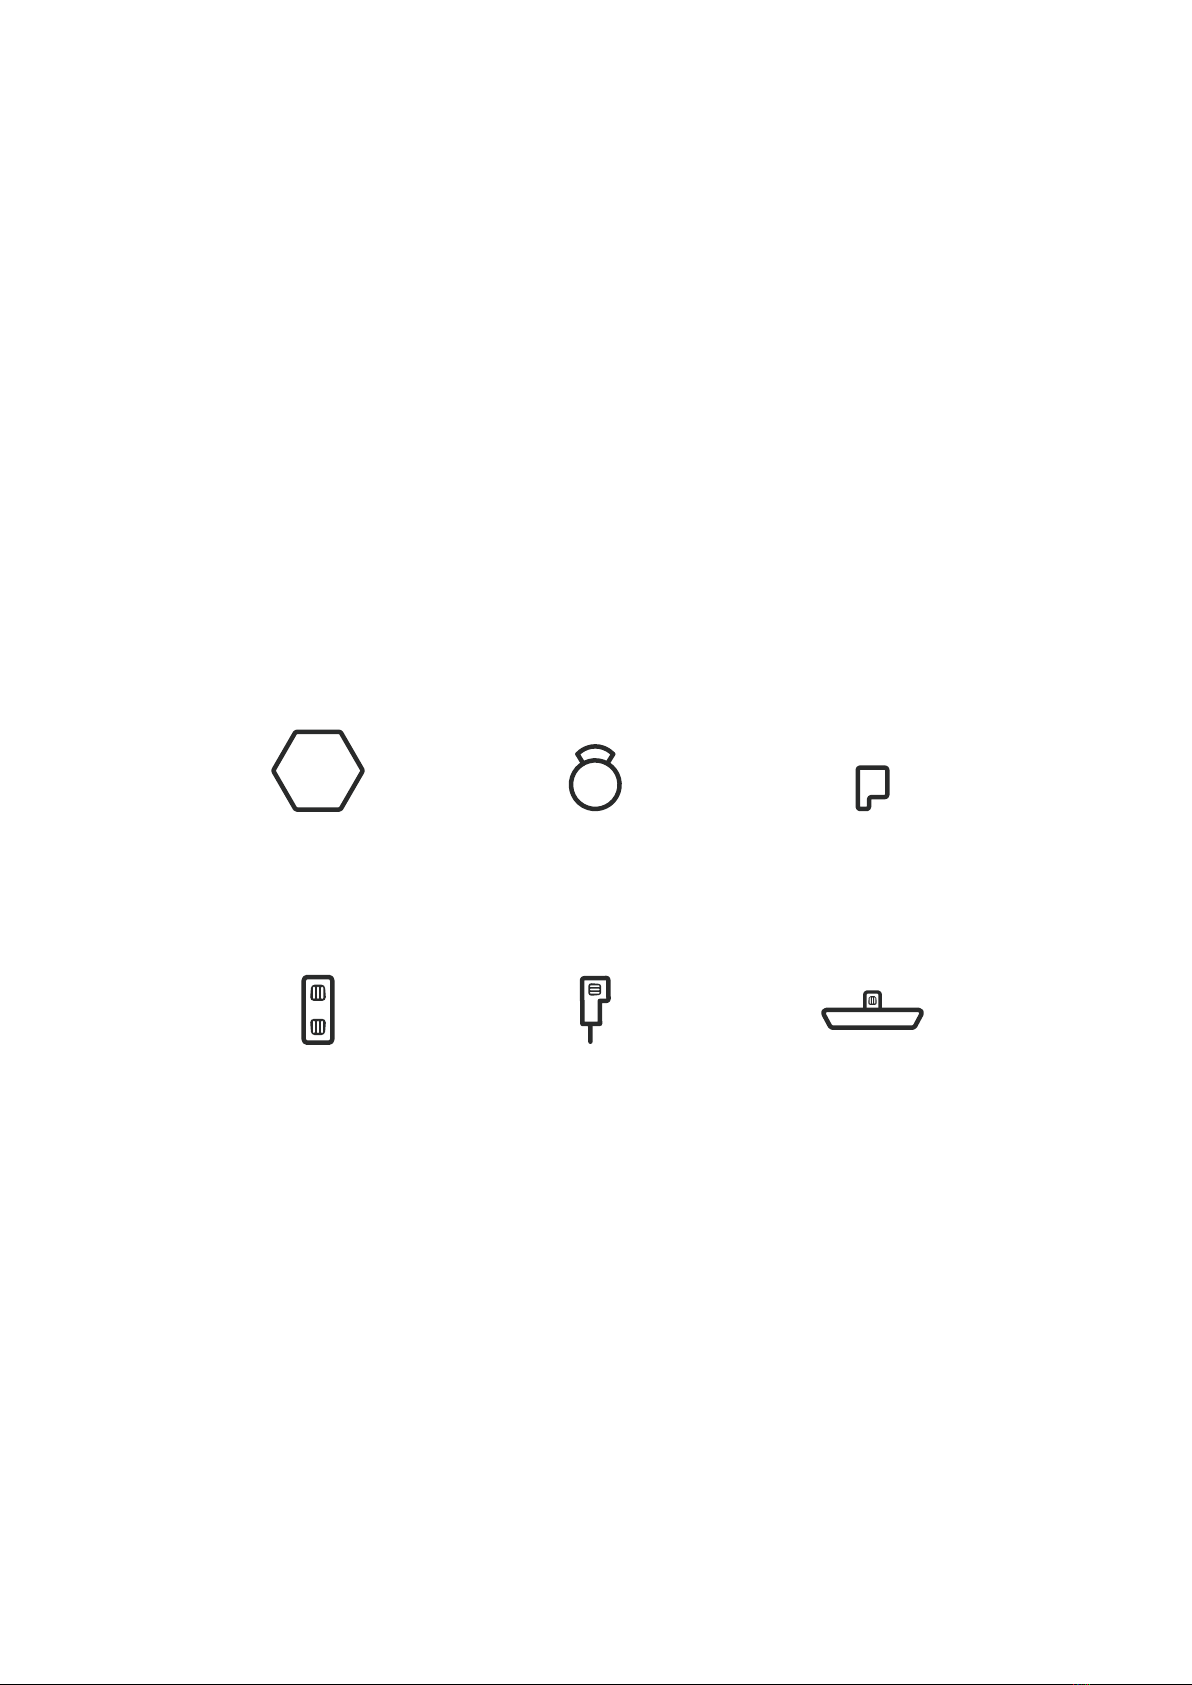
What’s in the Box
Light Hexagons Mounting Plates Mounting Tapes
Linkers Power Supply Controller
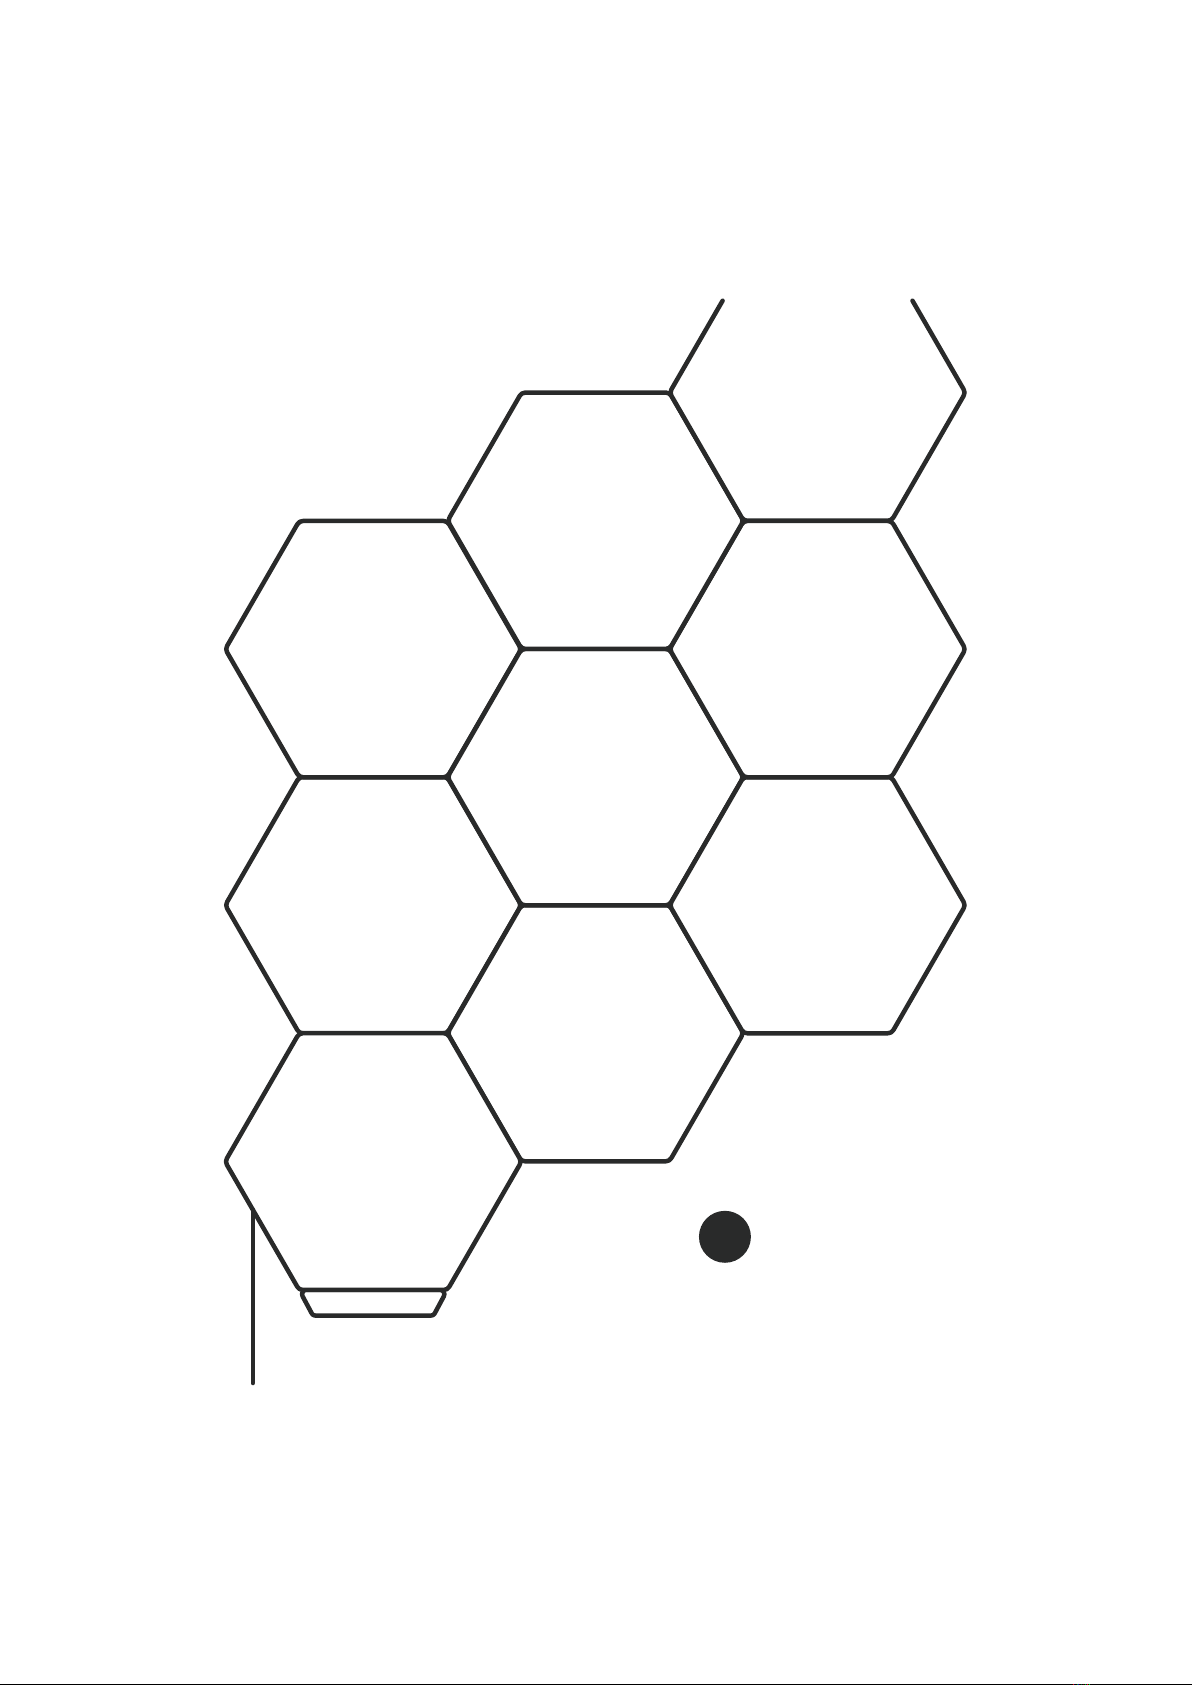
1Plan your design.
2Place a piece of mounting
tape onto the flat side of
the mounting plate.
3Snap the mounting
plate onto the back of
a panel with tape
facing outwards.
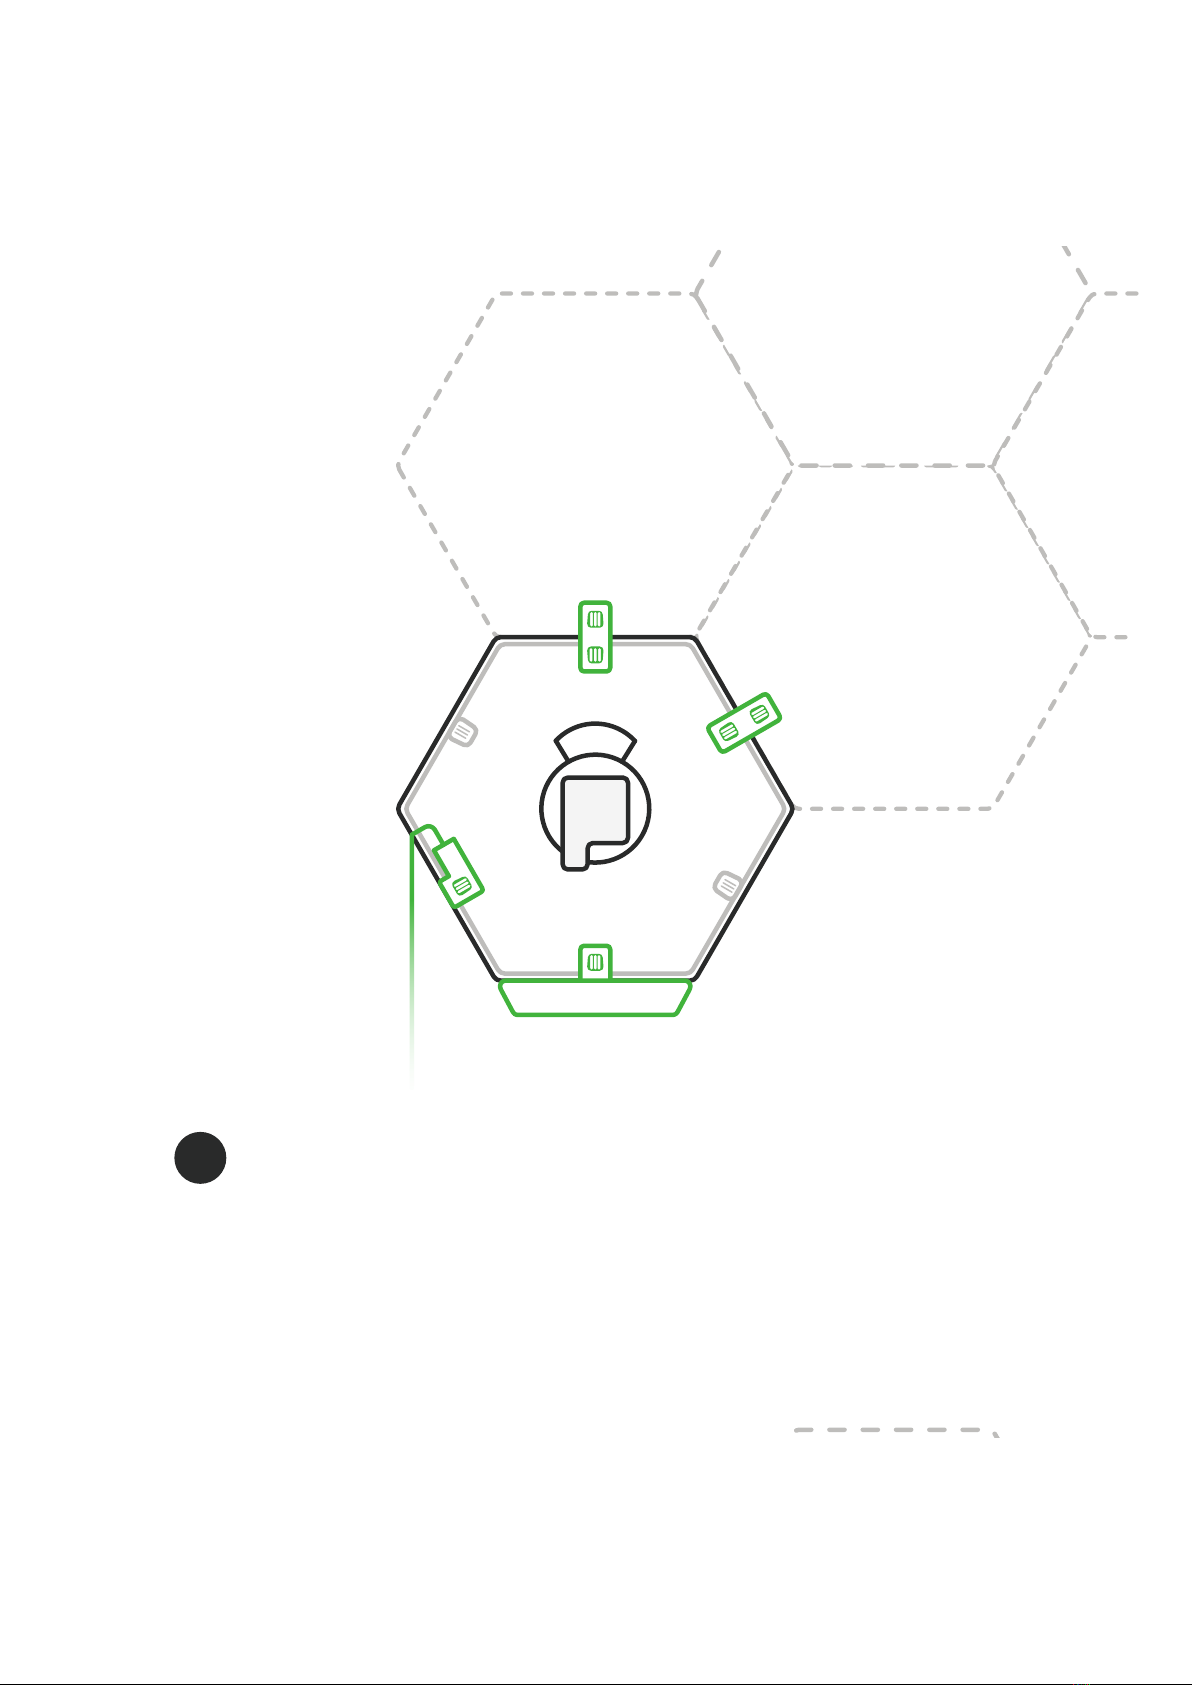
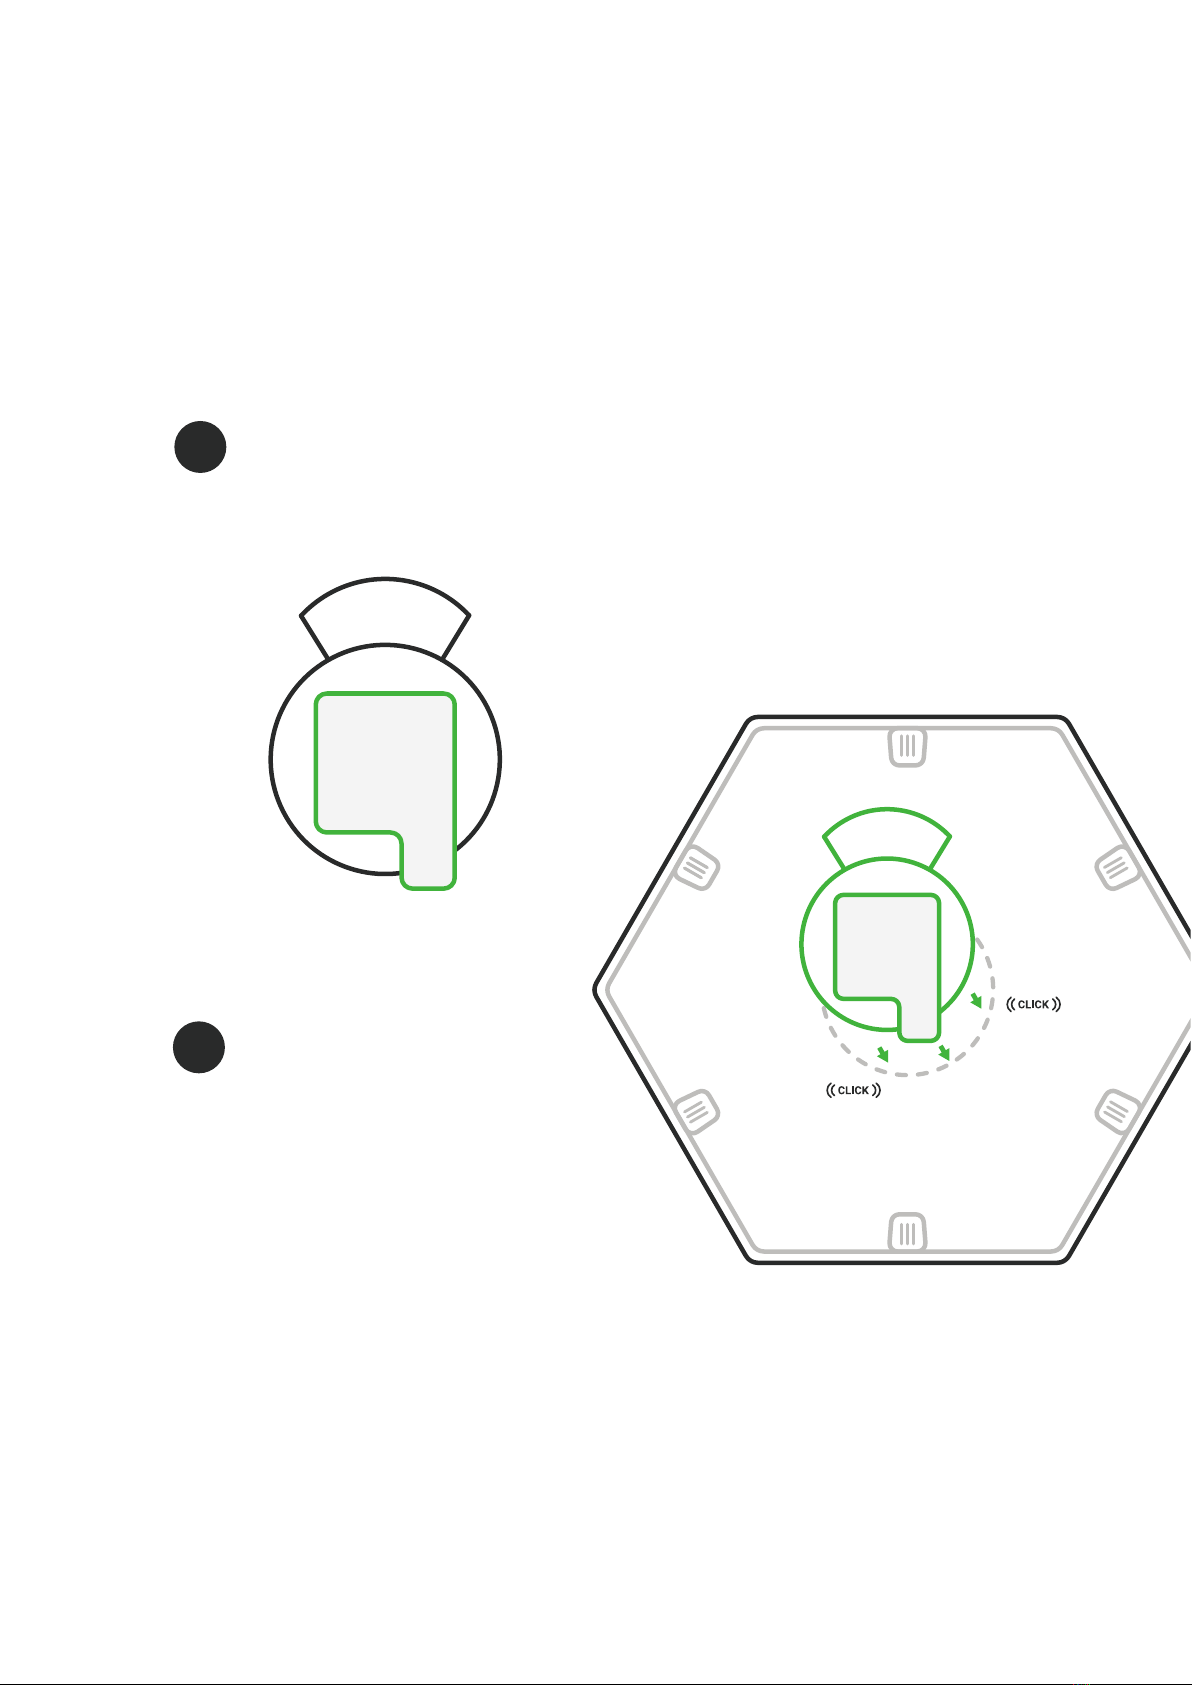
4When mounting the first
panel, snap the power supply,
controller, and linkers onto
the appropriate linker slot.
NOTE: Snapping the power supply and
controller to your first panel will
ensure that your setup is on and
functioning. Their positioning can be
changed after your setup is complete.

Peel back the sticker
from the mounting plate.
5
Mount the first panel
on to your surface.
6
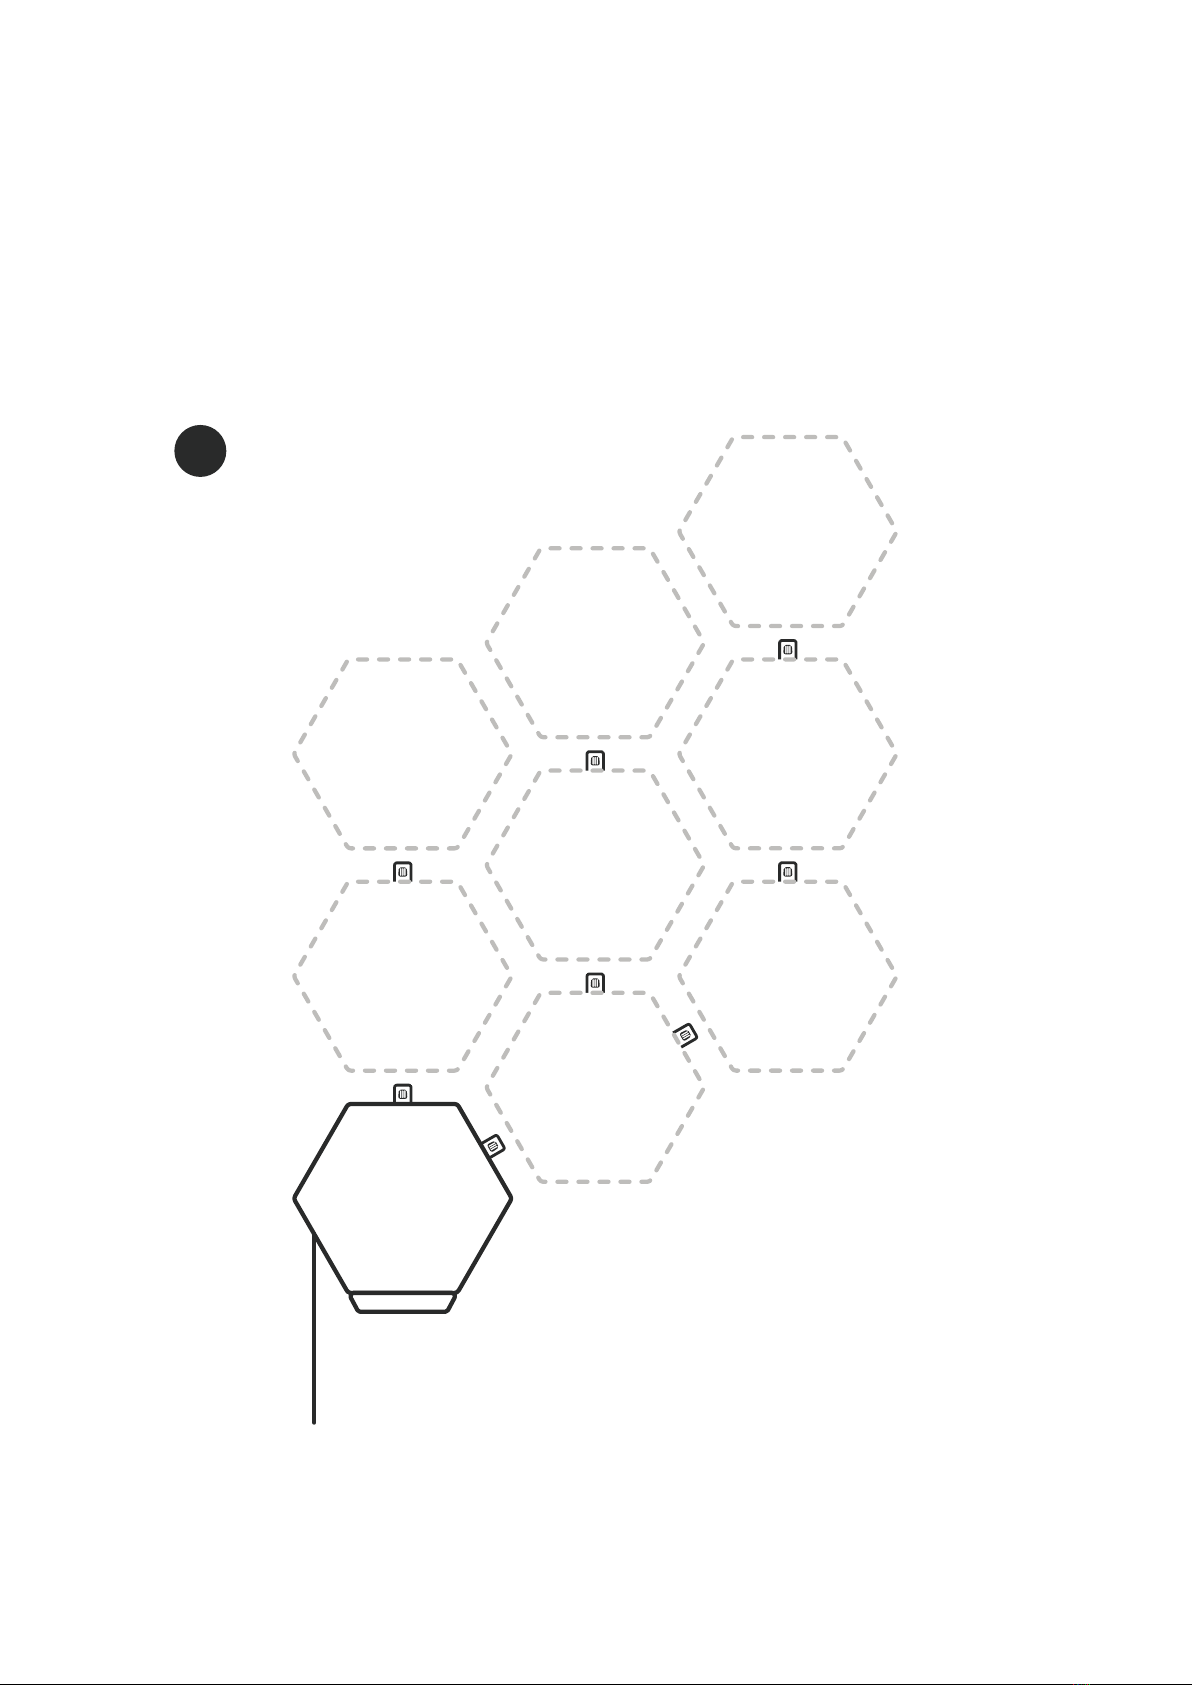
7Continue to snap your
setup together one
panel at a time.
NOTE: For efficient setup,
always anticipate your next panel
and where the linkers need to go.
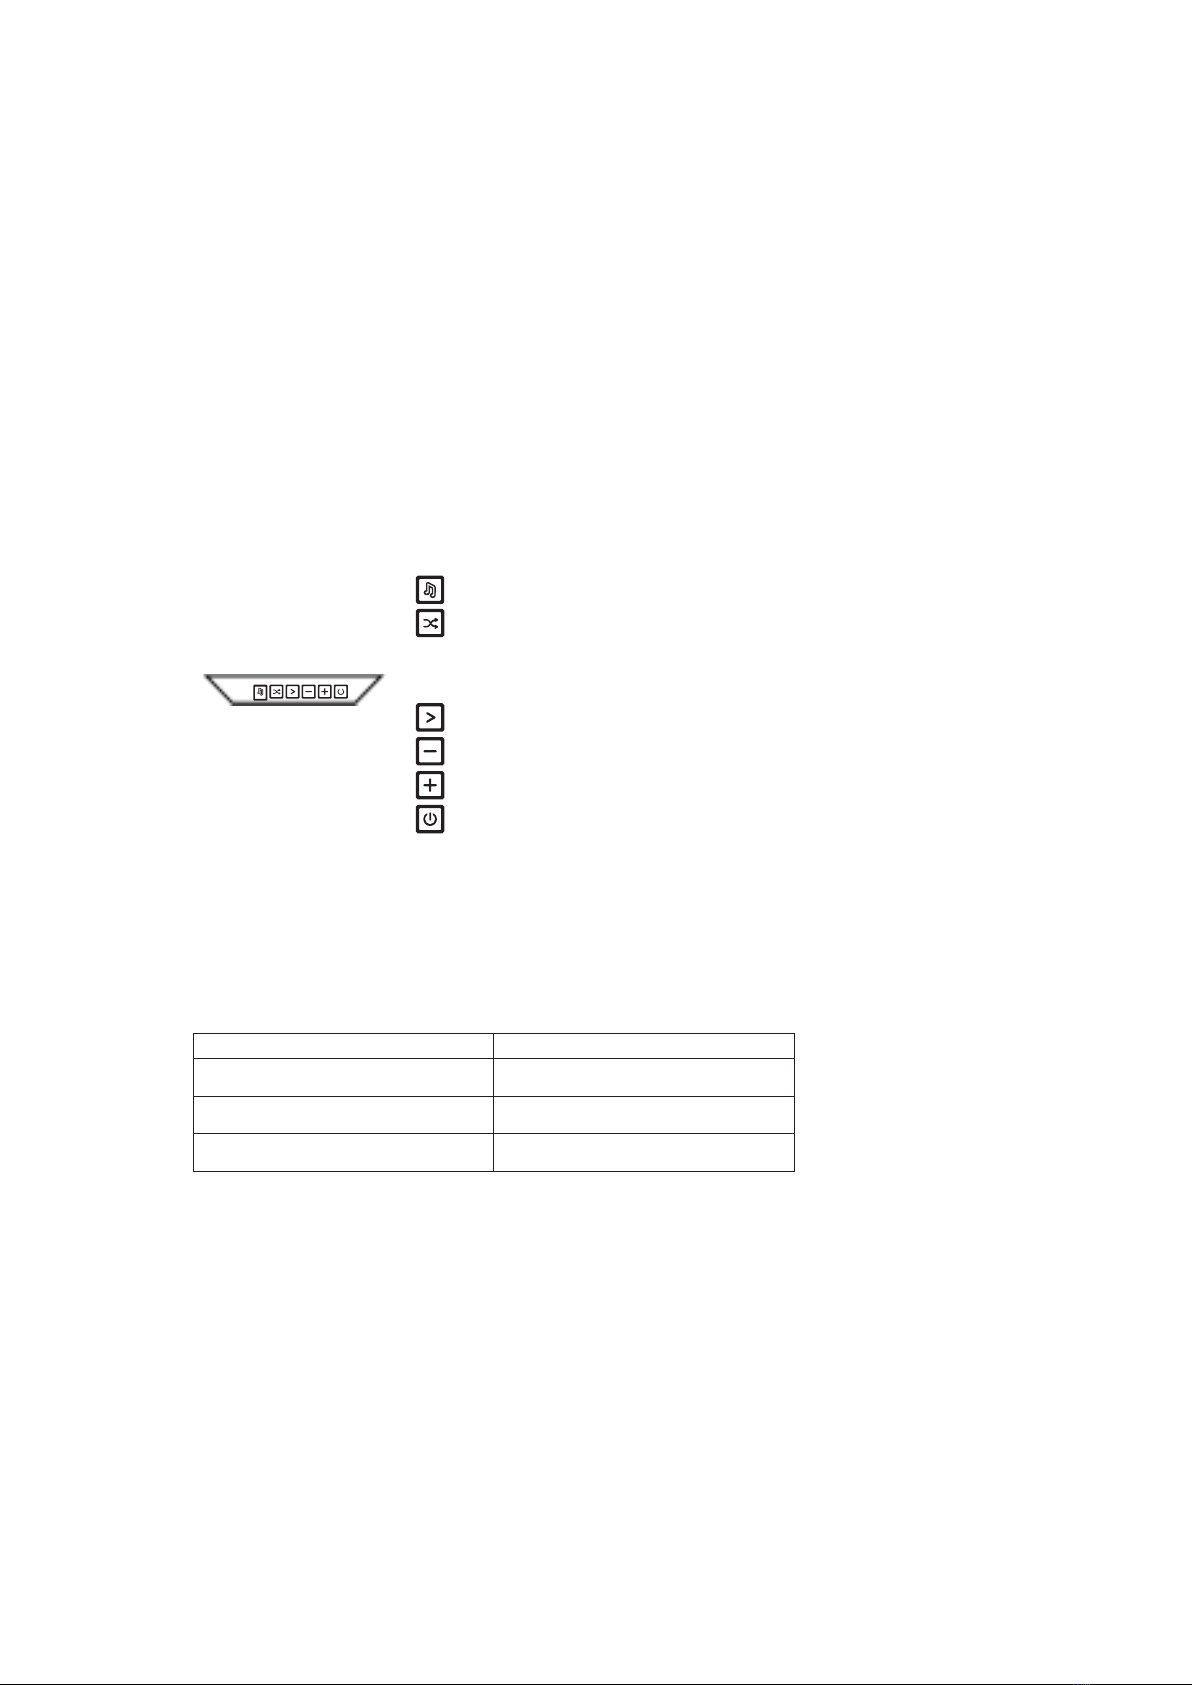
Your Control Explained
The Control is the brain of the Nanoleaf ULP Hexagon system. The touch control buttons on the Controller provide
convenient shortcuts to common commands. The Controller can draw power from any panels in the layout or from a
power supply directly.
LED Statuses
There are 6 LED indicator lights on the controller, one behind each of the control buttons. These LEDs serve as
feedback for various actions, and are also used to communicate device status.
Next Rhythm Scene: Cycles through saved Rhythm Scenes
Shuffle Scenes: The Controller with panels comes with hundreds of
Scenes, and you can use the shuffle button to cycle through them. To
add a Scene to your favorites list for future use, see the instructions
below. Hold the Shuffle button to return to a previous random Scene.
Next Color Scene: Cycles through your list of saved Color Scenes
Dim Brightness
Increase Brightness
Power ON/OFF
Power button LED on (White)
Power button LED flashing white (4s on, 4s off)
Rhythm Scene is activeRhythm button LED on
LED Flashing Sequence Status
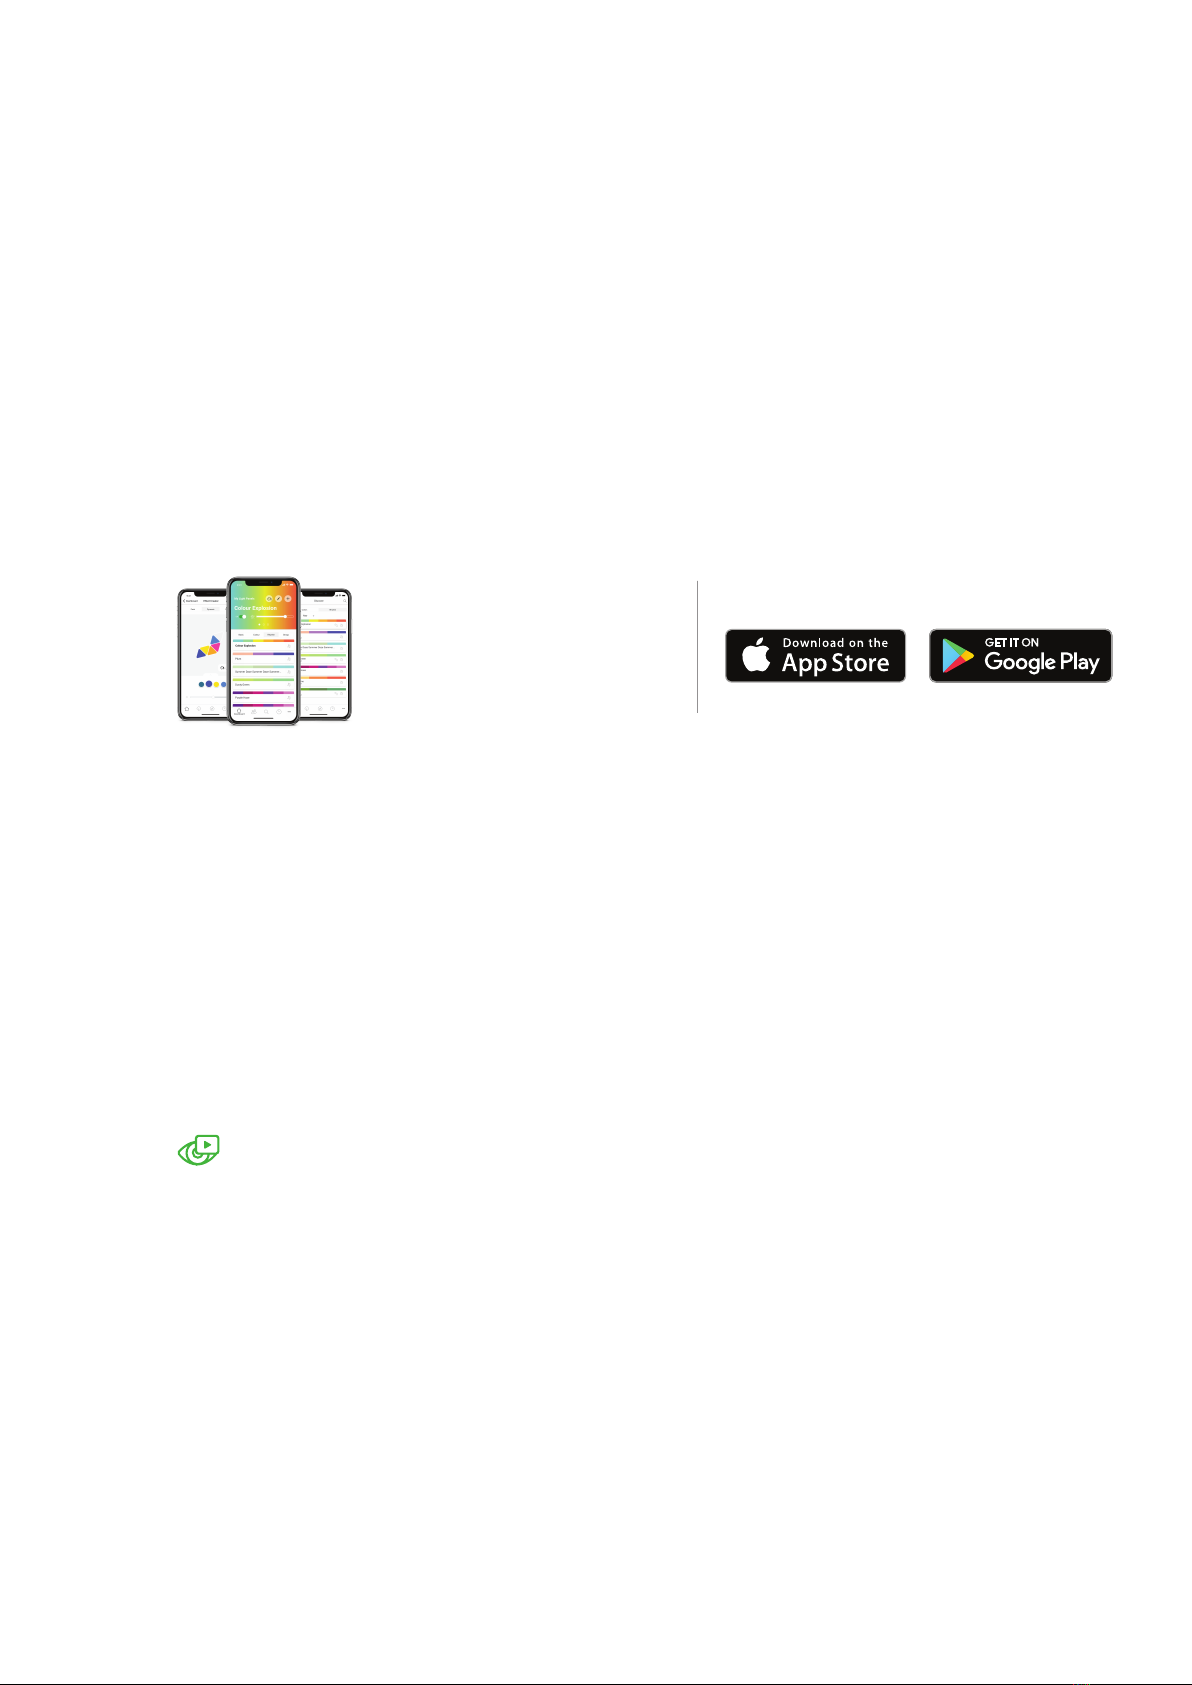
Nanoleaf Smarter Series App
Download the App
Nanoleaf Smarter Series App
Open the Nanoleaf App when you are ready
to pair to your Nanoleaf Canvas. The in-app
tutorial will walk you through the basics of
how to set up your ULP Hexagon.
Available on
Pairing your
Hexagon
indicated by the Power LED . If the device has been on for more than 15 minutes and the Power LED has
turned off, you can simply disconnect the Control Square from power to reset the timer. If the Power LED still
does not come on, try the troubleshooting methods in .
Layout Assistant
The Layout Assistant is a key component of the setup process. This feature is designed to allow you to create
shapes in the app, and then preview them in any room using your smartphone’s camera.
iOS App
Open App > More (on the lower menu bar) > Layout Assistant
Android App
Open App > Side Menu (swipe left or tap the hamburger menu icon at the top left) > Layout Assistan
AR Layout Assistant
Click on this button to activate Augmented Reality mode and preview your design using your
smartphone’s camera. Android users: Use the QR code as a target for Augmented Reality mode. This
is included in the Welcome Booklet that came in the box.

To activate a programmed side of the
Remote, rotate that side to the top.
How to Use
Your Remote
1
2
Pairing Your Remote
iOS
To pair with the Nanoleaf Remote in iOS, make sure the
Remote lights up when you pick it up and rotate it.
Open the Nanoleaf Smarter Series App and follow the
in-app prompts.
Android
To pair with Android, you will need the Canvas. Make sure
the Remote lights up when you pick it up and rotate it.
Pressthe Rhythm button on Canvas until it starts flashing.
Hold theRemote close to the Hexagon. When pairing com-
pletes, theCanvas will flash green.
Pairing One Remote to Multiple Hexagon You can pair the
Remote to multiple Nanoleaf Hexagon using the same pair-
ing method mentionedunder Android Users.
How to Program
Your Remote
Open the Nanoleaf Smarter Series App, and
go to the Remote section to start configur-
ing different sides to different scenes.
Already have our Remote ?

FCC
W
arning Statement
Changes or modifications not expressly approved by the party responsible for compliance
could void the user
’
s authority to operate the equipment. This equipment has been
tested and found to comply with the limits for a Class B digital device, pursuant to
P
art 15
of the FCC Rules. These limits are designed to provide reasonable protection against
harmful interference in a residential installation. This equipment generates uses and can
radiate radio frequency energy and, if not installed and used in accordance with the
instructions, may cause harmful interference to radio communications. However, there is
no guarantee that interference will not occur in a particular installation. If this equipment
does cause harmful interference to radio or television reception, which can be
determined by turning the equipment off and on, the user is encouraged to try to correct
the interference by one or more of the following measures:
‐‐
Reorient or relocate the receiving antenna.
‐‐
Increase the separation between the equipment and receiver.
‐‐
Connect the equipment into an outlet on a circuit different from that to which the
receiver is connected.
‐‐
Consult the dealer or an experienced radio
/
T
V
technician for help.
FCC Radiation Exposure Statement
The antennas used for this transmitter must be installed to provide a separation distance
of at least 2
0
cm from all persons and must not be co
‐
located for operating in
conjunction with any other antenna or transmitter.
W
arning
Changes of modifications to this unit not expressly approved by the party responsible for
compliance could void the user
’
s authority to operate the equipment.
Table of contents
Popular Lighting Equipment manuals by other brands


Qazqa
Qazqa PIR Recessed White 89431 instruction manual

Nora
Nora NSPEC Marquise II Series installation instructions

Dermalogic
Dermalogic MSI-128 manual

Cree
Cree TRDL6 Series installation instructions

COMPLED Solutions GmbH
COMPLED Solutions GmbH HashCropter user manual

Philips
Philips 56420-31-16 user manual


