manuals.online logo
Brands
  1. Home
  2. •
  3. Brands
  4. •
  5. Cree
  6. •
  7. Lighting Equipment
  8. •
  9. Cree TRDL6 Series User manual

Cree TRDL6 Series User manual

LPN000241 REV B
TO INSTALL:
RECESSED HOUSING COMPATIBILITY
Designed to installin standard 6in recessed downlight
housings.
Compatible with most dimmerswhen used with multiple
fixtures. Consult ww w.creebulb.com/dimmersfor a
compatibility chart.
Compatibility of housings may be determined by
measurement of the housing as detailed in the drawing
above(Figure 1).
IMPORTANT SAFEGUARDS
WARNING
circuit breaker before installing or servicing.
READ AND FOLLOW ALL SAFETY
INSTRUCTIONS
6. Each lampholder shall be installed only in its intended manner and
orientation.
7. Suitable for Wet Locations.
8. Min. temperature rating of -25°C.
9. Do
10.
11.
SUITABLE FOR INSTALLATION IN A RECESSED CAN WITH
A MAXIMUM OF EIGHT (8) No. 12 AWG THROUGH-BRANCH
CIRCUIT CONDUCTORS SUITABLE FOR 75°C MIN.
WARNING-THIS RETROFIT KIT IS ACCEPTED AS A COMPONENT
OF A LUMINAIRE WHERE THE SUITABILITY OF THE COMBINATION
SHALL BE DETERMINED BY AUTHORITIES HAVING JURISDICTION.
MIN. LAMP COMPARTMENT DIMENSIONS
5.5 inch/139.7mm (DIA) x 5.5 inch/139.7mm (H).
not make or alter any open holes in an enclosure of wiring or
electrical components during kit installation.
SAVE THESE INSTRUCTIONS FOR
FUTURE REFERENCE
TRDL6 Series
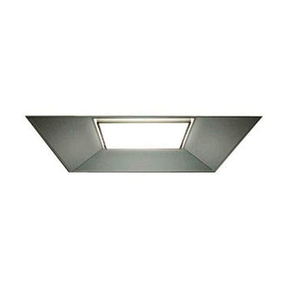
6” Recessed LED Downlight
1 of 2
Minimum distance
between edge of
fixtu re and top of
housing or other
obstruction.
1
2
STEP 1:
Carefully rotate the“Flip Clips”clockwise
until the clips are fully-dep loyed. See
Figure 2.
NOTE: For 5" recessed cans, it is
recommended not to rotate the flip clips
into the ful ly dep loyed position.
STEP 2:
Make sure the POWER IS TURNED OFF at
the source to the recessed can.
STEP 3:
Remove existing trim and bulb, revealing
the existing recessed socket.
STEP 5:
STEP 4:
Screw the fixture Edison base assembly
into the recessed can socket by turni ng
clockwise. See Figure 3.
STEP 6:
Install fixture up in to the recessed housing
firmly until trim ring is flush with the
ceiling. Rotate fixtu re clockwise slightly to
tigh ten fit with ceiling and set in recessed
pilF“erusne,stlusertsebroF.gnisuoh
mirtlatemhtiwdengilatonera”spilC
clips inside of recessed housing during
installation. See Figure 3 and 4.
3
5.5 inch
(139.7mm)
5.5 inch
(139.7mm)
Flip Clip
•
•
•
1. WARNING
requires knowledge of luminaires electrical systems. If not qua
2. WARNING – To prevent wiring damage or abrasion, do not expose
wiring to edges of sheet metal or other sharp objects.
3.
4.
WARNING
luminaires that have the construction features and dimensions
shown in the photographs and/or drawings where the input rating of
the retrofit kit does not exceed the input rating of the luminaire.
SUITABLE FOR TYPE IC LUMINAIRES.
5. It may be necessary to remove a socket mounting plate for adequate
clearance.
A
B
12. This device is not intended for use with emergency exit fixtures or
emergency exit lights.
Package Contents:
Part Description Quantity
A 6” Retrofit downlight
1
B Edison Socket Adapter
C Field applied label
1
1
Install "Field Applied Label" into the
recessed can.
7.48 inch
(190mm)
LPN000241 REV B
www.creebulb.com
REMOVAL OF FIXTURE
NOTE: Make sure power to fixtu re is
disconnected before attempting to
remove fixture modu le from fixtu re.
STEP 1:
To remov e fixtu re, grip firmly on
the trim ring and rotate 1/4 turn
counterclockwise to un lock clips
from recessed can.
STEP 2:
Continue to turn counterclockwise
while pulling d ownward on the
fixtu re. This will disengage the clips
allowing the fixtu re to pull free.
STEP 3:
Detach fixtu re from recessed housing
socket.
2 of 2
5 6
7
STEP 7:
If the trim ring is not flush with the ceiling,
remove fixture by turning coun terclockwise
while pulling d ownward. Remove the fixtu re
completely from the recessed can by turning
the fixtu re Edison base coun terclockwise.
STEP 8:
Locate the recessed can socket and remove
socket bracketry and/or soc ket plate to allow
the socket to hang f reely. See Figures 5, 6
and 7.
STEP 9:
Screw in fixtu re Edison base back to the
recessed can socket and reinstall fixture into
the recessed can.
© 2016 Cree, Inc. All rights reserved. For informational purposes on ly. Content is subject to change.
See www.creebulb. com/warranty for warranty and specifi cations. Cree is a registered trademark, and the C ree logo is a
trademark of Cree, Inc.
In accordance with California Proposition 65, Cree provides the following statement due to the customary electronics
components used in this product. WARNING: This product contains a chemical known to the state of California to
cause cancer. WARNING: This product contains a chemical known to the state of California to cause birth defects
or other reproductive harm.
4.1 4.2 4.3
CAUTION: Changes or modifications not expressly approved could void your authority to use this equipment.
Note: This equipment has been tested and found to comply with the limits for a Class B digital device, pursuant to part 15 of the FCC Rules. These limits
are designed to provide reasonable protection against harmful interference in a residential installation. This equipment generates, uses and can radiate
radio frequency energy and, if not installed and used in accordance with the instructions, may cause harmful interference to radio communications.
However, there is no guarantee that interference will not occur in a particular installation. If this equipment does cause harmful interference to radio or
television reception, which can be determined by turning the equipment off and on, the user is encouraged to try to correct the interference by one or
more of the following measures:
—Reorient or relocate the receiving antenna.
—Increase the separation between the equipment and receiver.
—Connect the equipment into an outlet on a circuit different from that to which the receiver is connected.
—Consult the dealer or an experienced radio/TV technician for help.

Other Cree Lighting Equipment manuals

Cree OSQ Series User manual

Cree

Cree OSQ Series User manual

Cree ZR Series User manual

Cree

Cree ZR Series User manual

Cree OSQ Series User manual

Cree

Cree OSQ Series User manual

Cree OSQ HO Series User manual

Cree

Cree OSQ HO Series User manual

Cree OSQ Series User manual

Cree

Cree OSQ Series User manual

Cree ESSENTIA ESA-ADR-414 User manual

Cree

Cree ESSENTIA ESA-ADR-414 User manual

Cree LS8 User manual

Cree

Cree LS8 User manual

Cree CPY Series User manual

Cree

Cree CPY Series User manual

Cree OSQ Series User manual

Cree

Cree OSQ Series User manual

Cree FLEX Series User manual

Cree

Cree FLEX Series User manual

Cree C-LITE C-WP-A-FCT3 Series User manual

Cree

Cree C-LITE C-WP-A-FCT3 Series User manual

Cree TDS Series User manual

Cree

Cree TDS Series User manual

Cree Link With SmartCast Technology User manual

Cree

Cree Link With SmartCast Technology User manual

Cree ESSENTIA AE Series User manual

Cree

Cree ESSENTIA AE Series User manual

Cree XLamp XR Series User manual

Cree

Cree XLamp XR Series User manual

Cree CR150-650L User manual

Cree

Cree CR150-650L User manual

Cree CR Series User manual

Cree

Cree CR Series User manual

Cree Essentia S-DL4-EB User manual

Cree

Cree Essentia S-DL4-EB User manual

Cree CXB Series User manual

Cree

Cree CXB Series User manual

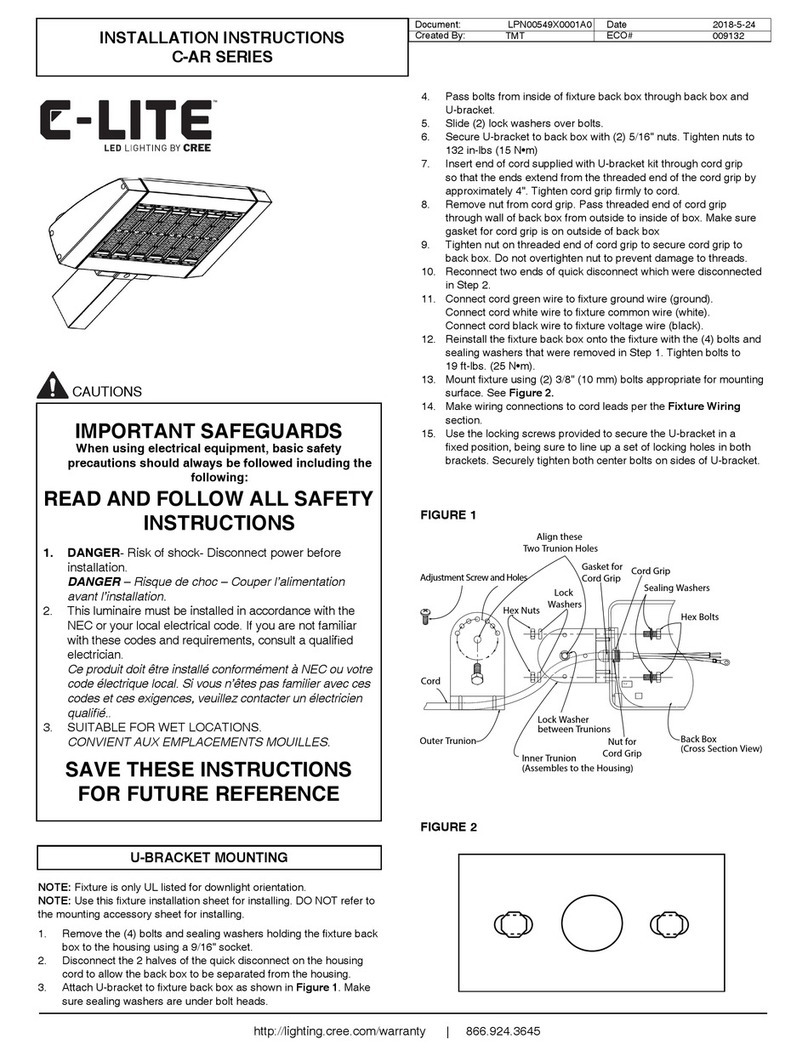
Cree C-AR Series User manual

Cree

Cree C-AR Series User manual

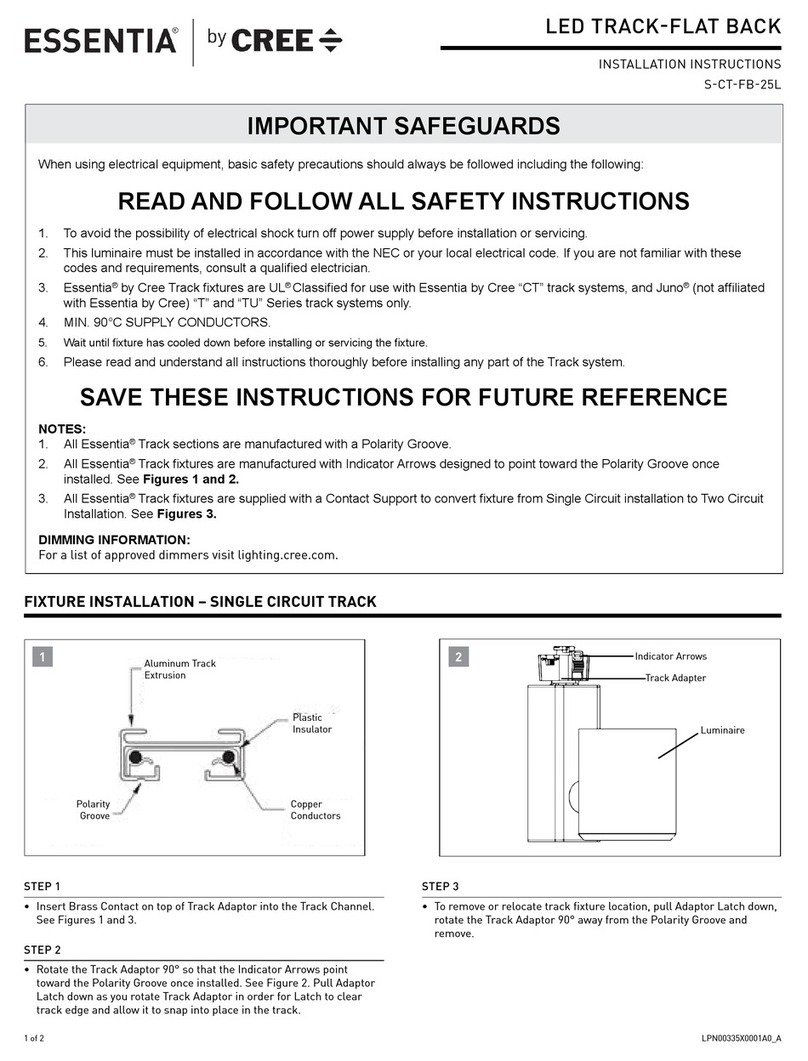
Cree ESSENTIA S-CT-FB-25L User manual

Cree

Cree ESSENTIA S-CT-FB-25L User manual

Cree XLamp ML Family LEDs User manual

Cree

Cree XLamp ML Family LEDs User manual

Cree OSQ Series User manual

Cree

Cree OSQ Series User manual

Cree XA-NEMA User manual

Cree

Cree XA-NEMA User manual

Popular Lighting Equipment manuals by other brands

American Lighting LED HYBRID 2 installation instructions

American Lighting

American Lighting LED HYBRID 2 installation instructions

Lightolier Lytespan DRL70 specification

Lightolier

Lightolier Lytespan DRL70 specification

UFO Nova Light Source Product user guide

UFO

UFO Nova Light Source Product user guide

Luminaire led FFW1212 Series installation guide

Luminaire led

Luminaire led FFW1212 Series installation guide

Sygonix 2622935 operating instructions

Sygonix

Sygonix 2622935 operating instructions

Davey Lighting Original BTC US-DP7001 instruction manual

Davey Lighting

Davey Lighting Original BTC US-DP7001 instruction manual

Electroconcept M SPOT 120 instruction manual

Electroconcept

Electroconcept M SPOT 120 instruction manual

CAME GARD series quick start guide

CAME

CAME GARD series quick start guide

SSS Siedle 01712903 Product information

SSS Siedle

SSS Siedle 01712903 Product information

Sylvania 60762 installation guide

Sylvania

Sylvania 60762 installation guide

Rosco DMG LUMIERE Maxi Mix user manual

Rosco

Rosco DMG LUMIERE Maxi Mix user manual

Verhor NE-037 user manual

Verhor

Verhor NE-037 user manual

Lights.com LC004778 installation instructions

Lights.com

Lights.com LC004778 installation instructions

MJ LED LIGHTNING MJ-2610D18-4IN1 user manual

MJ LED LIGHTNING

MJ LED LIGHTNING MJ-2610D18-4IN1 user manual

ML Accessories Knightsbridge EMTWINPC Installation & maintenance manual

ML Accessories

ML Accessories Knightsbridge EMTWINPC Installation & maintenance manual

Ledj Event Panel user manual

Ledj

Ledj Event Panel user manual

HIKOKI UB 18DE quick start guide

HIKOKI

HIKOKI UB 18DE quick start guide

Zhiyun FIVERAY F100 quick start guide

Zhiyun

Zhiyun FIVERAY F100 quick start guide

manuals.online logo
manuals.online logoBrands
  • About & Mission
  • Contact us
  • Privacy Policy
  • Terms and Conditions

Copyright 2025 Manuals.Online. All Rights Reserved.