DHS Fitness DHS 1006 User manual

APARAT CANOTAJ MAGNETIC
DHS 1006
MANUAL DE UTILIZARE

1
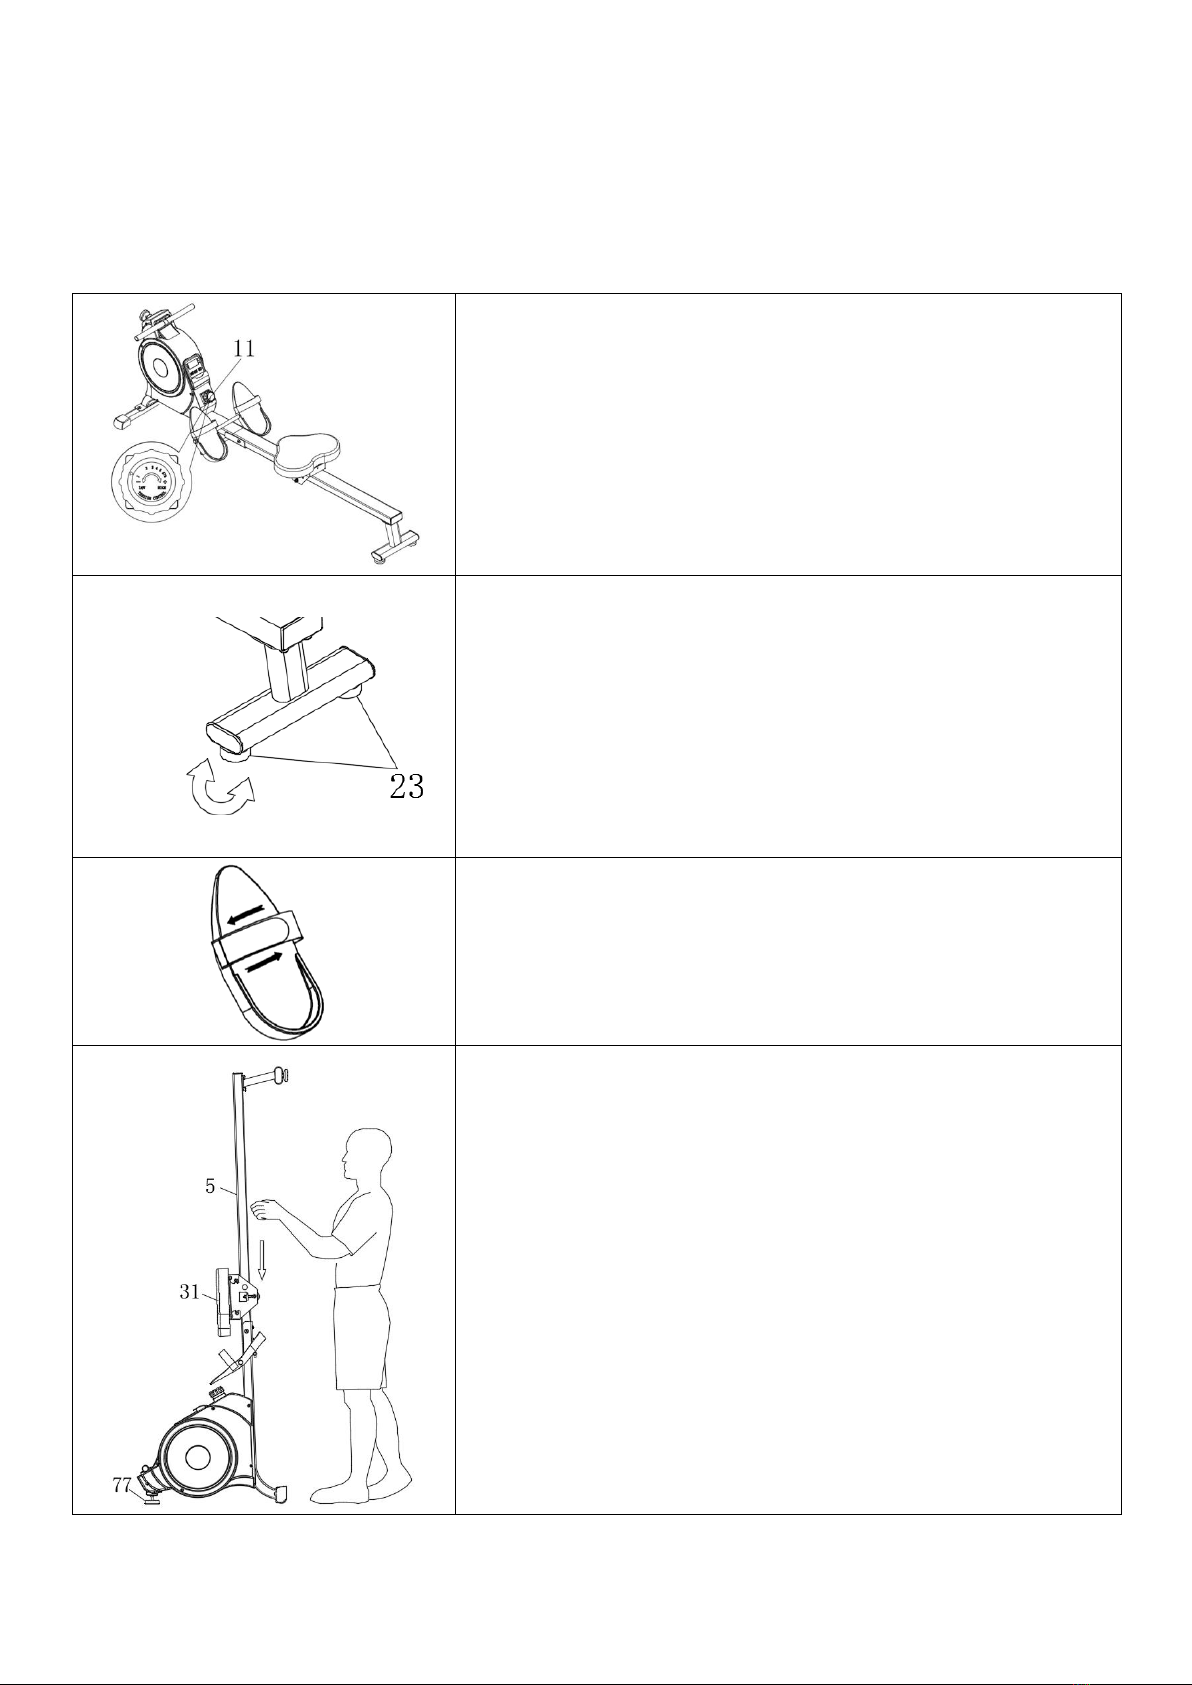
MASURI IMPORTANTE DE SIGURANȚĂ:
1. Asamblați aparatul exact așa cum este descris în acest manual. Nu efectuati modificari.
2. Verificați toate șuruburile, piulițele și conexiunile înainte de fiecare utilizare pentru a observa
orice semn de deteriorare sau slăbire. Nu utilizați aparatul dacă este deteriorate/afectat în vreun fel.
3. Asigurați-vă că aparatul se află într-un loc sigur în interior, pe o suprafata plană, departe de
umezeală și apă.
4. Așezați bază adecvată(de ex. Covor) sub aparat în timpul asamblării pentru a limita cantitatea de
praf și murdărie care pot intra în componente. Folosiți uneltele furnizate sau unelte
corespunzatoare pentru asamblare.
5. Înainte de a începe antrenamentul, îndepărtați toate obiectele pe o rază de 2 metri.
6. Ștergeți transpirația de pe aparat cu o cârpă moale absorbantă după antrenament. Evitați
solvenții agresivi sau periile dure atunci când il curățați.
7. Sănătatea dumneavoastră poate fi afectată de antrenamente incorecte sau excesive. Consultați
un medic înainte de a începe un program de exercitii. Medicul dumneavoastră vă poate defini
setările (ritmul cardiac, durata etc.) la care vă puteți antrena. Acest aparat nu are scop terapeutic.
Este pentru uz casnic/privat.
8. Utilizați numai piese de schimb originale pentru reparațiile necesare.
9. Acest aparat este proiectat pentru o singură persoană.
10. Nu utilizați aparatul când vă aflați sub influența alcoolului sau a medicamentelor care provoacă
dezorientare.
11. Purtați haine și încălțăminte sportive potrivite pentru antrenamentul de fitness.
12. Nu puneți mâinile, degete, picioare, degetele de la picioare sau obiecte pe sau lângă
componentele aflate in miscare al acestui echipament, atunci când îl folosiți.
13. Dacă dezvoltati o senzație de durere în piept, dificultăți de respirație, amețeli sau alte simptome
anormale, vă rugăm să întrerupeți antrenamentul și să consultați imediat un medic.
14. Persoanele cu dizabilitati trebuie să folosească aparatul numai după obținerea aprobării
medicului și în prezența unui adult care poate oferi ajutor și sfaturi.
15. Acest aparat nu este conceput pentru a fi utilizat de copii. Păstrați animalele de companie
departe de aparat în timpul utilizării.
16. Greutatea maximă a utilizatorului este de 130 kg / 264 lbs.

2
DIAGRAMA
CE SE AFLA IN CUTIE

3
LISTA COMPONENTE
Nr.
Crt.
Descriere
Specificatii
Cant.
Nr.
Crt.
Descriere
Specificatii
Cant.
1
Cadru principal
1
34
Cablu senzor
L370
1
2
Picior fata
1
35
Rulment
Φ35*Φ10*11
1
3
Picior spate
1
36
Rulment
Φ30*Φ17*7
2
4
Magnet Frame
1
37
Rulment
35*17*16
1
5
Sina rulare
1
38
Rulment
Φ26*Φ10*8
1
6
Ghidon
1
39
Rulment
Φ22*Φ8*7
8
7L/R
Suport sezut L/R
2
40
Rulment otel
Φ17*46
1
8
Suport forma U
2
41
Roata inertie
Φ240*25 2.5kg
1
9
Aparatoare lant
stanga
1
42
Magnet
25*10*5 2800
7
10
Aparatoare lant
dreapta
1
43
Suport bobina
inductie
1
11
Reglare rezistenta
L=210
1
44
Arc
t0.5*22*5080
1
12
Suport magneti
27*7
1
45
Bucsa ax
Φ42*44.5
1
13
Aparatoare arc
118.5*11.8
1
46
Surub
M12*160*S19
2
14
Roata curea
Φ35*110
1
47
Ax pedale
Φ12*440
1
15
Placa exterioara
Φ89*Φ16.5*0.5
1
48
Surub reglare
M6 L45
2
16
Placa
Φ111*Φ16*0.5
1
49
Suport in forma U
30*10*1.5 2
2
17
Ax roata curea
Φ22*133
1
50
Ax fixare curea
Φ5*43
1
18
Curea
t1.5*22*2150
1
51
Arc
Φ0.8*Φ8*60
65MN
1
19
Ghidaj curea
POM
Φ42*Φ22*32
1
52
Distantier
D8*Φ15*4
6
20
Roata
Φ40*92 POM
3
53
Surub
M5*8
3
21
Bucsa roata ghidaj
Φ13*Φ8*78 ABS
3
54
Surub
M6*10
1
22L/R
Capac plastic
30*60
2
55
Surub
M8*15*S6
12
23
Reglaj picior
M8
2
56
Surub
M8*15*S6
4
24
Capac plastic
70*30
2
57
Piulita
M6
1
25
Suport pedale
104*50*18 PVC
1
58
Surub
M5*15
3
26L/R
Pedale L/R
320*140*55
2
59
Surub
M6*20
2
27
Capac plastic
40*80*1.5
1
60
Saiba
d8*Φ16 *1.5
24
28
Tampon cauciuc
Φ25.2*Φ22*15
1
61
Saiba
Φ20*Φ5*1.0
1
29
Capac plastic
Φ25*1.5 PVC
2
62
Surub
M8*125*15 *S14
A
5
30
Grip spuma
180
2
63
Piulita
M6*H6*S10
2
31
Sezut
1
64
Piulita
M8*H7.5*S13
5
32
Computer/Display
1
65
Piulita
M10*1.0 H5
1
33
Magnet
Φ11*3
1
66
Piulita
M10*1.0 H3
1

4
Nr.
Crt.
Descriere
Specificatii
Cant.
Nr.
Crt.
Descriere
Specificatii
Cant.
67
Piulita
M10*1*H8*S14
2
73
Siguranta tip C
d36
1
68
Surub
ST4.2*20*Φ8
6
74
Imbus
S6
1
69
Surub
ST4.2*16*Φ8
10
75
Cheie fixa
S13-14-15-17-19
1
70
Saiba grover
Φ8
4
76
Piulita
M8
1
71
Saiba valurita
d10*Φ15*0.3
2
77
Scripete picior
M8*35 PVC
1
72
Siguranta tip C
d12
1
78
Tub transport
1
INSTRUCTIUNI DE ASAMBLARE
PASUL 1:
Desurubati suruburile(55) de pe cadrul
principal from(1) cu imbusul(74) din trusa,
impreuna cu cele doua saibe(60)si scoate
tubul de transport(78).
NOTA: Nu aruncati cele doua suruburi(55) si
saibe(60), vor fi folosite la pasul 2.
Tubul pentru transport se poate arunca(78)
sau patra, daca se doreste reimpachetarea
produsului in viitor.

5
PASUL 2:
Prindeti piciorul din fata(2) de cadrul
principal(1) folosind cele doua suruburi (55)
si saibe(60). Strangeti corespunzator
suruburile folosind imbusul din trusa(74).
PASUL 3:
Treceti axul pentru pedale(47) prin gaura
aflata in partea de jos a cadrului principal(1)
folosind un surub(54). Strangeti
corespunzator cu ajutorul cheii fixe(75).
Treceti cele doua suruburi(46)prin gaura de
sus a cadrului principal (1) si prin pedalele
stanga si dreapta(26L/R). Strangeti
suruburile cu cheia din trusa(75).
NOTA: Axul pentru pedale(47) ar trebui sa
fie pe mijlocul cadrului principal (1).
PASUL 4:
Inserati sezutul(31) pe sina destinata
acestuia(5).
Atasati sina(5) de piciorul din spate(3)
folosind patru suruburi(56) si patru
saibe(60). Strangeti corespunzator cu
imbusul din trusa(74).

6
PASUL 5:
Atasati sina de rulare a sezutului(5) de
cadrul principal(1) folosind sase suruburi
(55) si sase saibe(60). Strangeti
corespunzator cu imbusul din trusa(74).
STEP 7:
NOTA: Cele doua cleme ale
computerului(32) trebuie aliniate cu
suportul pentru display aflat pe cadrul
principal(1).
Conectati cablul senzorului(34) cu cablul
computerului(32). Puneti computerul(32)
inapoi pe cadrul principal(1), apoi
apasati-l in jos, pe pozitie.
PASUL 6:
Scoateti cele doua baterii AAA din invelisul
pe plastic, ompreuna cu manualul. Impingeti
de display(32)in sus, si scoateti-l din cadrul
principal(1). Deconectati cablul de la
sensor(34) si cablul de la computer(32).
Instalati cele doua baterii AAA pe spatele
computerului(32).

7
GHID DE REGLAJE
ATENTIE! Componente in miscare, cum ar fi sezutul, pot provoca vatamari. Feriti mainile si
picioarele de componenetele in miscare in timpul utilizarii.
REGLARE REZISTENTA
Rotiti de surub de reglare a rezistentei(11) in sensul acelor
de ceasornic pentru a creste rezistenta/efortul. Rotiti de
surub de reglare a rezistentei(11) in sensul invers acelor de
ceasornic pentru a scadea rezistenta/efortul.
Nivelul rezistentei este de la 1(cel mai scazut) pana la 8(cel
mai ridicat).
REGLARE PLANEITATE
Daca aparatul de canotaj se misca in timpul exercitiilor,
trebui sa reglati talpile acestuia, aflate sub piciorul din spate.
Rotiti talpile(23) in sensul acelor de ceasornic pana cand
aparatul sta drept pe suprafata. Cand reglajul s-a terminat,
rotiti de contra piulita in sensul acelor de ceasornic pentru a
strang talpa(23). Daca este necesar, repetati aceeasi
operatiune si la cealalta talpa.
REGLARE PRINDERE TALPA
Chinga talpilor este reglabila pentru a putea fi personalizata
marinii piciorului fiecarui utilizator.
STOCARE APARAT CANOTAJ
Cand nu este folosit, se poate salva spatiu prin ridicarea
aparatului la vertical folosind piciorul suplimentar(77).
NOTA: Sezutul(31) va glisa spre in fata atunci cand sina(5)
este la verticala.

8
INLOCUIRE BATERII
Doua baterii AAA sunt incluse, pentru Computer
/Display(32). Pentru a inlocuii bateriile, scoateti
computerul(32)de pe cadrul principal(1), deconectati cablul
de la sensor(34) si cablul de la computer(32). Inlocuiti
bateriile. Nu amestecati bateriile, vechi cu noi.
Dupa inlocuire, conectati cablul senzorului(34) de cablul
computerului(32)si puneti computerul(32) inapoi in locasul
destinat acestuia de pe cadrul principal(1).Aruncati bateriile
in conformitate cu legile in vigoare.
MUTARE APARAT CANOTAJ
Glisati sezutul in fata, catre pedale/display. Ridicati aparatul
de piciorul din spate pana cand rotile ating solul si permit
mutarea cu usurinta.

9
DISPLAY/COMPUTER
Display-ul/Computerul de pe aparatul de canotaj magnetic permite utilizatorului să adapteze un
antrenament personalizat, monitorizând progresul acestuia. În timpul unui antrenament, consola va
afișa alternativ și în mod repetat timpul, numărul, caloriile arse, numărul total, distanța și scanarea
(toate cele de mai sus). Cu display-ul ușor de folosit, utilizatorul își poate urmări în mod eficient
obiectivele de fitness de la un antrenament la altul
BUTOANE
1. MODE
Apasati acest buton pentru a schimba marimile/valorile afisate sau pentru a selecta marimile care
urmeaza a fi modificate.
–Tineti apasat 3 secunde, pentru a reseta durata, distanta si caloriile.
2. SET –Seteaza valoare duratei(TIME), distantei(DISTANCE) si a caloriilor arse(CALORIES)
atunci cand nu este activ modul SCAN.
3. RESET –Apasati 3 secunde pentru a reseta durata, distanta si caloriile. Toate valorile vor fi
resetate, in afara de Numarul total al repetarilor
FUNCTII:
1. SCAN - Apasati butonul MODE pana cand este afisat SCAN, computerul va trece prin toate
marimile odata la 5 secunde: Durata, Numar de repetari, Distanta, Calorii arse, Numar total de
repetari si RPM.
2. COUNT(NUMAR TOTAL DE REPETARI) - Afiseaza numarul total de repetari, plaja de marime
de la 0 la 9999.
3. TIME(DURATA) - Afiseaza durata antrenamentului de la 0min la 99:59min.
4. DISTANCE(DISTANTA) - Afiseaza distanta parcursa in timpul antrenamentului de la 0.00 la
999.9 km
5. CALORIES(CALORII ARSE) - Afiseaza numarul total de calorii arse de la 0.0 la 999.9 Calorii
arse.
6. TOTAL COUNT (NUMAR TOTAL DE REPETARI): Numarul total de repetari de la instalearea
bateriei.
7. RPM - Afiseaza numarul de repetari/minut, de la 0 la 999.
8. AUTO START/STOP - Fara activitate timp de 4 min. display-ul se va stinge automat. La
inceperea exercitiului display-ul se va aprinde automat.
SPECIFICATII:
FUNCTII
SCAN
Odata la 6 secunde
DIST
0.00~9999 ML(Mile)
TIME
0:00~99:59(Minute:Secunde)
COUNT
0~9999
RPM (CN/M)
0~999 REPETARI/MIN
CALORIES
0.0~999.9 Kcal
TOTAL COUNT
0~9999
Tip baterie
2 x AAA sau UM-4
Temperatura de functionare
0°C ~40°C
Temperatura de stocare
-10°C ~ 60°C

10
DHS 1006
MAGNETIC ROWING MACHINE
USER MANUAL

11
IMPORTANT SAFETY INFORMATION
We thank you for choosing our product. To ensure your safety and health, please use this
equipment correctly. It is important to read this entire manual before assembling and using the
equipment. Safe and effective use can only be achieved if the equipment is assembled, maintained,
and used properly. It is your responsibility to ensure that all users of the equipment are informed of
all warnings and precautions.
1. Before starting any exercise program, you should consult your physician to determine if you
have any medical or physical conditions that could put your health and safety at risk or prevent
you from using the equipment properly. Your physician’s advice is essential if you are taking
medication that affects your heart rate, blood pressure, or cholesterol level.
2. Be aware of your body’s signals. Incorrect or excessive exercise can damage your health. Stop
exercising if you experience any of the following symptoms: pain, tightness in your chest,
irregular heartbeat, shortness of breath, lightheadedness, dizziness, or feelings if nausea. If you
do experience any of these conditions, you should consult your physician before continuing with
your exercise program.
3. Keep children and pets away from the equipment. The equipment is designed for adult use only.
4. Use the equipment on a solid, flat level surface with a protective cover for your floor or carpet.
To ensure safety, the equipment should have at least 2 feet (60 CM) of free space all around it.
5. Ensure that all nuts and bolts are securely tightened before using the equipment. The safety of
the equipment can only be maintained if it is regularly examined for damage and/or wear and
tear.
6. Always use the equipment as indicated. If you find any defective components while assembling
or checking the equipment, or if you hear any unusual noises coming from the equipment during
exercise, discontinue use of the equipment immediately and do not use until the problem has
been rectified.
7. Wear suitable clothing while using the equipment. Avoid wearing loose clothing that may
become entangled in the equipment.
8. Do not place fingers or objects into the moving parts of the equipment.
9. The maximum weight capacity of this unit is 285 pounds (130 KG).
10.The equipment is not suitable for therapeutic use.
11.To avoid bodily injury and/or damage to the product or property, proper lifting and moving are
required.
12.Your product is intended for use in cool and dry conditions. You should avoid storage in extreme
cold, hot or damp areas as this may lead to corrosion and other related problems.
13.This equipment is designed for indoor and home use only; it is not intended for commercial use

12
DIAGRAM
HARDWARE PACKAGE

13
PARTS LIST
No.
Description
Spec.
QTY
No.
Description
Spec.
QTY
1
Main Frame
1
34
Sensor Wire
L370
1
2
Front Stabilizer
1
35
Bearing
Φ35*Φ10*11
1
3
Rear Support
1
36
Bearing
Φ30*Φ17*7
2
4
Magnet Frame
1
37
Bearing
35*17*16
1
5
Sliding Rail
1
38
Bearing
Φ26*Φ10*8
1
6
Handlebar
1
39
Bearing
Φ22*Φ8*7
8
7L/R
Seat Supporting
L/R
2
40
Bearing Steel
Φ17*46
1
8
U Shape Bracket
2
41
Inertial Wheel
Φ240*25 2.5kg
1
9
Chain Cover L
1
42
Magnet
25*10*5 2800
7
10
Chain Cover R
1
43
Inductor Seat
1
11
Tension Control
Knob
L=210
1
44
Volute Spring
t0.5*22*5080
1
12
Plastic Lattice
Magnet
27*7
1
45
Axle Sleeve
Φ42*44.5
1
13
Volute Spring
Cover
118.5*11.8
1
46
Bolt
M12*160*S19
2
14
Mesh Belt Wheel
Φ35*110
1
47
Fixing Axle for Pedal
Φ12*440
1
15
Outer PC Board
Φ89*Φ16.5*0.5
1
48
Adjusting Screw
M6 L45
2
16
PC Board
Φ111*Φ16*0.5
1
49
U Shape Baffle
30*10*1.5 2
2
17
Axle for Mesh Belt
Wheel
Φ22*133
1
50
Fixing Axle for Mesh
Belt
Φ5*43
1
18
Mesh Belt
t1.5*22*2150
1
51
Spring
Φ0.8*Φ8*60 65MN
1
19
Mesh Belt Pulley
POM Φ42*Φ22*32
1
52
Spacer
D8*Φ15*4
6
20
Wheel
Φ40*92 POM
3
53
Screw
M5*8
3
21
Casing Pipe for
Idler Wheel
Φ13*Φ8*78 ABS
3
54
Screw
M6*10
1
22L/R
End Cap
30*60
2
55
Screw
M8*15*S6
12
23
Foot Leveler
M8
2
56
Screw
M8*15*S6
4
24
End Cap
70*30
2
57
Nut
M6
1
25
Handlebar Seat
104*50*18 PVC
1
58
Screw
M5*15
3
26L/R
Pedal L/R
320*140*55
2
59
Screw
M6*20
2
27
End Cap
40*80*1.5
1
60
Washer
d8*Φ16 *1.5
24
28
Rubber Buffer
Φ25.2*Φ22*15
1
61
Washer
Φ20*Φ5*1.0
1
29
End Cap
Φ25*1.5 PVC
2
62
Bolt
M8*125*15 *S14 A
5
30
Foam Grip
180
2
63
Nut
M6*H6*S10
2
31
Seat
1
64
Nut
M8*H7.5*S13
5
32
Computer
1
65
Nut
M10*1.0 H5
1
33
Magnet
Φ11*3
1
66
Nut
M10*1.0 H3
1

14
No.
Description
Spec.
QTY
No.
Description
Spec.
QTY
67
Nut
M10*1*H8*S14
2
73
C-clip
d36
1
68
Screw
ST4.2*20*Φ8
6
74
Allen Wrench
S6
1
69
Screw
ST4.2*16*Φ8
10
75
Spanner
S13-14-15-17-19
1
70
Spring Washer
Φ8
4
76
Nut
M8
1
71
Wave Washer
d10*Φ15*0.3
2
77
Foot Leveler
M8*35 PVC
1
72
C-clip
d12
1
78
Shipping Tube
1
ASSEMBLY INSTRUCTIONS
We value your experience using Sunny Health and Fitness products. For assistance with parts or
troubleshooting, please contact us at support@sunnyhealthfitness.com or 1-877-90SUNNY
(877-907-8669).
STEP 1:
Remove 2 Screws (No. 55) from Main
Frame (No. 1) with Allen Wrench (No. 74),
then remove 2 Washers (No. 60)and
Shipping Tube (No. 78).
NOTE: Don’t discard 2 Screws (No. 55) and
2 Washers (No. 60), because in Step 2, you
need to use them again.
You may discard Shipping Tube (No. 78) or
save it in case you would like to repackage
the item in the future.

15
STEP 2:
Attach Front Stabilizer (No. 2) to Main
Frame (No. 1) using 2 Screws (No. 55) and
2 Washers (No. 60). Tighten and secure
with Allen Wrench (No. 74).
STEP 3:
Attach Fixing Axle for Pedal (No. 47) into
the bottom hole of Main Frame (No. 1)
using 1 Screw (No. 54). Secure and
tighten with Spanner (No. 75).
Attach 2 Bolts (No. 46)into the upper hole
of Main Frame (No. 1) through Pedals
(No. 26L/R). Secure and tighten with
Spanner (No. 75).
NOTE: The Fixing Axle for Pedal (No.
47) should be attached into the middle
position of Main Frame (No. 1).
STEP 4:
Insert the Seat (No. 31) into the Sliding
Rail (No. 5).
Attach the Sliding Rail (No. 5) onto the
Rear Support (No. 3) using 4 Screws
(No. 56) and 4 Washers (No. 60). Tighten
and secure with Allen Wrench (No. 74).

16
STEP 5:
Attach the Sliding Rail (No. 5) to Main
Frame (No. 1) using 6 Screws (No. 55)
and 6 Washers (No. 60). Tighten and
secure with Allen Wrench (No. 74).
STEP 7:
NOTE: The two upper buckles of
Computer (No. 32) should be aligned to
the two upper slots of computer seat of
Main Frame (No. 1).
Connect Sensor Wire (No. 34) with the
wire of Computer (No. 32). Place
Computer (No. 32) back onto the Main
Frame (No. 1), then push the Computer
(No. 32) downwards to fit into position.
The assembly is complete!
STEP 6:
Take out 2 AAA batteries from the plastic
bag with the manual. Push Computer (No.
32)upward, then remove Computer (No.
32)from Main Frame (No. 1). Disconnect
Sensor Wire (No. 34) and the wire of
Computer (No. 32). Install the 2 AAA
batteries into the back of Computer (No.
32).

17
ADJUSTMENTS GUIDE
CAUTION! Moving parts, such as the seat, can crush and cut. Keep hands clear of the sliding rail
during use!
ADJUSTING THE RESISTANCE
Rotate the Tension Control Knob (No. 11) clockwise to
increase the level of resistance. Rotate the Tension Control
Knob (No. 11) counter-clockwise to decrease the level of
resistance.
Tension levels are set at Level 1 being the lowest and Level
8 being the highest.
ADJUSTING THE BALANCE
If you notice that the rower is unbalanced during use, you
should adjust the foot levelers located beneath the rear
support. Rotate Foot Levelers (No. 23) clockwise until it sits
level with the surface that the rower is on. When you have
finished adjusting the foot leveler, re-tighten the Foot
Levelers (No. 23)by rotating it counter-clockwise. If
required, repeat this process to adjust the remaining feet.
PEDAL STRAP ADJUSTMENT
The pedal strap is adjustable and can be personalized to fit
the user’s foot size.
PLACING THE ROWER
When not in use, you can save space by placing the rower
upright on the floor with Foot Leveler (No. 77)
SAFETY NOTE: The Seat (No. 31)will glide down when
placing Sliding Rail (No. 5) in an upright position.

18
REPLACING THE BATTERIES
Two AAA batteries are included in Computer (No. 32). To
replace the batteries, remove Computer (No. 32)from Main
Frame (No. 1), and disconnect the Sensor Wire (No. 34)
and the wire of Computer (No. 32). Replace both batteries.
Do not mix battery types and do not mix old and new
batteries.
After the replacement, connect Sensor Wire (No. 34) to the
wire of Computer (No. 32)and put Computer (No. 32) back
onto the Main Frame (No. 1).Dispose or recycle batteries
according to your state and local rules.
MOVING THE ROWER
To move the rower, lift the rear support until the
transportation wheels on the front stabilizer touch the
ground. Once the wheels are on the ground, you can
transport the rower to the desired location with ease

19
EXERCISE COMPUTER
Our computerized display console on the Magnetic Rowing Machine allows the user to tailor a
personalized workout by monitoring their progress. During a workout, the display console will
alternately and repeatedly display your Time, Count, Calories Burned, Total Count, Distance, and
Scan (all of the above). With our easy-to-use console, the user can efficiently track their fitness
goals from one workout to the next.
FUNCTION KEY:
MODE: To select your specification mode and/or turn on display console.
Press the MODE key and hold it 3 seconds, all the values except Total Count
would be reset to zero.
SET: To set a value of Time, Count, or Calories (when not in Scan mode).
RESET: Press to reset Time, Count, or Calories. Press the RESET key and
hold it 3 seconds, all the values except Total Count would be reset to zero.
FUNCTIONS AND OPERATIONS:
SCAN: Press the MODE button until SCAN appears. The display will rotate through the six
functions in the following order: TIME, DISTANCE, CALORIES, COUNT, TOTAL COUNT, and
RPM. Each display will be held for 6 seconds.
TIME: Counts the total time elapsed during your current workout.
CNT (COUNT): Counts the number of rowing strokes from your current workout.
T-CNT (TOTAL COUNT): Counts the total amount of strokes from the first use.
CAL (CALORIES): Counts the total calories burned from current workout.
DIST (DISTANCE): Counts the total distance during your current workout.
RPM (CN/M): Display the steps per minute while exercising.
AUTO ON/OFF & AUTO START/STOP:
The power will turn off automatically once there’s no signal for 4 minutes. The computer will
reactivate once the rower is put into motion or when a computer key is pressed.
SPECIFICATIONS:
FUNCTIONS
SCAN
Every 6 seconds
DIST
0.00~9999 ML(Miles)
TIME
0:00~99:59(Minute:Second)
COUNT
0~9999 Count
RPM (CN/M)
0~999 TIMES/MIN
CALORIES
0.0~999.9 Kcal
TOTAL COUNT
0~9999 Count
BATTERY TYPE
(2)Two AAA or UM-4
OPERATING TEMPERATURE
0°C ~40°C
STORAGE TEMPERATURE
-10°C ~ 60°C
Table of contents
Languages:
Other DHS Fitness Home Gym manuals