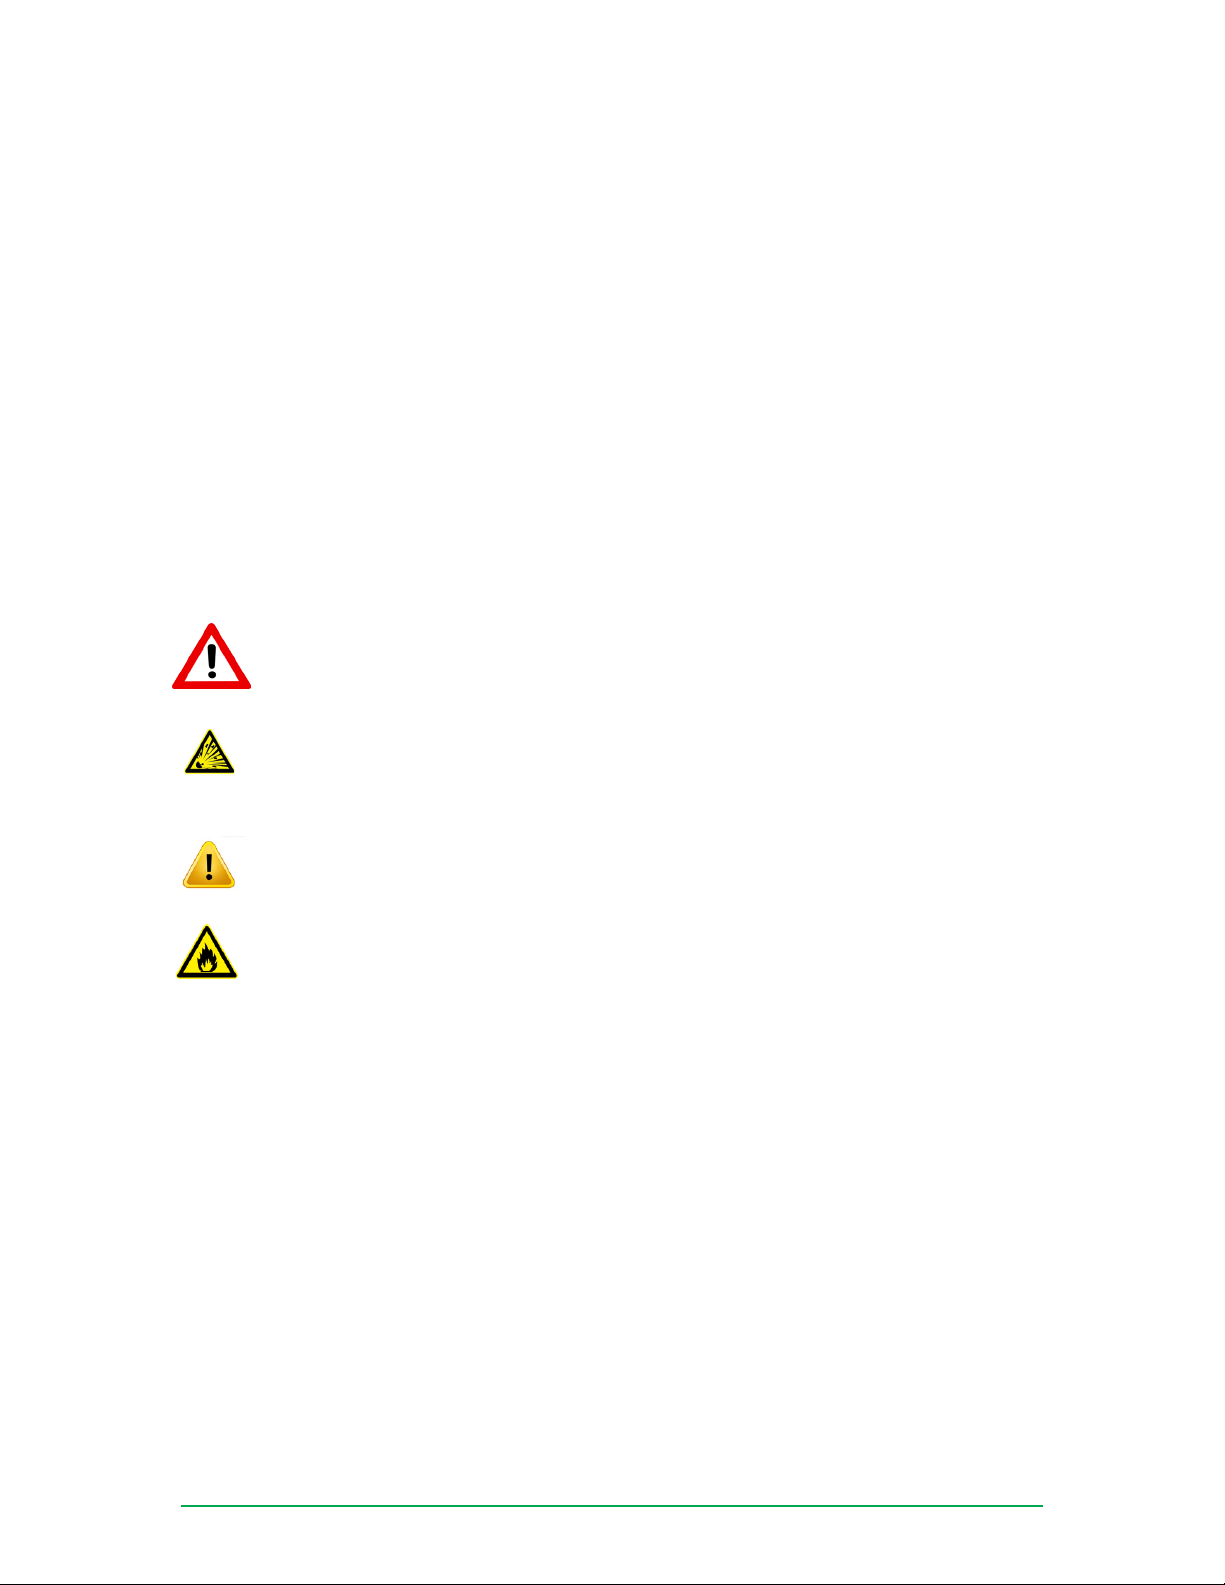
Digi ConnectTank Getting Started Guide
Page 2
© 2014 Digi International Inc.
All rights reserved.
Digi, Digi International, the Digi logo, a Digi International Company, the Digi web site, Digi ConnectTank
are trademarks or registered trademarks of Digi International Inc. in the United States and other countries
worldwide.
All other trademarks are the property of their respective owners.
Information in this document is subject to change without notice and does not represent a commitment on
the part of Digi International.
Digi provides this document “as is,” without warranty of any kind, either expressed or implied, including, but
not limited to, the implied warranties of tness or merchantability for a particular purpose. Digi may make
improvements and/or changes in this manual or in the product(s) and/or the program(s) described in this
manual at any time.
This product could include technical inaccuracies or typographical errors. Changes are periodically made to the
information herein; these changes may be incorporated in new editions of the publication.
No part of this document covered by copyright may be reproduced or copied in any form or by any means
graphic, electronic, or mechanical, including photocopying, recording, taping, or information and retrieval
systems without written permission of Digi International.
Disclaimer
Digi International makes no representations or warranties with respect to the contents or use of this manual,
any software drivers or associated application software provided with this product and specically disclaims
any expressed or implied warranties of merchantability or tness for any particular purpose.
Digi International reserves the right to modify or revise all or part of this document, its contents, and any
products described herein at any time without prior notication and shall not be responsible for any loss, cost
or damage, including consequential damage, caused by reliance on these materials.
Digi Technical Support Contact Information
United States: (952) 912-3444 or (877) 912-3444
Other Locations: +1 (952) 912-3444 or (877) 912-3444
EMEA +44 870 35 000 35