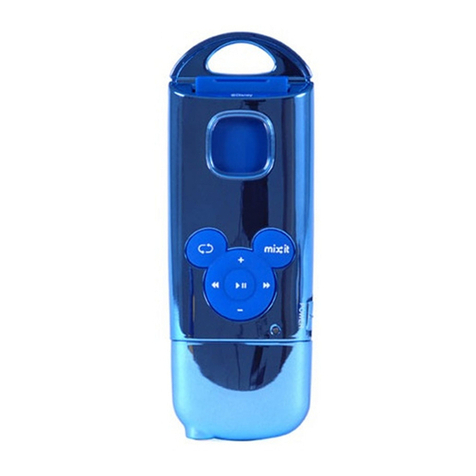
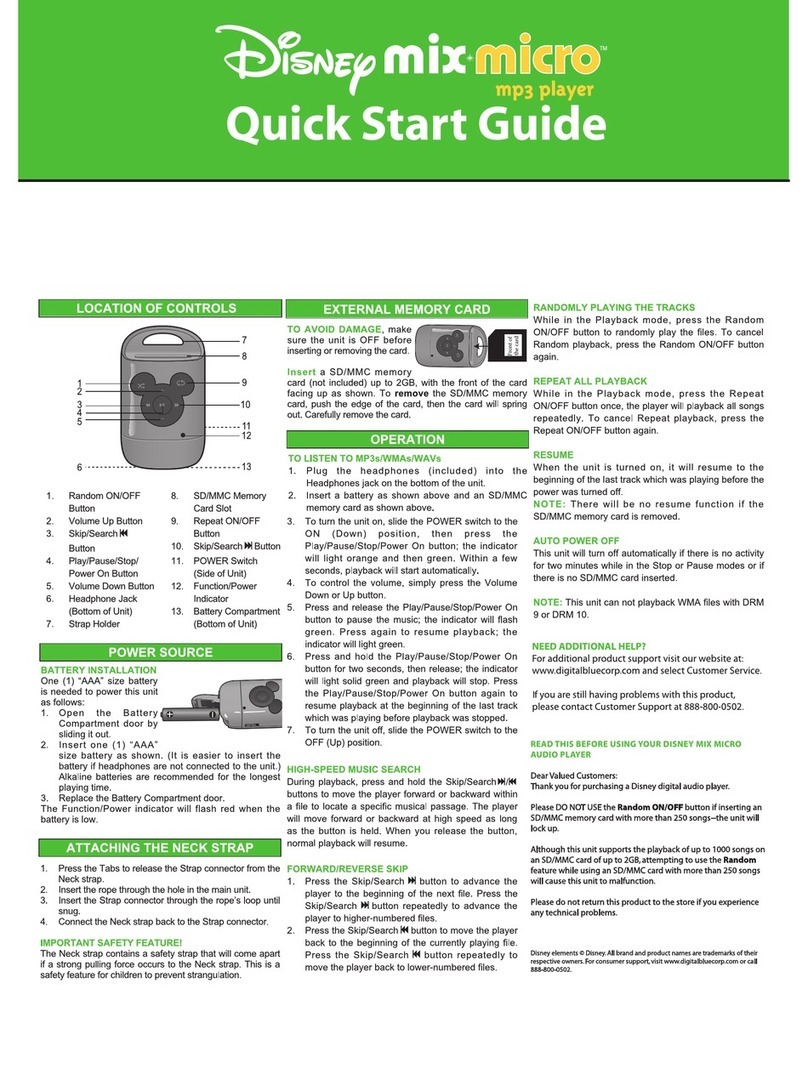
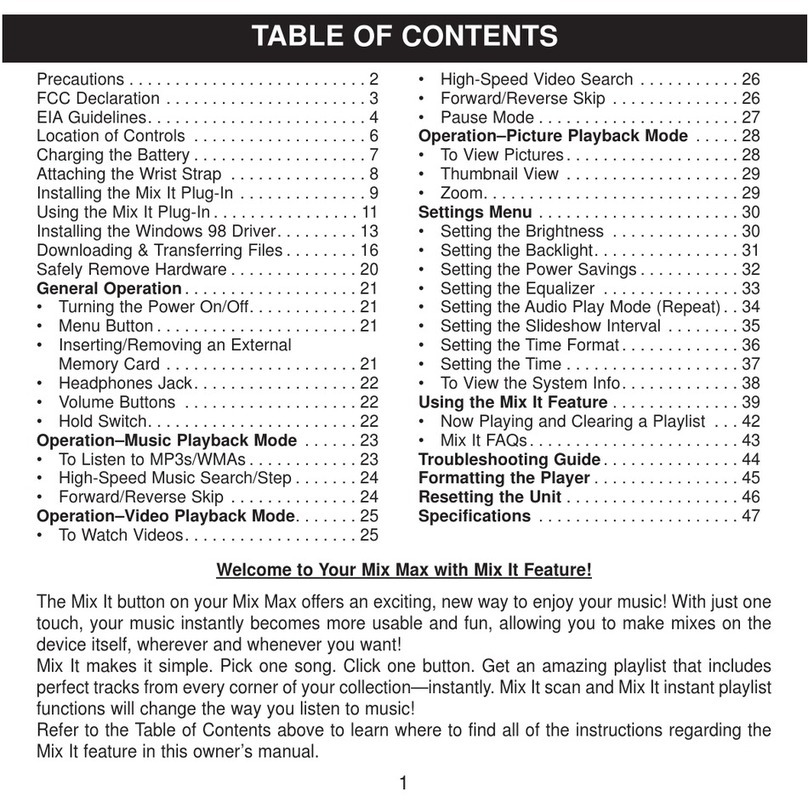
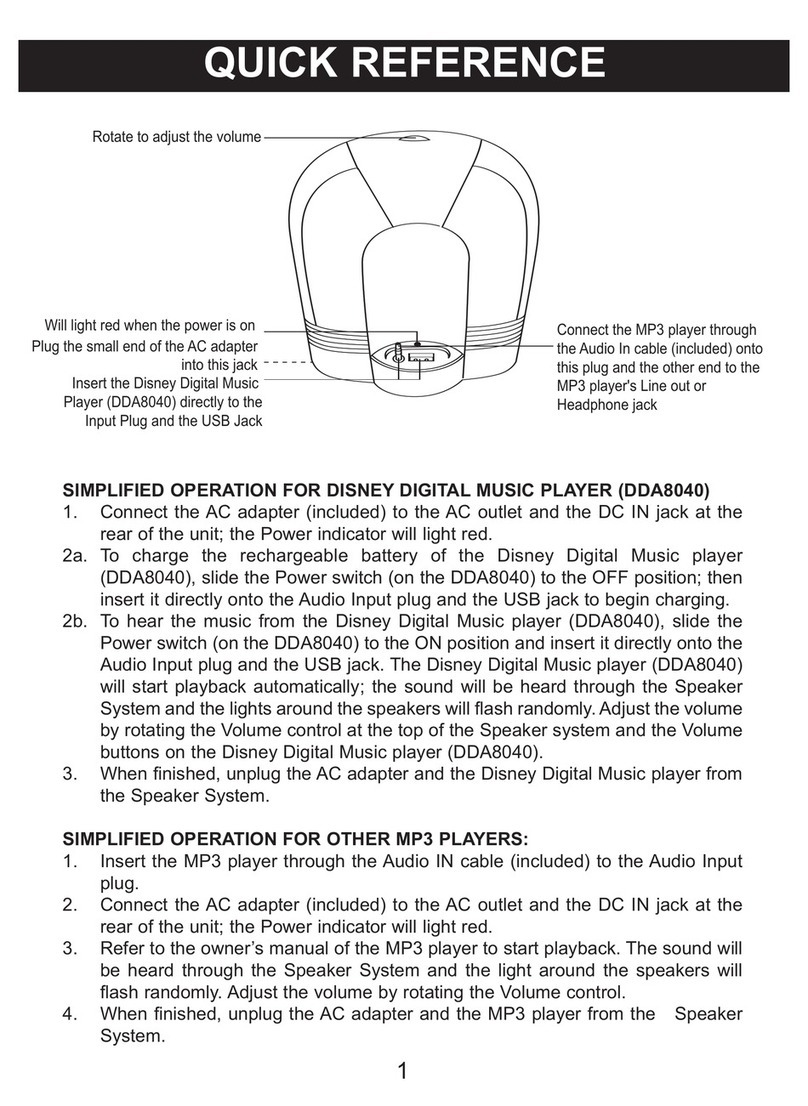
Digital Blue Flaunt DB13000 User manual

If You've Got It, Flaunt It!
The beginning of this guide provides you with some basics
on how to use the MP3 player. If you check the back of this guide,
you can find more advanced features and settings.
You’ll be rocking with your new MP3 player in no time.
User Guide
MP3 Player
NEED ADDITIONAL HELP?
For additional product support visit out website at:
www.playdigitalblue.com and select Technical Support.
If you are still having problems with the product,
contact Customer Support at 888-800-0502.
If You've Got It, Flaunt It!If You've Got It, Flaunt It!
Check for other Flaunt products at: myflaunt.com
TM

users basics
CHARGING THE BATTERY
The MP3 player needs to be charged before you can begin using it.
There are two options to power the MP3 player:
1. The MP3 player can charge directly from a computer.
To use this method, attach the supplied USB cable from
the MP3 player to your computer’s USB port.
2. The MP3 player can charge with the supplied AC power
adapter. Just plug the MP3 player in by connecting the supplied
USB cable from the MP3 player to the AC power adapter.
The battery charge alert icon on the MP3 player will animate while
the battery is charging.
When the battery charge is complete the Battery Charge Alert will
show a full battery icon or it will return to the main menu.
Battery Change
Alert
USB Cable
Connection
Note: If this is the first time the MP3 player is connected, wait until
Windows detects the hardware and follow the Windows prompts
to install the hardware.
2
Changing the Screen Saver time:
The screen saver will activate while you are playing music.
The screen saver is set to display after 30 seconds of inactivity.
Change the default setting for the screen saver by clicking on the
changed by selecting Screen Saver in the System Menu.
1. Use the Fast Forward button to change the time
in seconds.
2. Press the Menu button to make the selection.
3. Use the Fast Forward and Rewind buttons
to select the time.
4. Press the Menu button to save your setting.
23

MP3 CONTROLS
EASY NAVIGATION TIPS
Tap means to hold the button for a brief moment.
Press and Hold means you should press the button
for several seconds.
Press and hold the Play button to turn the MP3 player on or off.
Press and hold the Menu button to return to the Main Selection Menu.
Use the Fast Forward and Rewind buttons to navigate
through different selections.
TAP the Menu button to make a selection from a menu screen.
Display
Power/Play/Pause/Escape
Fast Forward
Menu / Enter
Record
Volume
Rewind
3
Viewing the Memory Used
The Memory Info selection allows you to see how much of the
MP3’s memory you are currently using. The first number tells you
how many megabytes you are using. The second number
provides you with a percent of the overall memory you are using.
The MP3 player can store 256 megabytes of information.
Understanding Firmware Version & Upgrade
This feature is supplied for our technical support team to help you
fix any problems with your MP3 Player.
22

DOWNLOADING MUSIC
TO YOUR MP3
Once you have charged the MP3 player, you are ready to
download some music to the player.
Connect the MP3 to your PC using the supplied USB
connection cable.
Locate the audio files to download to the MP3 player on your
computer. The MP3 player will support .mp3 and .wma files.
For example, you may already have some music stored on
your computer in the following folder:
\My Documents\My Music
View the removable storage device folder
on My Computer.
Select all the audio files you would like to copy to the MP3
player. Then copy and paste them to the removable storage
device folder.
Note: If you currently do not have any MP3 or WMA music files,
there are several internet websites where you can download music
for a nominal fee.
Note: If this is the first time the MP3 player is connected, wait until
Windows detects the hardware and follow the Windows prompts
to install the hardware.
4
Changing the Language of the Menu:
To change the language on the MP3 player displays:
1. Select Language in the System Menu and tap the
Menu button.
2. Use the Fast Forward button to choose the language
you would like to use.
3. Press the Menu button to make the selection.
Powering Off:
The Powering Off option allows you to set the amount of time
the MP3 player will shut down after inactivity, which will help
conserve battery power. The Powering Off feature also allows
you to set a sleep timer.
Changing the Default Power Off Time
1. The MP3 player automatically powers off after a default
of 60 seconds of inactivity.
2. The default time can be changed by selecting Power Off
in the System Menu.
3. Use the Fast Forward button to select Off Time.
4. Tap the Menu button to make the selection.
5. Use the Rewind and Fast Forward buttons to adjust the
time in seconds.
6. Press the Menu button to make the selection.
21

Note: Windows Media Player Version 9 or higher is recommended for
seemless integration with the MP3 player. To upgrade your software
go to www.windowsupdate.com.
USING WINDOWS MEDIA PLAYER TO
CREATE A PLAYLIST:
Windows Media Player is one of the common ways people like to
organize music on their computers. Here are a few tips to get
started with Media Player.
1. Open Windows Media Player.
2. Create a New Playlist.
3. Add songs from your computer, other devices,
or CDs to the playlist.
4. Plug the MP3 player into your computer with the
supplied USB cable.
5. Choose the playlist you would like to copy.
6. Copy the files from your playlist to your MP3 player
by using the Copy to CD or Device button.
7. Select the Removable Drive as the device to copy to.
8. Select Copy and the music will copy to your MP3 player.
For additional features, review the Windows Media Player
help or website.
Note: For Media Player 10, use the Sync button.
5
SYSTEM MENU
You can change general functionality of your MP3 player by using
the System Menu. To access the System Menu:
1. Press and hold the Power button to turn the MP3 player on.
2. Press and hold the Menu button to view the
Main Selection Menu.
3. Choose the System Settings Menu
by using the Fast Forward button.
4. Press the Menu button to enter
the menu.
Setting the MP3 Player Clock & Date:
1. To change the clock, select Record Time in the
System Menu.
2. Press the Volume button once and wait for the seconds
display numbers to flash.
3. Use the Fast Forward button to increase the time and
Rewind button to decrease the time.
4. Press the Volume button again to select the
minutes display.
5. Use the Fast Forward button to increase the time and
Rewind button to decrease the time.
6. Press the Volume button one more time to edit the hour.
7. Continue these steps to change the date.
8. Press the Menu Button to return to the Main Menu.
20

LISTENING TO MUSIC
Once your MP3 player is charged and you have loaded
your music tracks, you are ready to listen to some music.
1. Press and hold the Power button to turn the MP3 player on.
2. After the MP3 powers on, the Main Selection Menu
will appear.
Music should be the default selection as shown below.
If Music is not selected, click the Fast Forward or Rewind
button to cycle through the menu choices until Music is
displayed on the selection screen.
3. Press the Menu button to select the Music option. You will
see the following display screen which provides information
about the music you are listening to.
6
Change your Recording Settings:
The record menu offers several options for recording:
Local Folder. If you have created folders on your
MP3 player, you can choose which folder to save to by
selecting the Local Folder Option.
REC type. There are several options available so you can
record in different formats.
o Fine Rec. This saves audio in a wave format at the
highest quality possible, but will require the greatest
amount of memory.
o Long Rec. The Long Recording saves audio as a wave
file, but in a lower quality that the Fine Rec allowing you
to record a larger amount of audio.
o Fine Vor. This type of recording is a custom audio
format, that requires a converter to use anywhere other
than the MP3 player. This audio format is very compres-
sed allowing you to record a large amount of audio.
o Long Vor. This audio type is allows for the longest
record time, but the lowest quality of audio.
This audio needs to be converted if you plan
on using it on your computer.
19

Make sure the earphones are connected and press the
Play button to begin listening to music.
To adjust the volume, press the Volume button and use the
Fast Forward and Rewind Buttons to adjust the volume
up and down.
To exit back to the Main Selection Menu press and hold
the Menu button for several seconds.
Advanced Features
Be sure to check out the Advanced Features section to learn how
to record your own audio clips!
Equalizer
Song/Artist
Mode
Current Song Time
Note: You can lock the player’s buttons by holding down the
Volume button. While locked, it will prevent buttons from interfering
with music playback. To unlock, hold down the Volume button again.
Song Counter
Playback Mode
Note: The MP3 player will automatically shut off by default after
60 seconds if it is not playing music. To adjust this setting,
see the Powering Off section in Advanced Features.
Battery
Strength
Song
Format
Total Songs in
current playlist
Current
Total Time
7
5. The Delete File box will appear.
6. Use the Fast Forward button to select Yes.
7. Press the Menu button to except the selection.
8. The MP3 player will verify one more time if you
would like to Delete.
9. Press the Menu button again to accept the selection.
10. The Voice screen will appear again and you can continue
listening to audio files or delete more files.
Note: Once you are inside a menu (i.e. play, voice),
you can abort and exit the menu at any time by hitting the Play button.
18

Once you have learned the basics on your MP3 player,
you might want to try a bunch of other cool things!
LISTENING TO MUSIC (ADVANCED)
The MP3 player gives you the option to control a few functions
while listening to music:
To Repeat Audio Files:
1. Press and hold the Power button to turn the MP3 player on.
2. Press and hold the Menu button to view the
Main Selection Menu.
3. Choose the Music Menu.
4. Tap the Menu button to make the selection.
5. Press Play to activate the audio playback feature.
6. Tap the Menu button to enter the Play Menu.
7. Use the Fast Forward button to select the Repeat option.
8. Tap the Menu button to make the selection.
You have several options to choose from in the Repeat Menu:
Normal: Play through all songs on the device once.
advanced features
8
To listen to your recordings:
1. Press and hold the Menu button to return to the
Main Selection menu.
2. Use the Fast Forward button to select the Voice option.
3. Tap the Menu button to view the Voice screen.
4. Select the file you would like to listen to by using the
Fast Forward and Rewind buttons.
5. To listen to the file press the Play button.
6. Press the Play button again to stop playing the audio file.
To delete a recording:
1. Select the recording you would like to delete by pressing
the Fast Forward and Rewind buttons.
2. Press the Menu button to enter the Stop Menu.
3. Use the Fast Forward arrow to select Delete File
from the file Menu.
4. Press the Menu button to make the selection.
17

Repeat One: Repeat the current song.
Repeat Folder: Play and repeat through all songs in the
current folder. (See ‘Local Folder’)
Repeat All: Play and repeat through all songs on the device.
Random: Play all songs in the current folder randomly.
Intro: Play through the first 10 seconds of every song
on the device.
9. Highlight the option, and tap the Menu button to activate
your selection.
To Adjust the Equalizer:
1. Press and hold the Power button to turn the MP3 player on.
2. Press and hold the Menu button to view the
Main Selection Menu.
3. Choose the Music Menu.
4. Tap the Menu button to make the selection.
5. Press Play to activate the audio playback feature.
6. Tap the Menu button to enter the Play Menu.
7. Use the Fast Forward button to select the
Equalizer option.
8. Tap the Menu Button to make the selection.
9
RECORDING AUDIO
The MP3 player has the ability to record audio.
1. Choose the Record Icon on the Main Selection menu
to view the Record display screen, or press and hold
the record button.
2. Press the Record button to begin recording audio.
3. Hold the built-in microphone close to the sound you would
like to record.
4. When you are satisfied with your recording, press Record
again to stop recording.
Audio Clip
Counter
Total Audio
Clips Recorded
Microphone
Current Audio Clip
Record Time
Date of Current
Audio Clip
Current Audio Clip
Total Time
Name of Current
Audio Clip
16

You can pick from the following seven options:
Natural: Flat frequency response (Use this setting for
connecting the MP3 player to your car or home stereo).
Rock: Optimized for heavy guitar and percussion tracks.
Pop: Optimized for fast tempo vocal tracks.
Classic: Optimized for instrumental tracks.
Soft: Optimized for slower instrumental and percussion tracks.
Jazz: Optimized for slower vocal tempo tracks.
DBB: Digital Bass Boost – Best for headphones in high-noise
areas (e.g. Automobile, Airplane).
9. Highlight the option, and tap the Menu Button to activate your
selection. When you have returned to the main Music screen,
you will see your new selection under the track information.
To Set the Tempo Rate:
Adjusting the Tempo Rate will change the speed of the song, without
changing the pitch. To adjust the tempo:
1. Press and hold the Power button to turn the MP3 player on.
2. Press and hold the Menu button to view the
Main Selection Menu.
3. Choose the Music Menu by using the Fast Forward button.
4. Tap the Menu button to make the selection.
5. Press Play to activate the audio playback feature.
10
To Delete All Files in a Folder:
1. Choose the Music selection from the Main Selection Menu.
2. Tap on the Menu button to enter the Stop Menu.
3. Choose the Delete All selection by using the
Fast Forward button.
4. Tap the Menu button to make the selection.
5. Select the folder where the files you would like to delete
are by pressing the Fast Forward button.
6. Use the Fast Forward button to select Yes.
7. Tap the Menu button to make the selection.
8. All the files in the folder will be deleted.
OR
1. Plug the MP3 player into your computer.
2. View the removable storage device folder
on My Computer.
3. Double-click the folder that contains the audio files you
would like to delete.
4. Select the audio files you would like to delete.
5. Right-click on the file(s) you would like to delete
and select Delete.
Note: If you would like to hear all the songs on your
MP3 player select the Root entry.
Note: The player cannot play music that is stored 2 or more
folders deep. Example: Root/Artist/Album/Song.mp3
15

6. Tap the Menu button to enter the Play Menu.
7. Use the Fast Forward button to select the
Tempo Rate option.
8. Tap the Menu Button to make the selection.
9. You will be given a slider bar. Use the Fast Forward
or Rewind buttons to adjust the level from -8 to 8.
(0is Normal tempo.)
10. Tap the Menu button to save your selection.
Replay Function:
There are two replay modes available while playing a song.
Replay Mode simply repeats any part of the song that you
specify. Karaoke Mode lets you record your own voice and
inserts it into the song playback.
To set the player for Replay Mode:
• There are two ways to enter Replay Mode:
1. With the song playing, tap the Record button at the
beginning of the segment.
2. While playing the song, enter into the Play Menu by
tapping the Menu button. Use the Fast Forward or
Rewind buttons to scroll down to Replay. When the
beginning of the segment that you want to be repeated
begins, tap the Menu button.
Note: This feature only works with .MP3 files, not with .wma files.
11
DOWNLOADING AUDIO (ADVANCED)
Creating folders to store your music:
Folders can help you organize the music you put on your
MP3 player. You can save you music to different folders like
Rock, Country or Pop.
1. Plug the MP3 player into your computer by using the
included USB cable.
2. Follow the windows prompts to get to the drive display
window or view the removable storage device folder on
My Computer.
3. Create a folder by going to the File Menu.
Select New. Select Folder.
4. Name the folder by typing in a name like Top 40,
R&B, or Jazz.
5. Select all the audio files you would like to copy to
the new folder. Then copy and paste them to the folder
you just created.
To play the folder you have just selected:
1. Choose the Music selection from the Main Selection Menu.
2. Tap on the Menu button to enter the Stop Menu.
3. Highlight the Local Folder selection by using the
Fast Forward button.
4. Tap the Menu button to make the selection.
5. Select the folder you would like to listen to by pressing
the Fast Forward button.
6. Tap the Menu button to make the selection.
14

Replay Times:
By default, the player will repeat your selection as many times
as you have specified in the Replay Times menu option.
This number can be adjusted from 1 to 10. To adjust:
1. Enter the Play Menu by tapping the Menu button
while a song is playing.
2. Use the Fast Forward or Rewind buttons to highlight
Replay Times.
3. Tap the Menu button to enter. You will be presented
with a slider.
4. Use the Fast Forward or Rewind buttons to adjust
the value.
5. Tap the Menu button to save your choice.
Replay Gap:
The player can pause for a longer time period between repeating the
specified segment. This period can be adjusted from 1 to 10 seconds.
To adjust:
1. Enter the Play Menu by tapping the Menu button
while a song is playing.
2. Use the Fast Forward or Rewind buttons to
highlight Replay Gap.
3. Tap the Menu button to enter. You will be presented
with a slider.
4. Use the Fast Forward or Rewind buttons to adjust the value.
5. Tap the Menu button to save your choice.
• The Playing screen will show the Repeat Icon with the
“A” flashing.
• Tap the Record button again to set the start-point of the
repeating segment.
• The Playing screen will show the Repeat Icon with the “B” flashing.
• Tap the Record button again to set the end-point of the
repeating segment.
To resume normal playback, tap the Play button.
To set the player for Karaoke Mode:
1. First set the play player for Replay mode following
above instructions.
2. Tap the Record button once more. The music will stop
playing and the song timer will reset to zero. There will be
a microphone in the Replay icon indicating you are in
Karaoke Mode.
3. The player is now recording your voice. Sing!
4. When finished, tap the Record button once more.
The player will play the specified loop. When it’s finished
and before it loops, it will play your voice.
5. To resume normal playback, tap the Play button.
12 13

6. Tap the Menu button to enter the Play Menu.
7. Use the Fast Forward button to select the
Tempo Rate option.
8. Tap the Menu Button to make the selection.
9. You will be given a slider bar. Use the Fast Forward
or Rewind buttons to adjust the level from -8 to 8.
(0is Normal tempo.)
10. Tap the Menu button to save your selection.
Replay Function:
There are two replay modes available while playing a song.
Replay Mode simply repeats any part of the song that you
specify. Karaoke Mode lets you record your own voice and
inserts it into the song playback.
To set the player for Replay Mode:
• There are two ways to enter Replay Mode:
1. With the song playing, tap the Record button at the
beginning of the segment.
2. While playing the song, enter into the Play Menu by
tapping the Menu button. Use the Fast Forward or
Rewind buttons to scroll down to Replay. When the
beginning of the segment that you want to be repeated
begins, tap the Menu button.
Note: This feature only works with .MP3 files, not with .wma files.
11
DOWNLOADING AUDIO (ADVANCED)
Creating folders to store your music:
Folders can help you organize the music you put on your
MP3 player. You can save you music to different folders like
Rock, Country or Pop.
1. Plug the MP3 player into your computer by using the
included USB cable.
2. Follow the windows prompts to get to the drive display
window or view the removable storage device folder on
My Computer.
3. Create a folder by going to the File Menu.
Select New. Select Folder.
4. Name the folder by typing in a name like Top 40,
R&B, or Jazz.
5. Select all the audio files you would like to copy to
the new folder. Then copy and paste them to the folder
you just created.
To play the folder you have just selected:
1. Choose the Music selection from the Main Selection Menu.
2. Tap on the Menu button to enter the Stop Menu.
3. Highlight the Local Folder selection by using the
Fast Forward button.
4. Tap the Menu button to make the selection.
5. Select the folder you would like to listen to by pressing
the Fast Forward button.
6. Tap the Menu button to make the selection.
14

You can pick from the following seven options:
Natural: Flat frequency response (Use this setting for
connecting the MP3 player to your car or home stereo).
Rock: Optimized for heavy guitar and percussion tracks.
Pop: Optimized for fast tempo vocal tracks.
Classic: Optimized for instrumental tracks.
Soft: Optimized for slower instrumental and percussion tracks.
Jazz: Optimized for slower vocal tempo tracks.
DBB: Digital Bass Boost – Best for headphones in high-noise
areas (e.g. Automobile, Airplane).
9. Highlight the option, and tap the Menu Button to activate your
selection. When you have returned to the main Music screen,
you will see your new selection under the track information.
To Set the Tempo Rate:
Adjusting the Tempo Rate will change the speed of the song, without
changing the pitch. To adjust the tempo:
1. Press and hold the Power button to turn the MP3 player on.
2. Press and hold the Menu button to view the
Main Selection Menu.
3. Choose the Music Menu by using the Fast Forward button.
4. Tap the Menu button to make the selection.
5. Press Play to activate the audio playback feature.
10
To Delete All Files in a Folder:
1. Choose the Music selection from the Main Selection Menu.
2. Tap on the Menu button to enter the Stop Menu.
3. Choose the Delete All selection by using the
Fast Forward button.
4. Tap the Menu button to make the selection.
5. Select the folder where the files you would like to delete
are by pressing the Fast Forward button.
6. Use the Fast Forward button to select Yes.
7. Tap the Menu button to make the selection.
8. All the files in the folder will be deleted.
OR
1. Plug the MP3 player into your computer.
2. View the removable storage device folder
on My Computer.
3. Double-click the folder that contains the audio files you
would like to delete.
4. Select the audio files you would like to delete.
5. Right-click on the file(s) you would like to delete
and select Delete.
Note: If you would like to hear all the songs on your
MP3 player select the Root entry.
Note: The player cannot play music that is stored 2 or more
folders deep. Example: Root/Artist/Album/Song.mp3
15

Repeat One: Repeat the current song.
Repeat Folder: Play and repeat through all songs in the
current folder. (See ‘Local Folder’)
Repeat All: Play and repeat through all songs on the device.
Random: Play all songs in the current folder randomly.
Intro: Play through the first 10 seconds of every song
on the device.
9. Highlight the option, and tap the Menu button to activate
your selection.
To Adjust the Equalizer:
1. Press and hold the Power button to turn the MP3 player on.
2. Press and hold the Menu button to view the
Main Selection Menu.
3. Choose the Music Menu.
4. Tap the Menu button to make the selection.
5. Press Play to activate the audio playback feature.
6. Tap the Menu button to enter the Play Menu.
7. Use the Fast Forward button to select the
Equalizer option.
8. Tap the Menu Button to make the selection.
9
RECORDING AUDIO
The MP3 player has the ability to record audio.
1. Choose the Record Icon on the Main Selection menu
to view the Record display screen, or press and hold
the record button.
2. Press the Record button to begin recording audio.
3. Hold the built-in microphone close to the sound you would
like to record.
4. When you are satisfied with your recording, press Record
again to stop recording.
Audio Clip
Counter
Total Audio
Clips Recorded
Microphone
Current Audio Clip
Record Time
Date of Current
Audio Clip
Current Audio Clip
Total Time
Name of Current
Audio Clip
16

Once you have learned the basics on your MP3 player,
you might want to try a bunch of other cool things!
LISTENING TO MUSIC (ADVANCED)
The MP3 player gives you the option to control a few functions
while listening to music:
To Repeat Audio Files:
1. Press and hold the Power button to turn the MP3 player on.
2. Press and hold the Menu button to view the
Main Selection Menu.
3. Choose the Music Menu.
4. Tap the Menu button to make the selection.
5. Press Play to activate the audio playback feature.
6. Tap the Menu button to enter the Play Menu.
7. Use the Fast Forward button to select the Repeat option.
8. Tap the Menu button to make the selection.
You have several options to choose from in the Repeat Menu:
Normal: Play through all songs on the device once.
advanced features
8
To listen to your recordings:
1. Press and hold the Menu button to return to the
Main Selection menu.
2. Use the Fast Forward button to select the Voice option.
3. Tap the Menu button to view the Voice screen.
4. Select the file you would like to listen to by using the
Fast Forward and Rewind buttons.
5. To listen to the file press the Play button.
6. Press the Play button again to stop playing the audio file.
To delete a recording:
1. Select the recording you would like to delete by pressing
the Fast Forward and Rewind buttons.
2. Press the Menu button to enter the Stop Menu.
3. Use the Fast Forward arrow to select Delete File
from the file Menu.
4. Press the Menu button to make the selection.
17

Make sure the earphones are connected and press the
Play button to begin listening to music.
To adjust the volume, press the Volume button and use the
Fast Forward and Rewind Buttons to adjust the volume
up and down.
To exit back to the Main Selection Menu press and hold
the Menu button for several seconds.
Advanced Features
Be sure to check out the Advanced Features section to learn how
to record your own audio clips!
Equalizer
Song/Artist
Mode
Current Song Time
Note: You can lock the player’s buttons by holding down the
Volume button. While locked, it will prevent buttons from interfering
with music playback. To unlock, hold down the Volume button again.
Song Counter
Playback Mode
Note: The MP3 player will automatically shut off by default after
60 seconds if it is not playing music. To adjust this setting,
see the Powering Off section in Advanced Features.
Battery
Strength
Song
Format
Total Songs in
current playlist
Current
Total Time
7
5. The Delete File box will appear.
6. Use the Fast Forward button to select Yes.
7. Press the Menu button to except the selection.
8. The MP3 player will verify one more time if you
would like to Delete.
9. Press the Menu button again to accept the selection.
10. The Voice screen will appear again and you can continue
listening to audio files or delete more files.
Note: Once you are inside a menu (i.e. play, voice),
you can abort and exit the menu at any time by hitting the Play button.
18

LISTENING TO MUSIC
Once your MP3 player is charged and you have loaded
your music tracks, you are ready to listen to some music.
1. Press and hold the Power button to turn the MP3 player on.
2. After the MP3 powers on, the Main Selection Menu
will appear.
Music should be the default selection as shown below.
If Music is not selected, click the Fast Forward or Rewind
button to cycle through the menu choices until Music is
displayed on the selection screen.
3. Press the Menu button to select the Music option. You will
see the following display screen which provides information
about the music you are listening to.
6
Change your Recording Settings:
The record menu offers several options for recording:
Local Folder. If you have created folders on your
MP3 player, you can choose which folder to save to by
selecting the Local Folder Option.
REC type. There are several options available so you can
record in different formats.
o Fine Rec. This saves audio in a wave format at the
highest quality possible, but will require the greatest
amount of memory.
o Long Rec. The Long Recording saves audio as a wave
file, but in a lower quality that the Fine Rec allowing you
to record a larger amount of audio.
o Fine Vor. This type of recording is a custom audio
format, that requires a converter to use anywhere other
than the MP3 player. This audio format is very compres-
sed allowing you to record a large amount of audio.
o Long Vor. This audio type is allows for the longest
record time, but the lowest quality of audio.
This audio needs to be converted if you plan
on using it on your computer.
19

Note: Windows Media Player Version 9 or higher is recommended for
seemless integration with the MP3 player. To upgrade your software
go to www.windowsupdate.com.
USING WINDOWS MEDIA PLAYER TO
CREATE A PLAYLIST:
Windows Media Player is one of the common ways people like to
organize music on their computers. Here are a few tips to get
started with Media Player.
1. Open Windows Media Player.
2. Create a New Playlist.
3. Add songs from your computer, other devices,
or CDs to the playlist.
4. Plug the MP3 player into your computer with the
supplied USB cable.
5. Choose the playlist you would like to copy.
6. Copy the files from your playlist to your MP3 player
by using the Copy to CD or Device button.
7. Select the Removable Drive as the device to copy to.
8. Select Copy and the music will copy to your MP3 player.
For additional features, review the Windows Media Player
help or website.
Note: For Media Player 10, use the Sync button.
5
SYSTEM MENU
You can change general functionality of your MP3 player by using
the System Menu. To access the System Menu:
1. Press and hold the Power button to turn the MP3 player on.
2. Press and hold the Menu button to view the
Main Selection Menu.
3. Choose the System Settings Menu
by using the Fast Forward button.
4. Press the Menu button to enter
the menu.
Setting the MP3 Player Clock & Date:
1. To change the clock, select Record Time in the
System Menu.
2. Press the Volume button once and wait for the seconds
display numbers to flash.
3. Use the Fast Forward button to increase the time and
Rewind button to decrease the time.
4. Press the Volume button again to select the
minutes display.
5. Use the Fast Forward button to increase the time and
Rewind button to decrease the time.
6. Press the Volume button one more time to edit the hour.
7. Continue these steps to change the date.
8. Press the Menu Button to return to the Main Menu.
20
Table of contents
Other Digital Blue MP3 Player manuals
