Digital Juice Orbit Dolly FlexTrac User manual

USER’S GUIDE
FlexTrac_UG_03.indd 1 3/12/2012 5:42:59 PM

Package
Contents
2
User’s GUide
3
Congratulations on your purchase of the Digital Juice Orbit Dolly
FlexTrac & Wheel System. Please check your package to make
sure it includes the following components:
1 50' section of track (1)
2 single-swivel wheel assemblies (2)
1 pivot arm wheel assembly (3)
3 tie-down knobs (for attaching wheel assemblies to Orbit Dolly) (4)
1 deluxe zippered storage and carry case (5)
1 zippered, velcro-padded storage bag for wheel assemblies (6)
1
5
2
4
6
FlexTrac_UG_03.indd 2 3/12/2012 5:43:02 PM

About the
Orbit Dolly
FlexTrac &
Wheel System
The Digital Juice Orbit Dolly FlexTrac is a highly portable,
seamless and flexible track system designed for use with the Digital
Juice Orbit Dolly. The product includes a 50' roll of flexible but solid
rubber cord track (1) plus a set of 3 pivoting wheel trucks which
attach to the Orbit Dolly in place of its regular wheels.
Two of the wheel trucks use a single center swivel to guide the dolly
on one side of the track (2) while the third sits on the opposite track
and utilizes a 3" floating pivot arm (3), giving you the ability to track
around corners and change directions as many times as you want,
while also compensating for any deviation in the track spacing.
The wheel truck hardware is precision CNC-milled from high-grade
6000 series aluminum and finished with a textured powder coat
finish to withstand wear and tear for years to come. The FlexTrac
wheel assemblies are constructed with an advanced pivot system
that incorporates 8 sealed steel ball bearings.
The FlexTrac track can be configured in straight runs or can curve
in any radius or direction. The 50' length of track provided in the kit
can be looped to create a 20'-22' dolly run
(Figure 1), or an optional additional 50'
section can be purchased in order to create
a full 50' track (Figure 2). This durable
rubber track has a 25mm diameter, giving
you maximum flexibility and strength while
still being lightweight for optimal portability.
The flexible rubber material used for the
track retains little or no memory from
being stored in a coiled position and can
therefore be placed in your desired position
straight from the bag.
3
Figure 1
Figure 2: Using two separate 50
'
tracks, you can
easily capture smooth action tracking shots.
FlexTrac_UG_03.indd 3 3/12/2012 5:43:03 PM

4
About the
Orbit Dolly
FlexTrac &
Wheel System
(continued)
The Digital Juice Orbit Dolly FlexTrac and Wheel System includes a
handy storage and carry case (5) that makes it simple and convenient
to bring your FlexTrac with you on location. This deluxe carry bag
has two sturdy carry handles and also easily holds the 3 FlexTrac
wheel trucks in their own custom carry bag with repositionable velcro
padded dividers (6), keeping them clean and handy for use.
The toolless assembly of the FlexTrac system means you can
quickly remove the existing wheels from the Orbit Dolly, secure
the FlexTrac pivot wheels to the chassis, lay your track and start
shooting within minutes (Figure 3).
User’s GUide
5
5
6
Figures 3a, 3b, 3c:
The quick and easy
FlexTrac system is ideal
for getting smooth
tracking shots on tight
location shoots where
other kinds of track
would be awkward or
impossible to use.
FlexTrac_UG_03.indd 4 3/12/2012 5:43:05 PM

5
Laying Out
The FlexTrac
For Use With
The Orbit Dolly
1) Unroll the FlexTrac and lay it into position for the desired path,
placing the two single cord track runs approximately 30 inches
apart. (Use the provided 50
'
track curved at one end to form the
second run of track or use two 50
'
lengths of track laid in parallel.)
2) Set the two single-swivel wheel trucks on the first run of track and
set the pivot arm wheel truck on the second run of track (Figure 4).
4) Push the Orbit Dolly back and forth along the entire length of the track,
adjusting the position of the second track cord under the third floating
wheel truck until spacing is perfect and the unit rolls smoothly. Make
sure that the third wheel truck’s 3" swivel arm does not move all the
way out such that it is perpendicular to the track on either side. This
will hinder smooth movement along the track (Figure 5).
5) Once the track has been placed into position and adjusted as
necessary, it should not shift on most appropriate surfaces.
6) Now you can mount your camera tripod to the Orbit Dolly,
making sure to secure the tripod to the Orbit Dolly using bungee
cords or other fasteners.
Figure 4: Placing the Orbit Dolly (with attached
FlexTrac wheel assemblies) on the FlexTrac track
Figure 5: To ensure
smooth movement,
the 3
"
swivel arm of
the third wheel truck
should never be com-
pletely perpendicular to
the track. It should be
positioned parralel to,
or slightly angled from
the track as shown
below.
FlexTrac_UG_03.indd 5 3/12/2012 5:43:07 PM

6
Common
Track Setups
1) Straight Path: When using a single piece of cord, bend the FlexTrac
in the middle and lay the two track runs out evenly at about 30 inches
apart for a dolly run of approximately 20-22' (Figure 6a). When
adding the optional second 50' cord, lay both lengths of cord out
parallel to one another for a full 50' track (Figure 6b).
2) Single Curved Path: Since the inside radius of the curved path
will be shorter, you should make the bend slightly off-center near
the middle of a single 50' track, in order to get a longer curved
tracking path (Figure 7).
3) S Path: If the track will be curved multiple times in both left and
right directions when using a single 50' length of track, then the
FlexTrac should be bent at the middle for maximum path length
(Figure 8).
4) 90 Degree Path: The inside track length will be much shorter
in this configuration. When using a single 50' track length, you
will need to make the curve markedly off-center in order to get
the desired 90 degree turn. Place the Orbit Dolly with the floating
pivot arm wheel on the inside track radius in order to achieve a
tighter turn (Figure 9).
User’s GUide
Figure 6a
Figure 6b
Figure 7
Figure 8
TRACK CENTER
FlexTrac_UG_03.indd 6 3/12/2012 5:43:07 PM

7
Common
Track Setups
(continued)
5) Spiral Path: Lay the FlexTrac out
in a spiral configuration such that
the two ends are about 5 feet apart
with one loop between them. Place
the floating pivot arm wheel on the
inside track of the spiral (Figure 10).
Note: The Orbit Dolly is uniquely
designed to achieve a perfect 360
degree circular path without the use of
flexible track and using just its regular
wheels. However the FlexTrac can be
used for the same purpose if desired.)
6) Full 360 Degree Path: To achieve
this setup, you would need to
use two 50' cords. (Optional 50
'
FlexTrac cord is available separately
at DigitalJuice.com). Lay out the
first length of track in a circle,
overlapping the ends slightly. Then
use the second length of track to
make a second circle inside the
first, maintaining about 2.5 feet of
distance between the two circles.
The ends of the second circle will
overlap each other more than the
first. Place the floating pivot arm
wheel of the Orbit Dolly on the inside
track circle (Figure 11).
Figure 10
Figure 11
Figure 9
TRACK CENTER
FlexTrac_UG_03.indd 7 3/12/2012 5:43:08 PM

www.digitaljuice.com
User’s GUide
Frequently
Asked Questions
Q: If I want to put my Orbit Dolly in Tabletop mode, can I still use the
FlexTrac Wheel System?
A: Yes, and because this will also mean a reduced space between
the tracks, you should get a slightly longer tracking distance
when using a single cord for the track.
Q: Can I use my Orbit Dolly FlexTrac in the grass?
A: The FlexTrac rubber cord is not designed to be laid on surfaces
that are not somewhat level and smooth. To achieve a straight
run in a grassy environment, you can use PVC pipe with the
regular Orbit Dolly wheels.
Q: Are there any special care instructions for the FlexTrac System?
A: As with any piece of equipment, you should keep the FlexTrac
track and wheels clean and free of any dust, dirt, or debris in
order to maintain a smooth surface. The track should not be
dragged over rough surfaces such as asphalt which can damage
the rubber and cause irregular spots. Also try to avoid getting
kinks in the track when coiling and uncoiling it, in order to avoid
damaging the rubber cord. Since the wheel truck pivot system
uses sealed steel ball bearings, there is no need to apply oil to
these, but the wheels can be wiped clean with a damp cloth if
they get dirty.
FlexTrac_UG_03.indd 8 3/12/2012 5:43:08 PM
Other Digital Juice Camera Accessories manuals
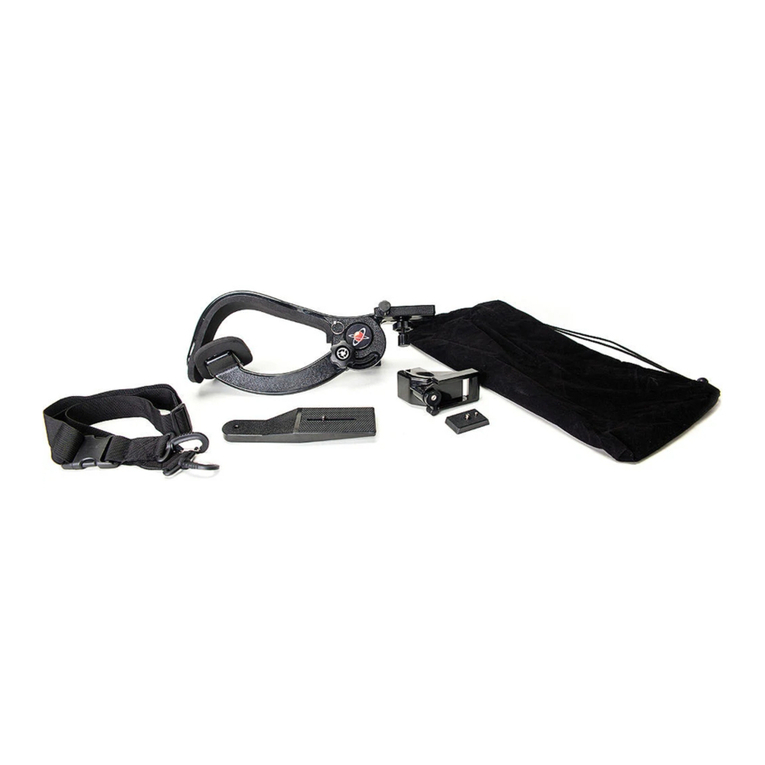
Digital Juice
Digital Juice Shoulder Mount Stabilizer User manual
Digital Juice
Digital Juice Standard Follow Focus User manual
Digital Juice
Digital Juice FOLLOW FOCUS PRO User manual
Digital Juice
Digital Juice EVO PRO Fluid Head User manual
Digital Juice
Digital Juice SHARP SHOOTER User manual
Digital Juice
Digital Juice MATTE BOX PRO User manual
