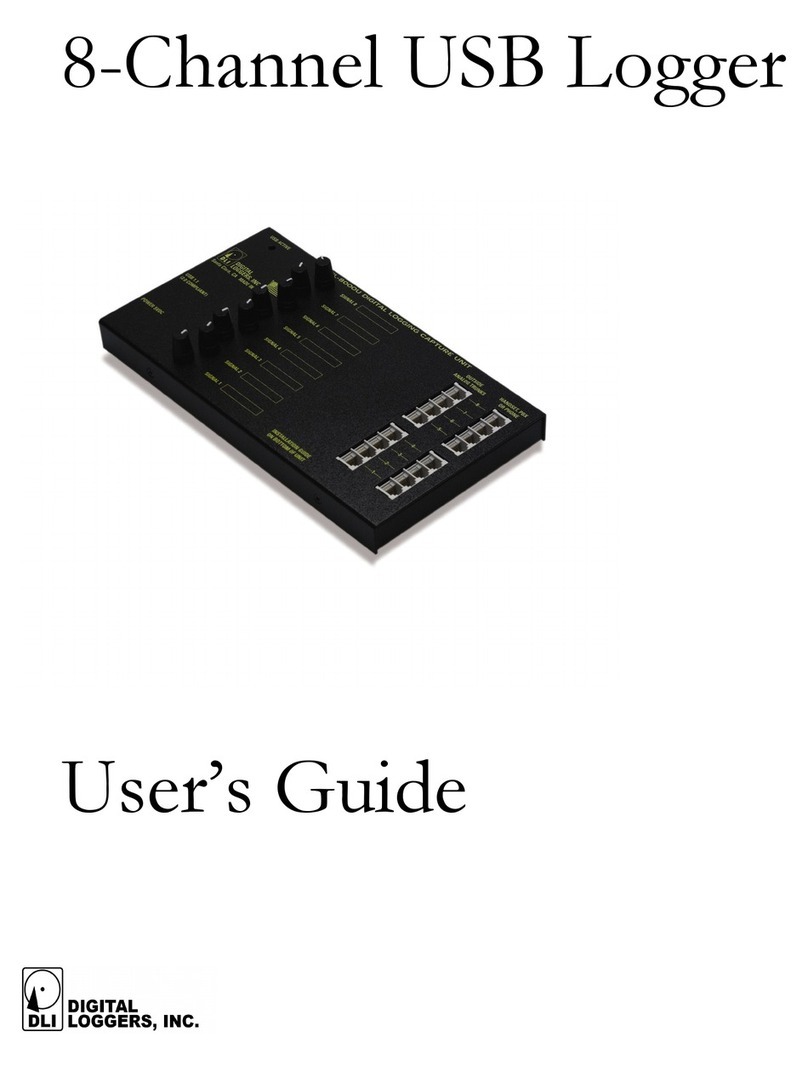
Digital Loggers T-1 User manual

T-1 Audio Logger
Installation Guide

Features
Taps and digitally combines East and West audio for 24 channel
T-1 TDM recording without PBX configuration.
High impedance (Hi-Z) T-1 Tapper quickly bridges RJ-48 lines.
No rewiring is necessary.
Supports AMI, B8ZS line codes and most common T-1 formats
including D4 and PRI.
Records in full G.711 64kb quality on all channels simultaneously.
Each DS-0 audio path can be individually configured. Fractional
T-1 (FT-1) is supported via DS-0 drops.
Recording trigger options include voice-operated (VOX), ABCD
bit signaling, idle code and Q.731 PRI D-Channel.
Digital signatures with time, date, and recording details are
included within the audio log files.
Maximum recording length can be set to split large files into
easily manipulated sections. Maximum disk usage can be limited
on a per-line basis to conserve disk space.
Evidence Builder and Call Investigator utilities sort and analyze
calls in spreadsheet format, concatenate and email recordings.
Provides 48 channels of separate recording when a PBX
combines them or 24 channels combined by the logger.
Compatible with USB 2.0/3.0 and Windows XP to 10.
Requirements
A dedicated PC is recommended, due to the CPU usage required
for streaming real-time audio. Modern 2GHz or faster processor
machines with 4-8GB of memory run fine.
A free USB 480Mbps 2.0 or USB 3.0 port. Slower USB 1.1 ports
do not have the bandwidth necessary to stream.
Installation goes smoothly when you know the T-1 line code and
format.
Anti-virus software should be set to disassociate audio files while
streaming.

Included Hardware
The hardware install kit includes:
T-1 Tapper
Provides a simultaneous Hi-Z East and West tap in 24 channel
mode. Use the press-to-test button to confirm you are properly
connected to the T-1 line.
T-1 USB 2.0 audio logger
The heart of the system. The logger accepts TDM data from the
East and West audio inputs, encodes and buffers it, and streams
data to the PC USB port for recording.
USB “A” to USB “B” High-speed cable with filter
Connects the host PC USB 2.0 or 3.0 port to the T-1 Logger.
Extending this cable past the 2.0m specification is not
recommended.
Short red RJ-48 cable
Completes the connection between the T-1 Tapper and the
demark. Keeping this cable short aids signal integrity.
Long black RJ-48 cables
Connect between to T-1 Tapper or PBX. These cables may be
extended or replaced with longer ones if necessary.

5 volt power supply
A standard 120/240VAC supply with 2.5mm jack. Do not
substitute a 12V supply.
Optional Installation Accessories
Call (408) 330-5599 if you need help with:
T1 Surge Suppressors
Punch down blocks, adapters, and T1 cabling.
T1 Test Sets –We have loaners available.
Quick Installation Summary
1. When bridging an outside T-1 span, use the T-1 Tapper to
combine East and West sides of the line in 24 channel
configuration. Continue to step 3.
2. To record 48 channels separately from a PBX or CSU without
using the T1 Tapper, skip ahead to the instructions on page 8.
3. Attach the T-1 Tapper between the PBX and Telco demark.
4. Press the button on the T-1 Tapper and confirm you have two
green lights. Verify the PBX clears the alarm and make a test call
to confirm normal T-1 operation before proceeding.
5. Attach the two black East and West cables from the T-1 Tapper
to the logger. These carry East and West TDM data to the logger
at -20dBSx.
6. Insert the CD and install the logging application. Don’t connect
the logger USB cable and power until prompted.
7. Select the T-1 line type and code.
8. Attach the USB cable to a dedicated PC. Connect directly to a
primary USB 2.0 or 3.0 port, not to a hub. We recommend that
the logger is the only external USB device attached to your PC.
Once attached, the USB configuration on this PC should not be
changed. The logger is a high-speed USB 2.0 device, running at
480Mbps. USB 1.1 ports will not work with this device. Beware of

extended length USB cables which may cause errors. Cables longer than the
3 meter USB specification are not recommended. If you need more cable
length, substitute longer cables to the tapper.
9. Shut down the PC. Connect the power adapter to the 5V jack on
the logger. Switch the PC power on after powering the logger.
10. Restart the PC. Install the drivers as prompted. Start the logging
application.
11. Click on each line name to listen to recordings and verify audio
quality using Windows Media Player.
12. Map a network drive to the workstations used for playback. Use
Windows file system security to limit access to authorized
individuals.
13. Install Evidence Builder or Call Investigator software on playback
workstations. These programs allow you to scan recordings and
catalog calls by DTMF and Caller-ID.
14. Install “Real Time Player”as needed for remote monitoring.
15. Install “Call Detail Recorder” if desired for SMDR, ANI, or ALI
recording from RS-232 sources. This will allow correlation of
recordings using time and date.
Cabling the Logger
Connect the T-1 Tapper between the telco and PBX
The T-1 logger supports two configurations, “Combine” and
“Separate”. The most common “Combine” mode is used in
conjunction with T-1 Tapper to bridge an outside T-1 span. This
mode monitors all audio going in both directions on a T-1 line
without terminating it. In “Combine” mode, the logging software
combines the East and West sides of the conversation into a single
audio file. The T-1 Tapper provides a “high-Z” connection, which
will not load the T-1 line. Connect the T-1 Tapper as shown below,
allow time for the T-1 line to resync, then check the PBX for normal
operation before continuing. Insertion of the T-1 Tapper should
have no effect on a properly wired system.

Check T-1 Cabling and Continuity
Depress the button on the T-1 Tapper to confirm there is continuity
in the T-1 Loop. Two green LEDs will illuminate. Both the PBX
and the Telco side must be wired correctly for the LEDs to
illuminate. If you don’t see two green LEDs, check wiring against the
RJ-48C standard:

Cable TDM Data from T-1 Tapper to Logger
Use the two black RJ-48 cables provided to connect the East and
West TDM data from the T-1Tapper to the Logger. If necessary,
these two cables can be substituted with longer cables. Use of cables
with ESD shielding is recommended. When wiring is completed, the
installation should look similar to this:
Power
The adapter is a standard universal input 5VDC 2.5mm switching
adapter. Do not substitute a 12V adapter. The SYNC LEDs may
not illuminate when power is applied if the logging application is
inactive.
USB 2.0 / 3.0 to PC connection
Connect the USB cable between the PC and the logger when
prompted by the installation program, not before. The USB cable
provided has a rectangular “Type A” plug on one end and a square
“Type B” connector on the other. The square connector is the only
connector that can be plugged into the logger. You must connect

this cable to a high-speed USB 2.0 480Mbps port or to a USB 3.0
port. The logger will not function when attached to a slower
11MBps USB 1.1 port. Do not connect to a hub, as delays from
other devices can interrupt the smooth streaming of audio.
48-Channel “Separate” Mode
The 48-channel mode is an alternative to the standard combine
mode. Recording 48 channels can require PBX familiarity and
programming. In 48 Channel mode, the tapper is not used. In most
cases, the PBX must be “looped” to maintain a carrier. Looping is
accomplished either by programming a CSU/DSU, or by wiring the
East and West sides of each DS1 port together . Pin 1 ties to pin 5,
and pin 2 ties to Pin 4. Use cables as short as possible in this
configuration. The input to the logger is pins 1 and 2 on both the
East and West jacks. In this mode, the PBX must be programmed to
cross connect a specified speech path (ie. a particular extension) to a
corresponding timeslot on the T-1. PBX programming may be
required to direct each desired speech path to one of the 48 available
channels.

Software Installation
A Microsoft Windows update is recommended prior to installation.
Visit windowsupdate.microsoft.com. Microsoft has made several
improvements in Windows USB drivers. The application also
requires Microsoft .NET framework version 2.0 or later.
After starting the installation CD, this window appears:
Select “Install Recording Software”. This screen appears:

Click on the image of the T-1 Logger and then “Install Selected
Logger”.

The installation directory may be selected here. Click “Next”.

Select the components you wish to install. In a standard T-1
installation, these three components should be selected;
Client Software
Server Software
MIL-T1 24/48 Channel T1 USB Logger
Ensure these are checked and press “Next”.

Select a shortcut directory and press “Next.”
To starting recording automatically after login, check ‘Start Audio
Logger Automatically”If a machine is left unattended, this ensures
uninterrupted operation in the event of a power failure and
subsequent reboot.
You may also disable the “Automatic Disk Cleaning”which
automatically deletes the oldest recording files to conserve disk space.
Click “Next”to proceed with the installation.

We highly recommend that a separate hard disk drive or SSD is used
for call recording. By keeping the audio files on a separate disk drive,
you are assured that other applications which use the system drive
won’t interfere with audio streaming. A 3-4TB hard drive typically
works well.
We do not recommend streaming to a USB hard drive.
If you only have one drive attached or if the drive appears relatively
small, a warning similar to the one above appears.
Click “Next”to proceed to an installation summary screen:

Click “Install”to continue. Depending on your security settings, a
Windows firewall or Security warning message may appear. Allow
the installer to make changes. When this window appears:
You may power-up and connect the T-1 Logger to your USB port.
We suggest leaving the logger on this port. Windows may need to re-
load drivers if the logger is moved to another USB port after
installation.
After the drivers are installed this configuration screen appears:

At this point, you should select the T-1 format and line code. Set
FORMAT to D4 or ESF to match the T-1. Set CODE to match the
T-1 line code. This is normally marked on the jack, or you can get
this information from your installer. ISDN PRI is now the most
common configuration.
“Standard T1”means a T-1 trunk that uses robbed bit signaling, or
ABCD bits. D4 lines are also quite common. The most common
operating mode is “Combined”. This mode takes the east and west
audio paths from a T-1 line and combines them into a single
recording file.
Another option is “Separate”mode, described on page 8. To select
“separate”mode, click “Record all 48 channels separately”.
If you are combing channels, the format of each channel is the same,
so the options on the right are grayed out. When recording in
“Separate” mode, each T-1 may be set to a different mode, line code,
and input gain level.
Make changes to this page, then click “Exit”to save changes and
proceed.

Another security warning may appear as the configuration application
proceeds:
Choose “Allow access”. A shortcut should now be present on the
Windows taskbar. A logger “wizard”may also appear.
Use the taskbar shortcut or use the program menu to start the logger
application:

Opening the application brings up the main screen:
The main screen lists each DS0 timeslot in order. This example
shows “combine”mode with 24 channels displayed.
When recording separately, the second T-1 has timeslots named
“Line25” to “Line48”.

The status of each framer is on the bottom line. Carrier and Sync
will be detected when the line is properly configured. Green, amber
and red LEDs on the logger display line status in telecom standards.
At this point, you should have three green lights on the T1 logger. If
not, you may have the line code or type incorrectly configured.
Carrier Loss and Sync Loss warnings appear if the T-1 connection is
interrupted or received levels are too low. The logger operates
reliably over a wide range of –35 to -20dBSx.
Click on the line number to explore the recording directory for that
line. Each line is stored in a separate folder, and each day is stored in
a subfolder. The file names correspond to the recording start time.
From here, you can edit, copy, or transfer files using Windows
Explorer by clicking the right mouse button.
The line name, such as Line01 above, can be changed by right-
clicking on it. A new target directory is created when a line name is
changed.
The recording trigger may be changed from VOX to CNT or OFF
by right-clicking on this screen.
Click on the Logger Configuration toolbox icon to re-configure the
application.
To enter the change the line code, or to change the recording trigger
(VOX) mode, first select a section in the upper left hand corner, then
make changes in the lower-right under “Signaling Settings”:

After making changes to a single DS0, you may right click to copy
those settings to other lines.
Six recording trigger (VOX) modes can be used to start and stop
recordings.
ITU Q.731 format is decoded when the logger is set to
“D Channel”for PRI lines.
Robbed bit signaling, also known as Digital T1 CAS or
ABCD bits may be used to trigger recording. The bits may
be used in AND or OR fashion. For example, an OR mode
will allow either the east or west line to trigger recording in
combined mode. Since the each DS0 may carry a different
start format including loopstart, groundstart or E&M, each
DS0 may be individually set to a unique value.
Audio level in the DS0 itself can be metered and used to
trigger recording. This is true Voice Activated (VOX)
Table of contents
Other Digital Loggers Data Logger manuals
Popular Data Logger manuals by other brands
ThermoWorks
ThermoWorks ThermaData 4-Channel Logger operating instructions
Multimetrix
Multimetrix DL 53 user manual
Observator Instruments
Observator Instruments OMC-048 Hardware manual
Perfect Prime
Perfect Prime TC0301 instruction manual

Cypress Envirosystems
Cypress Envirosystems WGR user manual

Ahlborn
Ahlborn ALMEMO 2690-8A operating instructions
Radionode
Radionode RN400-T2TS user manual
GRAPHTEC
GRAPHTEC midi LOGGER GL240 Q&A

YSI
YSI STORM 3 Replacement manual
ProSoft Technology
ProSoft Technology PLX51-DL user manual
process-informatik
process-informatik EtherSens Energy Handling-Short Instruction
Chauvin Arnoux
Chauvin Arnoux AEMC DL913 user manual
