Digital Matter Sting User manual

Sting
Getting Started
Revision 1.0 - 3 July 2017
All information provided in this document is subject to legal disclaimers © Digital Matter 2016
Sting Getting Started Revision 1.0 - 3 July 2017 Page 1 of 4
1. INTRODUCTION
The Sting is an ultra-compact, rechargeable GPS tracking device. The light, temperature and
humidity sensors set it apart from other battery powered trackers. It has been designed to track
high value parcels, cargo, cash in transit, personnel, and other assets where super-long battery
life is required without sacrificing the frequency of updates and performance. Please see the
datasheet and brochure for more information.
This document will help you get started with the Sting.
2. CONTACT INFORMATION
For the latest version of this document and other product information please visit our website at
www.digitalmatter.com/support
3. IN THE BOX
You'll get a compact box containing:
1. The Sting, with its housing unclipped.
2. Micro USB cable for charging.
4. SIM, BATTERY AND SEALING
Insert the SIM
The Sting uses a Micro SIM card –form factor 3FF.
The SIM holder is on the top of the PCB.
When handling the Sting be careful not to touch the GPS antenna, to minimise the risk of
damaging the sensitive GPS amplifiers with static discharge.
Slide the SIM into the holder with the keyed corner first and the SIM contacts orientated down
to the main board.

Digital Matter Sting Getting Started
All information provided in this document is subject to legal disclaimers © Digital Matter 2017
Sting Getting Started Revision 1.0 - 3 July 2017 Page 2 of 4
To easily get up and running:
1. The SIM should not have a PIN on it, unless you use the device specific PIN.
2. The SIM should have credit or airtime
3. The SIM should use one of the APN's built into the firmware –this is the AutoAPN
feature. If the APN is not included in AutoAPN, set it by SMS. See section 10.
Connect the Battery
The Sting uses a 2500mAh 3.7V Lithium Polymer battery pack.
When you receive the Sting the battery will be disconnected.
1. Plug the battery into the socket shown in the image
2. The LED should start to flash.
Online
Once the battery is connected, the internal LED will come on and flash blue. The device will do the
following:
1. Connect to the server: If the SIM card works, the device will connect to the OEM Server. It
will attempt to download any firmware and parameter updates. It will fetch fresh GPS aiding
data.
2. Get a GPS Fix: the device will attempt to get a GPS fix. Speed this up by moving to an area
with good GPS signal.
3. Reconnect to the server: The device will attempt to connect again to upload the result of the
GPS Fix.
4. Stop flashing: once complete, the LED will stop flashing.
If the device does not complete these steps in 10 minutes, it will go to sleep and try again on the
next heartbeat or the next trip start.
Go to www.oemserver.com/installer and search for the serial number. Confirm that it has
connected recently.
If the LED flashes but the Sting does not connect, check the SIM is in the holder correctly and
check that the SIM is working.

Digital Matter Sting Getting Started
All information provided in this document is subject to legal disclaimers © Digital Matter 2017
Sting Getting Started Revision 1.0 - 3 July 2017 Page 3 of 4
Closing and opening the housing
The housing clips together and does not need screws
To close the housing, line up the top and bottom parts. Push the housing together firmly.
To open the housing, insert a flat screw driver into the opening highlighted above. Carefully
lever the two halves apart. A wider screw driver works better.
5. DEFAULT TRACKING SETTINGS
By default, the Sting is setup for trip tracking. The following default settings apply:
1. Out of Trip:
a. 12 hour heartbeats. This is a GPS point and upload every 12 hours.
2. In Trip:
a. Start trip threshold of 250m
b. Upload on trip start.
c. GPS points every 2 minutes
d. Upload every 30 minutes.
e. End a trip after 5 minutes of no movement.
f. Upload on trip end.
These are configurable in the OEM Admin Interface.
The defaults provide a good starting point. It is important to monitor and tweak your settings to
ensure the battery life is acceptable. Incorrect settings can flatten the batteries quickly. Contact
Support for help with this.
6. LIGHT TAMPER
Light is channelled to the light sensor through the clear light pipe in the housing. The device
uses two lux levels to determine tamper ON and tamper OFF. When the light level is above the
high level, tamper is ON. When the light level drops below the low level, the tamper switches
off. The difference between the high and low level provides some hysteresis.
The default settings for the tamper detection are disabled, to avoid excessive uploads.
Please use the OEM Admin Interface to enable the tamper detection and set the trigger levels.
7. TEMPERATURE, RELATIVE HUMIDITY AND LIGHT
The Sting has an on-PCB temperature, light and humidity sensor. The module can be
configured to read those 3 metrics periodically. It can log periodically, log on change, upload
periodically, and set high and low alarms.
The default settings for temperature, humidity and light sensing are OFF. To enable and
change the module parameters, please use the OEM Server Admin Interface.

Digital Matter Sting Getting Started
All information provided in this document is subject to legal disclaimers © Digital Matter 2017
Sting Getting Started Revision 1.0 - 3 July 2017 Page 4 of 4
8. DEVICE INSTALLATION
The Sting is an ultra-compact GPS tracking device and can be placed anywhere. When placing
the Sting, consider the following:
1. Protect the device from water ingress –the device is not IP rated.
2. Minimise the chances of the device being accidentally crushed or dislodged.
3. Maximise the GPS and mobile reception, and provide adequate ventilation.
4. Position the light pipe for adequate exposure to tamper indications.
5. Allow the device to sense required temperature and humidity changes in its
environment.
6. Minimise temperature exposure outside of the battery’s specifications.
Since the Sting is a battery powered device, reception is critical to its performance. While other
members of the DM product family rely on their high-quality GPS receivers for enhanced
accuracy and the ability to operate in very low signal, the primary concern for the Sting is the
battery used during each GPS fix.
If possible, choose a mounting point that will not result in elevated temperatures. For instance,
mounting the Sting in direct sunlight on the dash of an unventilated cabin may cook the battery,
leading to abnormally short service life.
9. CHARGING THE BATTERY
The Sting is a rechargeable GPS tracking device. To charge the Sting, plug the USB cable into
any 5V 500mA USB charger. Plug the Micro-USB plug into the Sting. The red LED will come on
while the Sting is charging. The LED will switch off when charging is complete.
10.APN SETUP VIA SMS
If the APN for the SIM is not in the AutoAPN list, it must be set by SMS. To do this:
1. Send an SMS from any phone to the cell phone number (MSISDN) of the SIM card.
2. Use the following format for the APN text message:
#*,APN,<apn_name>,<username>,<password>
3. If the <username> and <password> are blank or not required then you can leave them
off.
4. You can also reset a device to use auto-APN by sending a blank APN: #*,APN
Example with username and password: #*,APN,myAPN,joebloggs,secret123
Example without username and password: #*,APN,myAPN
Warning: The Sting will prevent charging outside of the charging temperature specifications
(0-40°). It is recommended that charging is done at room temperature or around 25°C.
Table of contents
Other Digital Matter GPS manuals
Digital Matter
Digital Matter Bolt User manual
Digital Matter
Digital Matter G100 Iridium Hybrid User manual
Digital Matter
Digital Matter Dart User manual
Digital Matter
Digital Matter Oyster Sigfox User manual
Digital Matter
Digital Matter Oyster2 User manual
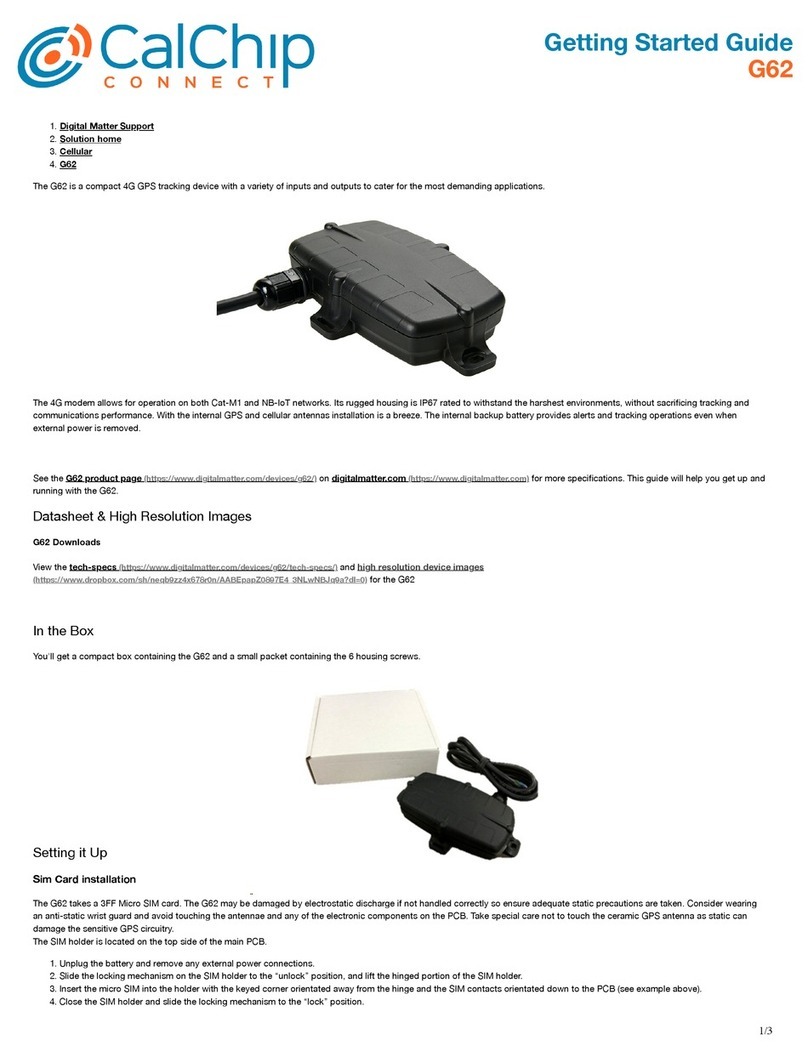
Digital Matter
Digital Matter G62 User manual
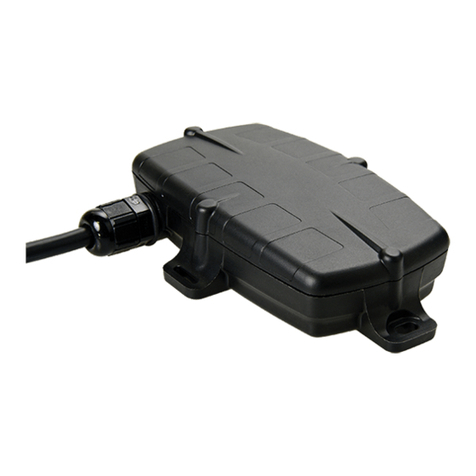
Digital Matter
Digital Matter G62 User manual
Popular GPS manuals by other brands

Garmin
Garmin StreetPilot 2720 - Automotive GPS Receiver Quick reference guide
PATCHWORK
PATCHWORK BlackBox 510 operating instructions

Garmin
Garmin GPS 15L Technical specifications
Etek Navigation
Etek Navigation GM-168 user manual

Navman
Navman Sport Tool M300 specification
Amcor
Amcor Bluetooth instructions
