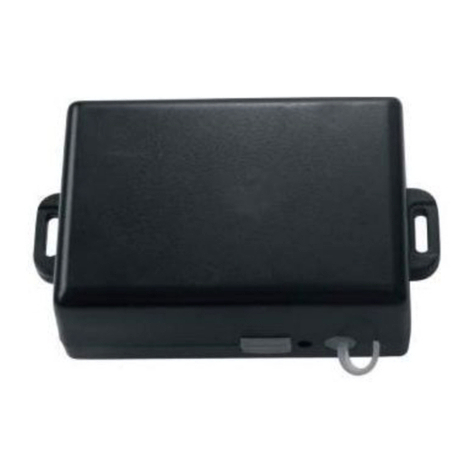
Digital Matter Oyster2 User manual

User’s Manual
Oyster2 GPS Tracker
Last Revised 12/3/2020
www.LoneStarTracking.com
Welcome! Thank you for purchasing the Oyster2 GPS Tracke
rr from LoneStar Tracking. It’s the
best GPS tracker available with a dustproof and waterproof IP67 rating. With proper use, this
unit can provide up to 5 years of uninterrupted service protecting assets in all conditions.
This manual will guide you through the setup and installation process as well as take a look at
the software used to monitor your Oyster2 GPS Tracker.
NOTE: BEFORE INSTALLING PERMANENTLY, please note that the Oyster2 GPS Tracker
uses satellites to receive position information and uses cellular towers to share information with
our server. An unobstructed view of the sky is best but the tracker may work even if hidden.
After initial setup, test the unit where you want to place it to see if there is a clear enough signal
(Subscription
Data Plan
required, see the Section 2
for details).
NOTE: Damaging the casing of the Oyster2 GPS Tracker or installing batteries incorrectly may
void its warranty.
1. Batteries
Your package includes (3) Energizer Ultimate Lithium batteries (may be pre-installed).
The Oyster2 requires (3) AA batteries to operate. While any AA batteries will work, note that
standard AA batteries only last a few days. And while other brands of lithium AA batteries will
last a few years, only the Energizer Ultimate Lithium
batteries (available at most hardware
stores or LoneStarTracking.com) can deliver up to 5 years of operation.
NOTE: When operating the Oyster2 GPS Tracker in an extremely cold environment, we
recommend Lithium/Thionyl Chloride (LTC) batteries (available for purchase at our website)
Installing Batteries
NEEDED: Phillips head screwdriver, (3) AA batteries (Energizer Ultimate Lithium batteries
recommended).
To access the Oyster2 GPS Tracker battery compartment, first remove the 6 screws on the
bottom of the unit.

Rock the top of the unit gently and slide it off to reveal the battery chamber.
NOTE: Make note of your Oyster2 GPS Tracker unit’s IMEI / Serial Number, found inside the
battery chamber or on a sticker on the outside of the tracker. This is needed to activate your
subscription
Replace batteries according to the diagram inside the chamber.
WARNING: Installing a battery in the wrong direction can damage the Oyster2 GPS Tracker and
will void your warranty.
2. Setup the Oyster2 GPS Tracker
NOTE: The Oyster2 GPS Tracker requires a subscription Data Plan (The Oyster2 uses AT&T
Cat-M cellular towers which offer coverage in Mexico, Canada and the United States). BEFORE
INSTALLATION, ensure that the coverage includes your area.
To purchase a subscription
1. Go to https://www.LoneStarTracking.com and click on the Subscriptions
button in the
upper right corner.
2. Choose a monthly or annual plan. All service plans include access to our cutting edge
mobile app, 4G/5G cellular connectivity, and support from our dedicated staff of GPS
tracking experts.
3. Using the Subscription Type
pull-down menu, select Asset (Oyster2, Yabby GPS, Titan
LTE).
4. Enter the IMEI / Serial Number in the proper field. This can be found inside the battery
chamber or on the back of the tracking device.
5. Choose the number of subscriptions you are purchasing, then click the Sign Up Now
button.
6. On the next screen, make sure all information is accurate, then press the Proceed to
Checkout
button.
7. Enter your Billing Information including name, address, phone number, email and
payment details, then click the Sign Up Now
button.
NOTE: Device activation can take up to 12 hours to complete. An email notification with your
Username and Password will be sent when done. If you log in and your tracker is not in the
correct location, chances are that activation has not yet completed.
8. To see your Oyster2 GPS Tracker’s location, visit
https://FleetONE.lonestartracking.com/lite/online and enter your user name and
password when prompted. Please note, the username and password that you
used when you purchased the tracker may be different that the username and
password to access the tracking system. Once activation completes, you will
receive an email with your login information. See next section for details on
phone or tablet apps.

3. Using the Lonestar Tracking Website
The website at https://FleetONE.lonestartracking.com/lite/online gives you more features than
the Lonestar Tracking App. On your computer, you can view Online Tracking
of all assets,
generate Route Reports
, choose Alert
parameters, view all alerts, list all Tracking Devices
,
create and manage GeoFences (Objects
), create and manage Alerts
, and set Profile
preferences.
Online Tracking
This is an interactive map showing GPS Tracker locations. By default, this is the first screen
seen when launching the website and it shows all assets as icons on the map. Each icon has a
unique identifying name and is color coded.
● Green icons are assets in motion (Driving)
● Red icons are still (Standing)
● Black icons are inactive (No Data / Device is sleeping)
Click on an icon to see most current tracking data including location, latitude & longitude, and
last data received.
NOTE: If you are managing more than one GPS Tracker, you can use the map’s pull-down
menus to refine your assets by vehicle or its status (driving, still, etc.).
Route History
This handy feature of the Lonestar Tracking website details an asset’s travel time. You can
refine this report by date, vehicle, and by route. A map pull-down menu gives route details
including asset name, start and stop locations, and time traveled.
Complex routes are broken down to by stop times. You can click on any part of the route
indicated onscreen to get more details about that leg of the travel. Information provided by the
Oyster2 GPS Tracker include start and stop locations and times as well as travel distance.
NOTE: For greater details about any route recorded by the Oyster2 GPS Tracker, see Route
Reports.
Route Reports
Similar to Route History, Route Reports give even more detail about a trip. You can refine this
report by vehicle, date, and time. Once you have the right settings, press the Select
button to
see the results.
The report generated includes tracker information including From, To, Distance, Time, Max
Speed, Avg. Speed, and Odometer.

Alerts
NOTE: Click the New Alert
button to open the Alerts
tab under the Settings
menu.
The Alerts
report generates a detailed report that shows the date and time of an alert, the
Number
of the GPS tracker, the associated vehicle, the Alert Type and the actual alert
message.
Settings
The Settings tab at the Lonestar Tracking web page allows you to create, manage, and delete
information including Tracking Devices
, Objects
(GeoFences), Alerts
, and Profile
. The searches
and Alerts on the webpage give you greater control than with the Lonestar Tracking App.
Settings->Tracking Devices
The Tracking Devices tab under Settings shows all active GPS Tracker devices in your profile.
Information shown includes tracking device Number, Icon Text, Make / Model, Created date,
and an Action link.
Clicking on the Action hyperlink on any asset reveals greater details about that vehicle and
tracking device that you can add. This information includes License Plate, Icon Type, Icon Text,
Make / Model of the tracking device, Fuel Type, and Mileage.
Settings->Objects
Objects
are landmarks, buildings, or anything else you can pinpoint on a map. For example, you
can set your home and office as objects. The Objects
tab reveals specific details like Object
Name, Area, Coordinates, Author
, as well as Edit
and Delete
links.
Clicking the Edit
link associated with any object reveals it on the map. You can change the
GeoFence’s name by typing it into the Save Object
field and clicking Save
. Click Cancel
to
return to the previous screen.
Clicking the Delete
link associated with any object asks if you’re sure, and the object is removed
permanently from your profile when you click OK
. Click Cancel
to keep the object and return to
the previous screen.
Settings->Creating a New Object
You can create a new landmark by clicking the Create Object
button in the upper right side of
the Objects
screen. This will open a map. Click the Search Address
pull-down menu and enter

the name and/or address of the object you want to place, then press the Return
key on your
keyboard.
Once the object is shown on the map, use your computer mouse to create a boundary box
around it, setting each point of the box with a click. Click the first point of the box again to finish.
A Save Object box opens where you enter the Object Name. Click the Save
button and you are
returned to the main Objects page, now displaying the new point you just created.
Settings->Alerts
The Alerts
tab on the Settings
page allows you to view all active alerts as well as create new
ones. Information shown under Alerts
includes the Type
of alert, the Conditions
that caused the
alert, when it was Created
, and Action
items for each alert including Edit
and Delete
.
By default, the only alert set on the Oyster2 GPS Tracker is the Low Battery Alert
. It warns when
power is down to 35% and continues to warn until the batteries are replaced.
Clicking Edit
on any alert opens a menu to change various settings. See the next section for
each alert’s settings.
Creating New Alerts
Clicking the New Alert
button in the upper right hand part of the Settings->Alerts
screen opens
the Alert Type
page.
The Alert Type
menu allows you to toggle Object, Speeding, No Power, No GPRS, Battery
Level, Supply Voltage, Movement Alert,
and Moving With Ignition Off
warnings that will appear
on the Lonestar Tracking website as well as cell phone and tablet apps.
NOTE: You can also toggle Show Popup Notifications
which affects the Lonestar Tracking
website only, not apps.

Settings->Profile
The Profile
menu lets you customize your profile with name, email, phone number, select
language, and preferences for various units of measure, accessed through pull-down menus.
As well, you can change your password in this area. NOTE - password changes can only be
done through our website, and not the mobile phone app for security reasons.
4. Download the App
In addition to the website, the Oyster2 GPS Tracker can be monitored through an app on your
cell phone or tablet. Search for LoneStar Tracking
at your device’s software site and follow
directions to download.
5. Using the Lonestar Tracking App
NOTE: The first time you launch the LoneStar Tracking app on your cell phone or tablet, you will
scroll through a few Tips. Click the Finish button when done.
1. Enter your email address and password when prompted (clicking the Remember Me
button will avoid the login screen).
2. By default, the Map screen is displayed. You can pinch to zoom and use your fingers to
move the map.
NOTE: Clicking on an asset displays its details including the tracker’s name, its location, battery
power, power status, and battery life.
App Icons
1. Map screen: This displays the Lonestar Tracker’s interactive map showing your assets.
2. Notifications screen: Shows a chronological list of all the notifications sent to your device
including battery level indicators, movement alerts, etc.
3. Settings screen: Allows customization of Alerts, Notifications, Language
as well as
displays a Logout
selection.
Map Screen
1. Map Settings (change from Map to Satellite view, turn on traffic and/or Icon Grouping [for
more than one tracking device]).

2. Search: Look for a specific asset (used most often for more than one tracking device).
You can filter search results with the All, Driving, Stopped, Idling
and No data
buttons at
the top. Clicking on an asset in the search results will give detailed information about the
asset including its current location (hyperlink opens your device’s default map).
3. Asset Details: This button reveals a quick view detailing All
assets in your account, how
many are Driving
, Stopped, Idling
and No Data
.
4. Reset: This button will center the map, zoomed out.
Notifications Screen
This is a straightforward screen that shows a chronological listing of all notifications sent to your
account. Clicking on a notification will reveal that asset on the map. There is a Notifications back
arrow at the top which will take you back to the previous Notifications screen.
Settings Screen
On the Settings screen you can customize Alerts, Notifications, Language
as well as the ability
to Logout
.
Settings->Alerts
There are three alerts enabled on your Oyster2 GPS Tracker including
1. Low Battery Alert (enabled by default) which starts when the battery is at 35% capacity
and continues regularly until they are replaced (See 1. Batteries
),
2. Movement Alert which warns if the Oyster2 GPS Tracker moves more than 750 ft. and
3. Geofence Alert - you can use your computer to define a geographic area and be
alerted if your tracker enters or leaves this area.
The Oyster2 GPS Tracker system’s Alerts can be adjusted here including Technical
and Driving
Alerts.
-> TECHNICAL Alerts
The TECHNICAL alerts section allows many adjustments; which assets are connected
and monitored, which days of the week the unit is active, and which email and phone
numbers to alert.
NOTE: All Technical alert changes require clicking the Save
button at the bottom of the
screen.
The Connection Alert
On/Off
button can notify you when a connection is made to the
Oyster2 GPS Tracker system. Click the Save
button when finished.
The VEHICLES
alert section adjusts which assets appear on the map; Show All,
Select Vehicles
and Select Groups
(both of which require more than one GPS
tracker be activated under your account in order to adjust settings).

WEEK DAYS WHEN ALERT WILL BE ACTIVE
alert adjusts which days the Oyster2
GPS Tracker will be active.
Press the ADDITIONAL EMAIL TO RECEIVE AN ALERT
to review / add / subtract
other emails to get tracker alerts. Space #1 is for the primary email and additional
emails can be added underneath by clicking +Add Email
for additional addresses.
Press the ADDITIONAL PHONE TO RECEIVE AN ALERT
to review / add / subtract
phone numbers to get tracker alerts. Space #1 is for the primary phone and
additional lines are added by clicking +Add Phone
for additional numbers and filling in
the space. Click the Save
button when finished. Note - Phone numbers must include
+1.
The NOTIFICATIONS
section allows you to turn alerts on or off for the Mobile App as
well as the primary email address.
-> DRIVING ALERTS
The DRIVING ALERTS
section allows many adjustments; which assets are connected
and monitored, which days of the week the unit is active, the time period the tracker
will be monitored, as well as which email and phone numbers to alert.
NOTE: All Driving alert changes require clicking the Save
button at the bottom of the
screen.
The VEHICLES
section adjusts which assets appear on the map; Show All, Select
Vehicles
or Vehicle Groups
(all settings require more than one GPS tracker be
activated under your account in order to change from a single unit).
The WEEK DAYS WHEN ALERT WILL BE ACTIVE
section adjusts which days the
Oyster2 GPS Tracker will be active for Driving Alerts.
The TIME PERIOD WHEN ALERT WILL BE ACTIVE
section adjusts which times the
Oyster2 GPS Tracker will be active. Set the Time From
and the Time To
areas to set a
specific time frame for monitoring.
Press the ADDITIONAL EMAIL TO RECEIVE AN ALERT
to review / add / subtract
other emails to get tracker alerts. Space #1 is for the primary email and additional
emails can be added underneath by clicking +Add Email
for additional addresses.
Press the ADDITIONAL PHONE TO RECEIVE AN ALERT
to review / add / subtract
phone numbers to get tracker alerts. Space #1 is for the primary phone and additional
lines are added by clicking +Add Phone
for additional numbers and filling in the space.
Click the Save
button when finished.
The NOTIFICATIONS
section allows you to turn alerts on or off for the Mobile App as
well as the primary email address.

Settings->Notifications
The Oyster2 GPS Tracker system’s Notifications
section allows you to turn alerts on or off using
the radio toggle switch.
Settings->Language
The Language
section of the Oyster2 GPS Tracker system’s Settings
adjusts which of the 22
available languages is used.
Settings->Logout
Pressing Logout
allows you to exit to Lonestar Tracking App.
5. Installing the Oyster2 GPS Tracker
NOTE: BEFORE INSTALLING the Oyster2 GPS Tracker permanently on your asset, download
and install the Lonestar Tracking App from your phone or tablet’s software site. Setup a
subscription data plan and check that your device receives a signal where you
want it installed (in addition to signal clarity, the Oyster2 uses AT&T Cat-M cellular towers
which offer coverage in Mexico, Canada and the United States but may not cover your
area).
There are two mounting holes on the base of the Oyster2 GPS Tracker which can aid
installation. However, since this unit can be installed nearly anywhere on the asset and used on
a variety of vehicles including boats, cars, trailers, and more, there is no standard installation.
Some people have used zip-ties to bind the tracker to its asset. Others use self-tapping screws
to mount the unit firmly onto a metal frame. Lonestar Tracking also offers strong magnets to
secure your Oyster2 GPS Tracker without damaging any surface.
WARNING: No matter what method is used to secure your device, make sure it doesn’t damage
the case which may void your warranty.
After you install the device, please check the Lonestar Tracking App to be sure the signal is
good. To access the tracking system, you can use a computer or your smartphone. To access
via a computer, please visit https://fleetone.lonestartracking.com. To use your iPhone/Android
device, please visit the app store and
Your Oyster2 GPS Tracking Device is designed to sleep when not in motion to save power.
When moving, the device will wake up and begin reporting its position once every 5 minutes (or
1 hour depending on the subscription you selected). Once your asset stops again, the tracker
will go back to sleep to save power.
Our support team is available to help by phone, email, or chat. You can call us toll free at
1-877-777-8636 or email us at [email protected].
Table of contents
Other Digital Matter GPS manuals
Digital Matter
Digital Matter Sting User manual
Digital Matter
Digital Matter Dart User manual
Digital Matter
Digital Matter G100 Iridium Hybrid User manual
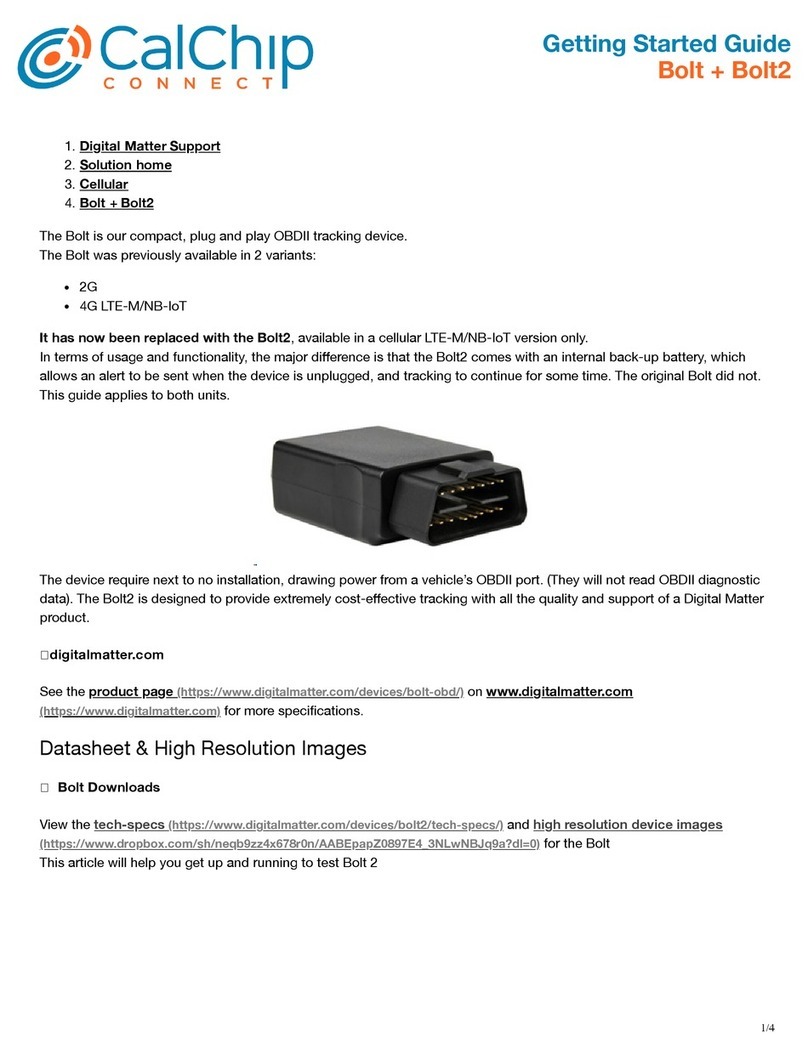
Digital Matter
Digital Matter Bolt User manual
Digital Matter
Digital Matter Oyster Sigfox User manual
Digital Matter
Digital Matter G62 User manual
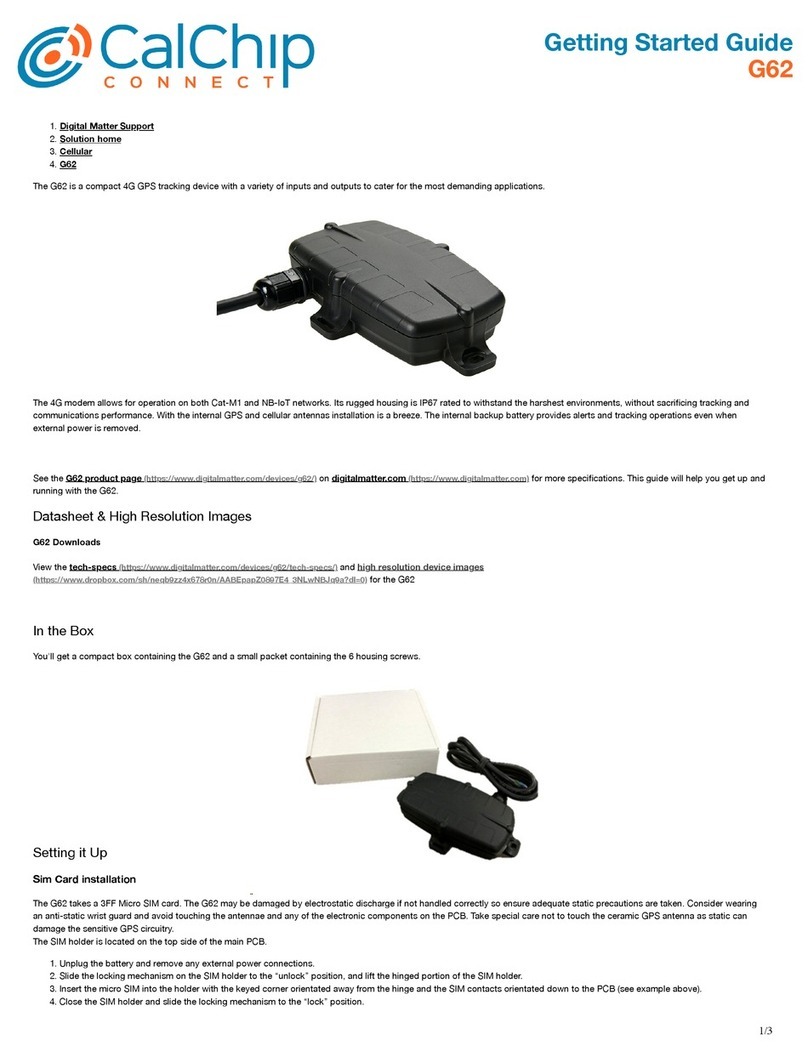
Digital Matter
Digital Matter G62 User manual

