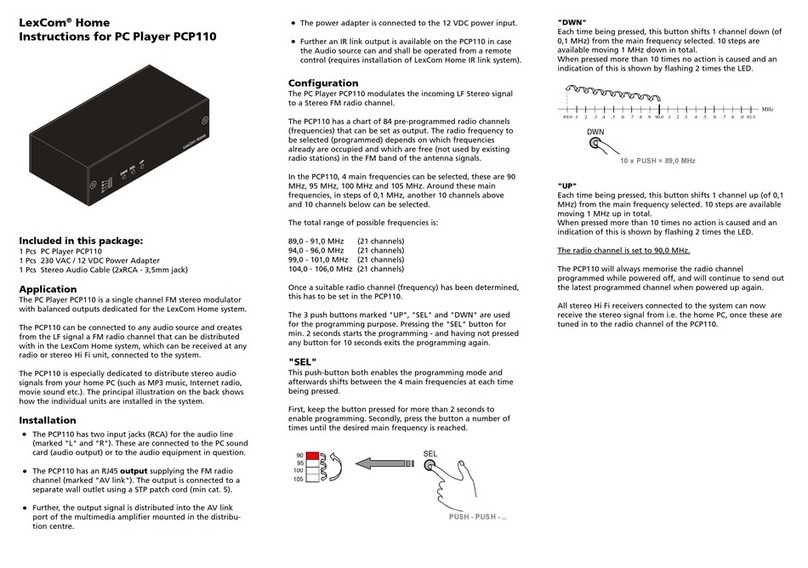
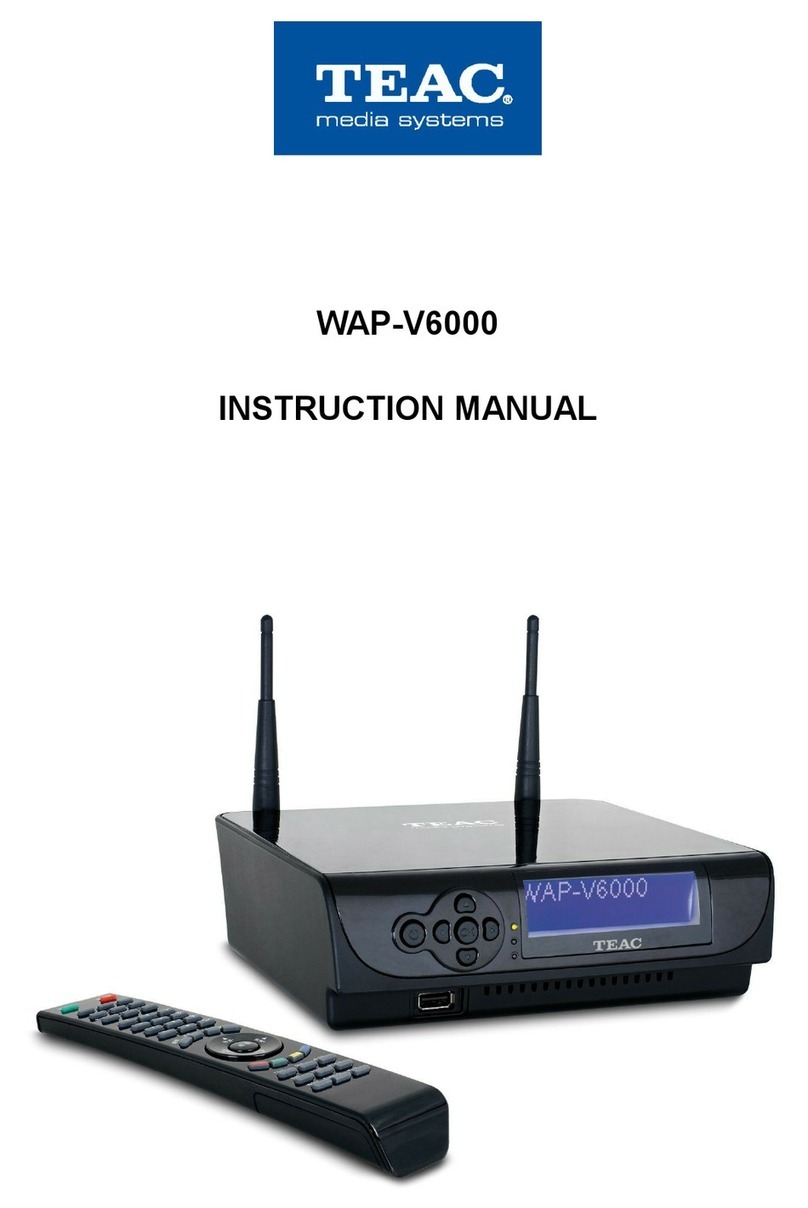
Digital Zone T7HDR User manual


UHD Stream Generator
User’s Manual
Contents
Getting Started
Summary
Important Safety Instructions
Guide to Parts and Controls
How to Use Top Buttons
Remote
Package and Accessories / Cautions
Connecting Cable
PLAYLIST Menu
How to Playback Files
How to Change Resolution
UPDATE
PLAY
UPDATE Menu
How to Update Contents by USB
SETTINGS
SETTINGS Menu
How to Update Firmware Manually
01
02
5
6
7
8
9
11
12
14
15
16
17
18
19

UHD Stream Generator
User’s Manual
Contents
Features
ETC
PLAY
UPDATE
SETTINGS
Troubleshooting
Specifications
Safety Instruction
Loop Play with One File
Loop Play with Multiple Files
Changing PLAYLIST Order and Selecting File(s)
Selecting File(s)
Managing PLAYLIST Number
Deleting File(s) and Checking File Information
Contents Update by USB Automatically
See Update Progress Status
Sub Folder
Deleting File(s) From System
VIDEO
Settings VIDEO
SYSTEM
Time Zone
Setting DATE & TIME
How to Reserve Power ON/OFF Time
Setting Key Lock
03
04
21
22
23
24
25
26
27
28
29
30
39
41
43
31
32
34
34
35
36
37

Summary
01
PLAYLIST Menu
How to Playback Files
How to Change Resolution
UPDATE
PLAY
UPDATE Menu
How to Update Contents by USB
SETTINGS
SETTINGS Menu
How to Update Firmware Manually
5
6
7
8
9
11
12

01. Summary
5
PLAYLIST Menu
PLAY
Image Preview
Current Selected
File Information
Current Video
Output Resolution
Page Information of
Current Selected List
PLAYLIST
Number
Contents List
To select all contents activate / deactivate contents
PLAYLIST is frequently used menu, please read carefully before using the device.
Press [LIST] button.
Playlist 9 Playlist 1Default
Date
Size
Video
Audio
Bitrate
2015-01-24
496MB
AVC/4K29.97p
AC-3/2Ch
80Mbps
Resolution
Page : 1 / 5
2160p30
1
2
3
4
5
6
7
8
9
10
Digital-01.m2ts
Digital-02.m2ts
Digital-03.m2ts
Digital-04.m2ts
Digital-05.m2ts
Digital-06.m2ts
Digital-07.m2ts
Digital-08.m2ts
Digital-09.m2ts
Digital-10.m2ts

01. Summary
6
How to Playback Files
PLAY
1
32
Digital-01.m2ts
Digital-02.m2ts
Digital-03.m2ts
Digital-04.m2ts
Playlist window
Digital-01.m2ts
Digital-02.m2ts
Digital-03.m2ts
Digital-04.m2ts
Select a file
Playback the selected file
1
2
3
Press [LIST] button.
Use [ ]buttons to move to
desired file.
Press [ENTER] after moving the cursor to
the desired le.

01. Summary
7
How to Change Resolution
PLAY
- If no image is displayed when resolution is changed,
press the [DEFAULT] button in the remote. (HDMI output will be changed into 1080p60)
-
Refer to the page 32 in SETTINGS menu.
3 5
2
4
1
2
3
4
5
Press [RESOLUTION] to open Resolution menu while Playing back
files or in PLAYLIST menu.
Select desired sub-resolution with [ ] direction buttons.
Press [ENTER] button to set the output
resolution.
Conrmation pop-up menu will be
opened to get the conrmation.
Resolution change executed by pressing [ENTER] button.
RESOLUTION
2160p60
2160p50
2160p30
2160p25
2160p24
MENU
CURRENT
2160p60
4K
1

01. Summary
8
UPDATE Menu
UPDATE
Press [UPDATE] button.
How to Select MEDIA
Select one of MEDIA (SYSTEM/ODD/USB/NETWORK) using Direction button.
Press Number 1 : Select all files
Press [ENTER] : Proceed uploading all selected files.
How to Select PLAYLIST
You can select PLAYLIST number from the update menu.
Press [CANCEL] : Possible to switch menus between UPDATE and PLAYLIST.
Playlist 9 Playlist 1
Default
System Free Size
Page : 1 / 5Page : 1 / 5
34 GB (88%)
1
2
3
4
5
6
7
8
9
10
Digital-01.m2ts
Digital-02.m2ts
Digital-03.m2ts
Digital-04.m2ts
Digital-05.m2ts
Digital-06.m2ts
Digital-07.m2ts
Digital-08.m2ts
Digital-09.m2ts
Digital-10.m2ts
1
2
3
4
5
6
7
8
9
10
Digital-01.m2ts
Digital-02.m2ts
Digital-03.m2ts
Digital-04.m2ts
Digital-05.m2ts
Digital-06.m2ts
Digital-07.m2ts
Digital-08.m2ts
Digital-09.m2ts
Digital-10.m2ts
UPDATE
SYSTEM ODD USB NETWORK
0 3 4
To select all contentsHelp To sort by the name To sort by the date To move from sided menus

01. Summary
9
How to Update Contents by USB
UPDATE
File(s) stored in USB Storage Device can be updated to UHD Stream Generator.
How to Select PLAYLIST Number
How to Select Media to USB
1
5
2
3
4
Press [UPDATE] button.
(Move to UPDATE Menu)
Press [CANCEL] button.
(Move to PLAYLIST Menu)
Select PLAYLIST NUMBER using [ ]
direction buttons.
Select USB using [ ]
direction buttons.
Press [CANCEL] button.
(Move to UPDATE Menu)
1
Select Playlist
number
2
Select USB
from media
3
Select files
4
Updating
files
5
Check
Updated files
Playlist 9 Playlist 1
Default
1
2
3
4
5
6
7
8
Digital-01.m2ts
Digital-02.m2ts
Digital-03.m2ts
Digital-04.m2ts
Digital-05.m2ts
Digital-06.m2ts
Digital-07.m2ts
Digital-08.m2ts
1
2
3
4
5
6
7
8
Digital-01.m2ts
Digital-02.m2ts
Digital-03.m2ts
Digital-04.m2ts
Digital-05.m2ts
Digital-06.m2ts
Digital-07.m2ts
Digital-08.m2ts
UPDATE
SYSTEM
O
DD
US
B
N
ETW
O
RK
Date
Size
Video
Audio
Bitrate
2015-01-24
496MB
HEVC
2160P60
AAC/2Ch
80Mbps
Playlist 9 Playlist 1
Default
1
2
3
4
Digital-01.m2ts
Digital-02.m2ts
Digital-03.m2ts
Digital-04.m2ts
1
2
3
4
Digital-01.m2ts
Digital-02.m2ts
Digital-03.m2ts
Digital-04.m2ts
SYSTEM ODD
US
B NETWORK
Playlist 2 Playlist 4
Playlist3
1
2
3
4
Digital-01.m2ts
Digital-02.m2ts
Digital-03.m2ts
Digital-04.m2ts
SYSTEM ODD
US
B NETWORK
Playlist 2 Playlist 4
Playlist3
1
2
3
4
Digital-01.m2ts
Digital-02.m2ts
Digital-03.m2ts
Digital-04.m2ts
SYSTEM
O
DD
US
B NETW
O
RK
Playlist 2P laylist 4
Playlist3
Playlist 2 Playlist 4
Playlist3
1
2
3
4
Digital-01.m2ts
Digital-02.m2ts
Digital-03.m2ts
Digital-04.m2ts
SYSTEM
O
DD USB NETW
O
RK
S
Y
S
TEM
O
D
D
USB NETW
O
R
K
1
3 5
2 4

01. Summary
10
How to Update Contents by USB
UPDATE
How to Select Designated Files
Update
Check Update
6
8
9
7
Move the cursor using [ ] direction button.
And then press [CHECK] button to select files.
Press [Number 1] button to select all
files in the selected folder.
Press [ENTER] button to activate update.
(When update process is completed, automatically
changed into PLAYLIST menu.)
Press [LIST] button.
(You can check updated files in PLAYLIST menu.)
※
Select files one by one
※
Select all files
Do not power o UHD Stream Generator during update.
Updated file(s) is/are damaged when power is manually turned o during updating stage.
Delete all file(s) updated to PLAYLIST when manually turned o and repeat update procedure once again.
6
6
7
8
9

01. Summary
11
SETTINGS Menu
SETTINGS
Press [SETUP] button and use
[ ]direction button to select
sub-menu.
Select type of network
connection
Interface
Wired
Auto(DHCP)
192.168.XX.XX
255.255.XX.XX
211.63.XX.XX
192.168.XX.XX
Interface
Configure
IP Address
Subnet Mask
DNS Server
Gateway
SETTINGS
S
HAR
E
V
IDE
O
NETWORK
S
Y
S
TE
M
U
PD
A
T
E
To upgrade new firmware
New Version
None
1.XX
1.XX
T7
New Version
Software Version
System Version
Model
SETTINGS
S
HAR
E
V
IDE
O
NETW
O
R
K
S
Y
S
TE
M
UPDATE
MAC Address
00:00:00:00:00:00
192.168.XX.XX
None
10Min
MAC Address
Server IP
Connection Type
Connection Period
SETTINGS
SHARE
VIDEO NETWORK SYSTEM UPDATE
VIDEO
SYSTEM
SHARE
UPDATE
NETWORK
Time Zone
Seoul
2015/01/16
00:00
Disable
00:00
00:00
Off
Time Zone
Date
Time
Reservation
Power On Time
Power Off Time
Key Lock
SETTINGS
SHARE
VIDEO
NETWORK
SYSTEM
UPDATE

01. Summary
12
How to Update Firmware Manually
2
1
3
Press [SETUP] button to open settings menu
and
then move to
‘UPDATE’ menu using [ ]
direction button.
Press [STOP] to stop playing files and then
plug USB into UHD Stream Generator.
Move to ‘New Version’ and then press [ENTER].
Select ‘OK’ on CONFIRMATION Pop-up menu
and then Press [ENTER].
SETTINGS
New Version
It will be displayed new
rmware version in USB.
Update will be processed if
you press [ENTER] button on
new rmware
None There is no upgradable rmware le(s)
X.XX
(version NO.) Possible to upgrade rmware
Software Version It is showing current Firmware version
System Version It is showing current System version
Model Shows UHD Stream Generator model name
※ Automatic Firmware Update:
2
2
1
3
Firmware will be automatically updated if USB device is connected while it is
playing files. CONFIRMATION Pop-up menu will be appeared on the screen If
USB device contains a firmware file.
Select OK button to update the firmware.
(Firmware file has to be stored in the root folder of USB)
USB
CONFIRMATION
Current version : xxx
Would you like to update software to Vxxx?
None
1.XX
1.XX
T7
New Version
Software Version
System Version
Model
S
HAR
E
V
IDE
O
NETW
O
R
K
S
Y
S
TE
M
UPDATE
WARNING
Please don’t turn off system
Total Est. Time : 0:00:16 Status : File Copying
Size : 190MB
File Name xxxx.xx
Current Est. Time : 00:00:13
35%
65%

Getting Started
02
Important Safety Instructions
Guide to Parts and Controls
How to Use Top Buttons
Remote
Package and Accessories / Cautions
Connecting Cable
14
15
16
17
18
19

14
02. Getting Started
Important Safety Instructions
Please read following recommended safety instructions carefully.
© Copyright 2016, DIGITALZONE Co., Ltd. All rights reserved.
Read these operating instructions carefully before using the product.
Follow the safety instructions on the unit and the safety precautions listed in the manual.
Keep this manual handy for future reference.
* DIGITALZONE Logo is registered trade mark of DIGITALZONE Co., Ltd.
Do not attempt to repair this product yourself.
Do not install on a surface where exposed to
direct sunlight, near heating. Equipment or
heavy cold area
Do not place this product on an uneven surface.
Prevent water or dust from the product.
Do not place glass contained of liquid
on the product.
Do not install this product near any magnetic
source.
Place the product at proper ventilation area. Do not place heavy items on the product.

15
02. Getting Started
Guide to Parts and controls
POWER
MENU
VIDEO
PLAY/PAUSE
ENTER
DIRECTION Buttons
Adapter Power Input
LEDs : Status Indicators
IR Extension Receiver Input
1 x USB
HDMI Output
1 x USB
Kensington Lock
DEBUG
LAN
1
1
1
3
3
5
5
6
6
7
2
2
2
4
4
1 2 3 4
6
5
12
4
12 3 5 6 7
TOP
FRONT
REAR

16
02. Getting Started
1 2 3 4
6
5※
Top buttons have the
same functions as
Remote.
3
How to Use Top Buttons
2
2
2
5
5
5
5
5
5
Press [MENU]
button
Press [MENU]
button
Press [MENU]
button
Press [VIDEO]
button
Playing files Insert USB device which
contains Firmware file in
the root folder
Select PLAYLIST menu
using [ , ] button and
press [ENTER] button
Select UPDATE menu
using [ , ] button and
press [ENTER]button
Select SETTINGS menu
using [ , ] button and
press [ENTER]button
Select desired RESOLUTION
using direction buttons and
press [ENTER] button
When you change the resolution, CONFIRMATION PopUp menu
will be appeared. Select [OK] or [CANCEL] using [ , ] button.
How to Open UPDATE Menu
How to Open SETTINGS Menu
How to Update Firmware Automatically
How to Open and Change RESOLUTION Menu
How to Open PLAYLIST Menu
RESOLUTION
2160p60
2160p50
2160p30
2160p25
2160p24
MENU
CURRENT
2160p60
4K
6
6
6
6
Select & [Enter] ‘OK’ on CONFIRMATION Pop-up menu.
(Firmware file have to be stored in the root folder of USB)
CONFIRMATION
Current version : xxx
Would you like to update software to Vxxx?
6
WARNING
Please don’t turn off system
Total Est. Time : 0:00:16 Status : File Copying
Size : 190MB
File Name xxxx.xx
Current Est. Time : 00:00:13
35%
65%

17
02. Getting Started
Remote
Remote Buttons
Inserting Battery to Remote
Using IR Extension Receiver Remote Angle Range
Remote angle range is within 3~5m distance with 60
degree of angle scope.
IR extension receiver is used to control the UHD Stream
Generator from far distance or behind an obstacle.
When IR extension receiver is connected, top buttons of
UHD Stream Generator will not work.
1. Pull out the insert part.
2. Place the battery checking “+” polarity.
3. Push in the insert part.
POWER
Change Playing Order in PLAYLIST Menu
Open RESOLUTION Menu
(Available only when playing or in play list menu. )
Direction buttons
Open PLAYLIST Menu
Play & Pause
Trick Mode
Select or Deselect All Files
(Applying Only for PLAYLIST & UPDATE Menu)
Activate or Deactivate Files
Delete file(s) in PLAYLIST and UPDATE Menu
Open SETTINGS Menu
Select or Deselect File(s)
Resolutions (1080p60)
Open UPDATE Menu
Volume Up(+)/Down(-)
MUTE
Playing: Stop playing the file (Stop the current playing file)
Updating: Cancel updating all the file (Cancel all the updating files)
Playing file : Move to Previous or Next File
PLAYLIST/UPDATE : Page Up or Down
Updating Files : Cancel the current updating file
Update Menu : Toggle from Sided Menus
(Apply Only at UPDATE Menu)
1
2
3
4
5
6
7
8
9
10
11
12
13
14
15
16
17
18
19
2
3
4
5
6
7
8
9
1
10
11
12
13
14
15
16
17
18
19

18
02. Getting Started
Package and Accessories / Cautions
Package and Accessories
Cautions
UHD Stream Generator
HDMI Cables (Option)
Remote & Battery
Adaptor & Power Cord
User Manual
IR Extension Receiver
- Accessories could be changed without any notice.
- Additional accessories or any accessories other than above should be purchased separately.
(www.dzonei.com)
- Distributors and users should keep in mind that the device is for commercial use
(Grade A), which acquired EMC (Electromagnetic Compatibility), and it is intended to
be used in areas, except for a domestic purpose.
- Digitalzone will not be responsible for any problems adapter cautions.
Press power button in remote or
on top to turn o the power.
1. DO NOT pull plug out of outlet while the
device is running.
2. This can cause defect to system.
In case of system error, turn the power o
and on.
3. This can recover the error.
(The booting time could take longer than usual)
About A/S: +82.2.6330.2358
(www.digitalzone.co.kr, www.dzonei.com)
1. Dee Van Electronics(Longchan) Co., Ltd
2. DSA-42D-12 3 120300
Listing of manufacturers and models of
the relevant power supplies.

19
02. Getting Started
Connecting Cable
Before Connecting
Connecting HDMI Cable
1. Check each name of the port(s).
2. Check output of UHD Stream Generator and input of TV is respectively connected with same cable.
3. Check output setting of UHD Stream Generator and input selection of TV is respectively matched.
4. Check whether cable(s) is connected tightly without loose.
5. When there’s no picture in TV, check whether TV’s input selection is selected to correct port.
1. Connect UHD Stream Generator to TV
with HDMI cable.
2. HDMI supports both audio and video
signal together, there’s no additional
audio cable needed.
- UHD Stream Generator is collecting EDID information from the connected TVs. HDMI output
number “1” has the top priority and then the HDMI port which is connected in advance or
adjacent from the number “1” port has the priority.
- Use High speed HDMI cable or HDMI cable oered by Digitalzone.
(Possible to use HDMI certied cable up to 10M. It is possible to have some problems longer than.)

Features
03
PLAY
UPDATE
SETTINGS
Loop Play with One File
Loop Play with Multiple Files
Changing PLAYLIST Order and Selecting File(s)
Selecting File(s)
Managing PLAYLIST Number
Deleting File(s) and Checking File Information
Contents Update by USB Automatically
See Update Progress Status
Sub Folder
Deleting File(s) From System
VIDEO
Settings VIDEO
SYSTEM
Time Zone
Setting DATE & TIME
How to Reserve Power ON/OFF Time
Setting Key Lock
21
22
23
24
25
26
27
28
29
30
31
32
34
34
35
36
37
Table of contents
Other Digital Zone Media Player manuals
