DigitaLinx DL-SE3H1V-C User manual

DL-SE3H1V-C Quick Install Guide
Important noce:
• Do not aempt to disassemble or alter the housing. There are no user-serviceable parts
inside the unit. Doing so will void your warranty.
• To minimize the possibility of equipment damage from electrostac discharge (ESD), all source and
desnaon equipment must be powered o during installaon.
• Do not connect the device to a telecommunicaon outlet wired to unrelated equipment. Doing so may
damage the unit or any connected equipment. Ensure all connected twisted pair cabling is straight-through
(point-to-point).
• Allow proper venlaon to reduce the risk of thermal failure.
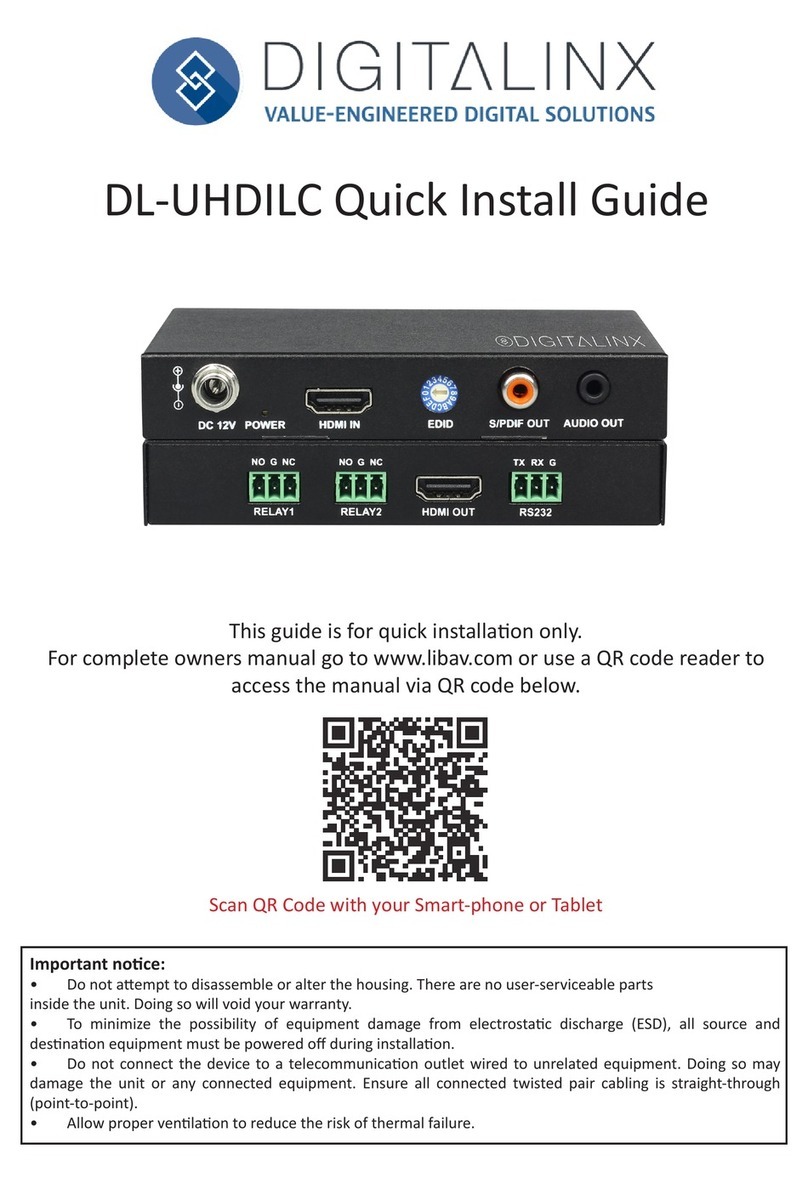
This guide is for quick installaon only.
For complete owners manual and list of commands, go to www.libav.com or use a
QR reader to access the manual via QR code below.
Scan QR Code with your Smart-phone or Tablet

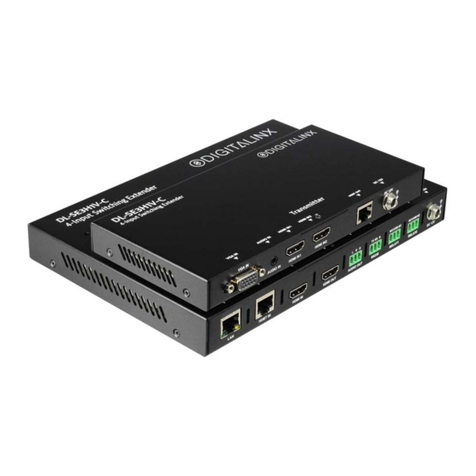
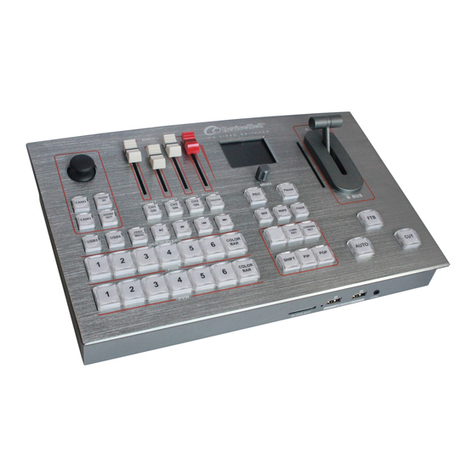
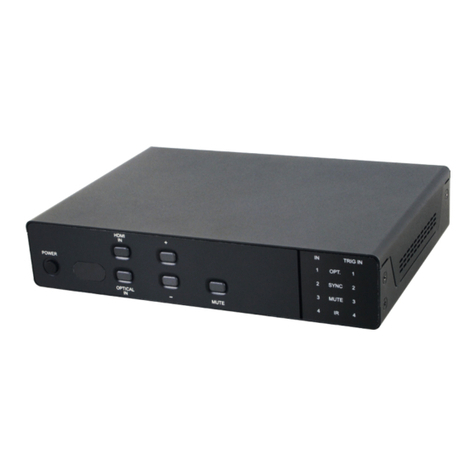
The Digitalinx DL-SE3H1V-C is a 4K compable, 4 input mul format A/V auto switcher,
extender and video scaler system that supports long distance transport of HDMI
between transmier and receiver up to 70 meters / 230’ using Cat6 cabling.
The DL-SE3H1V-C features a total of 3 video inputs on the transmier; (2) HDMI,
(1) VGA with 3.5 Audio and (1) HDMI input located on the receiver for integraon
of a local HDMI input such as a wireless BYOD / screen share product. The receiver
also features a stereo analog audio output to connect to an audio amplier for audio
reinforcement, an RS232 serial control port for display control / connecvity and two
relay ports for projecon screen or window shade control / connecvity.
The DL-SE3H1V-C can be controlled via push buon control on the transmier and
receiver or by issuing telnet and serial commands when integrated with a 3rd party
control system. The system can be programmed to automate RS232, CEC and relay
control when a new video signal is introduced to the system thus creang a stand
alone, plug and play A/V automaon system that consolidates control of a connected
display and room peripherals such as a projector screen or window shade.
Complete control command sets and preloaded conguraon driver are located on
the DL-SE3H1V-C product page online at www.libav.com
Product Overview
Package Contents
• DL-SE3H1V-C Transmier and Receiver Set
• Quick Install Guide
• DC12V 3A power supply with US, UK, EU and AU adapter plugs
• (4) 3.5mm 3 pin phoenix male connectors
• (4) Mounng brackets

Transmier View
1. VGA IN - VGA video input
2. FW UPDATE - USB port for transmier rmware updates
3. AUDIO IN - 3.5mm analog audio input to accompany VGA input
4. HDMI IN1 - HDMI video input #1
5. STATUS LEDS
• POWER- When solid, the transmier is receiving power
• STATUS- When solid, the transmier is working properly
• HDCP - When solid, HDCP content is being transmied, when blinking NON HDCP content is
being transmied
• LINK - When solid, the link between transmier and receiver is normal. When blinking or o the
link between transmier and receiver is not operable
6. HDMI IN2 - HDMI video input #2
7. HDBT OUT - HDBaseT output to connect to HDBaseT input on receiver via category cable
8. FRONT PANEL CONTROLS
• AUTO - Enables auto switcher. When LED is on the auto switch funcon is ON
• VGA IN - VGA video input selector
• HDMI IN1 - HDMI IN1 input selector
• HDMI IN2 - HDMI IN2 input selector
LED indicator status for VGA and HDMI inputs:
• When LED is violet, the input has signal and is selected
• When LED is orange, the input has signal but is not selected
• When LED is blue, the input has no signal but is selected
• When LED is o, the input has no signal and is not selected
9. DC12V - Locking power port to connect DC12V power adapter
1 2 3 4 5 6 7 98

1. LAN - RJ45 Telnet control port
2. FW UPDATE - USB port for receiver rmware updates
3. HDBT IN - HDBaseT input to connect to HDBaseT output on transmier via category cable
4. STATUS LEDS
• POWER- When solid, the transmier is receiving power
• SCALER - When solid, the scaler module is working properly
• STATUS- When solid, the transmier is working properly
• HDCP - When solid, HDCP content is being transmied, when blinking NON HDCP content is
being transmied
• LINK - When solid, the link between transmier and receiver is normal. When blinking or o the
link between transmier and receiver is lost and should be reset
5. HDMI IN - HDMI receiver input for local HDMI source
6. HDMI OUT - HDMI output for display connecvity
7. AUDIO OUT - Stereo analog audio output
8. FRONT PANEL CONTROL
• AUTO - Enables auto switcher. When LED is on the auto switch funcon is ON
• HDBT IN - HDBaseT / Transmier input selector
• HDMI IN - Receiver HDMI input selector
LED indicator status for HDBT and HDMI input:
• When LED is violet, the input has signal and is selected
• When LED is orange, the input has signal but is not selected
• When LED is blue, the input has no signal but is selected
• When LED is o, the input has no signal and is not selected
9. RS232 - Serial control port for display control / 3rd party control
10. RELAY 1 / RELAY 2 - Relay port 1 and 2 for room peripheral control
11. SCALER UPDATE - USB port for scaler rmware updates
12. DC12V - DC12V - Locking power port to connect DC12V power adapter
Receiver View
1 3
2
4 5 8
67 9 10 11 12

Connecvity Instrucons
1. Verify all components included are present before installaon.
2. Connect HDMI source devices to HDMI inputs on transmier and receiver
3. Connect a VGA and audio source to VGA input and audio input on transmier
4. Connect an HDMI display device to the HDMI output port on receiver
5. Connect Category 6 or greater twisted pair cable with RJ45 connectors between
the DL-SE3H1V-C transmier and the receiver. TIA/EIA-568B straight-through
wiring connecons must be used with this extender set.
Note: The HDBaseT transmier supports up to 70m / 230’ for 1080p applicaons
and 40m / 130’ for 4K applicaons
6. Connect AUDIO OUTPUT port on receiver to audio amplier or powered speakers
(oponal)
7. Connect RS232 control port to displays RS232 control port for serial control
(oponal)
8. Connect RELAY 1 and 2 ports to projector screen or window shade control
(oponal)
9. Connect LAN port to control LAN for telnet system control (oponal)
Note: A complete list of command sets are located on the DL-SE3H1V-C product
page online at www.libav.com
10. Connect the included power supply to the receiver and lock the power supply to
the power connector by twisng the locking collar clockwise.
Note: The DL-SE3H1V-C only supports one way PoH, when powering receiver you
can also power the transmier via HDBaseT. The transmier cannot supply power
to the receiver via HDBaseT when transmier is powered by power supply.
11. Power on aached audio / video and control devices

TIA/EIA-568B
Orange/White
Orange
Green/White
Blue
Blue/White
Green
Brown/White
Brown
Pin 1
Pin 2
Pin 3
Pin 4
Pin 5
Pin 6
Pin 7
Pin 8
1 8
Twisted Pair Wiring
Use TIA/EIA-568B wiring for Category 6
connecon between send and receive units.
Cabling Requirements
Tx RXD
GND
Rx TXD
DL-SE3H1V-C
RX
Controller or
Device
RS232 Wiring
Connect the controller or device RX signal to TX port of the DL-SE3H1V-C receiver. Then
connect the controller or device TX signal to the RX port on the DL-SE3H1V-C receiver.
RELAY Wiring for both RELAY Outputs
For the normally open contacts, connect a circuit
between the NO and COM terminals of the 3-pin
For the normally closed contacts, connect a circuit
between the NC and COM terminals of the 3-pin
phoenix connector
To ensure proper performance of the DL-SE3H1V-C, it is recommended that you use solid core
shielded Category 6 F/UTP cabling at a minimum. Category 5e F/UTP may perform well but
may not support power over HDBaseT reliably.
For opmized performance use the following Liberty Wire and Cable branded cabling;
Category 6 plenum; 24-4P-P-L6SH
Category 6A plenum; 24-4P-P-L6ASH
Category 6 NON-plenum; 24-4P-L6SH
Category 6A NON -plenum; 24-4P-L6ASH
When using shielded category cabling ALWAYS...
....use shielded connectors
....properly ground the category cable
I/O STATE RELAY STATE
NO NC
ON CLOSED OPEN
OFF OPEN CLOSED

rev 171208
Liberty AV Soluons
11675 Ridgeline Drive
Colorado Springs, CO 80918
800-530-8998
supportlibav@libav.com
Technical Specicaons
VIDEO
Video Inputs (2) HDMI transmier; (1) VGA transmier; (1) HDMI receiver;
Video Input Connector (3) HDMI type A; (1) VGA female 15 pin
Input Video Signal HDMI, VGA
Video Output (1) HDMI
Video Output Connector (1) HDMI type A
Output Video Signal HDMI (receiver); HDBaseT (transmier)
Input Resoluons Supported HDMI: 4096 x 2160@24/30/60 (YUV4:2:0); 3840 x 2160@24/30/60
(YUV4:2:0); 1920 x 1200@60; 1920 x 1080@60; 1680 x 1050@60; 1600 x
1200@60; 1600 x 900@60; 1440 x 990@60; 1366 x 768@60; 1360 x 768;
1280 x 1024@60; 1280 x 960@60; 1280 x 768@60; 1280 x 720; 1024 x 768;
800 x 600@60
VGA: 1920 x 1200@60; 1680 x 1050@60; 1600 x 1200; 1600 x 900;
1440 x 900@60; 1366 x 768@60; 1360 x 768; 1280 x 1024@60; 1280 x
960@60 1280 x 800; 1280 x 768@60; 1024 x 768; 800 x 600@60
Standards Compliant with HDMI 2.0 & HDCP2.2
Audio
Supported output formats PCM 2.0
Audio Output Stereo analog
Audio Output Connector (1) 3 Pin phoenix
Audio Output Impedance 70 Ohms
Frequency Response 20Hz~20K Hz
CONTROL
Control Port / Connector (1) LAN (Telnet- Port 23) / RJ45
(1) RS232 / 3 pin phoenix
Relay Port / Connector / Type (2) RELAY / 3 pin phoenix / Momentary (default)
Relay coil operang current 5 VDC, 28mA. The coil limits the current; no external resistance is required.
Relay control contact rang 30 VDC, 2 A
125 VAC, 0.5 A
Other
System Bandwidth 10.2Gbps
Transmission Distance 1080p 70m or less when using Cat6 F/UTP, 4K 40m or less when using Cat6
F/UTP
Temperature 0 ~ +45 C
Humidity 10% ~ 90%
Power Supply DC12V 3A
Power Consumpon Receiver: When powered separately from transmier: 14w; when powering
transmier: 21w
Transmier: 4.4w
Dimension (W*H*D) Receiver: 223mm*25mm*154mm / 8.79”*.98”*6.07”
Transmier:194mm*20mm*94mm / 7.67”*.79”*3.7”
Weight Receiver: 2.7 lbs
Transmier: 1lb
Warranty 2 years
Cercaon CE, FCC, RoHS

Thank you for your purchase.
For Technical Support please call our toll free number at
800-530-8898 or email us at supportlibav@libav.com
www.intelix.com
www.libav.com
Digitalinx is a brand of:
11675 Ridgeline Drive
Colorado Springs, Colorado
80921 USA
Phone: 719-260-0061
Fax: 719-260-0075
Toll-Free: 800-530-8998
Other manuals for DL-SE3H1V-C
1
Table of contents
Other DigitaLinx Switch manuals
DigitaLinx
DigitaLinx DL-UHDILC User manual

DigitaLinx
DigitaLinx DL-SCU21C User manual
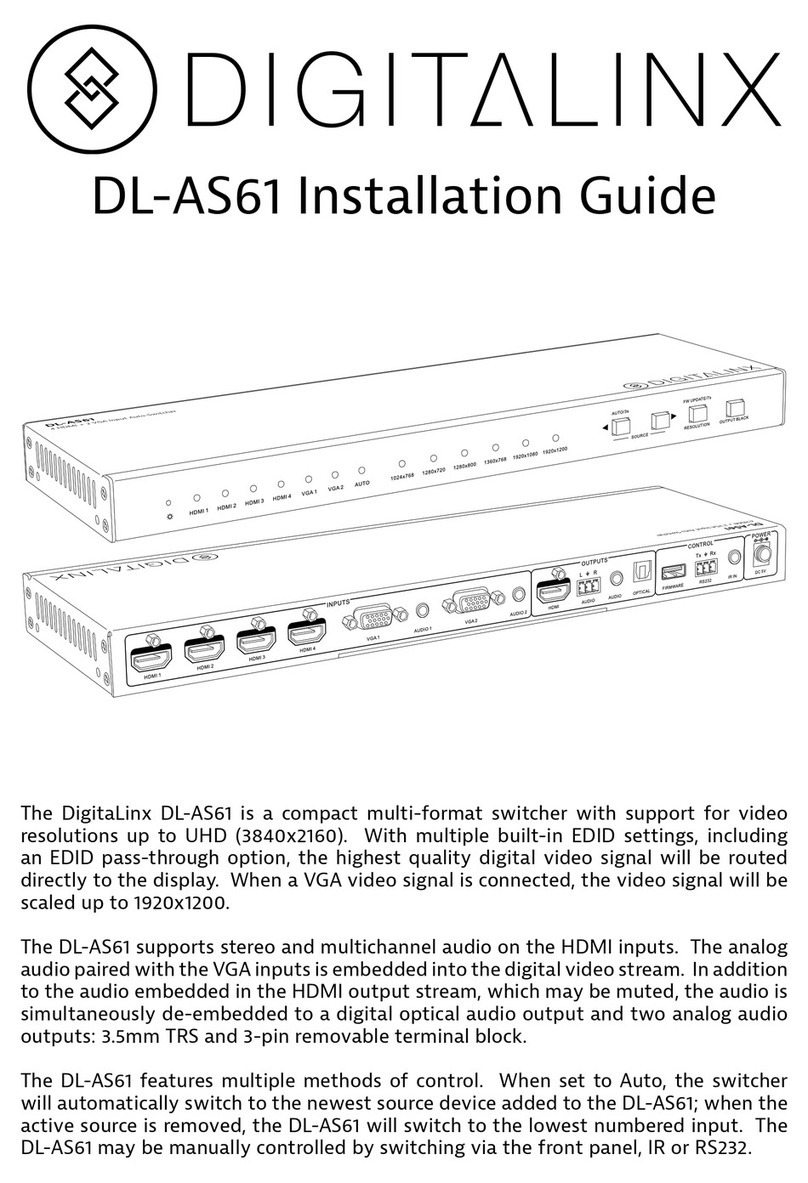
DigitaLinx
DigitaLinx DL-AS61 User manual
DigitaLinx
DigitaLinx DL-SC41U-TX User manual
DigitaLinx
DigitaLinx DL-HDS41 User manual
DigitaLinx
DigitaLinx DL-HDM88A-H2 Assembly instructions
DigitaLinx
DigitaLinx DL-S41-H2 User manual
DigitaLinx
DigitaLinx DL-AS31-1H1DP1V User manual
DigitaLinx
DigitaLinx DL-AS31-2H1V User manual
DigitaLinx
DigitaLinx IP 2000 Series User manual

