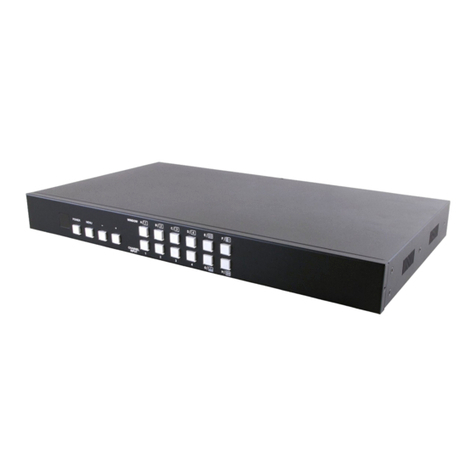
DigitaLinx DL-SC41U-TX User manual

11675 Ridgeline Drive
Colorado Springs, CO
80921
Rev 191121 Phone: 719-260-0061
Toll-Free: 800-530-8998
Fax: 719-260-0075
DL-SC41U-TX Quick Install Guide
This guide is for quick installaon only.
For complete owners manual go to www.libav.com or use a QR reader to access the
manual via QR code below.
Scan QR Code with your Smart-phone or Tablet

DL-SC41U-TX Quick Guide
2
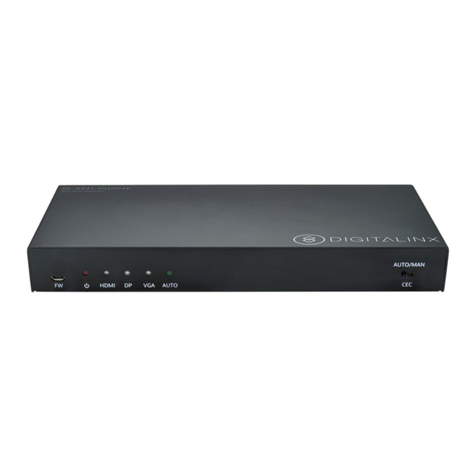
The DigitaLinx DL-SC41U-TX is a 4x1 mul format A/V presentaon auto switcher that supports video
resoluons up to 4K@60Hz 4:4:4 8bit deep color, is HDCP 2.2 compliant and has a built in USB 3.0
switching hub for control and integraon of USB devices such as USB cameras and microphones. The
switcher features four video inputs; (2) HDMI, (1) Display Port and (1) USB-C. The USB-C input supports
video, data (USB host) and power charging up to 40w. There is a 2 port USB client hub built with 2 USB
host ports that can be switched independently or can be assigned to follow a video input so when the
video input is triggered or switched, the dened USB host port will also switch. The switcher features
two matrix outputs; HDMI and HDBaseT 2.0. The built in HDBaseT 2.0 transmier output supports long
distance transport of audio, video and High Speed USB 2.0 signals up to 190Mbps up to 70 meters /
232’ using one category cable. The switcher is compable with the DL-SCU-RX HDBaseT 2.0 receiver
(sold separately) and the receiver can supply power to the DL-SC41U-TX remotely when used in this
conguraon.
The DL-SC41U-TX gives you the ability to automate the display power ON by using pre-loaded RS232
commands whenever a video signal is introduced to the system using any A/V input. It will also turn
the display power OFF aer a specied amount of me has passed when no video signal or switching
acvity is present. For a complete list of programming commands to automate display power status,
please see the complete owners manual online at www.libav.com or by using the QR code on the print
page of this guide.
The DL-SC41U-TX can be controlled via front panel buons or by API commands using RS232 or
Ethernet. A web server / GUI is built in that features A/V and USB switching control, automac display
control and input EDID management.
The DL-SC41U-TX is ideal for soware based video teleconference rooms that require the consolidaon
and sync of A/V and USB signals from a laptop or room PC.
NOTE: The DL-SC41U-TX switcher can be used as a standalone switcher or paired with an HDBaseT
receiver. The DL-SCU-RX HDBaseT 2.0 receiver (sold separately) is required to complete an extension
circuit. When using the DL-SCU-RX, only USB 2.0 Full Speed devices can be used on the receiver.
Product Overview
Package Contents
• DL-SC41U-TX 4X1 HDMI / USB Switcher
• (1) Quick Install Guide
• (1) 3 pin Phoenix Male Connector
• (4) Plasc Cushions
• (2) Mounng clips with 4 screws
• DC24V Power Supply with US, UK, EU and AU adapter plugs

DL-SC41U-TX Quick Guide
3
Front Panel View
1. POWER LED - Illuminated red when power is applied
2. INPUT - A/V source selector and input LEDs
• NOTE: The RX HDMI can only be used when paired with the DL-SCU-RX HDBaseT receiver
3. OUTPUT - Output selector and output LEDs
4. SWITCH - A/V switch selector
• To route an input to an output, select the INPUT, then the OUTPUT then press SWITCH. By default the
DL-SC41U-TX is set to auto switching mode.
5. DISPLAY - Display control buons, triggers CEC / RS232 commands
• ON: Turns display ON
• OFF: Turns display OFF
• VOL-: Turns display volume down
• VOL+: Turns display volume up
• RELAY 1: Turns relay 1 state ON/OFF
• RELAY 2: Turns relay 2 state ON/OFF
NOTE: The RELAY 1/2 buons can only be used when paired with the DL-SCU-RX HDBaseT receiver
123 4

DL-SC41U-TX Quick Guide
4
1
43 5
6 7 8 9 10 11 12
2
Back Panel View
1. PC1 / PC2 - USB B Host ports
NOTE: By default PC1 is set to follow HDMI 1 video input, PC2 is set to follow HDMI 2 video input. This can
be changed in the web GUI sengs. See owners manual for complete instrucons.
2. Device 1 / Device 2 - USB A Client ports
3. RS232 - Phoenix connector for RS232 system control
4. LAN - RJ45 connector for Ethernet system control
5. FIRMWARE - USB A port for rmware updates
6. 1. HDMI IN - HDMI input 1
7. 2. HDMI IN - HDMI input 2
8. 3. DP IN - Display Port input
9. 4. USB-C IN - USB C input, support A/V, data and power charging up to 40 was
NOTE: The DL-SC41U-TX USB-C input supports ALT-DP mode for video, to ensure a source is compable
with the DL-SC41U-TX check the sources capability of supporng this mode.
10. HDMI OUT - HDMI output
11. HDBT OUT - 70M / 232’ HDBaseT 2.0 transmier output
12. DC24V - Power supply input

DL-SC41U-TX Quick Guide
5
Connecvity Instrucons
1. Verify all components included with the extender set are present before installaon.
2. Turn o power and disconnect the audio/video equipment by following the manufacturer’s
instrucons.
3. Connect a source device to the HDMI inputs using an HDMI cable that is less than or equal to 5
meters in length. For source devices that are further away, an HDMI extension device will be required
to complete the connecon.
4. Connect a source device to the Display Port input using a Display Port cable that is less than or
equal to 5 meters in length. For source devices that are further away, an extension device will be
required to complete the connecon.
5. Connect a source device to the USB-C input using a USB-C video cable that is less than or equal to 2
meters in total length. Only a USB-C cable rated for video, data and power will work as charging cables
typically will not support video and/or data.
6. Connect an HDMI cable that is less to or equal to 5 meters in length between the display and the
HDMI output of the DL-SC41U-TX. For display devices that are further away, an HDMI extension device
will be required to complete the connecon such as the DL-SCR-RX HDBaseT 2.0 receiver.
7. (Oponal) Connect Category 6 or greater solid core twisted pair cable with RJ45 connectors
between the DL-SC41U-TX and a compable HDBaseT 2.0 receiver (DL-SCU-RX sold separately). TIA/
EIA-568B straight-through wiring connecons must be used.
8. (Oponal) Connect an HDMI cable less to or equal to 5 meters in length between the TV display and
the HDBaseT 2.0 receiver (DL-SCU-RX sold separately) HDMI output.
9. If using the DL-SC41U-TX in standalone mode, connect the power supply adapter to the DL-SC41U-
TX. If using the oponal HDBaseT receiver (DL-SCU-RX, sold separately) to power the DL-SC41UI-TX via
HDBaseT, connect the power supply adapter to the DL-SCU-RX.
NOTE: If you choose to supply 40 was of power charging to the USB-C input on the DL-SC41U-TX
while using the DL-SCU-RX extender receiver, you will need to power both the DL-SC4U-TX and the
DL-SCU-RX devices with the supplied power supplies.
10. (Oponal) Connect RS232 / Ethernet control to a 3rd party control system to control switcher
funcons
NOTE: A list of RS232 commands for this unit is available in the owners manual online at
www.libav.com under the DOCUMENTATION tab of the DL-SC41U-TXproduct page
11. Power on aached audio/video devices.

DL-SC41U-TX Quick Guide
6
Cabling Wiring Requirements
Twisted Pair Wiring
Use TIA/EIA-568B wiring for Category 6
connecon between send and receive
units.
HDBaseT Cabling
To ensure proper performance of the DL-SC41U-TX, it is recommended that you use solid
core, shielded Category 6 F/UTP cabling at a minimum. Category 5e F/UTP may perform
well but may not support power over HDBaseT reliably over longer distances.
For opmized HDBaseT performance use the following Liberty Wire and Cable branded
cabling;
Category 6 plenum; 24-4P-P-L6SH
Category 6A plenum; 24-4P-P-L6ASH
Category 6 NON-plenum; 24-4P-L6SH
Category 6A NON -plenum; 24-4P-L6ASH
When using shielded category cabling ALWAYS ...
....use shielded connectors
....properly ground the category cable
The RS232 connecon on the matrix is 3 pin
phoenix. See below for RS232 conguraon.
• 9600 baud
• 8 Data Bits
• 1 Stop Bit
• Parity = none
TX RX G
RX TX G
DL-SC41U-TX
RS232 PORT
CONTROL
RS232
PINOUT
Connecng to
System Controller

DL-SC41U-TX Quick Guide
7
Technical Specicaons
Video
Video Inputs (2) HDMI, (1) Display Port, (1) USB-C
Video Input Connector (2) HDMI type A, (1) Display Port, (1) USB-C
Input Video Signal HDMI for HDMI input, DisplayPort 1.2 for Display Port,
ALT-DP Mode for USB-C
Video Output (1) HDMI, (1) HDBaseT
Video Output Connector (1) HDMI type A, (1) RJ45
Input Resoluon Support HDMI / Display Port: Up to 3840 x 2160 @60Hz / 4:4:4 / 8 bit deep color
USB-C: Up to 3840 x 2160 @30Hz / 4:4:4 / 8 bit deep color
Output Resoluon Support HDMI: Up to 4K@60Hz 4:4:4
HDBaseT: Up to 4K@60Hz 4:2:0
Standards Compliant with HDMI 2.0b, HDCP 2.2 and CEC
Bandwidth All Inputs: 18Gbps
HDMI Output: 18Gbps
HDBaseT Output: 10.2Gbps
HDBaseT 2.0 Transmission Distance 1080P @ 70m or less when using Cat6 F/UTP, 4K @ 40m or less when
using Cat6 F/UTP
USB
Supported USB Standard Local Switcher: Up to USB 3.0 @ 5Gbps
HDBaseT 2.0 Receiver (oponal): Up to USB 2.0 High Speed up to
190Mbps
USB Port Types (2) USB B (Host)
(1) USB C (Host)
(2) USB A (Client)
Audio
Supported output formats HDMI Embedded: LPCM 7.1 audio, Dolby Atmos®, Dolby® TrueHD, Dolby
Digital® Plus, DTS: X™, and DTS-HD® Master Audio™ pass-through
Device Control Parameters
Ethernet 100BaseT
RS232 Baud Rate 9600 baud (default)
Chassis and Environmental
Dimensions (WxHxD) 220 mm x 44 mm x 130 mm (8.7 in x 1.7 in x 5.1 in)
Shipping Weight 605g (1.3lbs.)
Operang Temperature 0° to +55° C (+32° to +131° F)
Operang Humidity 10% to 90%, Non-condensing
Storage Temperature -20° to +70° C (+14° to +158° F)
Storage Humidity 10% to 90%, Non-condensing
Power, ESD, and Regulatory
Power Supply Input 100V-240VAC / 50-60 Hz
Power Supply Output 24VDC / 5A
Power Consumpon 32 was (68 was MAX with USB-C power charging support)
USB-C Power Consumpon 40 was
ESD Protecon 15kV
Product Regulatory FCC, CE, RoHS
Power Supply Regulatory CE, RoHS
Other
Standard Warranty 5 years
Included Accessories Quick Install Guide, Power Supply with US, UK, AU and EU power plugs,
(1) 3-pin to DB9 RS232 Cable, (2) Mounng clips with screws and (4)
plasc cushions

Thank you for your purchase.
For Technical Support please call our toll free number at
800-530-8998 or email us at supportlibav@libav.com
www.libav.com
Digitalinx is a brand of:
11675 Ridgeline Drive
Colorado Springs, Colorado
80921 USA
Phone: 719-260-0061
Fax: 719-260-0075
Toll-Free: 800-530-8998
Table of contents
Other DigitaLinx Switch manuals
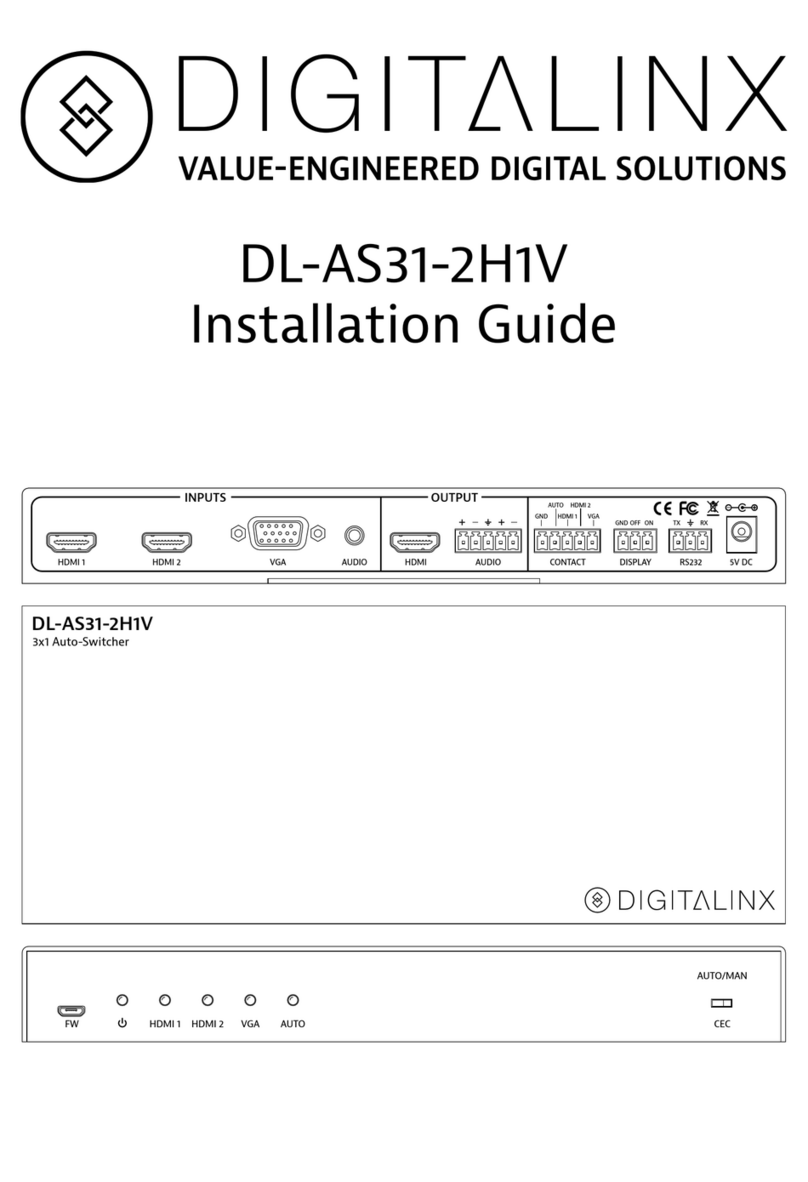
DigitaLinx
DigitaLinx DL-AS31-2H1V User manual
DigitaLinx
DigitaLinx IP 2000 Series User manual
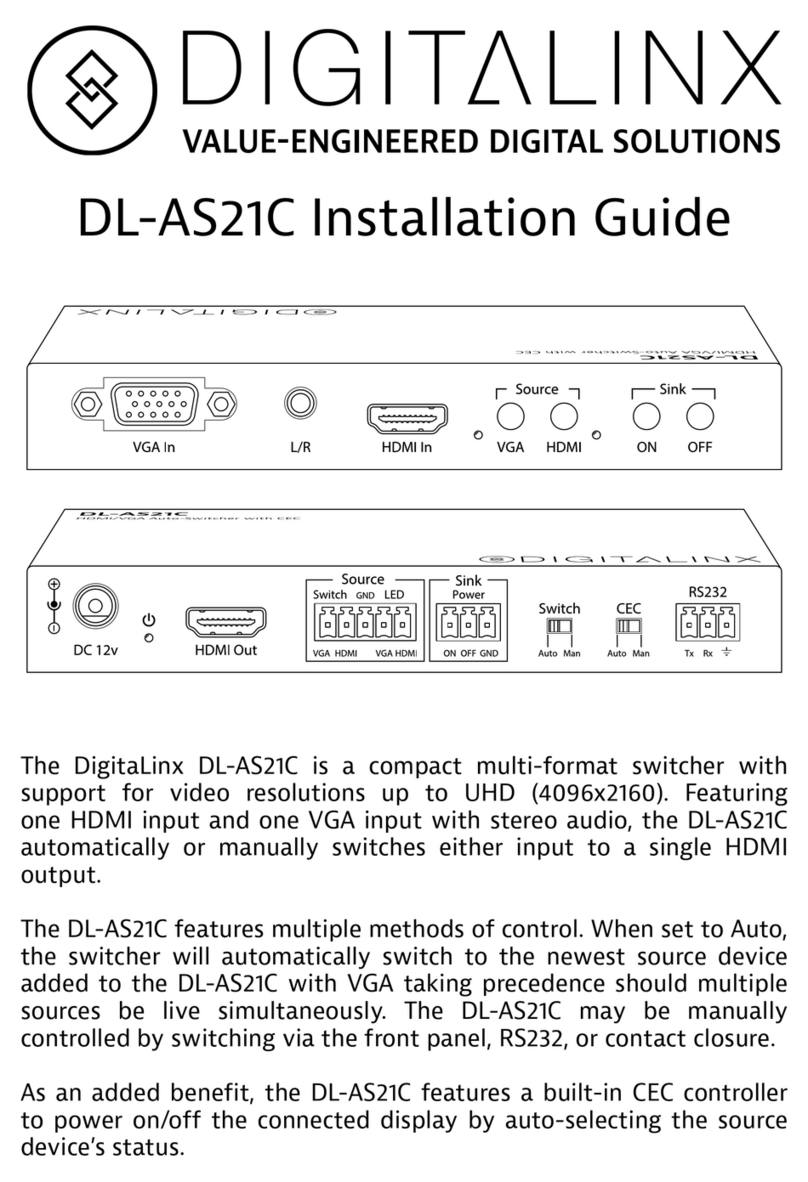
DigitaLinx
DigitaLinx DL-AS21C User manual
DigitaLinx
DigitaLinx DL-SE3H1V-C User manual
DigitaLinx
DigitaLinx DL-AS61 User manual
DigitaLinx
DigitaLinx IPEX2100 Series User manual
DigitaLinx
DigitaLinx DL-S41-H2 User manual
DigitaLinx
DigitaLinx DL-HDM88A-H2 Assembly instructions

DigitaLinx
DigitaLinx DL-S41-H2 User manual
DigitaLinx
DigitaLinx DL-UHDILC User manual

