manuals.online logo
Brands
  1. Home
  2. •
  3. Brands
  4. •
  5. Digitus
  6. •
  7. Switch
  8. •
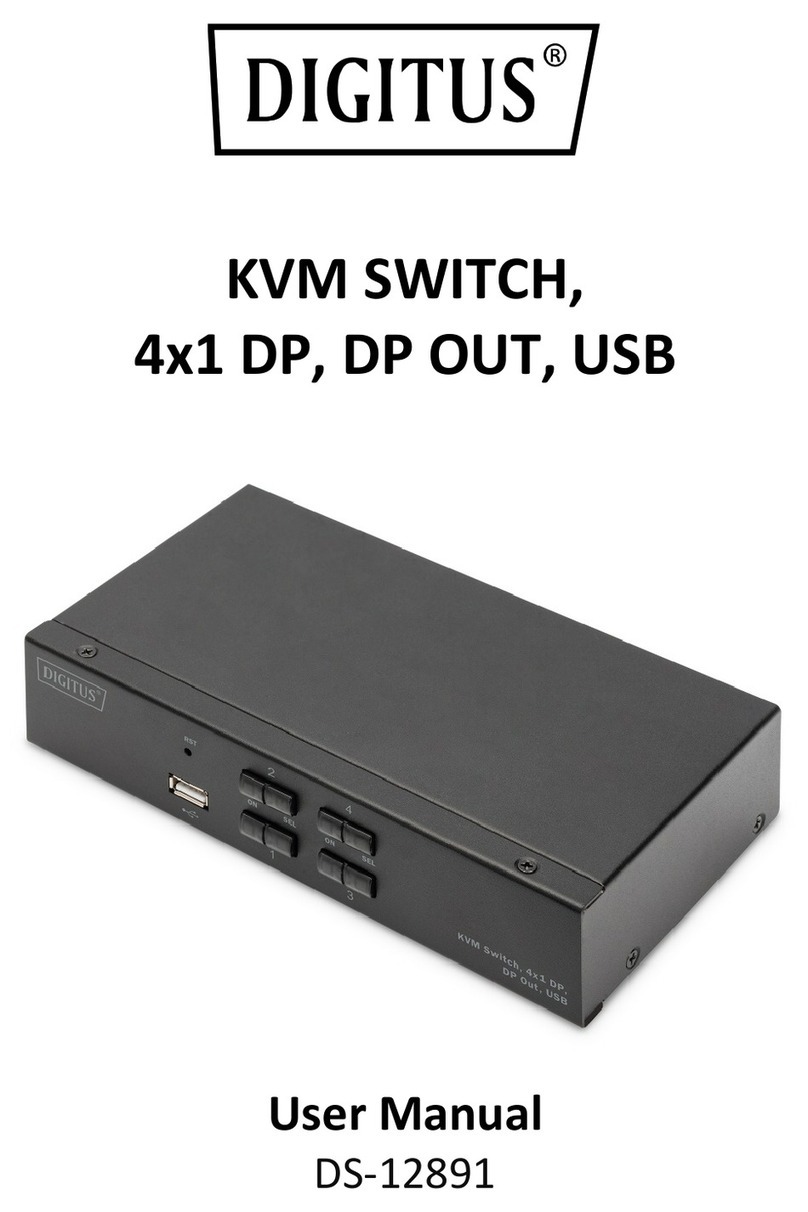
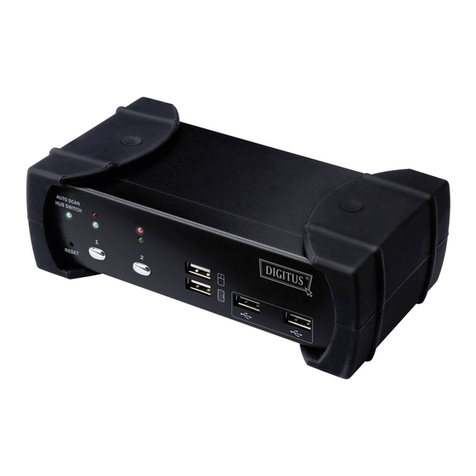
  9. Digitus DS-11110 User manual

Digitus DS-11110 User manual

KVM
SWITCH
(DS-13110)
(DS-13111)
USERMANUAL V1.0
DS-11110 / DS-12110
DS-11310 / DS-12310
DS-13110 / DS-13111
Package Contents –
1 KVM Switch
1 User Manual
1 DC 9V 300mApower adapter (DS-11310,
DS-12310, DS-13110, DS-13111)
Please contact your vendor if anything is missed.
Features
Controls PCs with one PS/2 keyboard, PS/2 mouse and
monitor respectively
Supports the standard PS/2 mouse, Microsoft IntelliMouse
(PS/2 compatible/Optical/Explorer 3.0), WheelMouse
Optical, Trackball (Optical 1.0/Explorer 1.0) & Logitech
TrackMan (Marble/Marble FX/ Marble+), Cordless
MouseMan (Wheel/Optical), Cordless TrackMan (FX/Live)
mouse, Cordless Optical TrackMan, MX300 Optical mouse.
MX300 Optical mouse
Fully supports the Microsoft IntelliPoint 5.0 mouse driver &
Logitech Mouse Ware driver
Supports the Window 95/98/98SE/Me/NT4.0/2000/XP, DOS,
Linux, Novell Netware, FreeBSD
Superior video quality - Up to 1920 x 1440, DDC, DDC2,
DDC2B, DDC2AB, 200MHz
Supports selecting PC by mouse clicking
Real mouse identification function
3 ways for PC selection -- Push-button switch, hot key or
mouse clicking
Easy to install--No software required
Hot Pluggable
Integral keyboard and mouse emulation for PC booting error
free
Auto scan function to monitor PCs
Auto skips over the power-off PC
Beep sound and multi selection ways on/off option for port
selection
Supports speaker & microphone (DS-11310 and DS-12310)
1U rack design (DS-13110 and DS-13111)
Hardware Requirements
Required specifications
Console One highest resolution VGA, SVGA or Multisync monitor
One PS/2 mouse
One PS/2 keyboard
PC One VGA, SVGA or Multisync card
One 6-pin mini-DIN (PS/2) mouse port
One 6-pin mini-DIN (PS/2) keyboard port
Cable KVM switch custom cables or equivalent
-1-
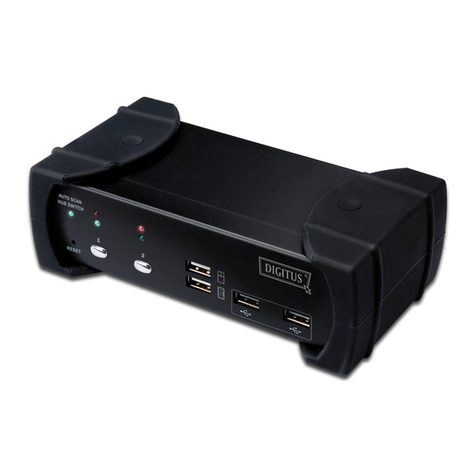
Appearance
Front View
1.Push-button Switches (Manual type)
2.Port LEDs
3.Console Keyboard and Mouse Ports
Rear View
1.Console Monitor Connector
2.CPU Port Connectors
-2-
Installation
Before the installation, make sure the peripherals of all PCs are
grounded properly and turned off.
1. Connect the monitor, keyboard and mouse with the Console
Port Connectors.
2. Use the recommended extension cables to connect the
PCs with the CPU Ports of KVM Switch.
3. Turn on the PCs.
Operation
1.The function of LED display:
LED DISPLAY DESCRIPTION
Light off PC power off
Green light on PC power on and connected
Green light on & Red light
flashing PC power on, connected and
selected
Note: It occurs occasionally that the green light of LED display is
on and the red light of LED display keeps flashing after
shutting down the PC because of the PC default. The
condition will not affect the regular operation of KVM switch.
2. 3 ways for PC selection – Push-button switch, hot key or
mouse clicking
2-1 Push-button switch (Manual Type)
Press the button on front panel to switch the CPU ports.
The red light of LED indicates which PC is selected.
2-2 Mouse clicking
Item Operation Function
2-port [Middle button] + [Left Button] or
[Middle button] + [Right Button] Access between
two PCs.
4 port / or
higher [Middle button] + [Left Button] Switch to the
previous PC.
4 port / or
higher [Middle button] + [Right Button] Switch to the next
PC.
Note: 2-Key Mouse is NOT applicable.
2-3 Hot Key option
Hot Key Navigation allows you to select PC from the
keyboard directly.
Options for Hot Key Navigation:
Select PC by Hot Key
Command mode
Auto scan mode
Beep sound on/off option: Press [Right Shift] key
twice to turn on or off the beep sound when needed.
-3-
Select PC by Hot Key:
Press either left or right [Ctrl] key twice.
Item Hot Key Operation Function
2-port [L Ctrl] + [L Ctrl] or
[R Ctrl] + [R Ctrl] Access between two PCs.
4 port / or
higher [L Ctrl] + [L Ctrl] Switch to the previous PC.
4 port / or
higher [R Ctrl] + [R Ctrl] Switch to the next PC.
Command Mode:
Press [Num Lock] key twice, and the 3 keys [Num
Lock], [Caps Lock] and [Scroll Lock] will flash to access
the Command Mode.
a). Directly press the function key [F1] ~ [Fn] for n=number of
the ports to select PC.
b). Press [Left Ctrl] key to disable [Ctrl] and [Shift] hot key
function.
c). Press [Right Ctrl] key to enable [Ctrl] and [Shift] hot key
function.
d). Press [Left Shift] key to turn off the beep sound.
e). Press [Right Shift] key to turn on the beep sound.
f). Press [Left Win] key or mouse [Middle button] + [Left
Button] to disable Mouse clicking function.
g). Press [Right Win] key or mouse [Middle button] + [Right
Button] to enable Mouse clicking function.
h). Press [Left Alt] key to disable Auto skip function.
i). Press [Right Alt] key to enable Auto skip function.
j). Press [Esc] or [Enter] key to quit the mode.
Note: [Ctrl] Hot Key function – Selecting PC ports.
[Shift] Hot Key function – Beep sound on/off.
Auto Scan Mode:
Press [Scroll Lock] key twice to activate the Auto Scan Mode.
The time scale of Auto Scan ranges from 5 to 30 seconds,
and it can be recognized by the lights of the 3 keys [Num
Lock], [Caps Lock] and [Scroll Lock] as the timetable
below.
a). Press the right number key [+] to increase time scale.
b). Press the right number key [-] to decrease time scale.
c). Press [Esc] key to quit the mode.
Note: Light(s) corresponding timetable
Seconds Num Lock Caps Lock Scroll Lock
5 seconds Off Off On
10 seconds On Off Off
15 seconds On Off On
20 seconds Off On Off
25 seconds Off On On
30 seconds On On Off
-4-
3.The boot-up default of KVM Switch is connected to your
first activated PC.
4.When the PC is shut down under the function of “Auto
skips over the power-off PC”, it cannot be turned on again
by keyboard.
Safety Information:
This device may only be operated in enclosed, dry
rooms. To prevent the risk of fire or electrical shock, the
device must be protected from moisture. In the event of
a defective power plug, please contact an authorized
retailer. In the event of damage to the housing or the
power plug, do not operate. Do not open the device.
Repairs may only be performed by an authorized
retailer.
Note:
In the event of incorrect installation and improper use
in a residential area, the device may cause disruptions
in radio devices and other electronic devices. Proper
use means that the device is operated with shielded
connector cables as far as possible, for network
products also with shielded cables of category 5e and
higher. The device was tested and lies within the limits
for computer accessories of class A according to the
requirements of EN 55022.
Warning:
This is a classA device. This device can cause radio
interference in residential areas; in this case, the
operator may be required to perform and bear the
costs for appropriate measures.
Conformity Declaration:
Trademarks:
All company, brand and product names used in these
instructions are trademarks or registered marks of the
corresponding companies.
-5-

This manual suits for next models

5

Other Digitus Switch manuals

Digitus KC-221 User manual

Digitus

Digitus KC-221 User manual

Digitus DN-80201 User manual

Digitus

Digitus DN-80201 User manual

Digitus DS-45310 User manual

Digitus

Digitus DS-45310 User manual

Digitus DN-80068 User manual

Digitus

Digitus DN-80068 User manual

Digitus DA-70251 User manual

Digitus

Digitus DA-70251 User manual

Digitus DS-45305 User manual

Digitus

Digitus DS-45305 User manual

Digitus DS-45317 User manual

Digitus

Digitus DS-45317 User manual

Digitus DN-651129 User manual

Digitus

Digitus DN-651129 User manual

Digitus DC-11201-1 User manual

Digitus

Digitus DC-11201-1 User manual

Digitus DN-650105 User manual

Digitus

Digitus DN-650105 User manual

Digitus DA-70255 User manual

Digitus

Digitus DA-70255 User manual

Digitus DA-70245 User manual

Digitus

Digitus DA-70245 User manual

Digitus DN-80100 User manual

Digitus

Digitus DN-80100 User manual

Digitus DN-8021B User manual

Digitus

Digitus DN-8021B User manual

Digitus DN-651130 User manual

Digitus

Digitus DN-651130 User manual

Digitus DN-95113 User manual

Digitus

Digitus DN-95113 User manual

Digitus DN-95330-1 User manual

Digitus

Digitus DN-95330-1 User manual

Digitus DA-70244 User manual

Digitus

Digitus DA-70244 User manual

Digitus DN-651109 User manual

Digitus

Digitus DN-651109 User manual

Digitus DA-70240-1 User manual

Digitus

Digitus DA-70240-1 User manual

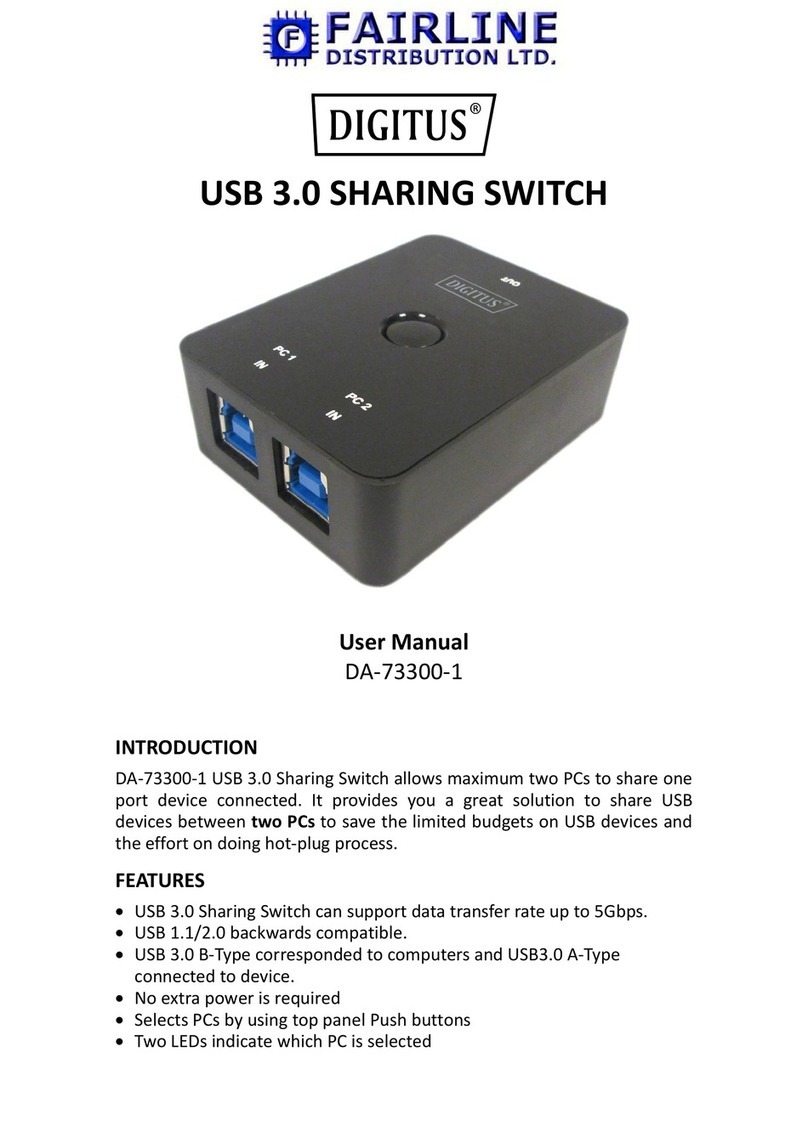
Digitus DA-73300-1 User manual

Digitus

Digitus DA-73300-1 User manual

Digitus DS-45333 User manual

Digitus

Digitus DS-45333 User manual

Digitus DN-95323-1 User manual

Digitus

Digitus DN-95323-1 User manual

Digitus DA-70241 User manual

Digitus

Digitus DA-70241 User manual

Popular Switch manuals by other brands

Black Box SW546A manual

Black Box

Black Box SW546A manual

Black Box SW459A-ST Specifications

Black Box

Black Box SW459A-ST Specifications

Black Box ServSwitch Duo KV6104SA owner's manual

Black Box

Black Box ServSwitch Duo KV6104SA owner's manual

Black Box ServSwitch Wizard SW651A user guide

Black Box

Black Box ServSwitch Wizard SW651A user guide

Kromschroeder DG B Series technical information

Kromschroeder

Kromschroeder DG B Series technical information

Planet GS-5220-16S8C user manual

Planet

Planet GS-5220-16S8C user manual

Black Box LGS103AE installation guide

Black Box

Black Box LGS103AE installation guide

Data Video SE-3000 quick start guide

Data Video

Data Video SE-3000 quick start guide

TP-Link TL-SG105 installation guide

TP-Link

TP-Link TL-SG105 installation guide

Wyrestorm SPL1T801 operating instructions

Wyrestorm

Wyrestorm SPL1T801 operating instructions

3One data SW4485I user manual

3One data

3One data SW4485I user manual

Planet FSD-804P user manual

Planet

Planet FSD-804P user manual

Wyrestorm MX-0404-POH-KIT quick start guide

Wyrestorm

Wyrestorm MX-0404-POH-KIT quick start guide

j5 create JUD500 Quick installation guide

j5 create

j5 create JUD500 Quick installation guide

Elmo CRC-1 installation manual

Elmo

Elmo CRC-1 installation manual

Channel Plus 2100A user guide

Channel Plus

Channel Plus 2100A user guide

Black Box LT7002A Specifications

Black Box

Black Box LT7002A Specifications

HP storageworks 2/32 installation guide

HP

HP storageworks 2/32 installation guide

manuals.online logo
manuals.online logoBrands
  • About & Mission
  • Contact us
  • Privacy Policy
  • Terms and Conditions

Copyright 2025 Manuals.Online. All Rights Reserved.