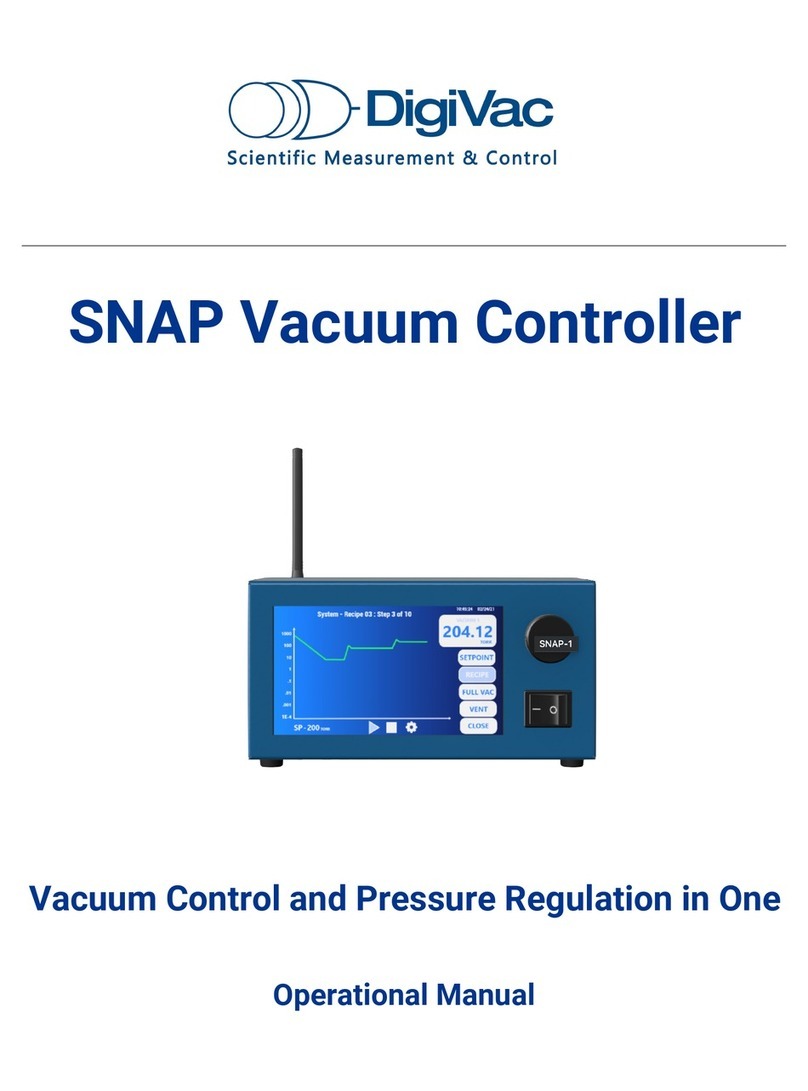
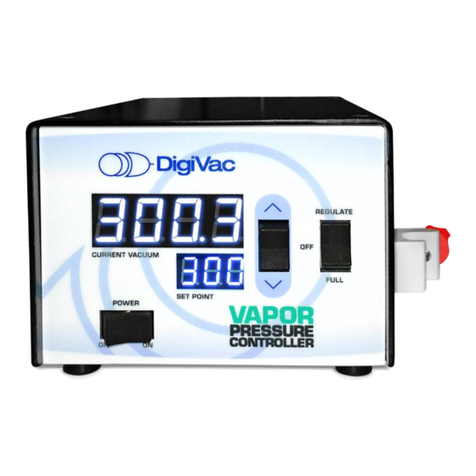
DigiVac 200 Series User manual

INSTRUCTION MANUAL
DIGIVAC 200 and 801W Series
Wide Range Thermocouple Vacuum Gauges and Controllers
Model 200
(benchtop)
Model 200P and 200P/2c
(panel mounting)
Model 801W and 801W/2c
(Varian pattern panel mounting)
Model DVG-6 and DVG-4
(Hastings pattern panel mounting)
Optional Controls • Analog output • Recorders and Rs232
Ranges
760 torr to .001 torr
1000 mbar to.001 mbar
www.digivac.com
The Digivac Company
1020 Campus Drive
Morganville NJ 07751
www.digivac.com
(732) 765-0900
(732) 765-1800 FAX

2
CONTENTS
1.0 Description and Principle of Operation
2.0 Limitations
3.0 Mounting Instructions for 801(W) and DVG-6 Series Gauges
4.0 Gauge Tube Installation
5.0 Troubleshooting
6.0 Recalibration
7.0 Control Setpoints
8.0 Rs-232 Output
9.0 DigiVac and DigiPlot
10.0 Rear Panel Connections
11.0 DigiVac Recorder
12.0 Custom Features and Programming

3
DIGIVAC 200 and 801W Series
Wide Range Thermocouple Vacuum Gauges and Controllers
Model 200
(benchtop)
Model 200P and 200P/2c
(panel mounting)
Model 801W and 801W/2c
(Varian or Hastings pattern, panel mounting)
Model DVG-6 and DVG-4
(Hastings pattern panel mounting)
Optional Controls, Analog Output, Recorders, and Rs232
Ranges
760 torr to .001 torr
760 torr to .0001 torr
1000 mbar to .001 mbar

4
1.0 DESCRIPTION AND PRINCIPLE OF OPERATION
Digivac Model 200/200P/801W Wide Range Thermocouple Gauges
Benchtop/Panel Mount with optional controls and Rs232
Thank you for purchasing a DIGIVAC™200 or 801W series Digital Vacuum Gauge. These
gauges read from atmospheric pressure to full vacuum (0 microns) using a rugged, low
cost, thermocouple vacuum gauge tube.
The Model 200 is bench mounting while the Model 200P is designed for panel mounting in
customers' equipment.
The Model 200P requires a panel cutout 1.65” inches high by 3.65” inches wide. The gauge
is approximately 4.5” deep behind the panel. If panel depth is a problem, consider the
801W gauge which is only 1.5” deep and mounts neatly on panel doors.
The Model 801W is electrically identical to the other gauges, but is designed to be a bolt-in
replacement for Varian 801 and other panel mounting analog vacuum gauges. The Digivac
810-2 has the exact mounting dimensions of the Varian 810-2 gauge. These gauges may
also be ordered with a 4 bolt mounting pattern to directly replace Hastings gauges, while
still reading to atmosphere. To install these gauges, remove the front panel and install the
gauge from the rear.
Both gauges are also available with one or two control outputs. Either Model can also be
ordered with a serial port or an analog recorder output.
2.0 LIMITATIONS
These Digivac gauges use thermocouple technology. As such they have a very wide range
(six decades!) and reasonable accuracy.
Because they work on heat dissipation, they are dependent on the thermal conductivity of
the residual gasses.
Other Digivac gauges use transducer and capacitance manometer technology. These
gauges have a range of 0 to 760 torr and a resolution of 1 and 0.1 torr and an accuracy of
+/- 0.3% of full scale. At the low end they have a repeatability of +/- 1 torr. These gauges
are not dependent on gas composition. The tradeoff then is resolution and range against
accuracy.
3.0 MOUNTING INSTRUCTIONS FOR 801(W) AND DVG-6 SERIES GAUGES
The Digivac 801, 801w, Dvg-4, and Dvg-6 gauges mount in the same panel cutouts as the
respective Varian, Hastings, and Televac gauges they are replacing.
For new installations, proceed as follows:
•Remove the front panel of the gauge, leaving the aluminum spacers on the
gauge printed circuit board.
•Make a 2.66" circular mounting hole in the panel at the desired location
•Make 3 of 4 holes, 5/32" diameter (clearance holes for #4 screws) on a 1.60 radius from
the center of the mounting hole.
(The front panel that comes with the gauge can be used as a template.)
•Reassemble the gauge, with the plastic panel outside, and the gauge behind.
Digivac Dvg4 and Dvg6 gauges mount in a similar manner, except for having more
mounting holes.

5
4.0 GAUGE TUBE INSTALLATION
The tube must be mounted in a stem down position within 10 degrees of vertical. Its
connection is one-eighth inch male pipe thread. Thread tape will make sealing easier. Be
careful not to twist the cable.
The tube should be installed in a clean part of the vacuum system. It is best not to mount it
directly on a vacuum pump suction as the tube life may be shortened by backstreaming of
pump oil vapors. Inserting a loop of tubing or an optical baffle is often helpful in protecting
the tube from backstreaming.
After energizing, the unit will initialize and operate. It reaches best thermocouple accuracy
after a few minutes of warm-up. For greater accuracy Digivac offers a combination
transducer/thermocouple gauge which offers 1% accuracy in Torr ranges. We also offer ¼%
accurate capacitance manometer gauges.
The gauges have a switching power supply that can be connected to either 115 or 220 VAC,
50/60 hz.
The relay outputs of the Model 200P should be connected at this time if they are to be
used. The connection positions are marked on the terminal strip. Note: not all 200P units
have control outputs. All terminal strips have markings. The outputs are SPDT, 250 VAC, 7
amps. If the contacts are switching highly inductive loads, varistors or other transient
protective components may be required. The normally open contacts close when the
vacuum setpoint is reached.
At atmosphere, the unit will read 760. A visible decimal point indicates that the unit is
reading in Torr. As pressures are decreased, the unit's readings will shift to 99.0, 9.99,
.999 , and finally to .001 One micron is equal to one millitorr.
The reading of the gauge will be influenced by the composition of the gasses remaining.
All wide range and Piriani vacuum gauges are subject to this phenomenon. For applications
in which excellent accuracy is required in the low torr ranges, such as the filling of neon
and laser tubes, we offer a transducer-based guage which gives precise readings regardless
of gas composition. Transducer gauges are not able to read in the micron ranges.
Representative readings are as follows:
Torr millitorr or microns
760. 760,000
550. 550,000
120. 120,000
99.0 99,000
12.3 12,300
10.0 10,000
9.90 9,900
1.23 1,230
.999 999
.555 555
.123 123
.055 55
.001 1
Note: The Digivac Model 100W, preferred by many in the refrigeration industry, reads
directly in microns.

6
5.0 TROUBLESHOOTING
If the gauge reads 760 torr and does not respond to vacuum, it is likely that the
thermocouple voltage is not getting to the gauge. The cause could be:
Bad thermocouple Replace gauge tube
Bad cable connection On Model 200P, check cable wires at terminal strip
On Model 200, check red, black, green and white wires on 9 pin
dsub connector
On all units, check soldered connections
On octal connector
If the gauge reads 0:
Bad thermocouple Replace gauge tube
Bad cable connections See above
6.0 RECALIBRATION
If the tube is replaced, the unit must be recalibrated. It is best if this is performed at
Digivac. If field calibration is done, the zero and span adjustments are available on two
potentiometers which are accessible by removing the front panel of the instrument. The
zero is on the right and the span is on the left. Make slight adjustments and wait a few
seconds for the effects of the adjustments to be seen. On the 801 series gauges, the zero
adjustment is located on the front panel.
Atmosphere
▪Energize the unit at atmospheric pressure. Remove the front panel.
▪Make sure that the gauge tube is in a vertical orientation, because it is position sensitive.
▪Connect a Voltmeter to the two pads available from the right side of the printed circuit
board, these are called Zero and Atm .420
▪Adjust the potentiometer labeled "Atm" (leftmost) until the voltage above equals .420
▪This gives an approximate adjustment. Now expose the tube to a pressure of 600
millimeters of mercury and adjust for 600 on the display.
Zero
Operate the unit at the lowest attainable pressure.
▪1 Micron with a diffusion pump,
▪10 to 15 Microns from a belt-driven two-stage mechanical pump,
▪35 Microns from a direct-drive, two-stage mechanical pump,
▪500 Microns from a single-stage mechanical pump,
Model 200 with
cover removed
Atmos Adj.
Zero
Adj.

7
▪50 torr (50,000 microns) or higher for dry mechanical and diaphragm pumps).
▪Connect Voltmeter leads to "Com" and "Vac" pins.
▪The voltage should be approximately .161 Volts dc. Make slight adjustments, if necessary,
so the low end vacuum reading is correct.
If the above readings cannot be attained, either
the instrument, the gauge tube, or the cable is
defective. Gauge tubes often become
contaminated with oil. Cleaning the gauge tube
with a strong solvent, such as a carburetor
cleaner can often improve or restore its
calibration.
To the right is an 801/810 series unit with the
front panel removed. The atmosphere pot is at
the top and the zero is at the bottom in the
center.
The various test points are at the top of the
board and are identified with writing. For user recalibrations, it is only necessary to adjust
the zero pot. It can be reached through a hole in the front panel, so disassembly is not
necessary.
7.0 CONTROL SETPOINTS
To adjust the control setpoints of the Model 200P, carefully remove the display lens. This is
accomplished by gently prying the bottom of the lens with a small screwdriver (available
from Radio Shack). On the left of the instrument are two potentiometers and a three
position jumper strip. The jumper strip has a shorting bar attached to it. When this bar is
removed, the unit displays indicated vacuum. When placed so as to short out the left two
pins, the unit will display the #1 setpoint. When placed on the right, it displays #2. Place
the jumper for the desired setpoint, and adjust the potentiometer.
On the Model 800 series gauges with controls, the setpoints are adjusted by pressing front
panel mounted buttons and turning the adjacent potentiometers. When the button is
pressed, the setpoint shows up on the display.
8.0 Rs-232 OUTPUT
On units equipped with Rs232, the current value on the screen is sent out the Rs232 port
approximately one time per second.
The parameters are: 9600 baud, 8 data bits, 1 stop bit, no parity.
No prompting or handshaking by the user is required.
Set Pot
Model 200P with red lens removed
Vac
Atm
Jumper
801/810 series

8
The data is presented as ascii text for the numbers (with decimal points as required),
followed by a carriage return and line feed.
This data may be observed using Windows Terminal, Hyperterm, or any similar terminal
program.
Data may be saved using Terminal's "Transfers / Receive Text File" feature.
The saved data files may be read with Microsoft Excel or any text editor.
Microsoft Excel, or any spreadsheet program can also plot the data.
Digivac also offers a monitoring program that shows the data on the screen and opens and
names a log file in response to a single click by the user.
A companion program, Digiplot plots the data. Wide range data is plotted logarithmically.
The current file is selected automatically, or older files may be opened.
The Rs232 connection is made on the terminal strip of units such as the Model 200P and
the terminals are identified as Gnd and Tx.
Other units have 9 pin dsubminiature connectors, and the data appears on pin 2, and the
ground is on pin 5.
9.0 DIGIVAC AND DIGIPLOT
For more convenient logging and
plotting, the Digivac Company
offers Digivac and DigiPlot
software.
Custom Visual Basic applications
are also available.
•The Digivac program gives a
visual presentation of the data
which is coming out of the
vacuum gauge.
•Update rate is approximately one time per second.
•When “Log Start” is pressed a logging file with a
backup is opened. The rate of data logging (eg,
once per minute) can be set by the user.
•Digiplot, the companion plotting program, opens
the current logging file with a single mouse click.
•Logarithmic axes clearly show vacuum from
atmosphere to 10 ^ - 3 or 10 ^ - 9 (ultra wide
range version).
•One more click prints out the plots in color.
•A window at the bottom of the plot screen show the
data file
name
and enables the user to scroll through values.
10.0 REAR PANEL CONNECTIONS
The Model 200P has a terminal strip and all of its connections are marked. The following is
an explanation of these markings.
- Negative connection from 5 volt power supply.
+This is + 5 volts output from the power supply.
Rec Recorder (Linear) output on units so equipped.
Model 200P Terminal Strip

9
Gnd Ground for outputs.
(connect to pin 5 of a 9 pin D-sub for Rs-232)
Txd RS-232 transmit (connect to pin 2 of a 9 pin D-sub
Nc Normally closed Relay contact
Com Common Relay contact.
X No Connection
GGreen wire to gauge tube(usually signal -)
RRed wire to gauge tube (usually signal +)
BBlack wire to gauge tube (usually exitation +)
W White wire to gauge tube (usually exitation -)
11.0 DIGIVAC RECORDER
Digivac offers a special vacuum recorder
which displays from Atmosphere to hard
vacuum. Both the plot and the numbers
are displayed. This recorder is often used
by rebuilders to document the
performance of vacuum pumps but have
many other uses. They are priced at under
$400.00 and are available from stock.
Contact Digivac Company for further
information
.
12.0 CUSTOM FEATURES AND PROGRAMMING
Because these gauges are microprocessor controlled, it is possible to provide custom
control features at surprisingly reasonable prices. The software is “burned” into the
microprocessors, which are socketed and easily replaced by a user. Contact the Digivac
Company to discuss your needs.
If the gauge is to be used in a neon sign processing facility, it must be installed with a
stopcock or a solenoid valve to protect it from exposure to the system and possible damage
during high voltage bombarding. Battery operated gauges are also offered and are
particularly suited to neon applications.
SPECIAL REQUIREMENTS
It is the policy of the Digivac Company to customize instruments for specialized
requirements whenever it is economically feasible to do so. We encourage inquiries about
your special needs.
For repair or recalibration, return gauges to:
The Digivac Company
1020 Campus Drive
Morganville NJ 07751
www.digivac.com
(732) 765-0900
(732) 765-1800 FAX

10
E-mail: Direct from our website www.digivac.com
The Digivac Company manufactures a complete line of vacuum gauges and
computers. Contact us or your distributor if you wish for further information.
See www.digivac.com for our latest offerings
This manual suits for next models
6
Table of contents
Other DigiVac Controllers manuals
Popular Controllers manuals by other brands
4IPNET
4IPNET WHG321 V3.30 Quick installation guide

Danfoss
Danfoss ECL Comfort 296 Service guide
Hunter
Hunter Smart Valve Controller Owner's manual and installation instructions
Adaptec
Adaptec 29160LP - SCSI Card Storage Controller U160 160... installation guide
Seagull
Seagull REC user manual
Danfoss
Danfoss ICAD Series installation guide
