manuals.online logo
Brands
  1. Home
  2. •
  3. Brands
  4. •
  5. diotti
  6. •
  7. Indoor Furnishing
  8. •
  9. diotti Almond Bookcase Bridge Unit Installation guide

diotti Almond Bookcase Bridge Unit Installation guide

2 persone
2 people
PAG. 1 / 11
BOOKCASE PARTS
COMPONENTI
A
A
B
B
B
C
C
D
D
D
E
E
F
F
G
G
PONTE PER LIBRERIA ALMOND - Istruzioni di Montaggio
cacciavite piatto / a stella
screwdrivers
trapano &
avvitatore elettrico
drill & electric screwdriver
COSA SERVE
WHAT YOU NEED
FIANCO ESTERNO
EXTERNAL PANEL
SCHIENALE SOTTOPONTE
UNDER-BRIDGE PANEL
BASE PONTE
BOTTOM SHELF
SCHIENALE
BACK PANEL
CAPPELLO PONTE
TOP SHELF
TRAMEZZA
INTERNAL PARTITION
RIPIANO PONTE
SHELF
PONTE PER LIBRERIA ALMOND
Istruzioni di montaggio
Almond Bookcase Bridge Unit - Assembling Instructions
INTERIORS EXPERIENCE SINCE 1911
INITIAL STEPS
HARDWARE
PAG. 2 / 11
NOTE INIZIALI
Suddividere i colli e la ferramenta in gruppi omogenei secondo le etichette.
Separate packages and hardware in different groups according to the labels.
Predisporre l’area di montaggio in modo da proteggere il pavimento.
Prepare the assembling area by protecting the floor.
Aprire i colli facendo attenzione a non danneggiare le superfici con taglierini o altri oggetti taglienti.
Open the packages with care do not damage the surfaces with cutters or other sharp tools.
Tenere sempre a portata di mano lo schema compositivo della propria libreria.
Keep your bookcase composition scheme always close at hand.
È possibile che all’interno della ferramenta siano contenuti più perni e/o barilotti di quanti ne richieda il mon-
taggio. Consigliamo di conservarli per eventuali utilizzi futuri.
It is likely that an excessive number of dowels / cross dowels may be found in the hardware package provid-
ed. We suggest you to keep them for future use.
1
2
3
4
5
PONTE PER LIBRERIA ALMOND - Istruzioni di Montaggio
FERRAMENTA
11
11
12
12
13
13
14 14
15
15
16
16
TIRANTI DOPPI (2 x schienale)
DOUBLE STAY-RODS (2 x panel)
SPINE DI LEGNO
WOODEN PEGS
PEDINI PER SCHIENALE SOTTOPONTE
ADJUSTABLE FEET FOR THE
UNDER-BRIDGE PANEL
TIRANTI
STAY-RODS
ECCENTRICI
ECCENTRICS
VITI PER RIPIANO SOTTOPONTE
SCREWS FOR THE BRIDGE BOTTOM SHELF
???????????? ASSEMBLING
PAG. 3 / 11
MONTAGGIO PONTE
Inserire tiranti e spine di legno nel fianco esterno
della colonna libreria precedentemente montata. Il
numero necessario di tiranti e spine varia a seconda
dell’altezza della libreria e dei vani ponte e si evince
dal numero di fori predisposti sul fianco.
Insert stay-rods and wooden pegs in the column external
panel (previously assembled). The number of stay-rods
and pegs you will need vary according to the height of the
bookcase and the compartments of the bridge unit, count
the number of holes on the side panel.
1A
1
2
Inserire i piedini nella parte inferiore dello
schienale sottoponte.
NB #1: Lo schienale sottoponte può
essere unico o doppio a seconda della
larghezza del ponte.
NB #2: Lo schienale sottoponte non è
obbligatorio: se non l’avete acquistato
potete andare direttamente al punto 11B.
Insert feet in the lower part of the under-bridge
panel.
Note #1: The under-bridge panel can be single
or double according to the bridge width.
Note #2: The under-bridge panel is not
mandatory: if you didn't purchase it go directly
to step 11B.
2A
Per montare correttamente il Ponte Almond è
consigliato montare prima di tutto le colonne libreria
che lo sostengono, cominciando da quella/e a sinis-
tra del ponte. Per il montaggio di queste colonne
consultare le Istruzioni di Montaggio della Libre-
ria Almond.
To correctly assemble Almond Bridge unit it is recommend-
ed first of all to assemble all bookcase columns which will
support it, starting from the one on the left side. To assem-
ble those columns please read Almond Bookcase
Assembling Instructions.
PONTE PER LIBRERIA ALMOND - Istruzioni di Montaggio
13
14
14
B
A
A
11
11
PAG. 4 / 11
MONTAGGIO PONTE
Connect the first under-bridge panel to
the bookcase column by inserting
stay-rods and wooden pegs in the holes
you will find on the back panel edge.
3
44A
Sul retro dello schienale sottoponte inserire gli
eccentrici in corrispondenza dei tiranti montati in
precedenza, quindi ruotarli con il cacciavite fino alla
completa stabilità.
Behind the under-bridge panel, insert the eccentrics where
the stay-rods are, and rotate them with the screwdriver
until completely stable.
3A
Unire il primo schienale sottoponte
alla colonna libreria inserendo i tiranti
e le spine di legno nei fori presenti sul
profilo dello schienale.
PONTE PER LIBRERIA ALMOND - Istruzioni di Montaggio
A
B
A
15
15
MONTAGGIO PONTE
PAG. 5 / 11
5
6
5A
5B
6A
Inserire doppi tiranti e spine di legno sul profilo
dello schienale sottoponte.
Insert the double stay-rods and wooden pegs on the
under-bridge panel edge.
Inserire gli eccentrici in corrispondenza dei
doppi tiranti e ruotarli fino alla completa stabilità.
Insert the eccentrics where the double stay-rods are
and rotate them until completely stable.
Unire il secondo schienale sottoponte.
Connect the second under-bridge panel.
PONTE PER LIBRERIA ALMOND - Istruzioni di Montaggio
12
12 15
15
13 A
NB: Per ponti L. 87 cm e L. 117 cm lo schienale
sottoponte è unico: se avete acquistato un
ponte di questa larghezza potete andare al
punto 8A.
Note: For 87 cm and 117 cm wide bridge units the
under-bridge panel is single: if you have purchased a
bridge unit with these measurements please go to
point 8A.
A
A
MONTAGGIO PONTE
PAG. 6 / 11
7A
Inserire gli eccentrici in corrispondenza dei
doppi tiranti e ruotare fino alla completa stabilità.
Insert the eccentrics where the double stay-rods are
and rotate them until completely stable.
7
8A
Inserire tiranti e spine di legno
nella colonna libreria che
sosterrà a destra il ponte,
quindi unire allo schienale
sottoponte.
Insert stay-rods and wooden pegs
in the bookcase column which will
support - on the right side - the
bridge unit, then connect it to the
under-bridge panel.
8
PONTE PER LIBRERIA ALMOND - Istruzioni di Montaggio
15
15
A
A
13
14
14
MONTAGGIO PONTE
10A
Inserire le spine di legno nei fori presenti sul lato
inferiore della base ponte.
Insert the wooden pegs in the holes on the lower side
of the bridge bottom shelf.
PAG. 7 / 11
9A
Inserire gli eccentrici e ruotare
con il cacciavite fino a rendere
stabile la struttura.
Insert eccentrics and rotate them
until the structure is stable.
9
10
PONTE PER LIBRERIA ALMOND - Istruzioni di Montaggio
15
15
13
C
MONTAGGIO PONTE
11A
Calare la base ponte sullo
schienale sottoponte facendo
coincidere le spine con i fori
presenti sullo schienale.
Lean the bridge unit bottom shelf
on the under-bridge panel by
making sure the wooden pegs go
inside the holes on the panel.
11B
Togliere dalle colonne libreria
laterali i ripiani corrispondenti
alla base ponte.
Remove from the lateral book-
case columns the shelves placed
at the same height of the bridge
bottom shelf.
11C
Fissare la base ponte alle
colonne libreria sinistra e
destra mediante le due viti
apposite.
Fix the bridge bottom shelf to the
left and right bookcase columns
by using the two included screws.
12A
Avvitare due tiranti per ogni
tramezza sui fori predisposti
nella base ponte.
Insert two stay-rods for each internal
partitions on the pre-arranged holes
placed on the bridge unit bottom
shelf.
PAG. 8 / 11
11
12
PONTE PER LIBRERIA ALMOND - Istruzioni di Montaggio
16
16 C
B
B
14
C
MONTAGGIO PONTE
PAG. 9 / 11
PONTE PER LIBRERIA ALMOND - Istruzioni di Montaggio
13A
Inserire il primo schienale
nella fresata presente su
fianco esterno e base ponte.
Insert the first back panel in the
recess carved along the side
panel and the bridge bottom shelf.
14A
Montare la prima tramezza
inserendola sui tiranti montati
in precedenza sulla base
ponte, quindi inserire gli
eccentrici e ruotarli fino alla
completa stabilità.
Insert the first internal partition
on the stay-rods previously
assembled on the bridge bottom
shelf, then insert the eccentrics
and rotate them until completely
stable.
13
14
C
E
B
D
E
15
MONTAGGIO PONTE
PONTE PER LIBRERIA ALMOND - Istruzioni di Montaggio PAG. 10 / 11
15A
Proseguire montando le altre
tramezze e gli schienali.
Continue and assemble the other
internal partitions and back
panels.
16A
Montare i tiranti sul cappello
ponte (2 per ogni tramezza)
quindi calarlo sulle tramezze.
Assemble the stay-rods on the
bridge top shelf (2 for each
partition) then lean it on the
partitions.
16B
Inserire gli eccentrici sulle
tramezze, in corrispondenza
dei tiranti, e avvitarli.
Insert the eccentrics on the
internal partitions - corresponding
to the stay-rods - and tighten
them.
15
16
DD
E
F
14
15
15
MONTAGGIO PONTE
PONTE PER LIBRERIA ALMOND - Istruzioni di Montaggio PAG. 11 / 11
17A
Inserire i ripiani e fissarli alla
struttura meditante le viti
poste sotto i reggiripiani.
Insert the shelves and fix them to
the structure by using the screws
placed below the shelf brackets.
18A
Mettere in bolla la struttura e
fissare la libreria a parete
seguendo le indicazioni del
punto 10 delle Istruzioni di
Montaggio della Libreria
Almond.
Make sure the structure is straight
by centering the bubble on a spirit
level and then fix the bookcase to
the wall by following step n° 10 of
Almond Bookcase Assembling
Instructions.
17
18

Other diotti Indoor Furnishing manuals
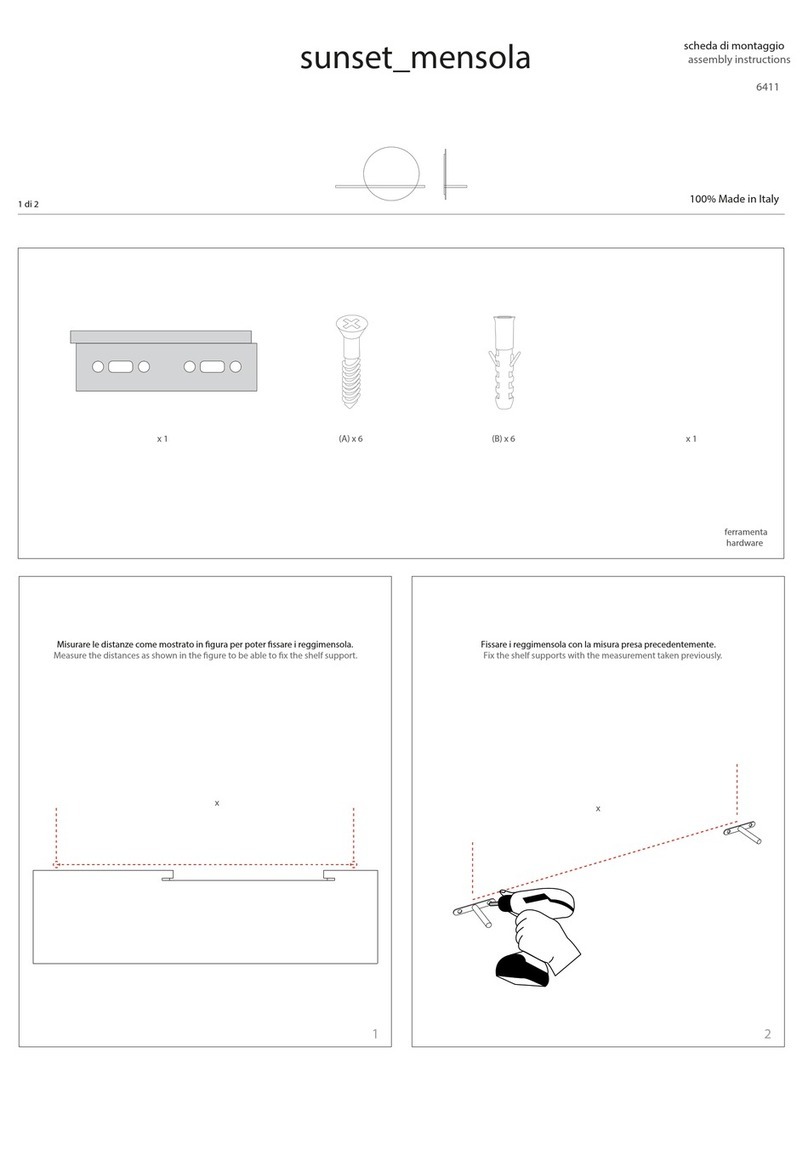
diotti GRANADILLA User manual

diotti

diotti GRANADILLA User manual

diotti Maddie Bookcase User manual

diotti

diotti Maddie Bookcase User manual

diotti WIDE Operation and maintenance manual

diotti

diotti WIDE Operation and maintenance manual

diotti PIECE User manual

diotti

diotti PIECE User manual

diotti NEVILLE User manual

diotti

diotti NEVILLE User manual

diotti manhattan User manual

diotti

diotti manhattan User manual

diotti EDDARD User manual

diotti

diotti EDDARD User manual

diotti TORQUAY 130 User manual

diotti

diotti TORQUAY 130 User manual

diotti BRIGHTON User manual

diotti

diotti BRIGHTON User manual

diotti LIBRERIA ALMOND Installation guide

diotti

diotti LIBRERIA ALMOND Installation guide

diotti JACOB User manual

diotti

diotti JACOB User manual

diotti VORTEX User manual

diotti

diotti VORTEX User manual

diotti BLIND User manual

diotti

diotti BLIND User manual

diotti ALIANT 03 User manual

diotti

diotti ALIANT 03 User manual

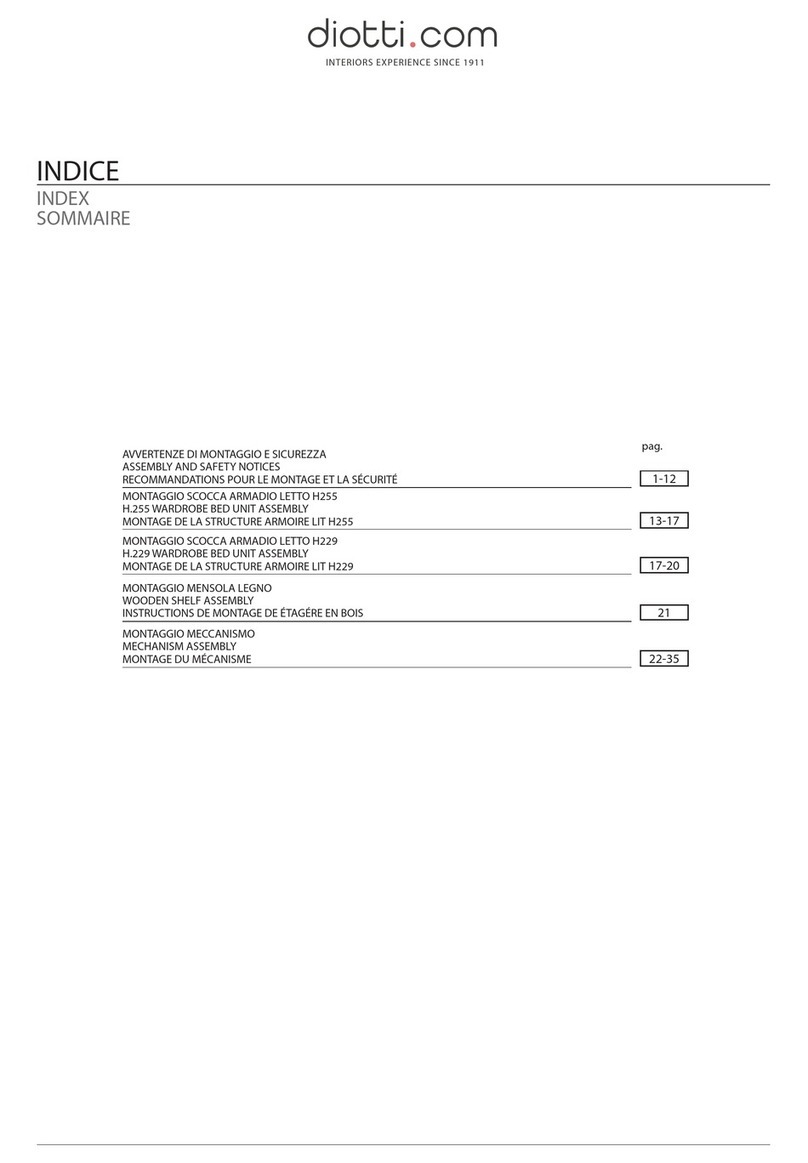
diotti Sunset Mensola 6411 User manual
diotti

diotti Sunset Mensola 6411 User manual

diotti Vortex Table User manual

diotti

diotti Vortex Table User manual

diotti Barcode Sideboard User manual

diotti

diotti Barcode Sideboard User manual

diotti TORQUAY DESK User manual

diotti

diotti TORQUAY DESK User manual
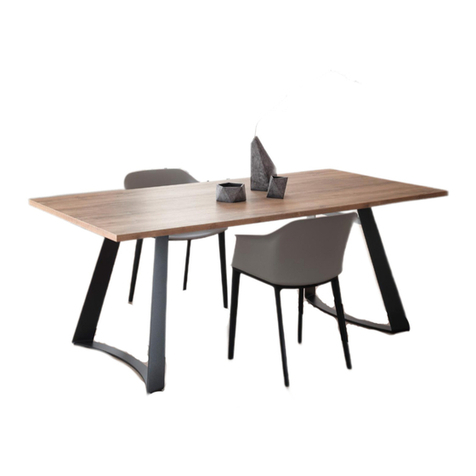
diotti TAVOLO BRIXTON User manual

diotti

diotti TAVOLO BRIXTON User manual
Popular Indoor Furnishing manuals by other brands

Draper TT2D instructions

Draper

Draper TT2D instructions

Woltra COOL C-09 Assembly instructions

Woltra

Woltra COOL C-09 Assembly instructions

Bouclair 9391755 Assembly instructions

Bouclair

Bouclair 9391755 Assembly instructions

Furniture of America FOA7157N Assembly instructions

Furniture of America

Furniture of America FOA7157N Assembly instructions

Tavolo 411/78.1100.22E Assembly instructions

Tavolo

Tavolo 411/78.1100.22E Assembly instructions

fantastic furniture MEMPHIS Assembly instructions

fantastic furniture

fantastic furniture MEMPHIS Assembly instructions

Chauvet CH-BOB user guide

Chauvet

Chauvet CH-BOB user guide

Amart Furniture KORI 58235 Assembly instruction

Amart Furniture

Amart Furniture KORI 58235 Assembly instruction

Forte RONDINO RDNS727E1T Assembling Instruction

Forte

Forte RONDINO RDNS727E1T Assembling Instruction

Triarch 33236 Assembly instructions

Triarch

Triarch 33236 Assembly instructions

Safco Zenergy 4750 Assembly instructions

Safco

Safco Zenergy 4750 Assembly instructions

Dormiente MOLA + Assembly instruction

Dormiente

Dormiente MOLA + Assembly instruction

DHP 4038449 manual

DHP

DHP 4038449 manual

CB2 Carmen Assembly instructions

CB2

CB2 Carmen Assembly instructions

Furinno 99940 Assembly instruction

Furinno

Furinno 99940 Assembly instruction

Living & Co Tahoe Tall Boy 4 Drawer instruction manual

Living & Co

Living & Co Tahoe Tall Boy 4 Drawer instruction manual

Leick Home 9240-WTGL Assembly instructions

Leick Home

Leick Home 9240-WTGL Assembly instructions

Hiddenbed Regal Queen Assembly instructions

Hiddenbed

Hiddenbed Regal Queen Assembly instructions

manuals.online logo
manuals.online logoBrands
  • About & Mission
  • Contact us
  • Privacy Policy
  • Terms and Conditions

Copyright 2025 Manuals.Online. All Rights Reserved.