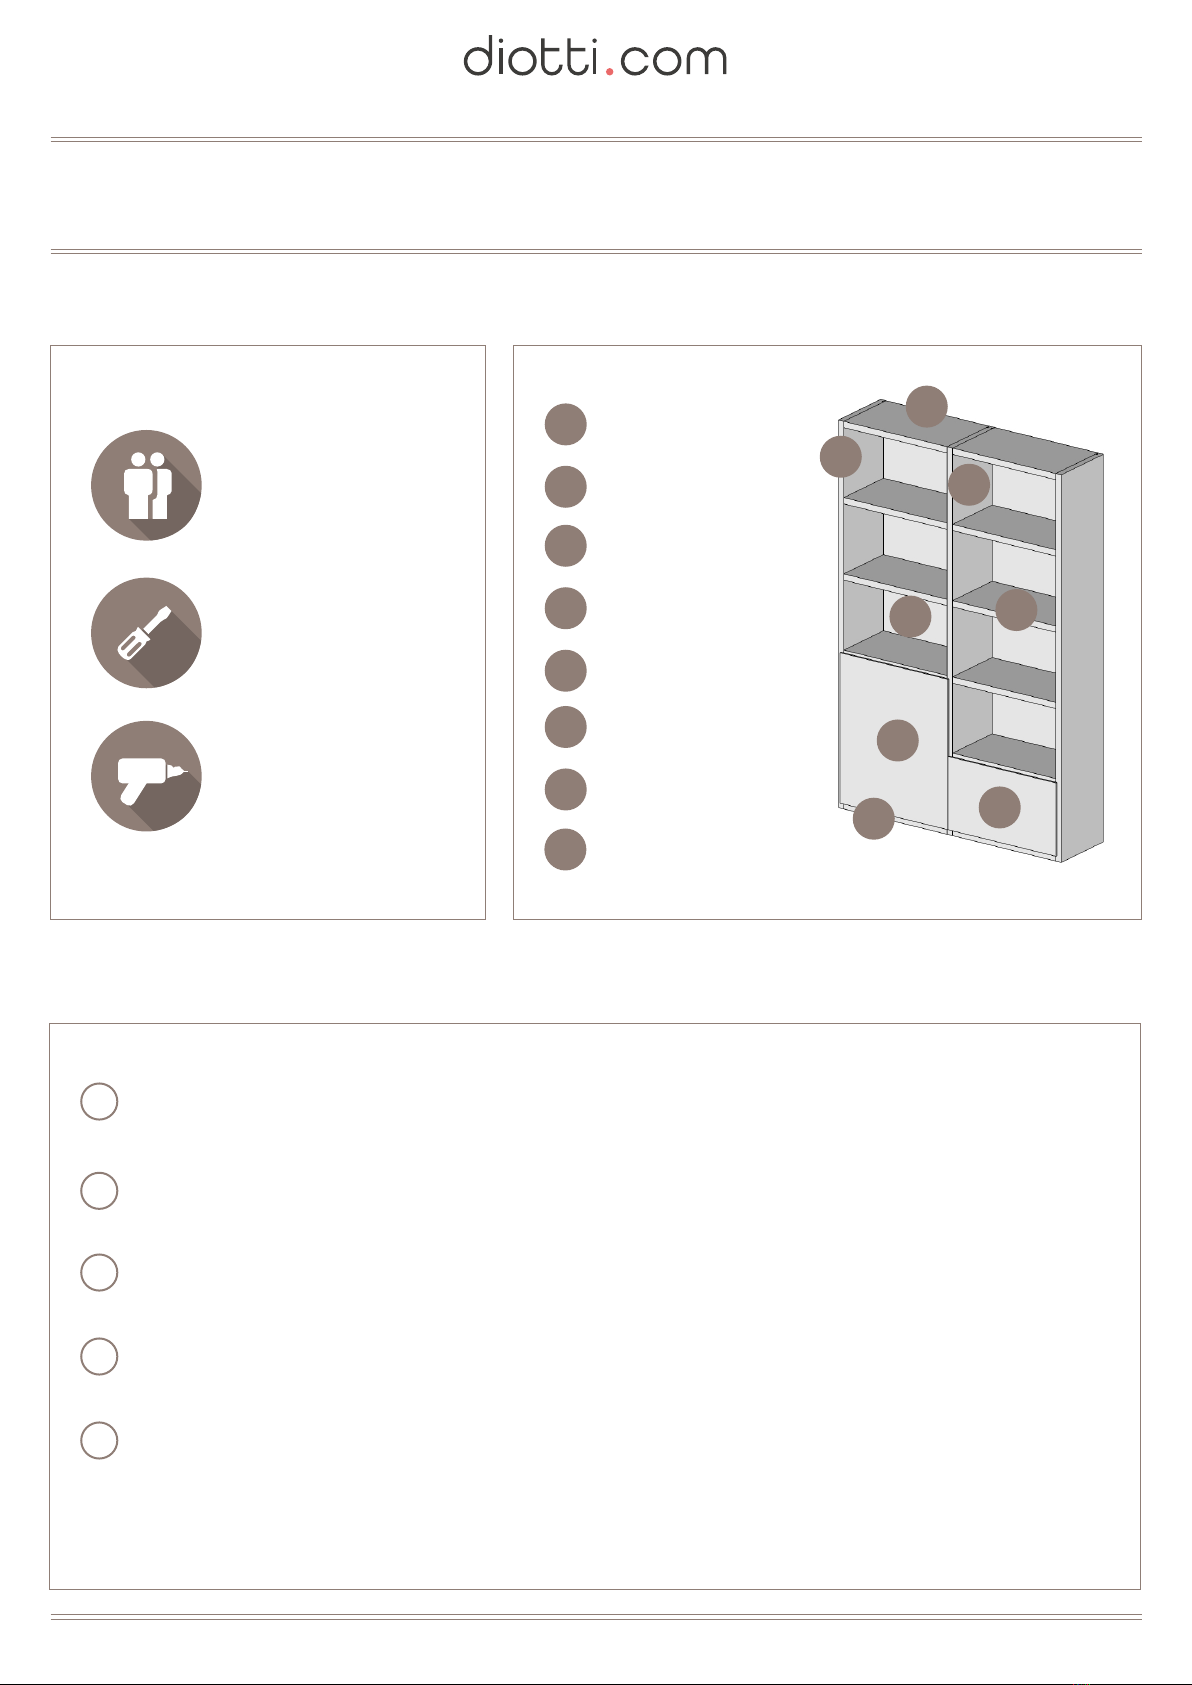
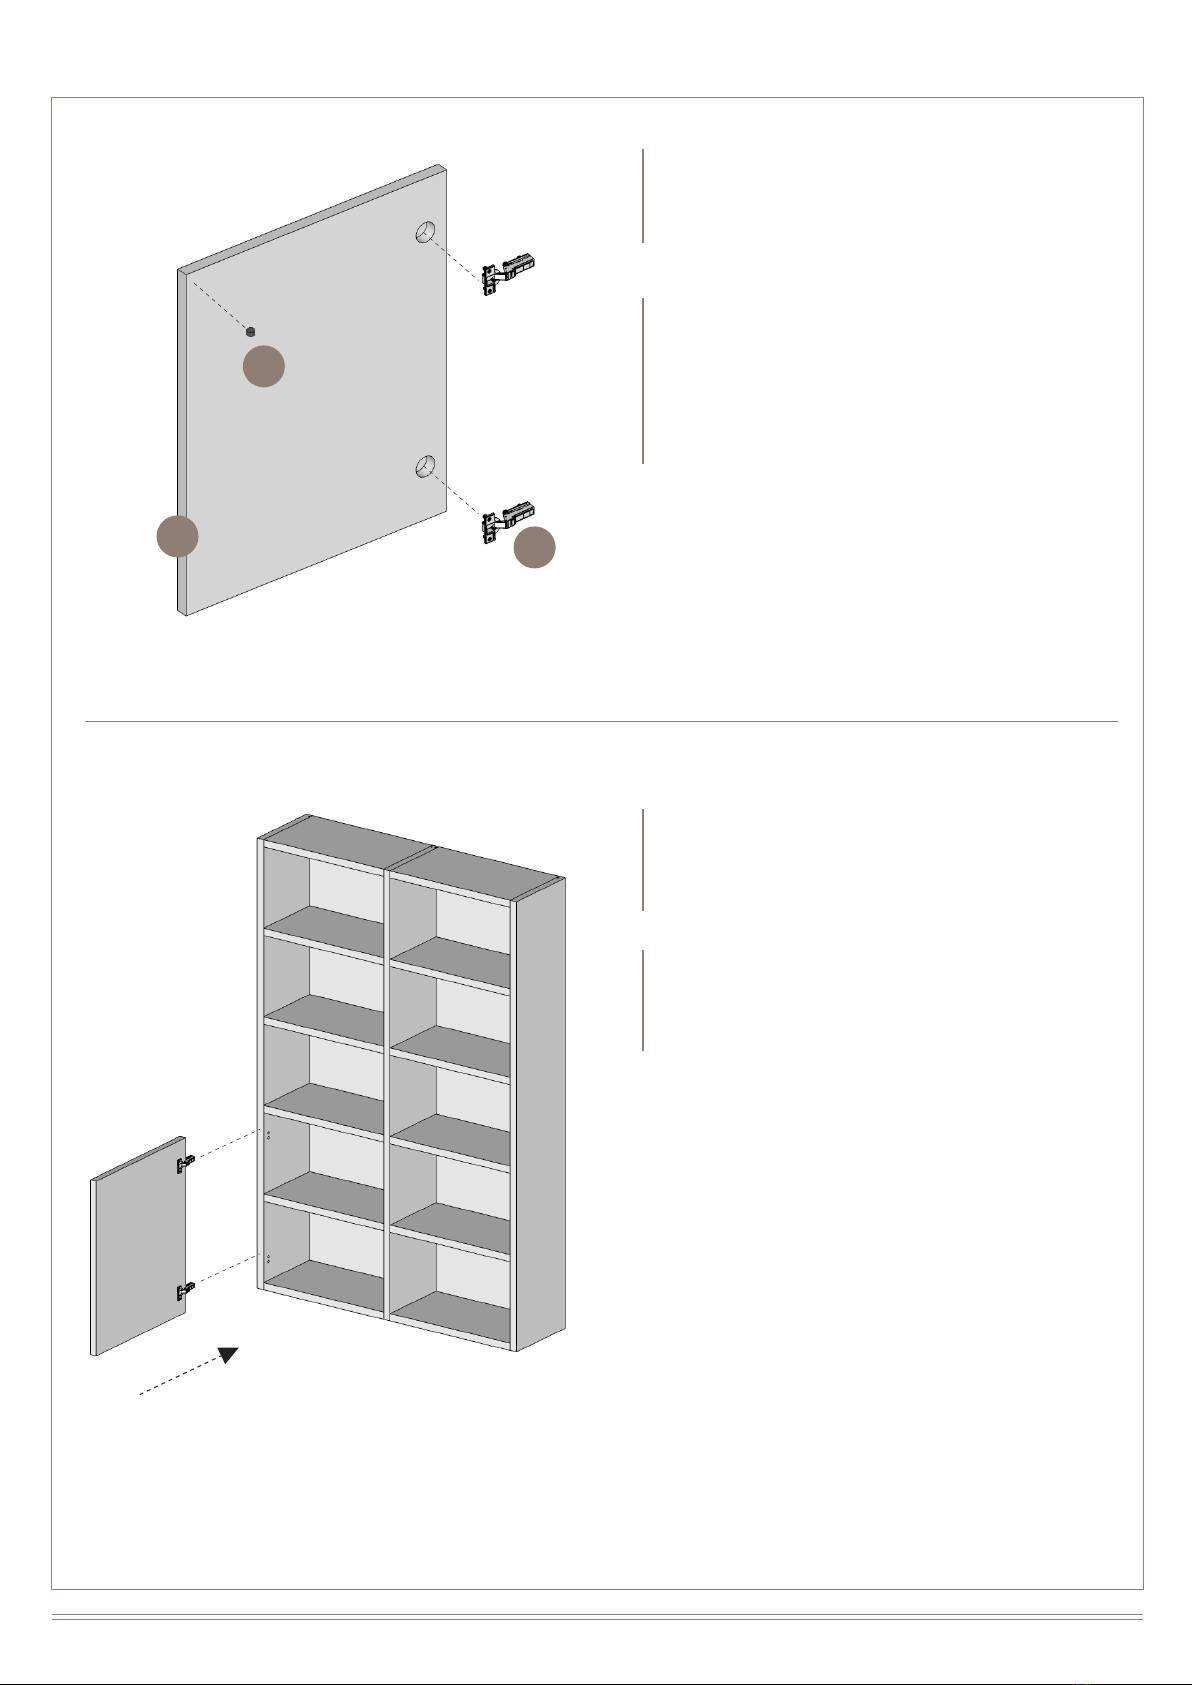
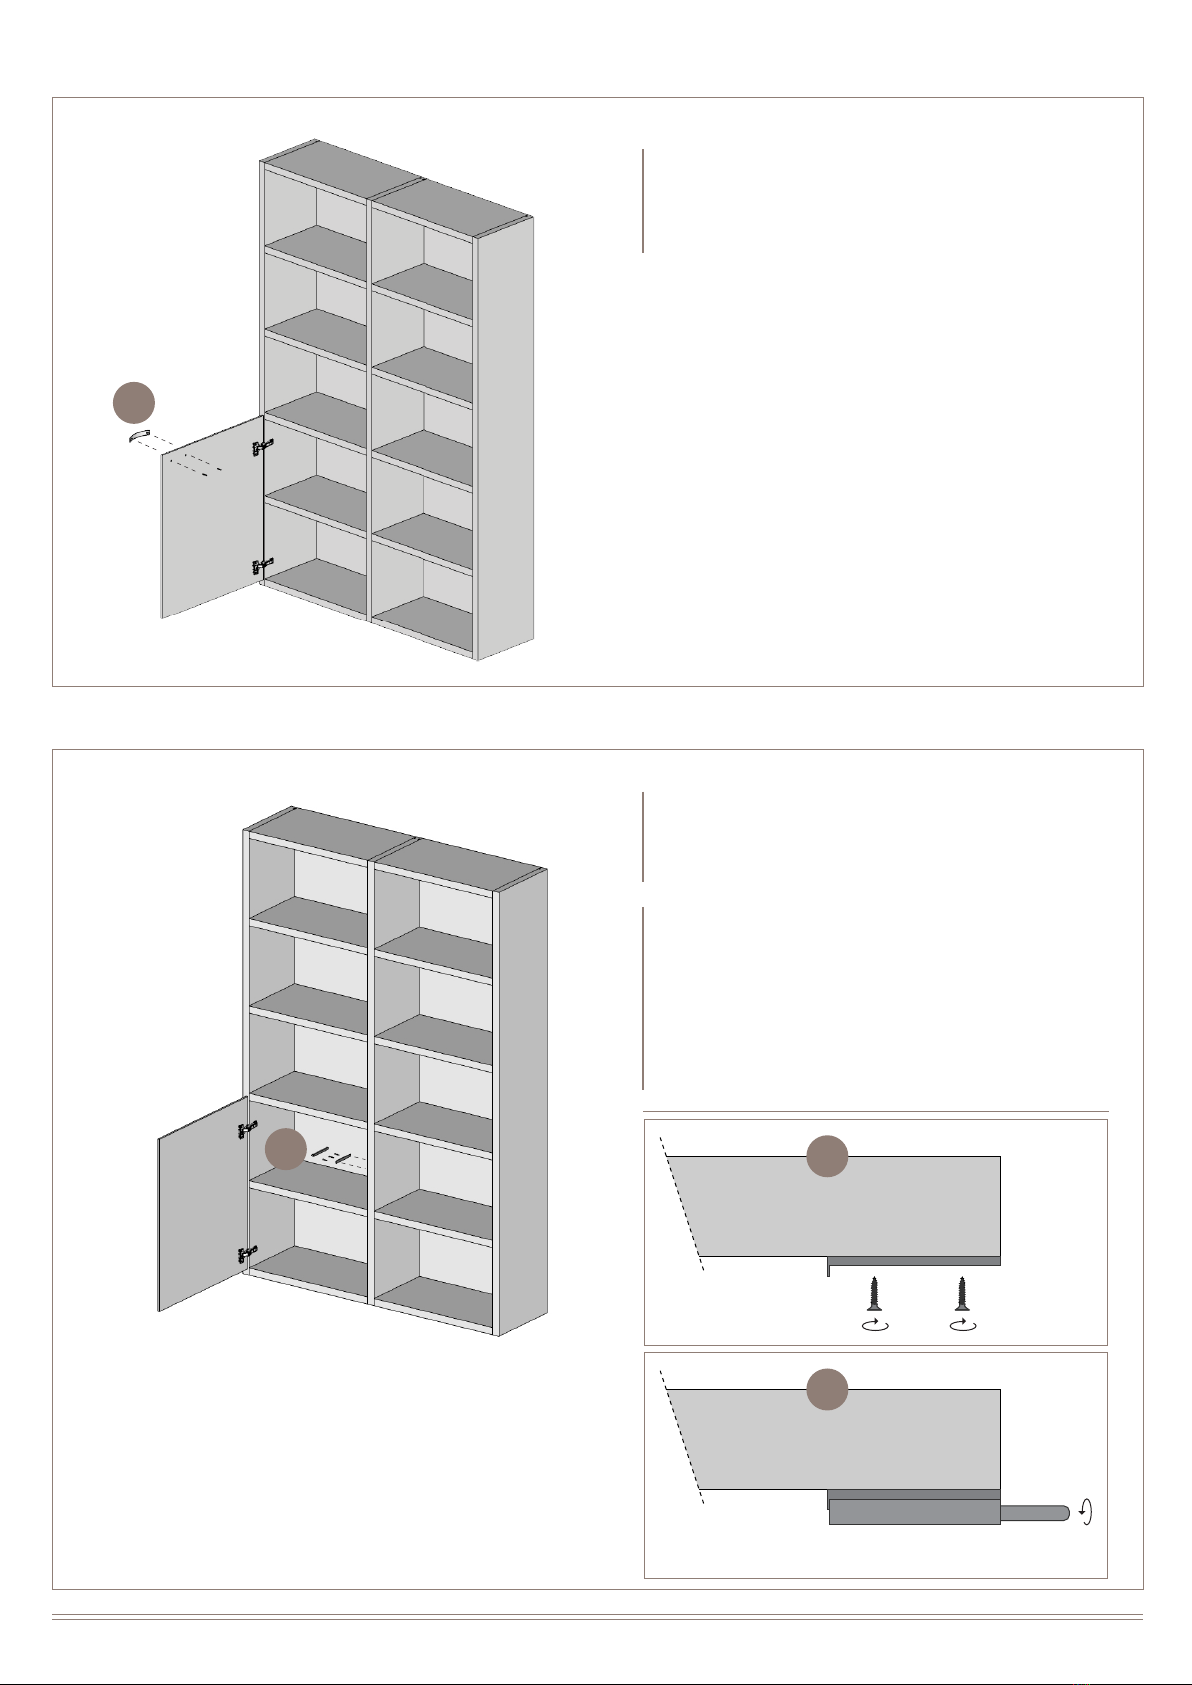
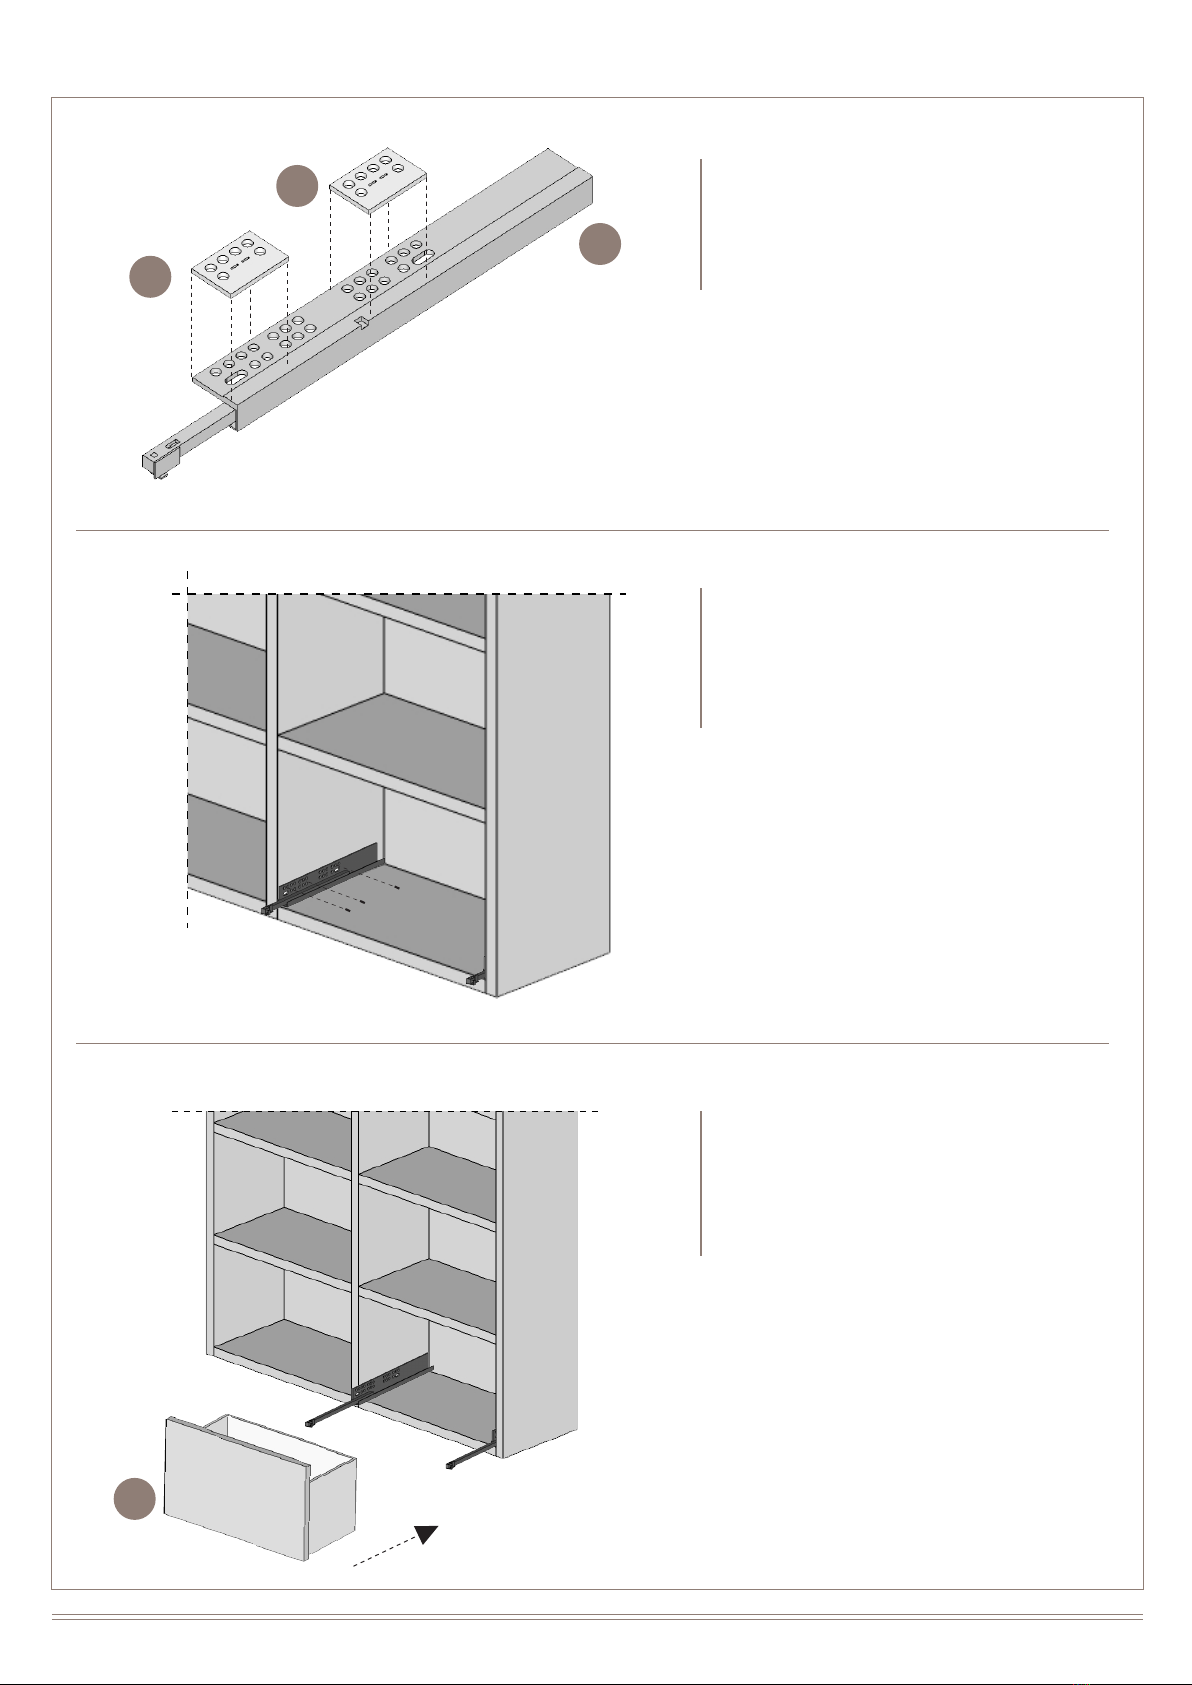
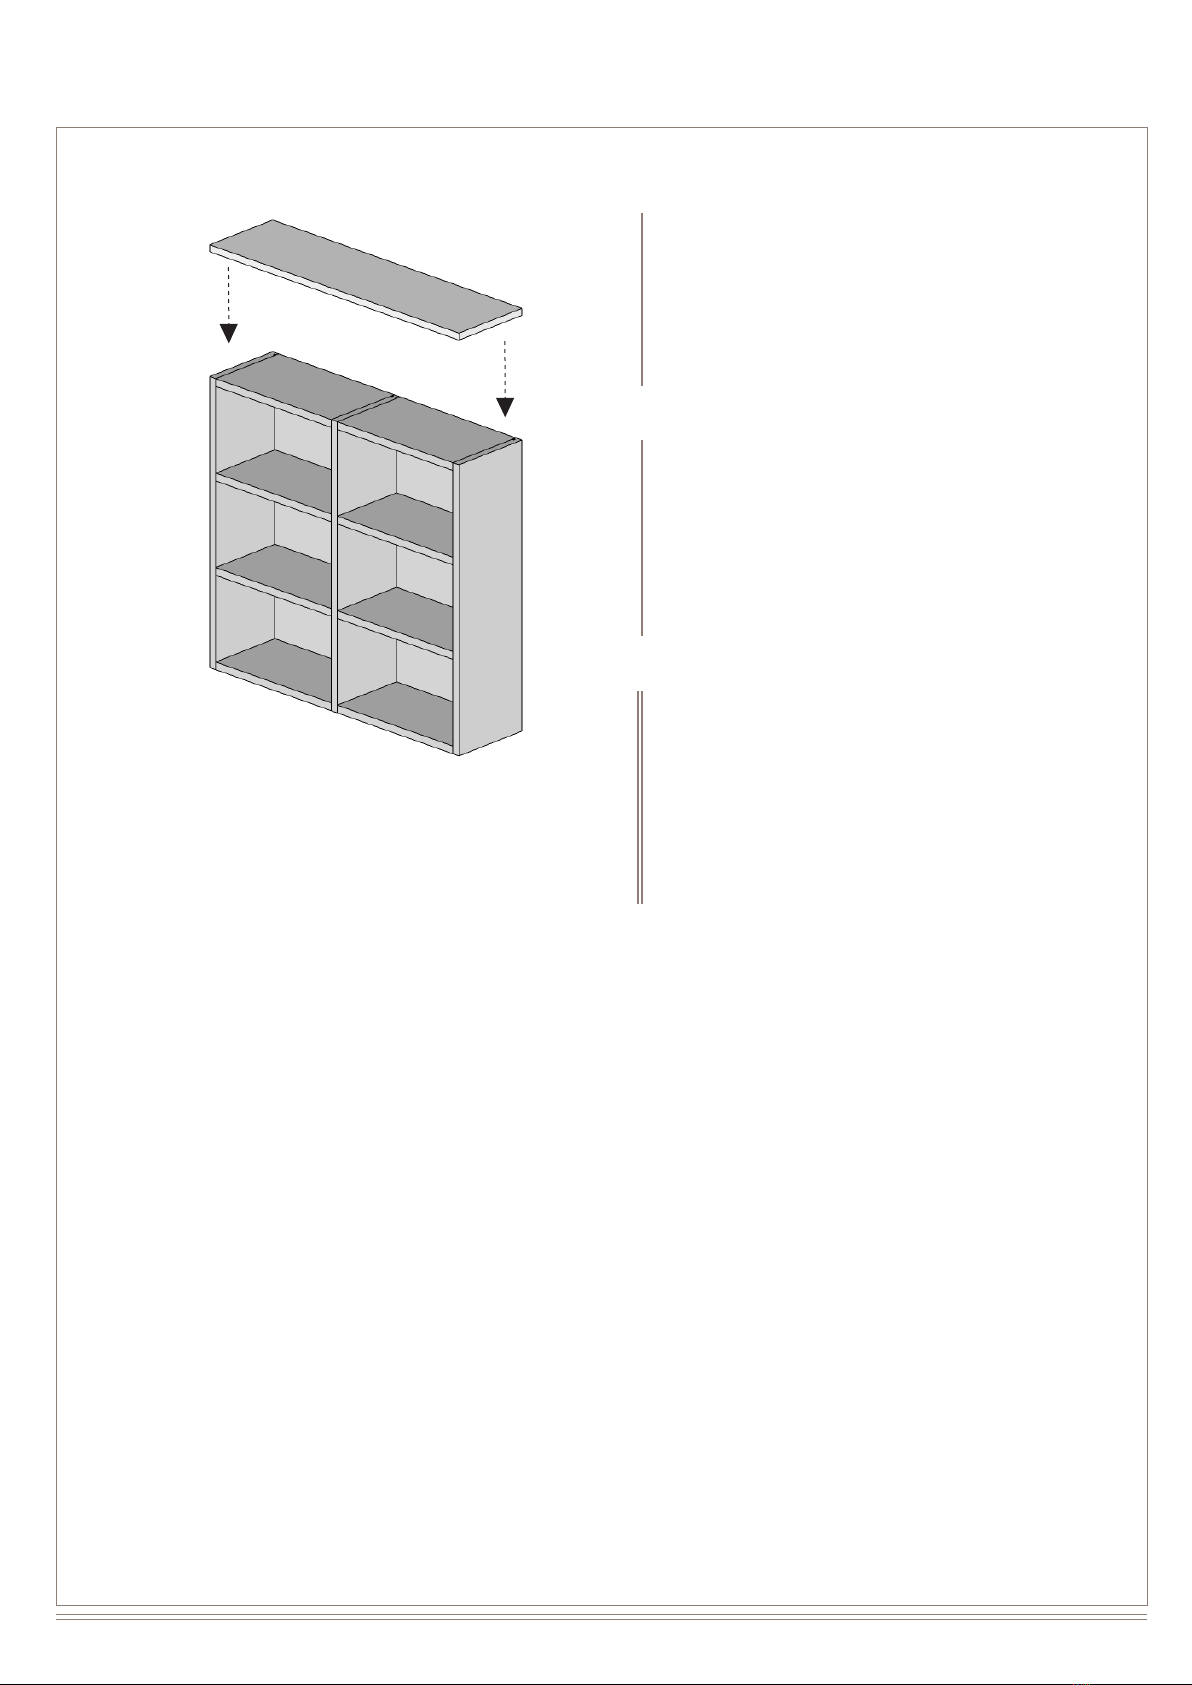
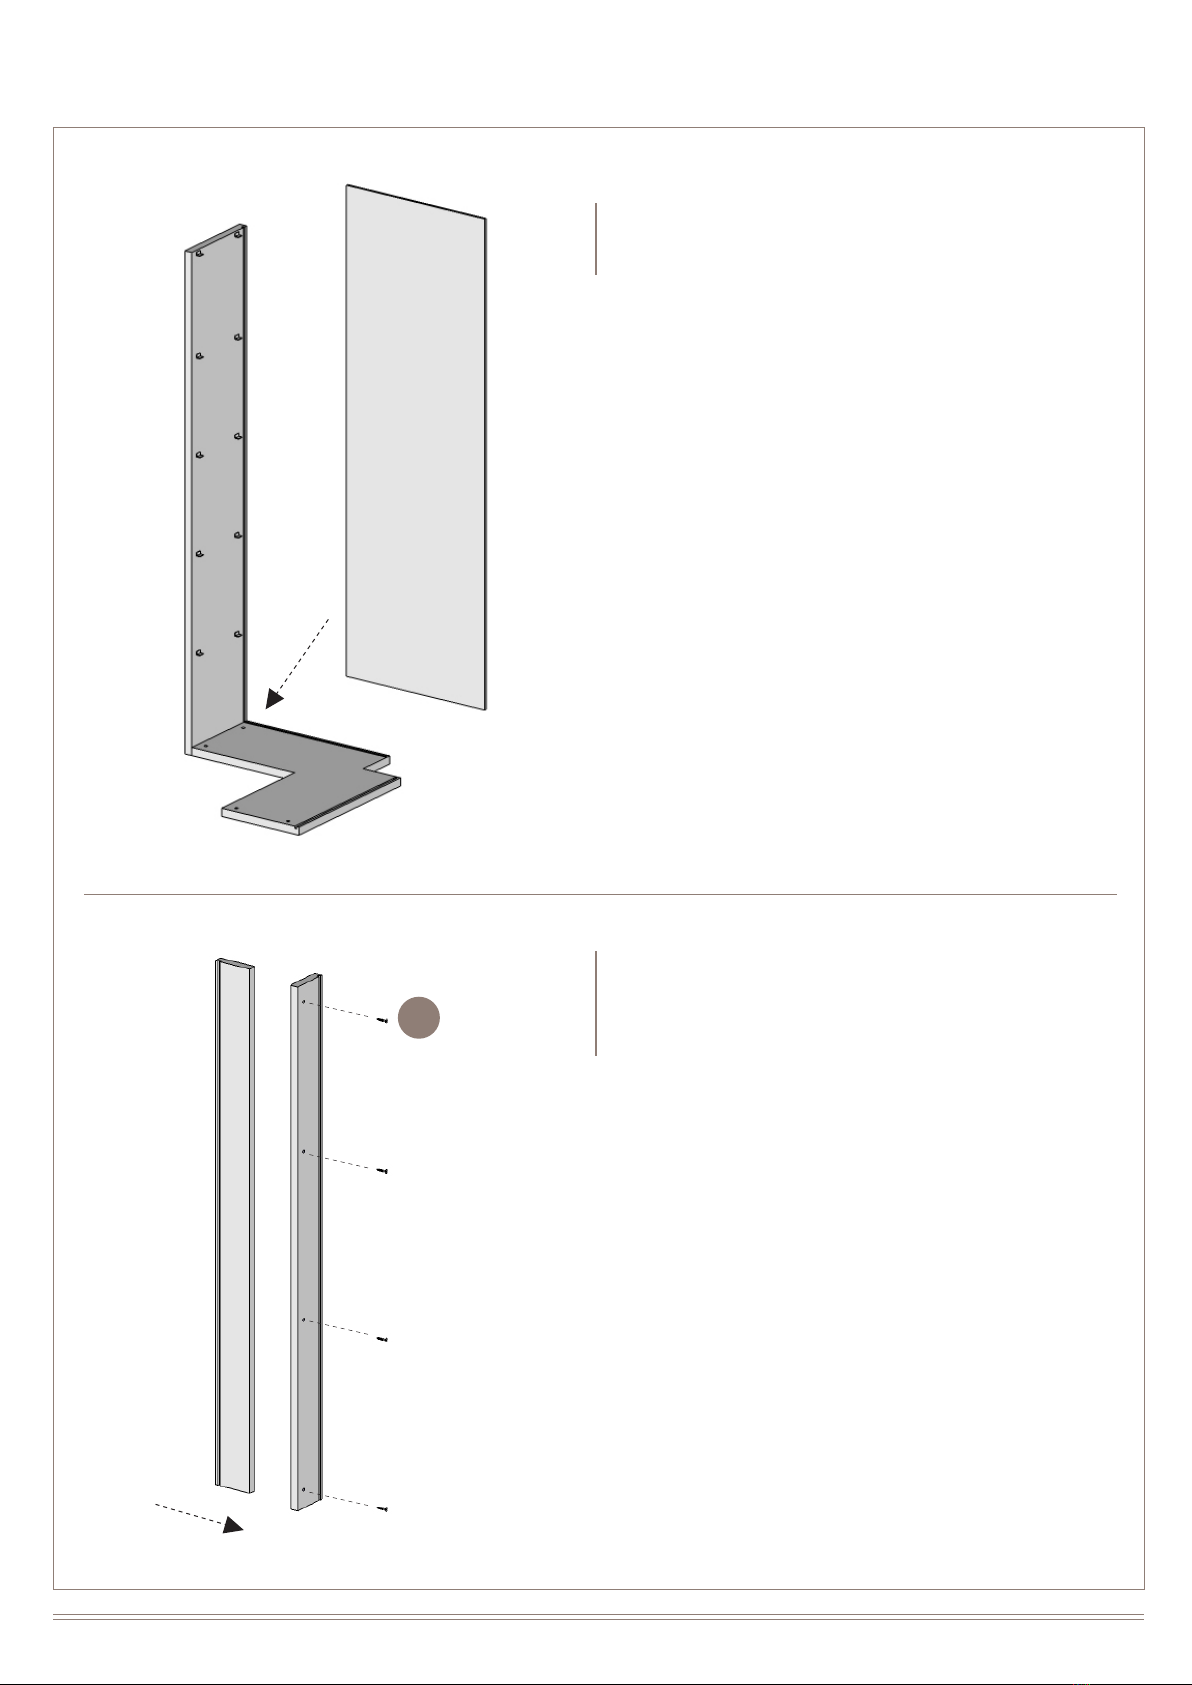
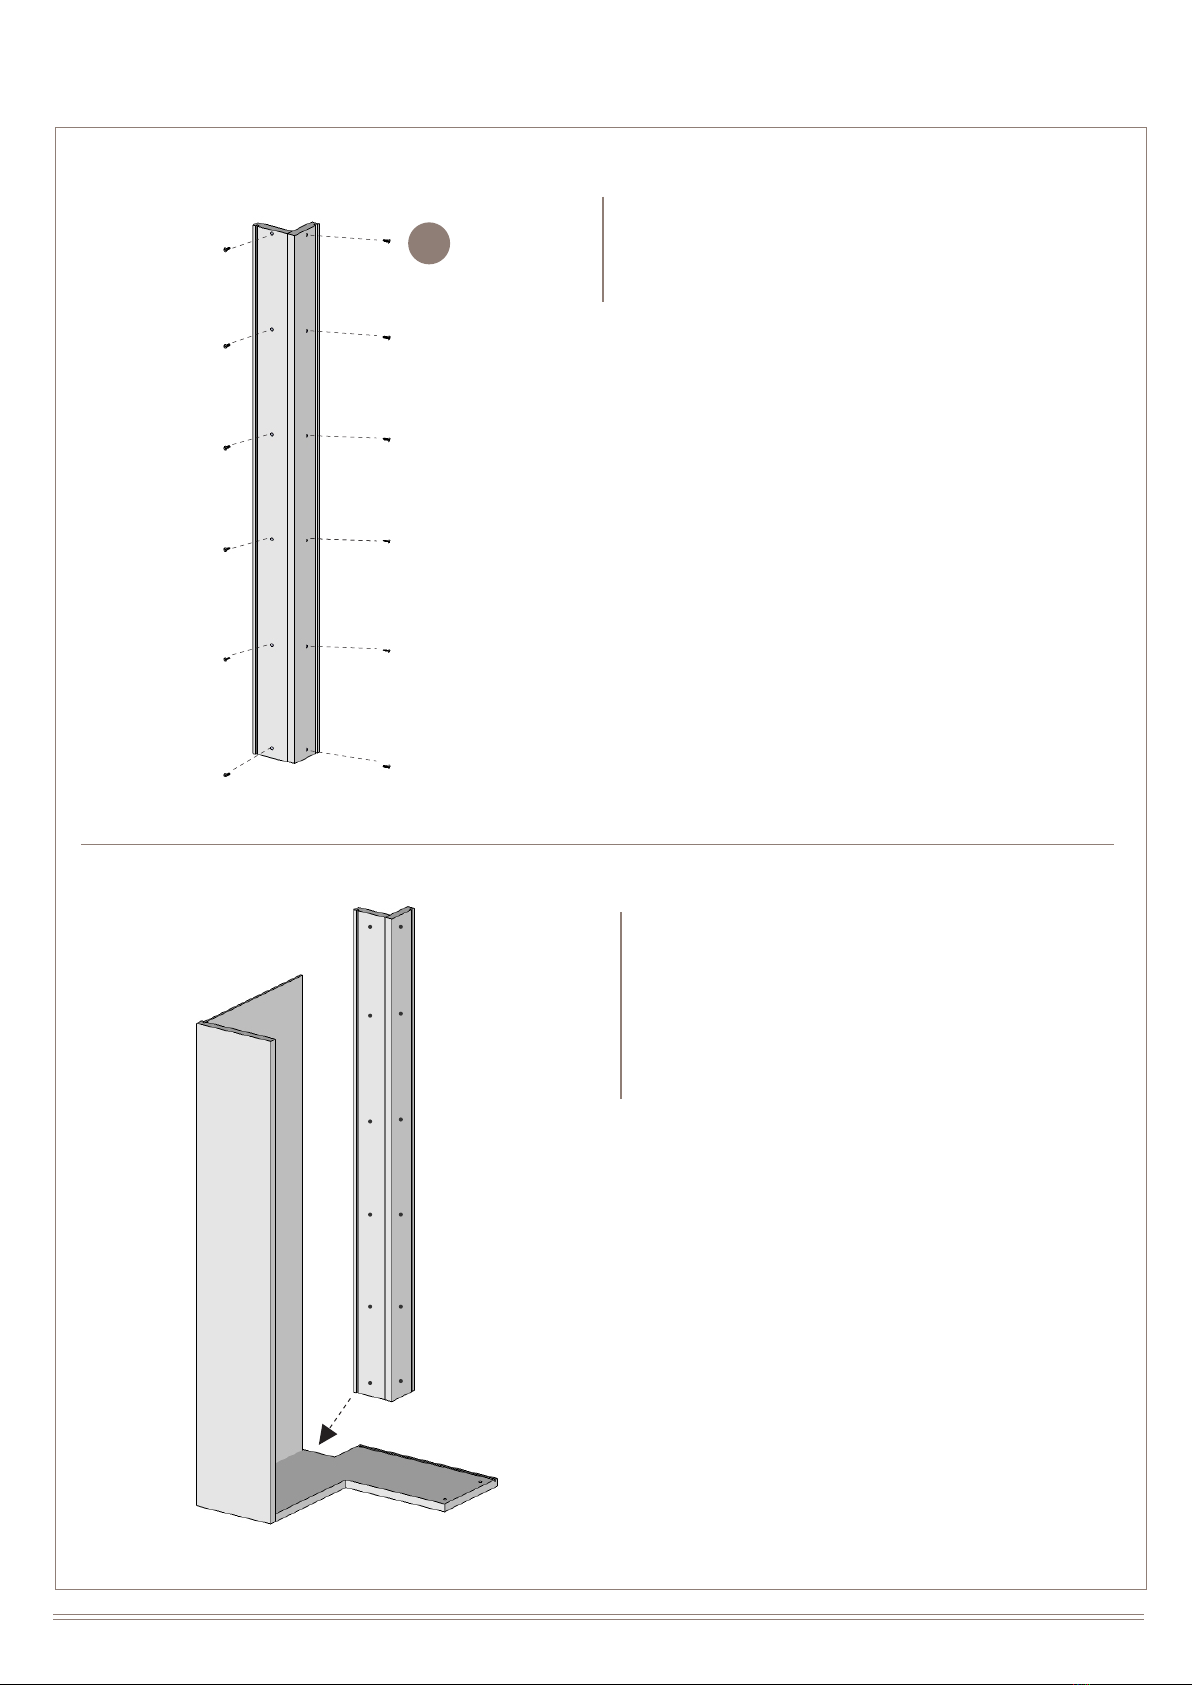
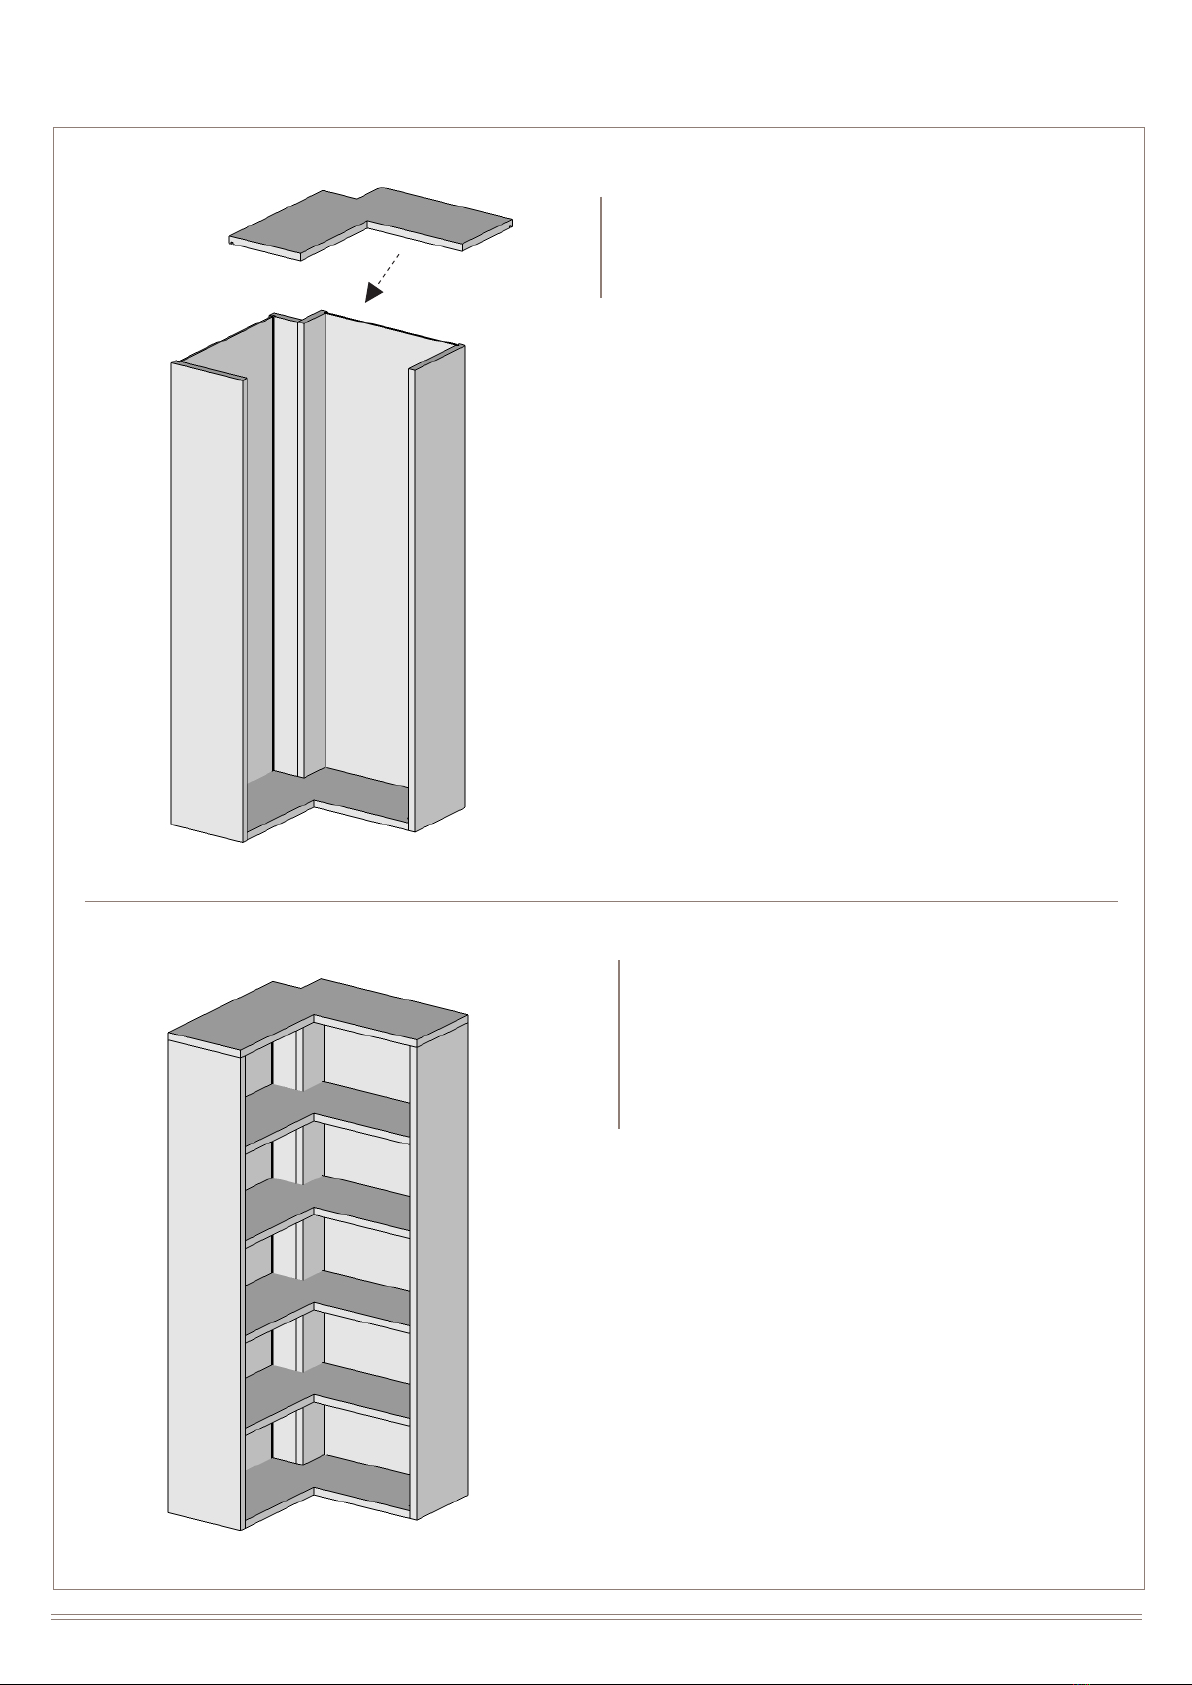
diotti LIBRERIA ALMOND Installation guide


This manual suits for next models
9
Other diotti Indoor Furnishing manuals

diotti
diotti WIDE Operation and maintenance manual

diotti
diotti ALIANT 03 User manual

diotti
diotti PIECE User manual

diotti
diotti JACOB User manual

diotti
diotti Sunset Mensola 6411 User manual

diotti
diotti TAVOLO BRIXTON User manual

diotti
diotti NEVILLE User manual

diotti
diotti Barcode Sideboard User manual

diotti
diotti BLIND User manual

diotti
diotti TORQUAY DESK User manual

diotti
diotti Almond Bookcase Bridge Unit Installation guide

diotti
diotti manhattan User manual

diotti
diotti TORQUAY 130 User manual

diotti
diotti EDDARD User manual

diotti
diotti Maddie Bookcase User manual

diotti
diotti Vortex Table User manual

diotti
diotti BRIGHTON User manual

diotti
diotti VORTEX User manual

diotti
diotti GRANADILLA User manual
Popular Indoor Furnishing manuals by other brands

Furniture of America
Furniture of America CM6895 Assembly instructions

Movo
Movo THE VISIONARY Instructions for use

Home Styles
Home Styles General Line 52195 Assembly instructions

Herman Miller
Herman Miller Fuld Disassembly for Recycling Instructions

Moe's
Moe's TIBURON SR-1018-24 Assembly instructions

BIG FURNITURE WAREHOUSE
BIG FURNITURE WAREHOUSE COLONIAL G-COLTRSWHT Assembly instructions

moll
moll Winner Assembly instructions

Meco
Meco Sudden Comfort E48 brochure

Bontempi Casa
Bontempi Casa ARON 20.07 Assembly instructions

Hülsta
Hülsta METIS plus Assembly instruction

New Classic Furniture
New Classic Furniture U2413-25-MCB Assembly instruction

Moebelix
Moebelix Lowboard E-Landwood 2478007918 Assembly instructions

Living Spaces
Living Spaces 305-P323150 Assembly instructions

GoodHome
GoodHome ladoga 3663602527367 Assembly instructions

Techni Mobili
Techni Mobili ID-2022 Assembly instructions

StyleWell
StyleWell DP18028 Use and care guide

Hooker Furniture
Hooker Furniture 1595-75310E-BRN Assembly instruction

Birlea
Birlea MIAMI S000107 Assembly instructions