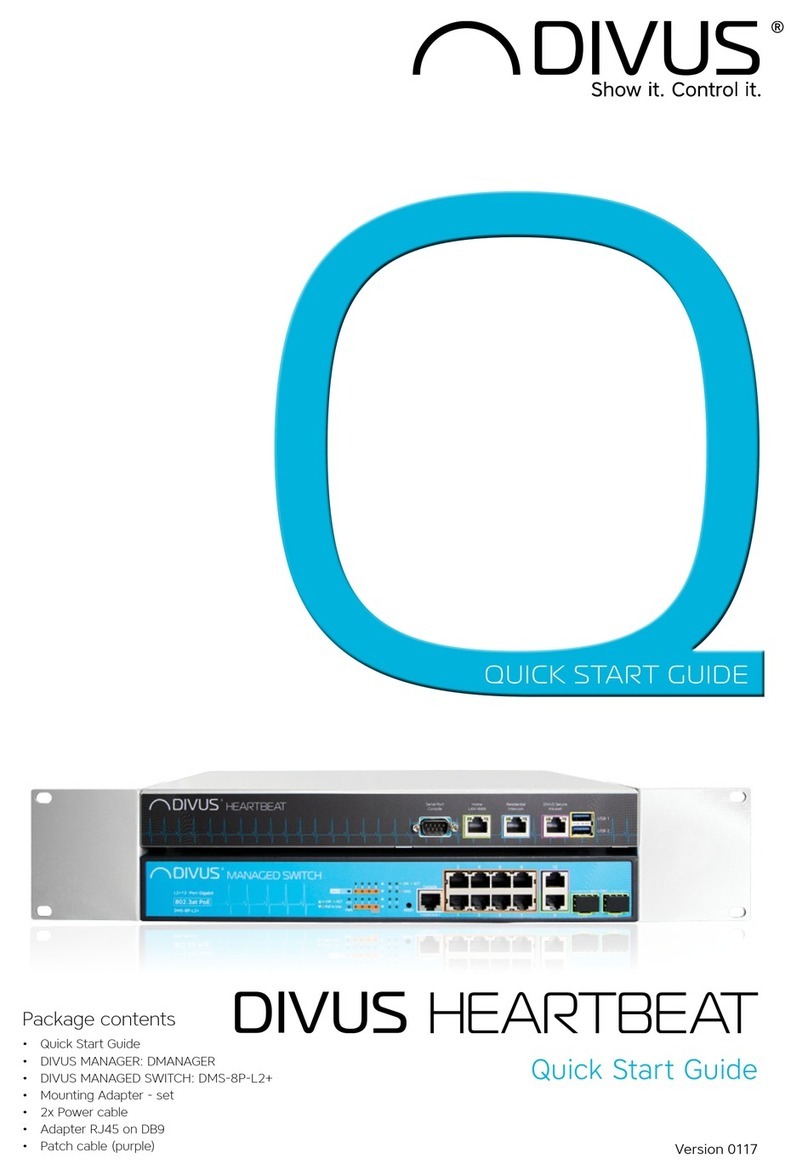
Divus Heartbeat User manual

Quick Start Guide
Package contents
• Quick Start Guide
• DIVUS MANAGER: DMANAGER
• DIVUS MANAGED SWITCH: DMS-8P-L2+
• Mounting Adapter - set
• 2x Power cable
• Adapter RJ45 on DB9
• Patch cable (purple) Version 0117
EN

COMMISIONING
Make the following connections to DIVUS HEARTBEAT:
2. Connect the 2 devices using the provided purple patch
cable: DIVUS MANAGER - DIVUS SECURE INTRANET
port (purple) to DIVUS MANAGED SWITCH - port 10
(purple).
INSTALLATION & POWER CONNECTION
7. Connect your laptop to the DIVUS MANAGED SWITCH
(DMS-8P-L2+) port 9 (green).
8. Open your browser and go to: https://dhb-heartbeat
9. Complete the registration process.
10. Login.
11. Follow the guided instructions in the web interface:
a. Adaptation of network parameters (if necessary)
b. Network scan (may take a few minutes to complete!)
c. Report download (if necessary)
FIRST SETUP
3. Connect power cable to devices (100-240VAC 420W
maximum power consumption at full load).
4. Turn on both devices using the power switch on the
back side.
5. If the internet router is already installed, connect it using
the Home LAN/WAN port.
PLEASE NOTE: If the internet router is not available yet, proceed
normally with the shown steps. Step 5 shall be completed once the
internet connection is available. Your DIVUS HEARTBEAT will then
adapt to the new network automatically. No new conguration of
the single devices will be necessary if you follow the instructions
detailed here and in the DIVUS HEARTBEAT manual, available from
www.divus.eu.
6. Connect the DIVUS and/or third-party home automation
devices to the DIVUS MANAGED SWITCH on the orange
POE+ - ports 1-8
1. Install DIVUS HEARTBEAT on a 19-inch rack frame with
the appropriate adapter provided. Note that the DIVUS
MANAGER is mounted on top and the DIVUS MANAGED
SWITCH at the bottom. The adapters must be mounted
according to their inscription.
MOUNTING

TECHNICAL DATA
MANAGER MANAGED SWITCH
GENERAL HARDWARE SPECIFICATION
Power supply 100 ... 240VAC, 50/60Hz 100 ... 240VAC, 50/60Hz
Power consumption
Max. 1A (100 VAC) /max. 0,55A (240VAC) Max. 3A (100 VAC) / max. 1,35A (240 VAC)
Total max. consumption 420W
Protection grade IP 20 according EN 60529
Dimension (WxDxH)
330 x 200 x 43.5 mm, 1U height 330 x 200 x 43.5 mm, 1U height
Total size: 483 x 200 x 88, 2U height
Weight
ca. 1.5 kg ca. 2 kg
Total weight: ca. 3.5 kg
Temp. range (operating)
Temperature: +5°C ... +45°C
Relative humidity: 5% ... 80% at 25°C (no humidity/condense)
Temp. range (storage)
Temperature: -10°C ... +60°C
Relative humidity: 5% ... 80% at 25°C (no humidity/condense)
LAYOUT
a) Power connector on plug - Manager & Switch
b) Power switch - Manager & Switch
MANAGED SWITCH
c) Switch reset button
d) Serial interface on RJ45
e) 8 POE+ ports (orange 1-8) DIVUS SECURE NETWORK
f) Port 9 – for cascading connections (to other switches) or
for normal client devices.
g) Port 10 – same as 9. Use to connect to manager.
h) Port 11-12 Mini-GBIC - not in use
MANAGER
i) Serial interface on DB9
j) Home LAN-WAN
k) Residential Intercom
l) DIVUS SECURE INTRANET - port to connect manager to
switch
m) 2 USB 3.0 ports
a
a
b
b
2 4 6 8 10
97531
PoE
11
Console
RESET
LNK ACT SYS
PWR
1 3 5 7
2 4 6 8
9 11
10 12
PoE In-Use
115200,N,8,1 12
Alert FAN

CLIENT SETUP
DIVUS KNX SERVER / KNX SUPERIO v. 2.2+
Only change to the KNX SERVER settings:
1. If you are using a KNX SERVER or KNX SUPERIO with
a xed IP address, switch from STATIC to DHCP in the
network settings page and save. Otherwise or if you
bought the KNX SERVER/KNX SUPERIO together with the
DIVUS HEARTBEAT, go directly to point 2.
2. Connect to the DIVUS HEARTBEAT using a browser
on any computer connected to the DIVUS MANAGED
SWITCH (see FIRST SETUP) and make a scan. Wait for the
scan to complete.
3. Then use the path shown above to connect from clients.
OPTIMA
TOUCHZONE
1. Connect the TOUCHZONE(s) using one of the 8 ports of
the DIVUS MANAGED SWITCH.
2. In the OPTIMA App‘s settings, use divus-heartbeat as KNX
SERVER IP address port number 3000
3. Use the new DIVUS App DIVUS HEARTBEAT to see and
change the DIVUS heartbeat‘s settings, watch the logs,
scan the network etc.
FOR OTHER CLIENTS (SUPERIO, MIRROR, DIVA, laptops/PCs/
Macs etc.)
Please use dhb-heartbeat:3000 to load OPTIMA in a browser‘s
window. Use Google Chrome for best results.
KNX SERVER IP ADDRESS FIELD (OPTIMA App):
dhb-heartbeat
iOS & Android devices
PORT FIELD (OPTIMA App):
3000
SUPERIO and other Windows based Panels
URL (Browser):
dhb-heartbeat:3000
VIDEOPHONE (INTERCOM)
For any version of the DIVUS VIDEOPHONE: (iOS & Android devices)
VoIP SERVER IP ADDRESS FIELD:
dhb-heartbeat
PORT FIELD (Videophone):
5060 (default SIP port)
IMPORTANT NOTE:
PLEASE DO NOT USE THE IP ADDRESSES OF THE SERVERS IN THESE CONFIGURATIONS! USING dhb-heartbeat ALLOWS THE SYSTEM TO ADAPT TO
NETWORK CHANGES IN THE FUTURE AUTOMATICALLY, WITHOUT THE NEED TO RECONFIGURE ANYTHING.
NOTE: IF YOU CHANGED THE NAME dhb-heartbeat DURING THE FIRST SETUP, YOU MUST USE THE NEW ONE.
For https, substitute port 3000 with 3001

FIREWALL
PROTECTED
BACKDOOR ENTRANCE
RESIDENTIAL
INTERCOM
IP CAM IP CAM
GATE
LIVINGROOM ENTRANCE
MULTIROOMCOMPUTER / SERVER TABLET/SMARTPHONE
TABLET/SMARTPHONE
INTERNET / IOT
FIREWALL
PROTECTED
KITCHEN
KNX SERVER
CONNECTION DIAGRAMM

EXAMPLE OF USE

VoiP server
VoiP call logging
Managing of multiple switches
Firewall protection of Home LAN and DIVUS SECURE
NETWORK
Firewal protection of external residential network to
Home LAN and DIVUS SECURE NETWORK
Network scan
Generation of network reports
Sending network report by email
Network diagram
Network logging
Network diagnostic
Loop protection
DIVUS device control
DIVUS device manage
DIVUS device conguration
DIVUS device logging
DHCP server to DIVUS SECURE INTRANET
NTP server to DIVUS SECURE INTRANET
FUNCTIONALITIES
STANDARD
DIVUS HEARTBEAT meets the following guidelines and standards:
Low Voltage Directive 2014/35/EU (ex 73/23/CEE – 93/68/CEE – 06/95/CE)
Standard(s) to which conformity is declared:
EN 50491-3:2009, EN60950-1:2006+A11:2009+A1:2010+A12:2011 Safety
EMC Directive 2014/30/EU (ex 89/336/CEE – 92/31/CEE – 93/68/CEE - 04/108/CE)
Standard(s) to which conformity is declared:
EN 50491-5-1:2010, EN 50491-5-2:2010 Conducted & Radiated Emissions
RoHS2 Directive 2011/65/EU (ex 02/95/EC)
Standard(s) to which conformity is declared:
EN 50581:2012 Restriction of hazardous substances
The installation and wiring instructions contained in this documentation must be heeded. Conformity is indicated by the attached
CE label.
The EC conformity statements can be obtained from:
DIVUS GmbH
Pillhof 51
I-39057 Eppan (BZ) - Italy
Regarding Directive 2011/65/EU (ex 2002/95/EG) waste electrical and electronic equipment has to be collected separately and is
not allowed to dispose as unsorted municipal waste.
GENERAL INFORMATION
DIVUS GmbH
Pillhof 51
I-39057 Eppan (BZ) - Italy
www.divus.eu
Tel. +39 0471 633662

DIVUS Headquarters Pillhof 51 . I-39057 Eppan (Italy) . Tel. +39 0471 633 662 . Fax. +39 0471 631 829
TZ07 – TZ10 – TZ15 – TZ19 DM15 – DM19DSK10 – DSK15 – DSK19
DIVA22DD10 – DD15 – DD19 DH10 – DH15
Touchpanels for any application
Intercom & Apps
KNX visualization system
NEW
Q2-2017
Other manuals for Heartbeat
2
Table of contents
Other Divus Switch manuals