DK-TEC HNDK User manual

02/2020
Table of contents
1. Introduction................................................................................................................................. 1
2. Safety Labels.............................................................................................................................. 2
3. Safety Instructions ...................................................................................................................... 4
4. Safety equipment........................................................................................................................ 4
5. Checklist..................................................................................................................................... 5
6. Using the machine .................................................................................................................... 6
7. Service and Maintenance........................................................................................................... 9
8. Problem Solving ....................................................................................................................... 11

02/2020
1
Starting the chipper
1. Introduction
Always use your hand to turn the chipper ejecter toud before starting the machine. Turn the
chipper's ejection away from buildings, yourself and other bystanders.
Keep the PTO shaft straight and within 15 degrees horizontally when operating the
chipper.
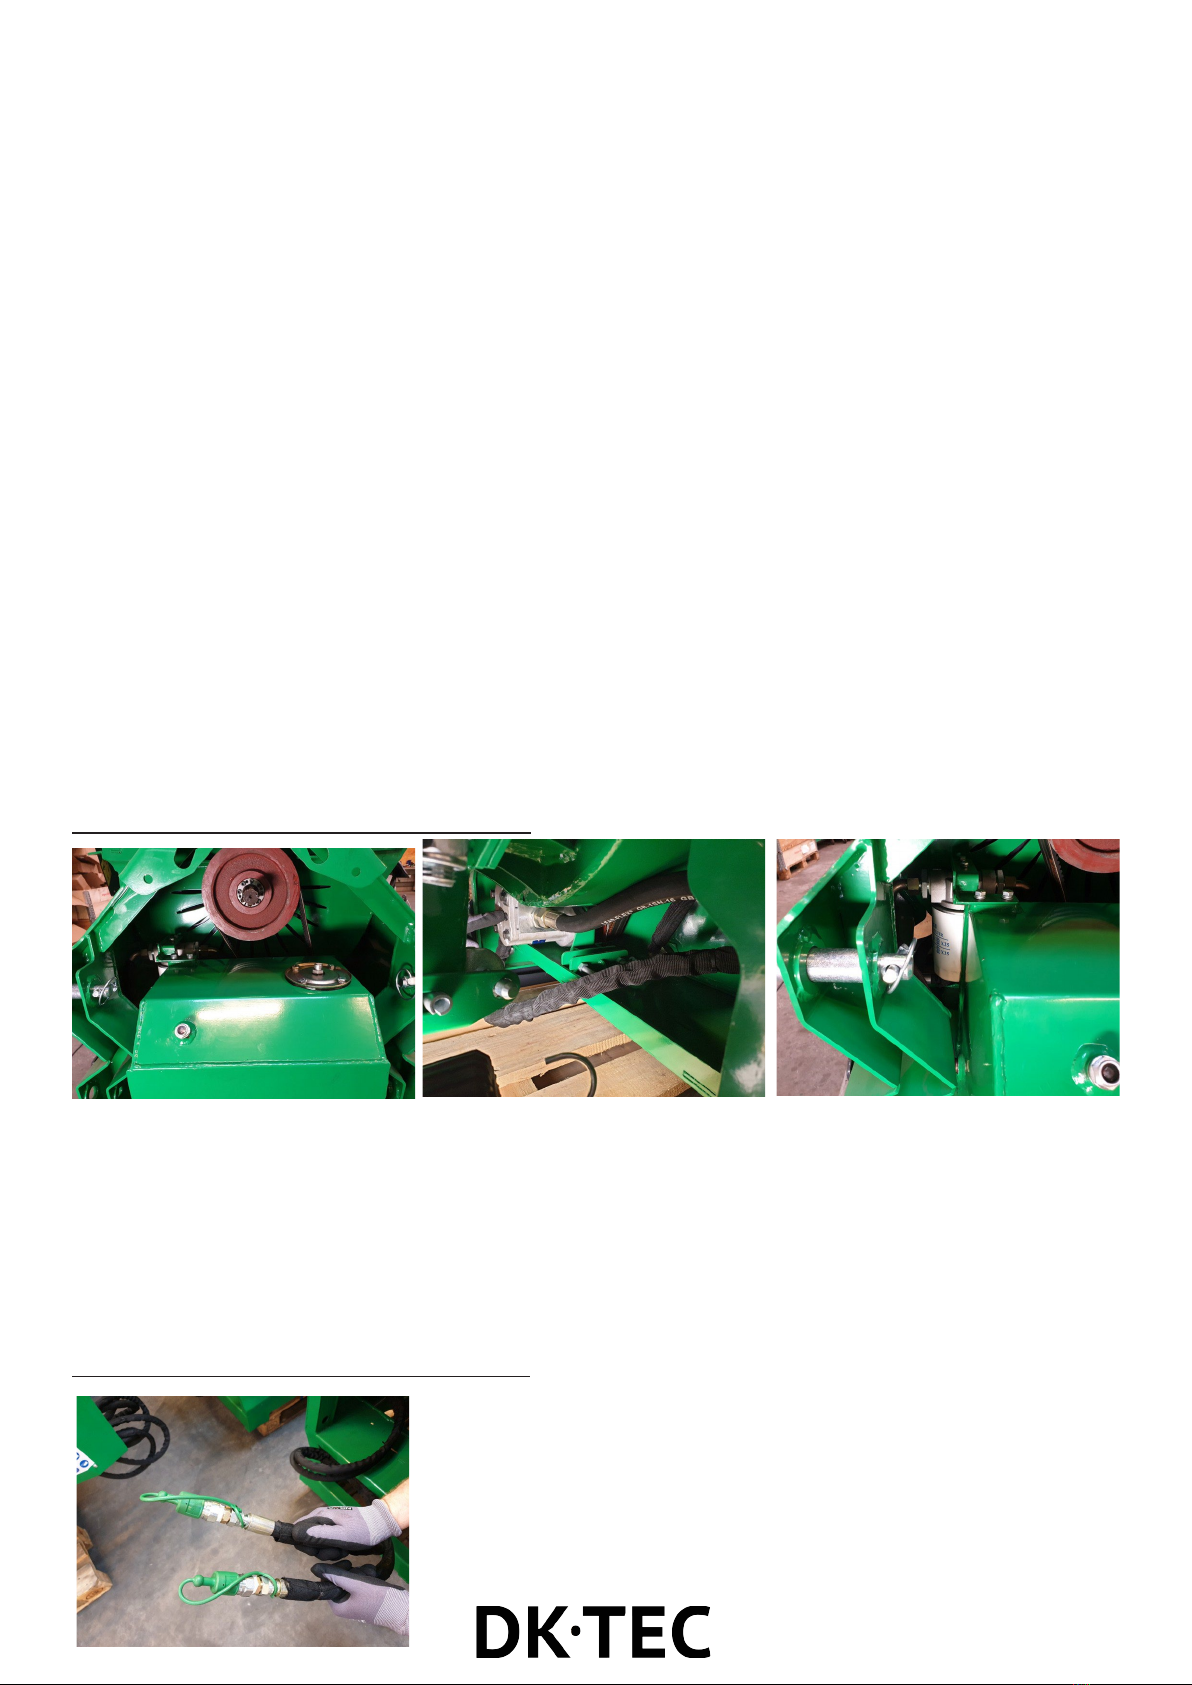
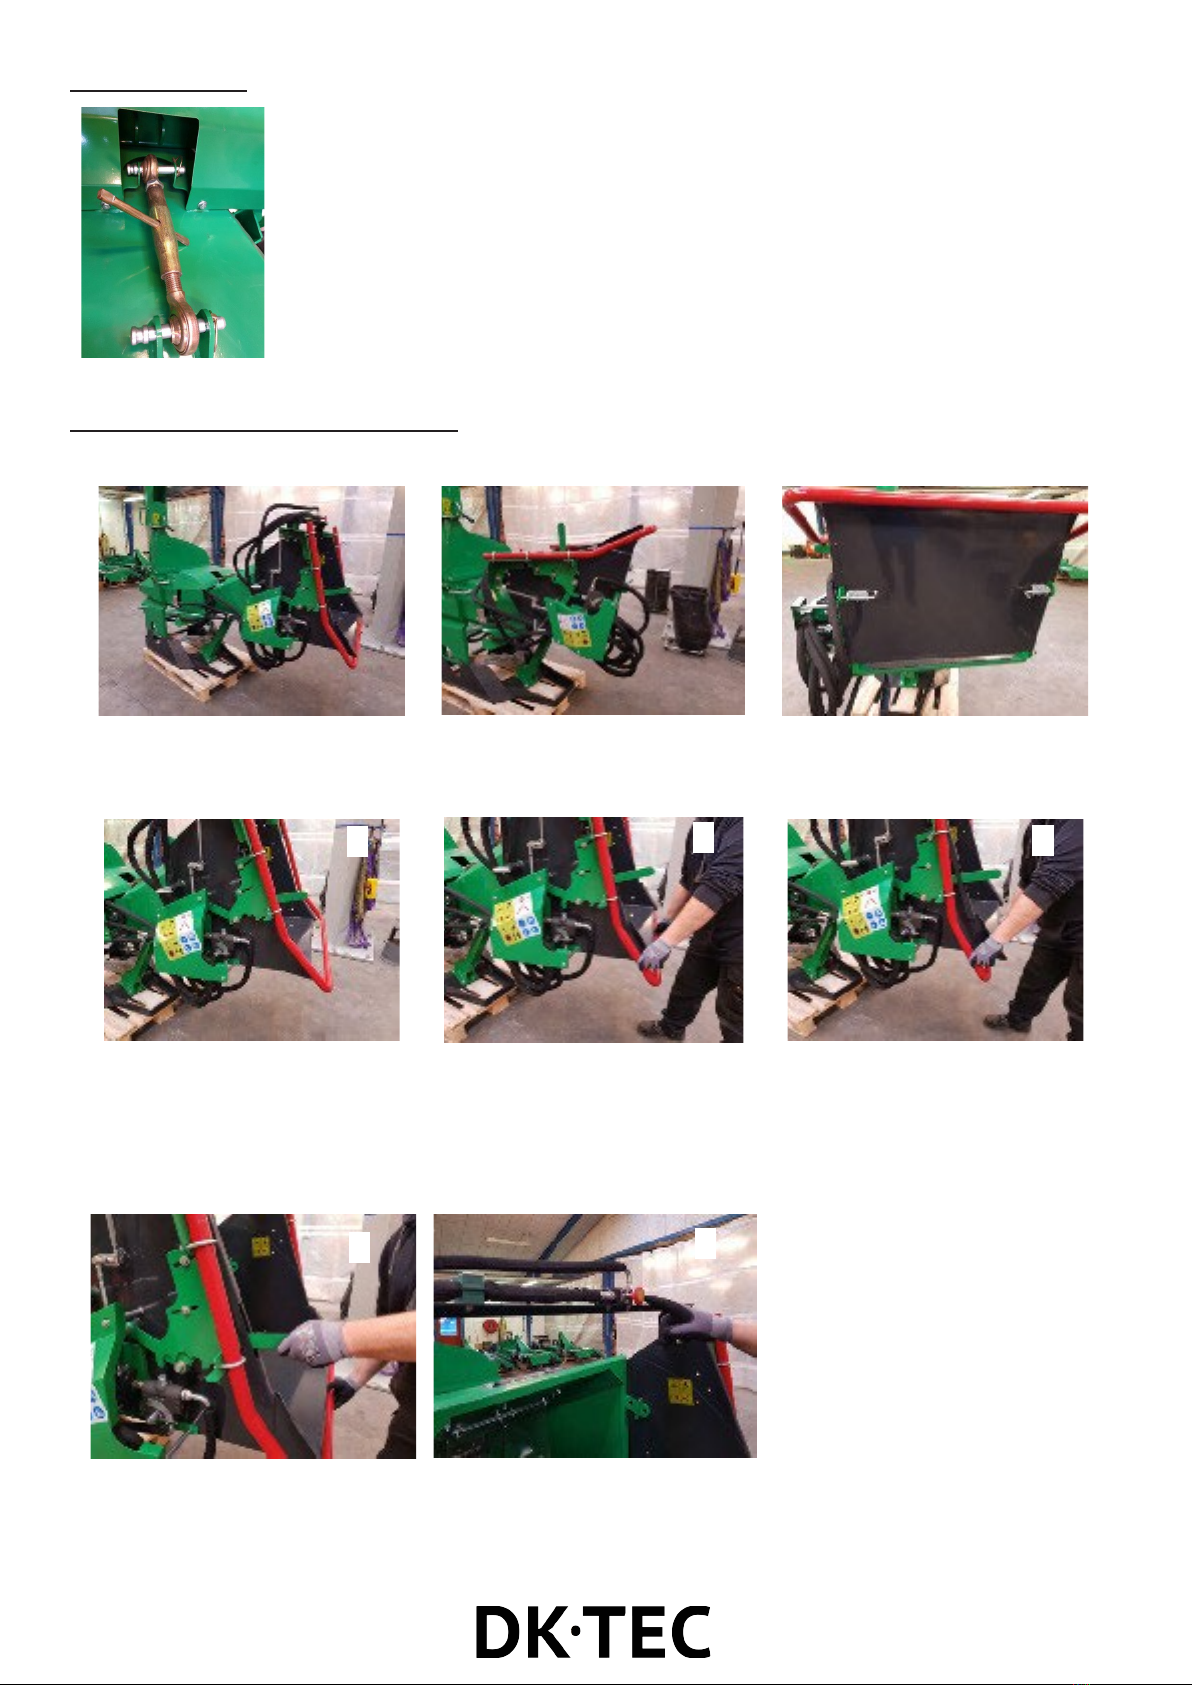
Drive shaft specifications
• Check that the supplied PTO shaft is the correct length.
• Remember to mount the PTO shaft safety chain.
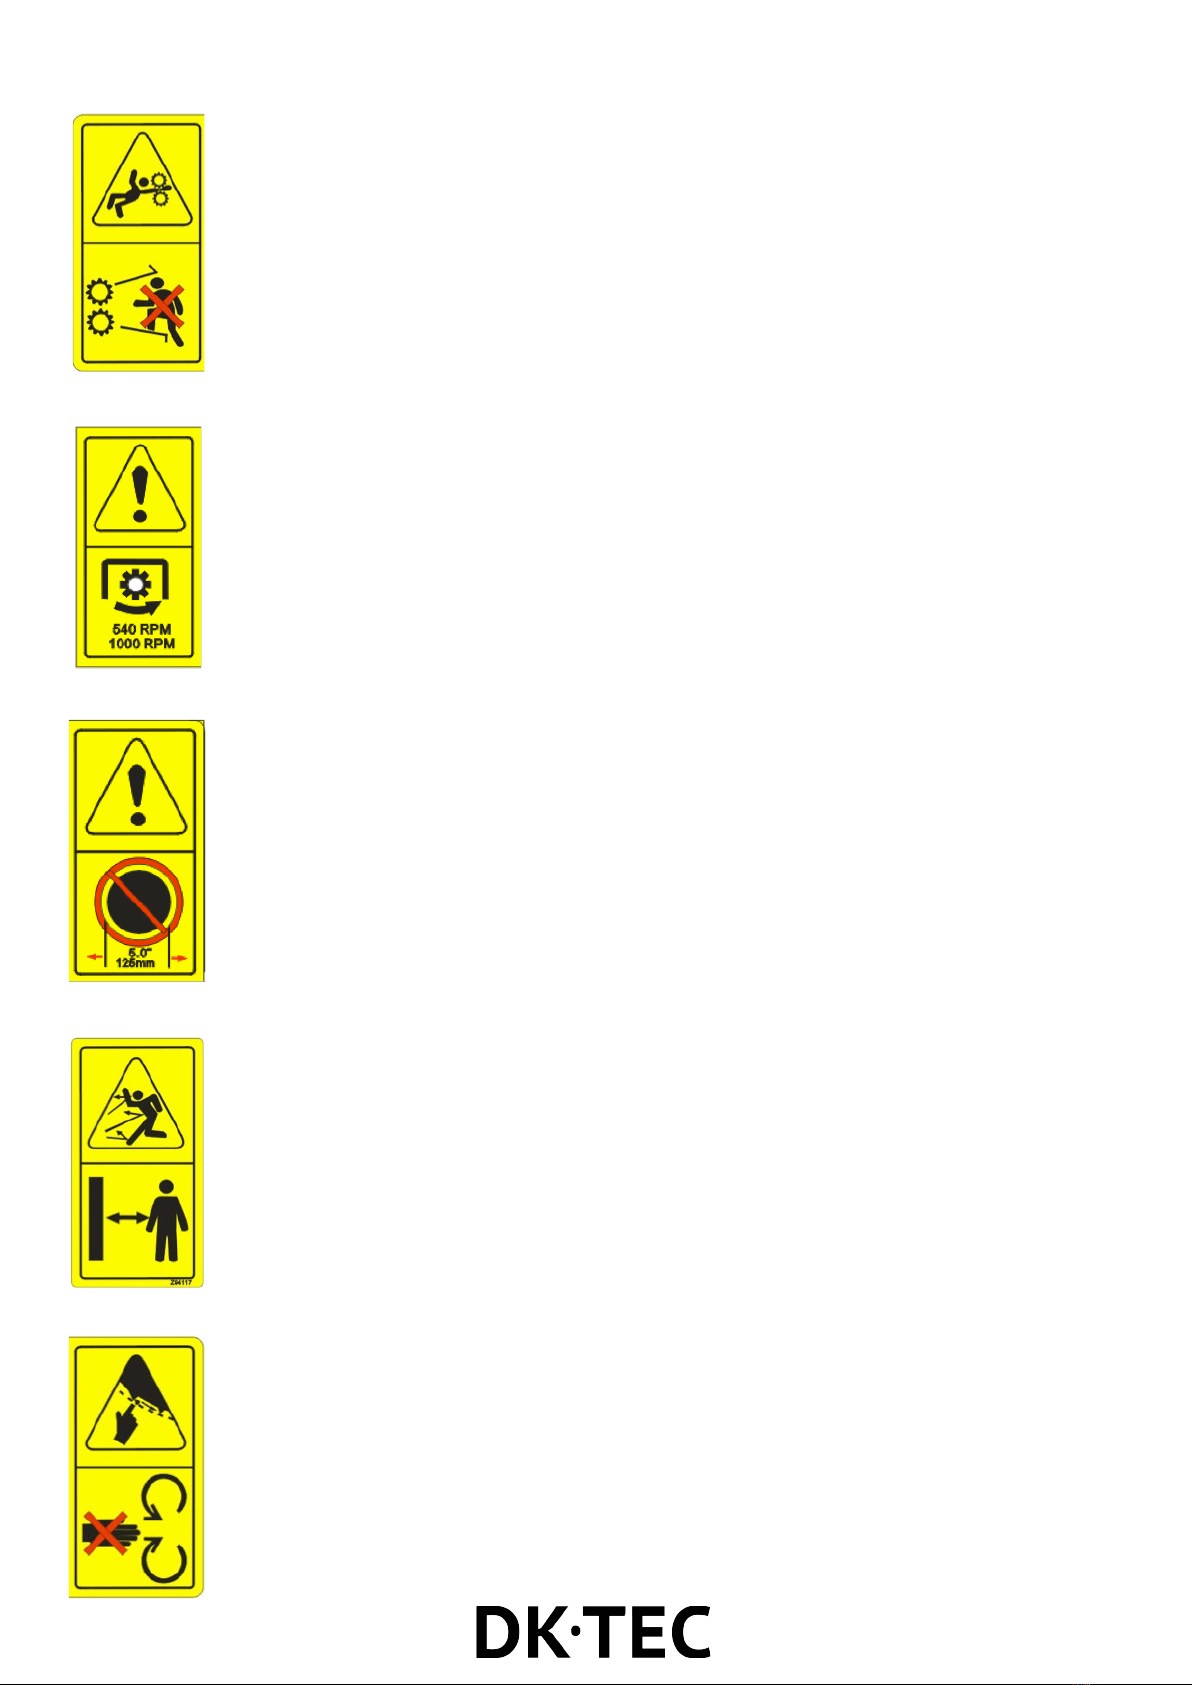
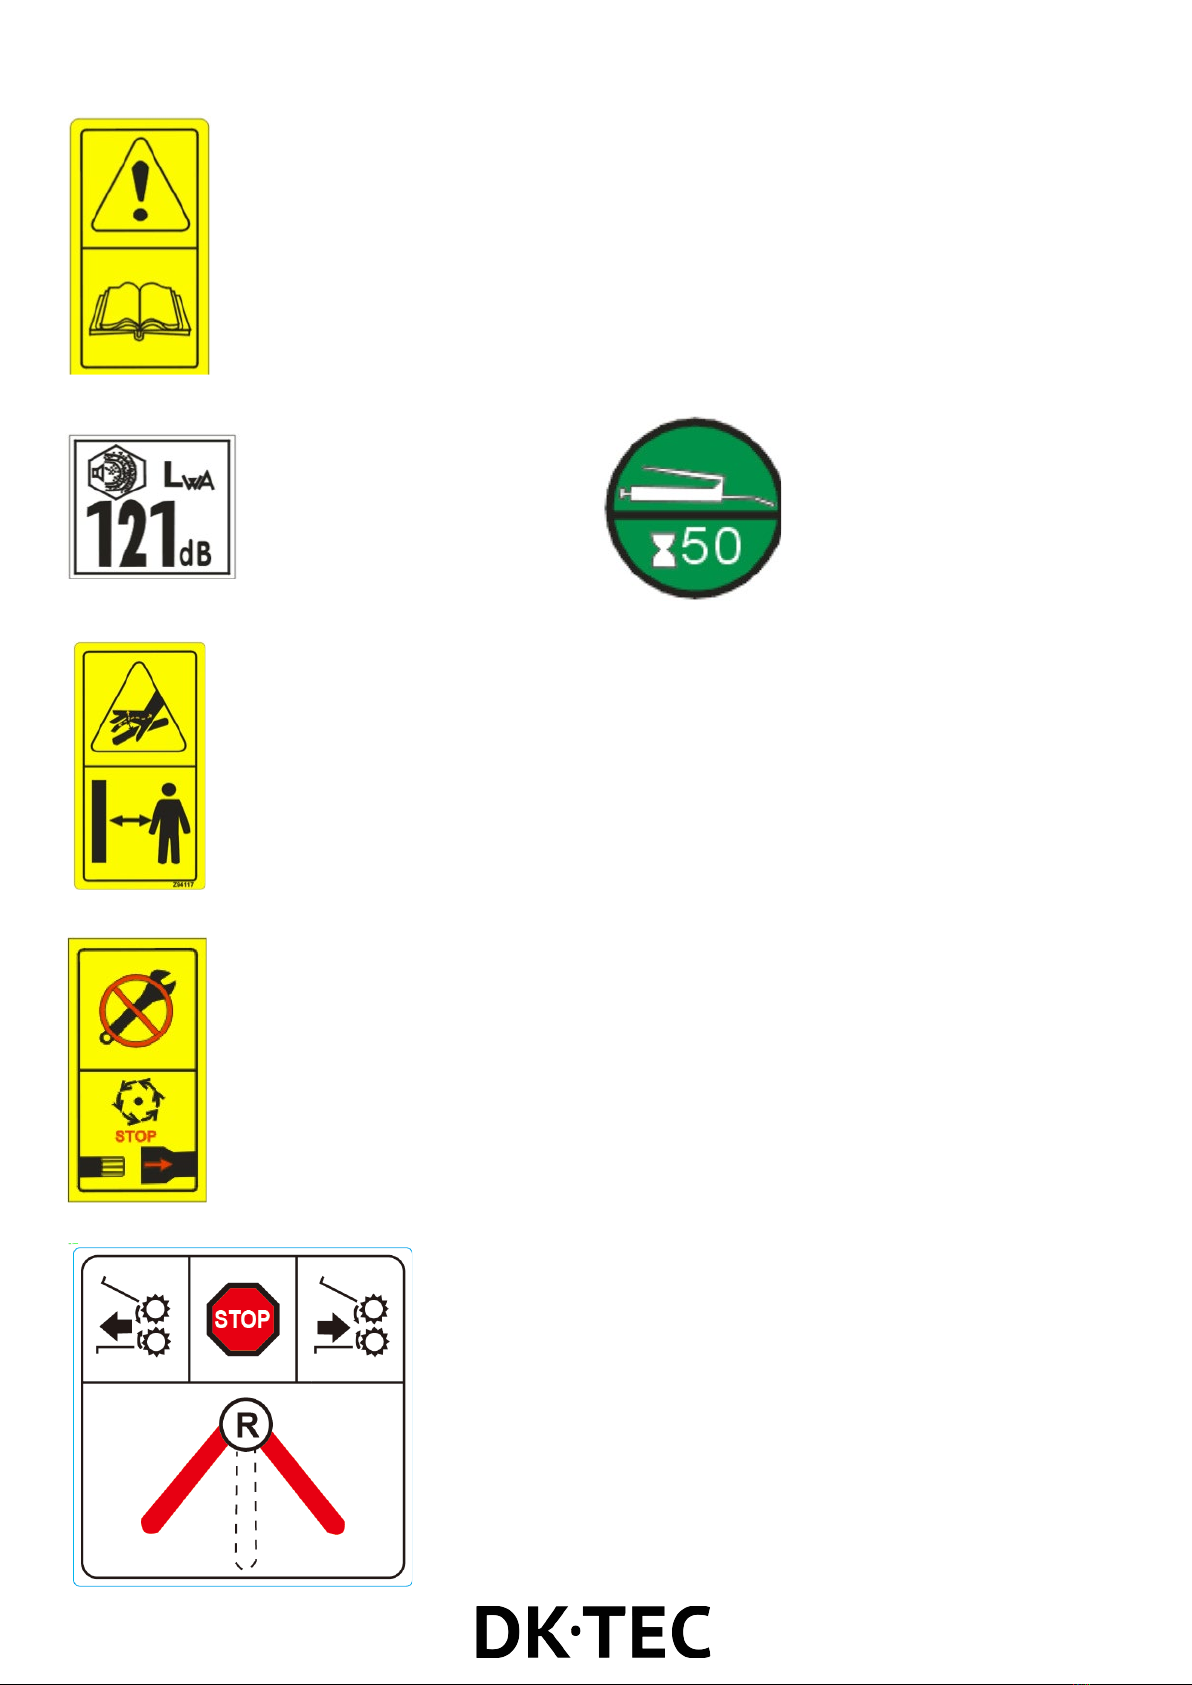
Security
In the case of those hazards that cannot be effectively eliminated, it is important to
ensure safety.
1. Orient yourself by reading the user manual and safety labels. The machine should only
be used when the tractor's PTO safetyscreen has been installed
Warning and instructions
This, and the upcoming sections, will inform you of the various warnings and instructions for the
hazards associated with the chipper, as well as instructions for proper maintenance and
repairs.
1. Ensure that the safety labels are attached to the chipper, that the user is instructed in the
correct dimensions of the coupling device and the maximum speed for safe use of the chipper.
The drive shaft, like most other components, must be used correctly, this also includes the proper
use of the tractor's safe and secure screens.
Spare parts
Always use original spare parts, otherwise the warranty will lapse! You can easily find the spare
parts
that fits the machine by scanning the scan code that sits on your machine's CE plate.
Download the App 'QR scanner' on
your smartphone in the Play Store or
App Store to be able to scan the scan
code.

02/2020
2
2. Safety labels
CAUTION:
Do not step into or place your body parts in the wood funnel. This can result in
serious injuries or death
CAUTION:
Make sure the drive shaft rotates in the right direction and at the correct RPM
Cutting diameter of the thickness of the tree is mix 12.5 cm
( OBS explanation of mm may vary )
CAUTION:
Flying objects! Pay attention and stay away from the material from the ejection
spout. The chipper eject ejects wood chips quickly enough to predict damage. Do
not turn the ejecter spout towards people, animals or buildings.
CAUTION:
Keep your hands and feet away from the inlet and opening of the ejecing spout
while the chipper is in progress to avoid personal injury. Wait for all moving parts
to come to a full stop before clearing obstacles in the ejection spout.

02/2020
3
CAUTION:
Read and understand ALL safety and use instructions in the user manual. Read
and understand ALL safety labels that sit on the chipper. The main safety device
is a well-informed operator.
Noise of 121 decibels Refill lubricating grease.
CAUTION:
Hydraulic fluid under pressure. Do not check for leaks with your hand or fingers.
This will result in serious injuries
CAUTION:
Make sure that you turn off and decouple the PTO when doing maintenance on
the wood chipper. Failure to turn off and disconnect the PTO can result in
serious injuries or death.
This label explains the function of the safety lever : To
the left: Reverses, i.e. drives the material out of the
machine
R: Neutral
Right : Material is pulled into the machine

02/2020
4
3. Safety instructions
Do not operate the chipper until you have read and understood the user manual.
Be sure that the safetyscreen is installed correctly when the chipper is operated. It is important
that the labels are on the chipper and that they are maintained. If your labels have been damaged
and are no longer readable,we are happy to live new ones.
Never leave the chipper lit unattended.
Do not make changes are, repairs or adjustments while the chipper is in progress. Disconnect the
PTO and turn off the engine.
Keep hands, feet , and other body parts away from the chipper.
Turn the ejection spout away from doorways, sidewalks, and other areas where people may reside.
The funnel should be turned with the wind if possible otherwise the tile will blow in your eyes or
down your neck . Neither is particularly comfortable.
Keep everyone, especially children, away from areas where the chipper is being operated. Anyone
who has not read this user manual or received instructions from a qualified person should stay
away from the work area.
4. Safety equipment
IMPORTANT: Wearingloose-fitting clothing when you socialize with the chipper. Children, as
well as adults, can easily get hurt if someone or something turns the sprocket when the blades
are checked.
Eyes
Wear safety glasses
Ear
Earplugs Or hearing protection
Hands
Leather gloves
Foot
Safety shoes
Play
Work pants
Arms
Long-armed Jersey

02/2020
5
5. Checklist
CAUTION: Turn the chipper knife wheel ( Disc ) by hand before connecting it to the tractor to
ensure that it moves sig freely, all bolts are tensioned and that the blades do not hit the sides and
the knife beam.
Make sure that:
1. The PTO shaft is properly lubricated.
2. The PTO shaft is properly lubricated and that the clutch is released when the levers are
pushed against the funnel.
3. The PTO shaft does not break apart or protrude under normal lifting conditions.
4. Check the wood chip pile to see if the blades need to be let go. Longer strips of wood chips are
one of the
the indications that the blades are worn.

02/2020
6
6. Using the machine
To function properly, the blades must be sharp. Soil, stones, nails and other foreign material
shorten the life of the blades.
Review the checklist before using the chipper . After checking that there is nothing in the way,
you can start the tractor and lift the chipper until the PTO shaft is within about 20 degrees relative to
the horizontal.
Start the chipper slowly with the PTO engaged and release the PTO coupling slowly. Increase
gradually
the speed until the tractor's PTO speed is 540 RPM.
The material can most easily be fed into the chipper's funnel if the pieces with it
largest end is brought in first.
The pull-in will fold the branches towards the trunk as they are pulled into the funnel. In
summer times, there may be skews in the wood that mean that it must be cut off before the
material can be pulled properly into the machine.
If the material stops in the upholstery, a push at the endn of the wood can help.
ALWAYS REMEMBER to check the material for foreign objects before inserting it into the funnel.
Hydralic information
For models with their own hydraulic station:
• The hydraulic oil must
be level so that it is
visible in the sight glass
• Filling is done by
unscrewing the vent screw
. Viscosity 46 is
recommended
• Possible tightening of the
belts that drive the hydraulic
station
• Oil filter that ensures clean oil
thereby avoiding downtime.
• Should be changed as
needed
For models with hydraulics from the tractor:
• The 2 hoses are connected
to the valve with free
return.

02/2020
7
Included top bar:
• The included top bar is for manually
screwing up the top roller, if necessary
service and inspection – requires that the tractor
and engine have stopped completely!
The chipper in the transport position:
The photo series here shows how to close up the funnel when transporting.
Photo 1: The chipper in working position (pulls the wood in)
Picture 2: Pushing the handle in a notch , it goes into stop.
Image 3: running the material baglens (reverse)
Picture 4: When to unlock the stop so that it can be retracted into working position
Image 5: Shows an additional hydraulic emergency stop
1
2
3
4
5

02/2020
8
Adjusting the rolling tension – how hard the roller holds the tree. There is 1 handle on each side.
Chipper's knives
IMPORTANT: The machine must be completely turned off and stopped before changing the
blades!
The flywheel and stationary blades must be sharp to get the chipper to do the work as expected.
When the blades have become lethargic, they can be turned 180 degrees as a result of which a
new knife appears. Open to the chipper's flywheel and loosen the 4 bolts that hold the blades and
then turn them over.
Be sure to tighten the mounting bolts of the blades when reinstalling the blades on the flywheel.
The stationary blades are designed with 4 sharp corners. When the corner opposite the
flywheel rounds, the knife is dismantled and another is installed. When installing new blades,
or when changing already existing blades, the blades are set in relation to the counter cutter
found by looking down into the flywheel. The blades should not hit the counter cutter, but
should drive as close to it as possible.
Adjustment of the counter cutter, is done by adjusting the bolts and their associated nut, as
shown in the photo below. These are found under thesv ing wheel, under the machine. Be sure
to re-tighten the bolts and nuts.
Roller speed control
On the left side of the insertion funnel, the roller speed
adjustment is found. 1 = slow - i.e. the chipper cuts the wood
into nicer pieces
10 =fast - ie. the wood chipper cuts the wood into coarser
pieces

02/2020
9
7. Service and maintenance
Good maintenance is your responsibility. Poor maintenance is an invitation to trouble.
Follow good practices
• Keep service area clean and dry.
• Make sure sockets and tools are grounded.
• Use appropriate lights for the job.
• Never work under the machine unless it is securely blocked.
• Always use personal protective devices such as safety glasses, gloves and hearing protection
when performing service or maintenance on the chipper. Wear heavy-duty gloves when
handling sharp components.
• Where spare parts are necessary for periodic maintenance and servicing, original spare parts
must be used. DK-TEC is not responsible for damage caused by unapproved parts and/or
accessories.
• Have a fire extinguisher and first aid kit easily accessible while performing maintenance on
Chipper.
• Tighten all bolts, nuts and screws periodically and ensure that the machine is in a safe condition.
• Upon completion of maintenance or service, make sure all safety guards are fitted
Grease
• Lubricate bearings with grease
Storage of lubricants
• The chipper can run efficiency only if clean lubricants are used. Use clean containers to
handle all lubricants. Store them in an area protected from dust, moisture and other
contaminants.
Lubrication
1. Use a handheld grease sprayer for lubrication.
2. Wipe the grease nipples with a clean cloth before lubrication, to avoid injecting dirt and gravel.
3. Replace and repair broken fittings immediately.
4. If fittings will not take grease, they are thoroughly cleaned.
Service intervals
• The recommended service intervals are based on normal operating conditions. Severe or
unusual circumstances may require more frequent lubrication or oil changes.

02/2020
10
When
What should be done?
Daily
Lubricate PTO shaft
At every 40 hours or weekly
1. Lubricate the telescopic section of the PTO
shaft
2. Check the sharpness of the blades:
a. Flywheel
b. Desktop
Remove the blades and replace them as needed
At every 100 hours
1. Grease all bearings
2. Lubricate rotor bearings
IMPORTANT – do not over-lubricate !
Annually
Clean the chipper
Maintenance
• By following e the service and maintenanceprogram of your chipper, you will enjoy
many years of trouble-free operation.
• When maintaining the chipper, it is a good idea to loosen the bottom damper so that the roller
can. Clean the roller and tighten the bottom damper again.
Maintenance of the shaft
• The PTO shaft should telescope lightly and covers rotate freely on the shaft at all times.
Annual dismantling, cleaning and lubrication is recommended to ensure that all
components function as intended. For the maintenance of the shaft, this procedure should
be followed:
1. Remove the shaft from the chipper and pull the shafts apart.
2. Using a screwdriver, turn the latch's spout at each end. There are 2 for each cover.
3. Pull the shaft out of the plastic tubular covers.
4. Using a solvent, clean both parts of the telescopic ends and apply a bright layer of grease
to each end.
5. Use a solvent to wash the grooves on each end. Also clean each end and apply a thin layer
of fat to each groove.
6. Insert the shaft into their respective covers and align with the holes.
7. Insert the tabs through the holes and insert it into the groove.
8. Turn each stud to secure the shield to the shaft.
9. Check that each shield rotates freely on the shaft.
10. Reassemble the shaft.
11. Check that the shaft rotates easily in the telescope.
12. Replace parts that are damaged or worn.
13. Install the shaft on the chipper.

02/2020
11
8. Problem solving
In the following section, we have listed many of the problems, causes and solutions that you may
encounter in using the chipper. If you encounter a problem that is difficult to solve even after
reading through this section, you can call DK-TEC.
Problem
Cause
Solution
The flywheel does not
turn
Blocked eject
Turn off the chipper and clean
the one for dirt
The flywheel has stopped
Clean the flywheel
Broken safety pin
Replace safety pin
Slow feeding
The knives are dull
Turn or replace the blades
The ejection spout is clogged
Clean the eject spout
The chipper requires a large
amount of force otherwise it
will stall
Blocked eject
Clean the eject spout
The flywheel has stopped
Clean the flywheel
Green material comes out of
the ejection spout
Put only dry material into the
ejection spout
Dull knives
Turn or replace the blades
Requires large amount of
power
The flywheel has stopped
Clean the flywheel
Dull knives
Turn or replace the blades
Vibration during operation
PTO vibration
Check out the PTO's phase-in.
Check the flywheel and look for
errors

EF - OVERENSSTEMMELSESERKLÆRING DK
Fabrikant
Changzhou Han-Sun Machinery
Co., Ltd.
89 Huanbao 4th Road, Huanbao Industrial Park,
Hi-Tech, Changzhou, Jiangsu, P.R. China
Erklærer hermed at følgende maskine:
Betegnelse: Flishugger
Model: WSH148 HNDK148(WC52R) HNDK178
WSH178 (WC72R)
Beskrivelse: Flishugger til traktor med egen hydraulik
Er fremstillet i overensstemmelse med følgende EF-direktiv:
•Maskindirektivet 2006/42/EC
Anvendte standarder:
EN ISO 12100:2010,
EN 13683:2003+A2:2011+AC:2013
EN 349:1993+A1:2008
EN ISO 14120:2015
EN ISO 13857:2008
Angel 25/10/2021
name and date signature
Table of contents
Other DK-TEC Farm Equipment manuals