Kemper 460 User manual

460
Rotary Harvesting Unit
OPERATOR’S MANUAL
460 Rotary Harvesting Unit
OMKM99164 ISSUE E9 (ENGLISH)
CALIFORNIA
Proposition 65 Warning
Diesel engine exhaust and some of its constituents
are known to the State of California to cause cancer,
birth defects, and other reproductive harm.
If this product contains a gasoline engine:
WARNING
The engine exhaust from this product contains
chemicals known to the State of California to cause
cancer, birth defects or other reproductive harm.
The State of California requires the above two warnings.
Kemper
European Edition
PRINTED IN GERMANY

Introduction
KM00321,0000169 1914MAY091/1
Foreword
READ THIS MANUAL carefully to learn how to operate
and service your machine correctly. Failure to do so
could result in personal injury or equipment damage.
This manual and the safety signs on your machine may
also be available in other languages (see your KEMPER
dealer to order).
THIS MANUAL SHOULD BE CONSIDERED a permanent
part of your machine and should remain with the machine
when you sell it.
MEASUREMENTS IN THIS MANUAL are given in metric
units. The customary U.S. unit equivalents are also
quoted. Use only correct replacement parts and fasteners.
Metric and inch fasteners may require a specific metric
or inch wrench.
RIGHTHAND AND LEFTHAND sides are determined
by facing in the direction the implement will travel when
going forward.
THE TERM "TRANSPORT" refers to a rotary harvesting
unit mounted on a forage harvester and transported from
A to B on the forage harvester.
THE TERM "HAULAGE" refers to a rotary harvesting unit
loaded on a flatbed carrier and transported from A to B
on the flatbed carrier.
WRITE PRODUCT IDENTIFICATION NUMBERS (P.I.N.)
in the Specification or Identification Numbers section.
Please note all numbers exactly. In the event of theft,
these numbers may prove vital in tracing your property.
Your KEMPER dealer also needs these numbers when
you order parts. File the identification numbers in a secure
place off the engine or machine.
BEFORE DELIVERING THIS MACHINE, your dealer
performed a predelivery inspection.
THIS ROTARY HARVESTING UNIT IS DESIGNED
SOLELY for use in customary agricultural or similar
operations ("INTENDED USE"). Use in any other way
is considered as contrary to the intended use. The
manufacturer accepts no liability for damage or injury
resulting from this misuse, and these risks must be borne
solely by the user. Compliance with and strict adherence
to the conditions of operation, service and repair as
specified by the manufacturer also constitute essential
elements for the intended use.
THIS ROTARY HARVESTING UNIT SHOULD BE
operated, serviced and repaired only by persons familiar
with all its particular characteristics and acquainted
with the relevant safety rules (accident prevention).
The accident prevention regulations, all other generally
recognized regulations on safety and occupational
medicine and the road traffic regulations must be observed
at all times. Any arbitrary modifications carried out on this
rotary harvesting unit will relieve the manufacturer of all
liability for any resulting damage or injury.
070909
PN=2

Contents
Page
Predelivery Inspection
Predelivery Checklist ...................................CLIST1
Delivery Checklist.........................................CLIST1
AfterSale Checklist......................................CLIST2
Identification View
Identification View...............................................001
Safety
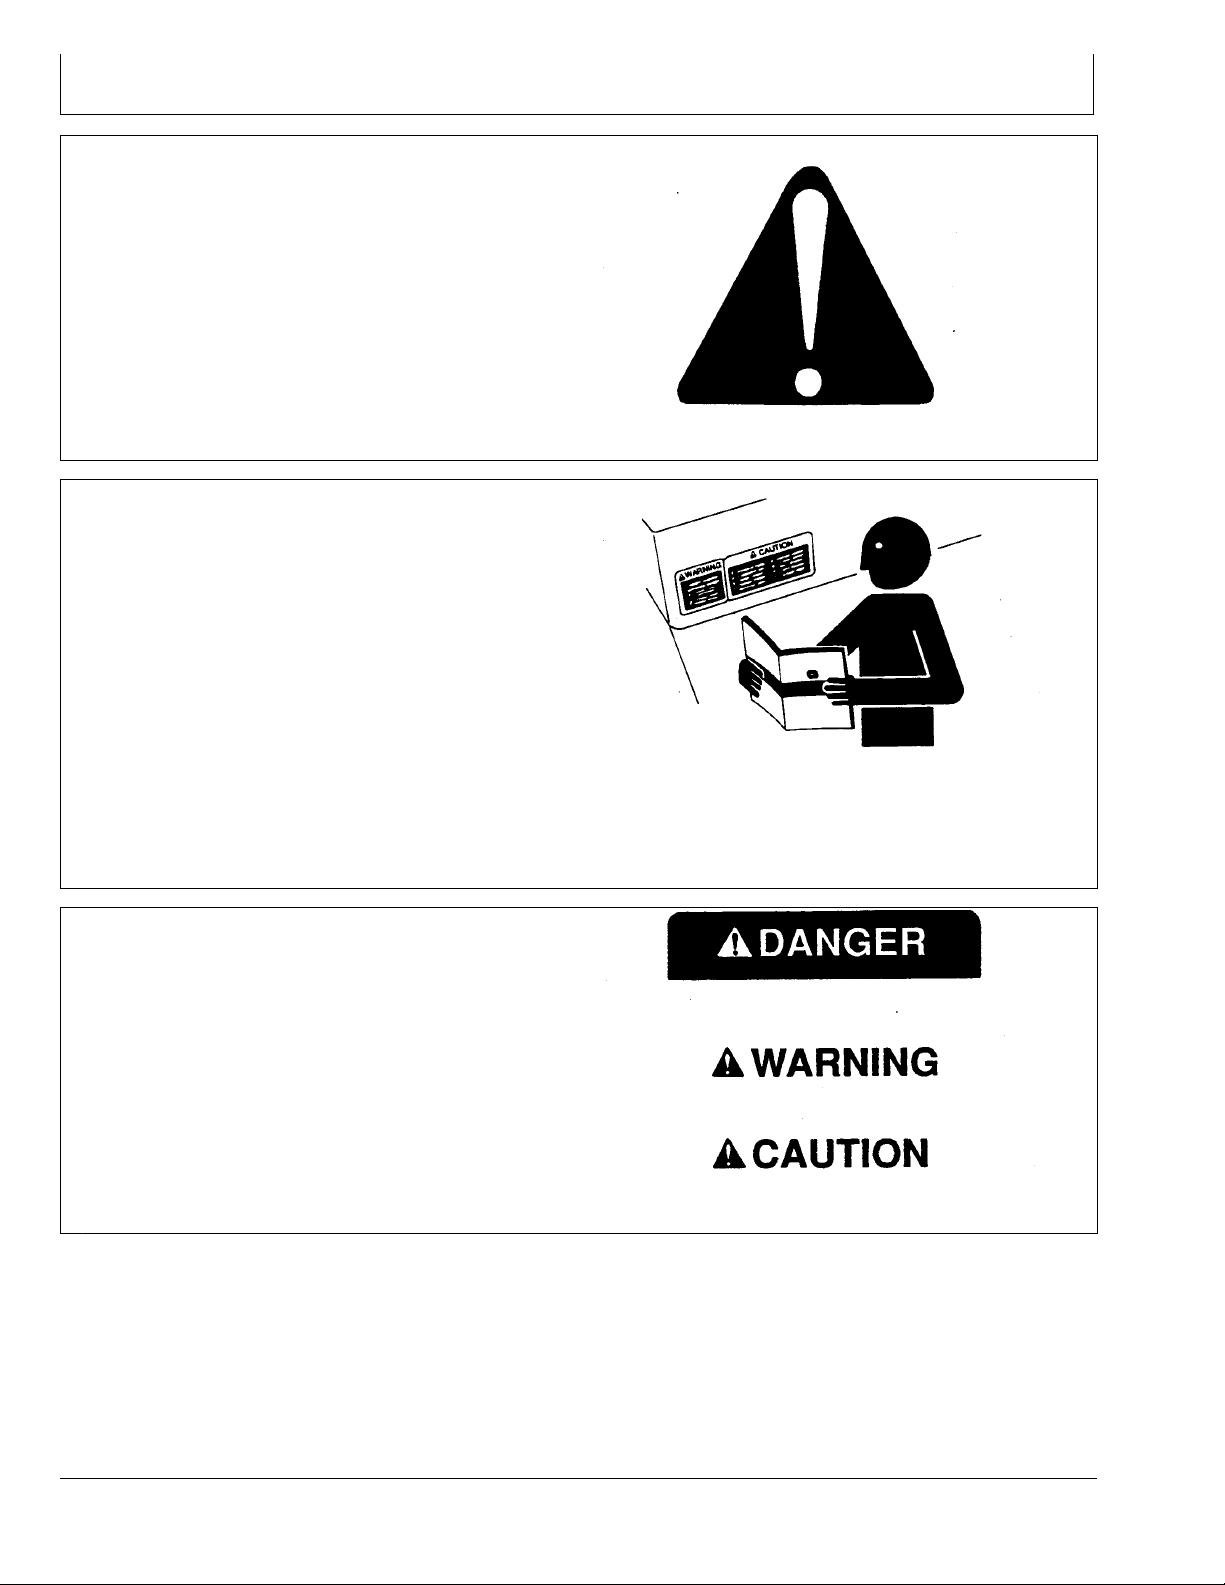
Recognize Safety Information ............................051
Follow Safety Instructions...................................051
Understand Signal Words...................................051
Observe Road Traffic Regulations......................052
Use Safety Lights and Devices...........................052
Prepare for Emergencies....................................052
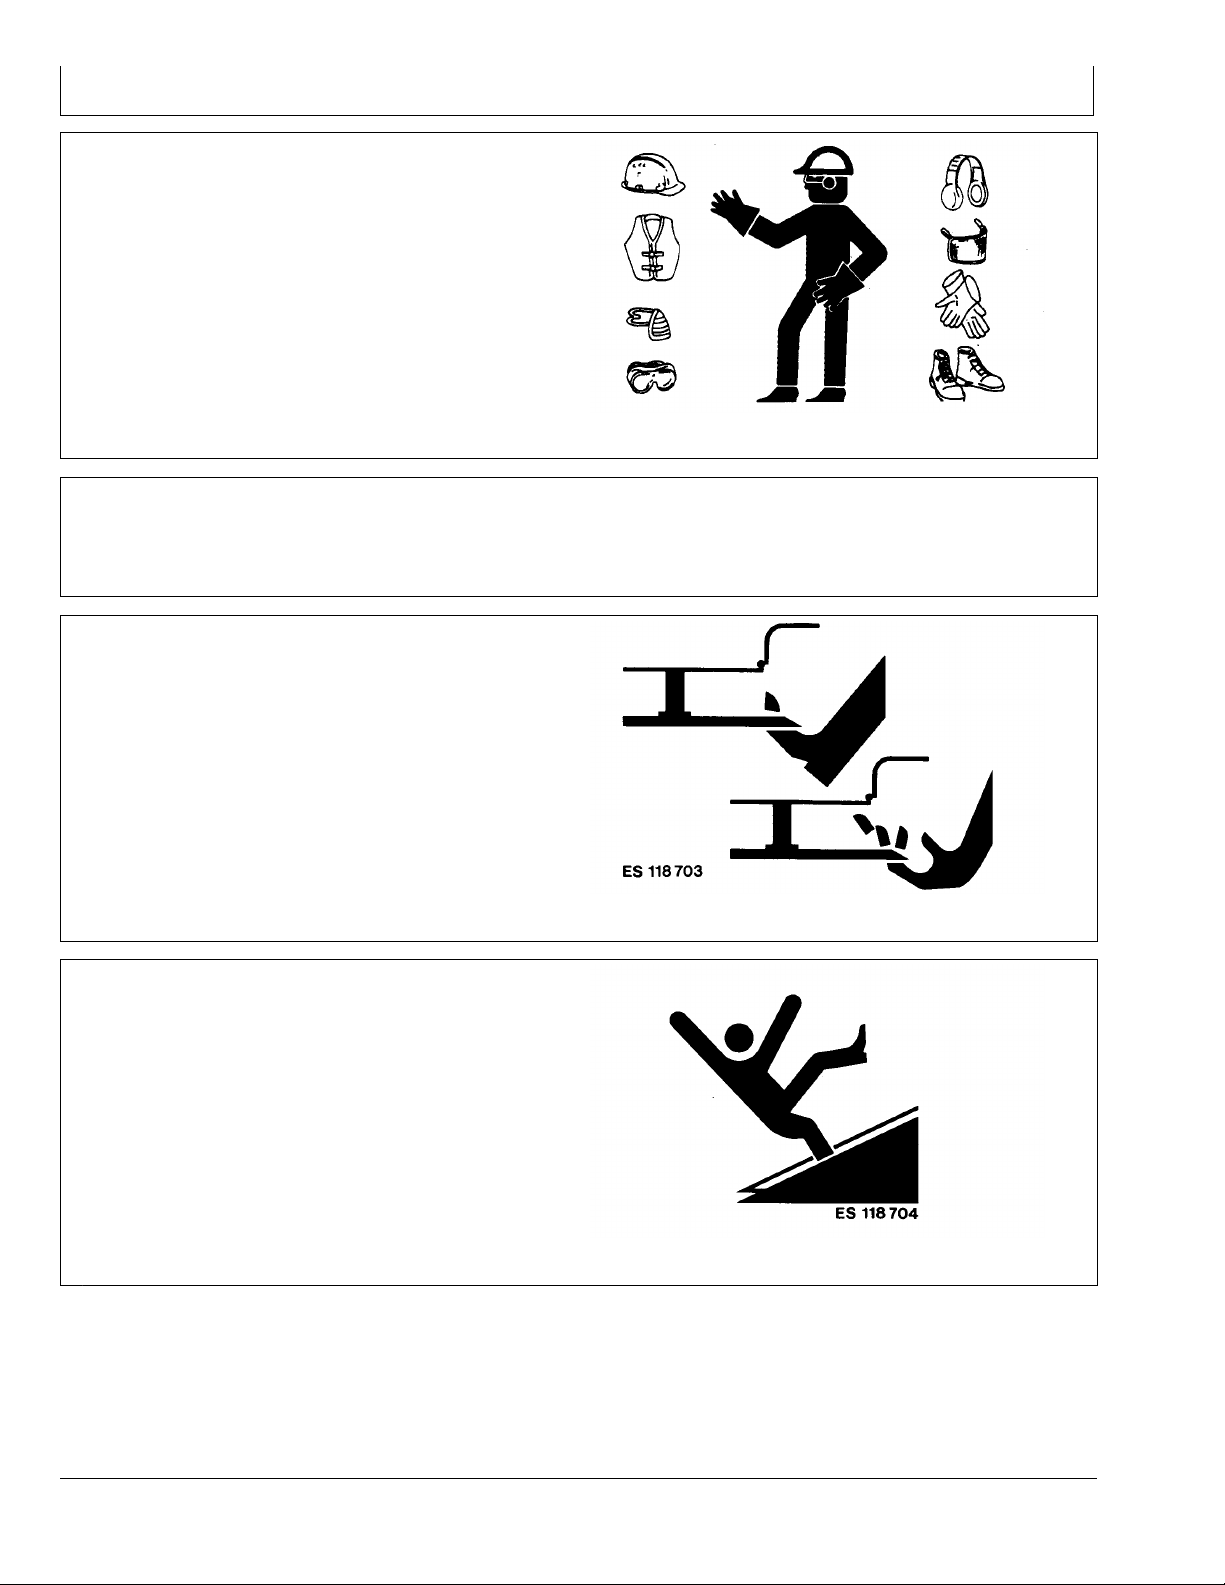
Wear Protective Clothing....................................053
Check Machine Safety........................................053
Guards and Shields............................................053
Stay Clear of Harvesting Unit .............................053
Keep Hands Away From Knives.........................054
Store Attachments Safely...................................054
Practice Safe Maintenance.................................055
Stay Clear of Rotating Drivelines........................055
Service Machines Safely ....................................056
Support Machine Properly..................................056
Avoid HighPressure Fluids ................................056
Transport with Harvesting Unit Installed.............057
Ballasting for Safe Ground Contact....................057
Remove Paint Before Welding or Heating..........057
Dispose of Waste Properly .................................058
Safety Decals
Pictorial Safety Signs..........................................101
Operator’s Manual..............................................101
Repair and Maintenance ....................................101
Rotary Harvesting Unit .......................................102
Rotating Blade....................................................102
Folding Area .......................................................103
Rotating Drums...................................................103
Hydraulic System................................................104
Hanging Points ...................................................104
Haulage
Prepare the Rotary Harvesting Unit for
Haulage..........................................................151
Transport Pallet ..................................................152
Page
Loading with a Crane..........................................152
Prepare the Rotary Harvesting Unit
Unpacking...........................................................201
Remove Tensioner Strap ....................................201
Removing the Transport Pallet ...........................201
Align Drive Case (Rotary Harvesting
Units for NEW HOLLAND Forage
Harvesters Only) ............................................202
Adapt the Scrapers to the Feed Passage...........202
Installation on a CLAAS Forage Harvester
Compatibility Chart (Forage
Harvesters, Types 491, 492,
493 and 494) ..................................................251
Installation on the CLAAS Forage Harvester......252
Connect Hydraulic Hoses...................................252
Connect the Drive (Type 492).............................253
Connect the Drive (Types 493 and 494).............254
Installation on NEW HOLLAND and CASE Forage
Harvesters
Compatibility Chart (NEW HOLLAND
and CASE Forage Harvesters) ......................301
Install Mounting Rail ...........................................301
Installation on NEW HOLLAND and
CASE Forage Harvesters...............................302
Connect Drive Shaft ...........................................302
Install Guards for U.J. Shaft on Forage
Harvester........................................................303
Install Guard for U.J. Shaft on Rotary
Harvesting Unit...............................................303
Connect Hydraulic Hoses...................................304
Removal of the Rotary Harvesting Unit
Detach the Rotary Harvesting Unit .....................351
Transport
Transport Information .........................................401
Fold the Rotary Harvesting Unit .........................401
Close Safety Relief Valve (Rotary
Harvesting Units for CLAAS Forage
Harvesters Only) ............................................401
Accident Prevention............................................402
Lock/Unlock Tilt Frame.......................................403
Driving on Public Road.......................................404
Continued on next page
Original Instructions. All information, illustrations and specifications in this
manual are based on the latest information available at the time of publication.
The right is reserved to make changes at any time without notice.
COPYRIGHT © 2009
All rights reserved.
i070909
PN=1

Contents
Page
Operation of the Rotary Harvesting Unit
Method of Operating the Rotary
Harvesting Unit...............................................451
Put Outer Dividers into Operating Position.........452
Adjusting the Feed Bars .....................................453
Gathering Drum Operating Speeds....................454
LengthofCut Adjustment with NEW
HOLLAND Forage Harvester .........................454
Length of Cut and Drum Speeds with
NEW HOLLAND Forage Harvesters
FX 50 and FX 60 ............................................456
LengthofCut Adjustment with CLAAS
Forage Harvester ...........................................456
Length of Cut and Drum Speeds with
CLAAS Forage Harvester 860880
(Type 491) ......................................................457
Length of Cut and Drum Speeds with
CLAAS Forage Harvester 830900
(Type 492) ......................................................457
Length of Cut and Drum Speeds with
CLAAS Forage Harvester 830900
(Type 493) ......................................................458
Length of Cut and Drum Speeds with
CLAAS Forage Harvester 930980
(Type 494) ....................................................4510
Harvesting ........................................................4510
Clear Blockages ............................................... 4511
Accessories
Short Crop Dividers ............................................501
Troubleshooting
460 Rotary Harvesting Unit ................................551
Lubrication and Maintenance
Service Intervals.................................................601
Lubricants...........................................................601
Transmission Oil.................................................602
Coolant for Main Drive Friction Clutch................602
Alternative and Synthetic Lubricants ..................603
Mixing Lubricants................................................603
Lubricant Storage ...............................................603
At the Start of Every Harvesting Season............603
At the Start of Every Harvesting
Season—Spherical Collar Bolts .....................604
At the Start of Every Harvesting
Season—Gearbox Mounting Flange
Attaching Screws ...........................................605
General View of Drives and Oil Levels
in the Rotary Harvesting Unit .........................606
After Every 10 Hours in Service .........................607
After Every 50 Hours in Service .........................609
Every 3 Years—Change Coolant of
Main Drive Friction Clutch ..............................609
After Each Harvesting Season .........................6010
Maintenance
Metric Bolt and Screw Torque Values.................651
Page
Relieve Pressure on the Main Drive
Slip Clutches ..................................................652
Disassemble Slip Clutch.....................................653
Install New Rotating Blades................................654
Checking the Drive for the DownCrop Auger ....655
Adjusting Gatherer Points...................................655
Check End Switches of Folding Mechanism ......656
Checking Scrapers Adjustment ..........................656
Adjusting Cleaners .............................................657
Storage
Storage at End of Harvesting Season ................701
Start of New Season...........................................701
Specifications
460 Rotary Harvesting Unit ................................751
Declaration of Conformity...................................751
EU Declaration of Conformity .............................752
Serial Numbers
Serial Number Plate of the Rotary
Harvesting Unit...............................................801
Serial Number.....................................................801
ii 070909
PN=2

Predelivery Inspection
OUCC002,0002814 1914OCT071/1
OUCC002,0002815 1914OCT071/1
Predelivery Checklist
After the 460 rotary harvesting unit has been completely
assembled, inspect it to be sure it is in good running order
before delivering it to the customer. Check off each item
when found satisfactory or after making the necessary
adjustments.
□ All shields open and close freely.
□ Rotary harvesting unit has been properly assembled.
□ Parts delivered separately have been properly installed.
□ All screws and nuts have been tightened to specified
torque. Pay particular attention to the screws that hold on
the knives. Comply with the tightening torques quoted in
the “Service” section.
□ All grease fittings have been lubricated.
□ All the gear cases have been filled with the correct
quantity of the correct oil/grease/coolant (see “Lubrication
and Periodic Service” section).
□ Shipping bracket removed (see also “Haulage” section).
□ Rotary harvesting unit can be folded correctly.
□ Rotary harvesting unit has been cleaned and touched
up wherever paint is nicked or scratched.
□ All moving parts are working freely.
□ Check all slip clutches as shown in the “Service” section.
□ All decals are in place and in good condition.
□ This rotary harvesting unit has been tested and, to
the best of my knowledge, is ready for delivery to the
customer.
(Date Tested) (Signature of Technician)
Delivery Checklist
The following checklist is a reminder of very important
information which should be conveyed directly to the
customer when delivering the machine.
□ The customer has been advised that the life expectancy
of this or any other machine depends on regular lubrication
as described in this operator’s manual.
□ Proper harvesting management practices have been
discussed; these are required for good silage.
□ This operator’s manual has been handed over to the
customer and all the operating adjustments have been
fully explained.
□ The customer has been advised that the only tire sizes,
fluids and pressures that may be used are those quoted
in the cutterhead specifications and forage harvester
documents.
□ The customer has been advised of the necessity to
check the tension of the downcrop auger drive belts after
the first 20 hours of operation and to check their tension
regularly after that.
□ The customer has been advised of the safety
precautions that must be observed while using the rotary
harvest unit.
□ The customer has been invited to come in and discuss
any problems that may be encountered while operating
the rotary harvest unit.
□ The customer has been told to record the serial number
of his rotary harvesting unit in the space provided in the
“Serial Number” section.
□ The shipping bracket has been handed over to the
customer.
□ This page has been filled out and removed for filing.
(Signature of Technician) (Signature of Customer)
CLIST1 070909
PN=5

Predelivery Inspection
OUCC002,0002816 1914OCT071/1
AfterSale Checklist
The following items should be checked on the new rotary
harvesting unit at the start of the harvesting season.
□ All screws and nuts have been tightened to specified
torque. Pay particular attention to the screws that hold on
the knives. Comply with the tightening torques quoted in
the “Service” section.
□ All safety shields are in place and fastened securely.
□ Check for broken or damaged parts. Replace any
broken or damaged parts with genuine spare parts.
□ If possible, run the rotary harvesting unit to see if it is
functioning properly.
□ Check for worn rotary knives.
□ Once again discuss proper harvesting management
practices; these are required for good silage.
□ Review the entire operator’s manual together with your
customer and stress the importance of proper and regular
lubrication, as well as safety precautions.
(Signature of Technician) (Signature of Customer)
CLIST2 070909
PN=6

Identification View
KM00321,000016A 1914MAY091/1
Identification View
KM1000857 —UN—14MAY09
001 070909
PN=7

Safety
DX,ALERT 1929SEP981/1
KM00321,000016B 1914MAY091/1
DX,SIGNAL 1903MAR931/1
Recognize Safety Information
This is a safetyalert symbol. When you see this symbol
on your machine or in this manual, be alert to the potential
for personal injury.
Follow recommended precautions and safe operating
practices.
T81389 —UN—07DEC88
Follow Safety Instructions
Carefully read all safety messages in this manual and on
your machine safety signs. Keep safety signs in good
condition. Replace missing or damaged safety signs. Be
sure new equipment components and repair parts include
the current safety signs. Replacement safety signs are
available from your KEMPER dealer.
Before you start working with the machine, learn how to
operate the machine and how to use controls properly. Do
not let anyone operate without instruction.
Keep your machine in proper working condition.
Unauthorized modifications to the machine may impair the
function and/or safety and affect machine life.
If you do not understand any part of this manual and need
assistance, contact your KEMPER dealer.
TS201 —UN—23AUG88
Understand Signal Words
A signal word—DANGER, WARNING, or CAUTION—is
used with the safetyalert symbol. DANGER identifies the
most serious hazards.
DANGER or WARNING safety signs are located near
specific hazards. General precautions are listed on
CAUTION safety signs. CAUTION also calls attention to
safety messages in this manual.
TS187 —19—30SEP88
051 070909
PN=8

Safety
FX,ROAD 1901MAY911/1
KM00321,000016C 1914MAY091/1
DX,FIRE2 1903MAR931/1
Observe Road Traffic Regulations
Always observe local road traffic regulations when using
public roads.
H28930 —UN—30JUN89
Use Safety Lights and Devices
Prevent collisions with other road users. Slow moving
tractors with implements or drawn equipment, as well
as selfpropelled machines are especially dangerous on
public roads. Always pay attention to traffic approaching
from behind, particularly when changing direction. Provide
for safe traffic conditions by using turn signals.
Use headlights, hazard warning lights, turn signals and
other safety devices according to the local regulations.
Keep safety devices in good condition. Replace missing
or damaged items.
TS951 —UN—12APR90
Prepare for Emergencies
Be prepared if a fire starts.
Keep a first aid kit and fire extinguisher handy.
Keep emergency numbers for doctors, ambulance
service, hospital, and fire department near your telephone.
TS291 —UN—23AUG88
052 070909
PN=9

Safety
DX,WEAR 1910SEP901/1
FX,READY 1928FEB911/1
FX,DEVICE 1904DEC901/1
ZX,CUT688 1910FEB981/1
Wear Protective Clothing
Wear close fitting clothing and safety equipment
appropriate to the job.
Prolonged exposure to loud noise can cause impairment
or loss of hearing.
Wear a suitable hearing protective device such as
earmuffs or earplugs to protect against objectionable or
uncomfortable loud noises.
Operating equipment safely requires the full attention of
the operator. Do not wear radio or music headphones
while operating machine.
TS206 —UN—23AUG88
Check Machine Safety
Always check the road and general operating safety of
the machine before using.
Guards and Shields
Keep guards and shields in place at all times. Ensure that
they are serviceable and installed correctly.
Always disengage main clutch, shut off engine and
remove key before removing any guards or shields.
Keep hands, feet and clothing away from moving parts.
ES118703 —UN—21MAR95
Stay Clear of Harvesting Unit
Due to their function, the cutting rotors as well as
gathering, cross and feed drums cannot be completely
shielded. Stay clear of these moving elements during
operation. Always disengage main clutch, shut off engine
and remove key before servicing or unclogging harvesting
unit.
ES118704 —UN—21MAR95
053 070909
PN=10

Safety
FX,KNIFE 1921DEC901/1
DX,STORE 1903MAR931/1
Keep Hands Away From Knives
Never attempt to clear obstructions in front of or on
harvesting unit unless main clutch is disengaged, engine
shut off and key removed.
Everyone must be clear of the forage harvester before
starting the engine.
TS254 —UN—23AUG88
Store Attachments Safely
Stored attachments such as dual wheels, cage wheels,
and loaders can fall and cause serious injury or death.
Securely store attachments and implements to prevent
falling. Keep playing children and bystanders away from
storage area.
TS219 —UN—23AUG88
054 070909
PN=11

Safety
DX,SERV 1917FEB991/1
DX,PTO 1912SEP951/1
Practice Safe Maintenance
Understand service procedure before doing work. Keep
area clean and dry.
Never lubricate, service, or adjust machine while it is
moving. Keep hands, feet , and clothing from powerdriven
parts. Disengage all power and operate controls to relieve
pressure. Lower equipment to the ground. Stop the
engine. Remove the key. Allow machine to cool.
Securely support any machine elements that must be
raised for service work.
Keep all parts in good condition and properly installed.
Fix damage immediately. Replace worn or broken parts.
Remove any buildup of grease, oil, or debris.
On selfpropelled equipment, disconnect battery ground
cable () before making adjustments on electrical systems
or welding on machine.
On towed implements, disconnect wiring harnesses from
tractor before servicing electrical system components or
welding on machine.
TS218 —UN—23AUG88
Stay Clear of Rotating Drivelines
Entanglement in rotating driveline can cause serious
injury or death.
Keep tractor master shield and driveline shields in place
at all times. Make sure rotating shields turn freely.
Wear close fitting clothing. Stop the engine and be sure
PTO driveline is stopped before making adjustments,
connections, or cleaning out PTO driven equipment.
TS1644 —UN—22AUG95
055 070909
PN=12

Safety
DX,LOOSE 1904JUN901/1
DX,LOWER 1924FEB001/1
KM00321,000016D 1914MAY091/1
Service Machines Safely
Tie long hair behind your head. Do not wear a necktie,
scarf, loose clothing, or necklace when you work near
machine tools or moving parts. If these items were to get
caught, severe injury could result.
Remove rings and other jewelry to prevent electrical
shorts and entanglement in moving parts.
TS228 —UN—23AUG88
Support Machine Properly
Always lower the attachment or implement to the ground
before you work on the machine. If the work requires
that the machine or attachment be lifted, provide secure
support for them. If left in a raised position, hydraulically
supported devices can settle or leak down.
Do not support the machine on cinder blocks, hollow tiles,
or props that may crumble under continuous load. Do not
work under a machine that is supported solely by a jack.
Follow recommended procedures in this manual.
When implements or attachments are used with a
machine, always follow safety precautions listed in the
implement or attachment operator’s manual.
TS229 —UN—23AUG88
Avoid HighPressure Fluids
Escaping oil under pressure can have sufficient pressure
to penetrate the skin, causing serious personal injury.
Avoid the hazard by relieving pressure before
disconnecting hydraulic or other lines. Check and tighten
all connections before applying pressure.
Hydraulic oil escaping from pinholes is difficult to detect,
so use a piece of cardboard to search for leaks. Protect
hands and body from highpressure fluids.
If an accident occurs, see a doctor immediately. Any fluid
injected into the skin must be surgically removed within
a few hours or gangrene may result. Doctors unfamiliar
with this type of injury should reference a knowledgeable
medical source.
X9811 —UN—23AUG88
056 070909
PN=13

Safety
ZX,HEADER676 1920JAN951/1
ZX,WEIGHT676 1920JAN951/1
DX,PAINT 1924JUL021/1
Transport with Harvesting Unit Installed
Before driving forage harvester on public roads, harvesting
unit must be raised and secured in the raised position. It
must not, however, obstruct operator’s view of the road.
ZX007219 —UN—21MAR95
Ballasting for Safe Ground Contact
Operating, steering and braking performance of forage
harvester can be considerably affected by attachments
which alter the center of gravity of the machine. To
maintain safe ground contact, ballast the harvester at the
rear end as necessary. Observe the maximum permissible
axle loads and total weights.
ZX007220 —UN—21MAR95
Remove Paint Before Welding or Heating
Avoid potentially toxic fumes and dust.
Hazardous fumes can be generated when paint is heated
by welding, soldering, or using a torch.
Remove paint before heating:
•Remove paint a minimum of 100 mm (4 in.) from area
to be affected by heating. If paint cannot be removed,
wear an approved respirator before heating or welding.
•If you sand or grind paint, avoid breathing the dust.
Wear an approved respirator.
•If you use solvent or paint stripper, remove stripper with
soap and water before welding. Remove solvent or
paint stripper containers and other flammable material
from area. Allow fumes to disperse at least 15 minutes
before welding or heating.
Do not use a chlorinated solvent in areas where welding
will take place.
TS220 —UN—23AUG88
Do all work in an area that is well ventilated to carry toxic
fumes and dust away.
Dispose of paint and solvent properly.
057 070909
PN=14

Safety
KM00321,000016E 1914MAY091/1
Dispose of Waste Properly
If waste disposal is carried out improperly, this may
damage the environment and ecological systems.
Potentially harmful waste used with KEMPER equipment
include such items as oil, fuel, coolant, brake fluid, filters,
and batteries.
Use leakproof containers when draining fluids. Do not use
food or beverage containers that may mislead someone
into drinking from them.
Do not pour waste onto the ground, down the drain, or
into any water source.
Airconditioning refrigerants escaping into the air can
damage the Earth’s atmosphere. Government regulations
may require a certified airconditioning service center to
recover and recycle used airconditioning refrigerants.
TS1133 —UN—26NOV90
058 070909
PN=15

Safety Decals
FX,WBZ 1919NOV911/1
OUCC002,0002839 1916OCT071/1
OUCC002,000283A 1916OCT071/1
Pictorial Safety Signs
At several important places of this machine safety signs
are affixed intended to signify potential danger. The
hazard is identified by a pictorial in a warning triangle.
An adjacent pictorial provides information how to avoid
personal injury. These safety signs, their placement on
the machine and a brief explanatory text are shown below.
TS231 —19—07OCT88
Operator’s Manual
This operator’s manual contains all important information
necessary for safe machine operation. Carefully observe
all safety rules to avoid accidents.
KM1000172 —UN—16OCT07
Repair and Maintenance
Before carrying out repair and maintenance work, shut
off engine and remove key.
KM1000173 —UN—16OCT07
101 070909
PN=16

Safety Decals
OUCC002,000283B 1916OCT071/1
OUCC002,000283C 1916OCT071/1
Rotary Harvesting Unit
Stay clear of rotary harvesting unit to avoid personal injury.
Arms, legs or loose clothing might become caught in the
rotary harvesting unit when in operation.
Always keep the required safety distance from the rotary
harvesting unit.
KM1000178 —UN—16OCT07KM1000179 —UN—16OCT07
Rotating Blade
Do not touch any moving machine parts. Wait until all
moving parts have stopped.
The rotating blades are not immediately stopped when
the machine is shut down.
KM1000174 —UN—16OCT07KM1000175 —UN—16OCT07
102 070909
PN=17

Safety Decals
OUCC002,000283D 1916OCT071/1
OUCC002,000283E 1916OCT071/1
Folding Area
Stay clear of the folding area of the rotary harvesting unit.
When folding or unfolding the rotary harvesting unit,
ensure that no persons are standing within the folding
area.
Before folding or unfolding, ensure that all persons keep
the required safety distance from the rotary harvesting
unit.
KM1000176 —UN—16OCT07KM1000177 —UN—16OCT07
Rotating Drums
Stay clear of rotating drums to avoid personal injury.
Arms, legs or loose clothing might become caught by the
rotating drums when in operation.
Always keep the required safety distance from the rotating
drums.
Wait until all moving parts have stopped.
KM1000180 —UN—16OCT07KM1000181 —UN—16OCT07
103 070909
PN=18

Safety Decals
OUCC002,000283F 1916OCT071/1
OUCC002,0002840 1916OCT071/1
Hydraulic System
The hydraulic pressure must not exceed 21000 kPa (210
bar; 3046 psi).
KM1000182 —UN—16OCT07
Hanging Points
Should the rotary harvesting unit be moved without
attaching to the forage harvester, always use the hanging
points.
KM1000183 —UN—16OCT07
104 070909
PN=19

Haulage
KM00321,000016F 1912JUN091/2
KM00321,000016F 1912JUN092/2
Prepare the Rotary Harvesting Unit
for Haulage
Install Tensioner Strap
Install tensioner strap (A) to prevent the outer sections
from lowering.
A—Tensioner strap
KM1000858 —UN—14MAY09
Swing Drive Case for Haulage (Rotary Harvesting
Units for NEW HOLLAND Forage Harvesters Only)
Before loading the unit, make it more compact by folding
up the drive case (B).
1. Slacken off the attaching screws on drive case (B) and
remove them.
2. Swing drive case (B) up.
3. Reinstall the attaching screws on drive case (B) and
tighten them.
KM1000859 —UN—14MAY09
151 070909
PN=20
Table of contents
Other Kemper Farm Equipment manuals

Kemper
Kemper 330 Series User manual

Kemper
Kemper Champion C 1200 User manual

Kemper
Kemper 345plus User manual

Kemper
Kemper Champion C 3000 User manual

Kemper
Kemper 445 User manual

Kemper
Kemper 490plus User manual

Kemper
Kemper 460plus User manual

Kemper
Kemper Pickup C3003 User manual

Kemper
Kemper Pickup N3003 User manual

Kemper
Kemper 330 Series User manual
Popular Farm Equipment manuals by other brands

WIL-RICH
WIL-RICH 5810 Assembly manual

LOFTNESS
LOFTNESS Draper Windrower Shredder 30 Owner's manual and parts book

Par-Kan
Par-Kan Grain-Weigh GW200A user manual

First Products
First Products Verti-Cutter VC-60 Operators manual & parts lists

Gaspardo
Gaspardo SP DORADA Use and maintenance

Jay-Lor
Jay-Lor 3650 Operator's manual