DK2 Power OPC566E User manual

OPC566E
6 INCH KINETIC DRUM CHIPPER
D.O.T. TOWABLE • KINETIC DRUM • 14 HP KOHLER ENGINE
USER MANUAL
PARTS AND SERVICE 1 (888) 277-6960 | WWW.DETAILK2.COM
DK2 USA WEST
4301 S VALLEY VIEW BLVD.
SUITE 1011 LAS VEGAS, NEVADA
89103 USA
DK2 USA EAST
3750 SOUTH AVENUE,
NORTH UNIT, TOLEDO, OHIO
43615 USA
DK2 CORPORATE OFFICE
5330 MAINWAY
BURLINGTON, ONTARIO
L7L6A4 CANADA

2 | OPC566E man.
TABLE OF CONTENTS
SECTION I: ASSEMBLY ............................................................3
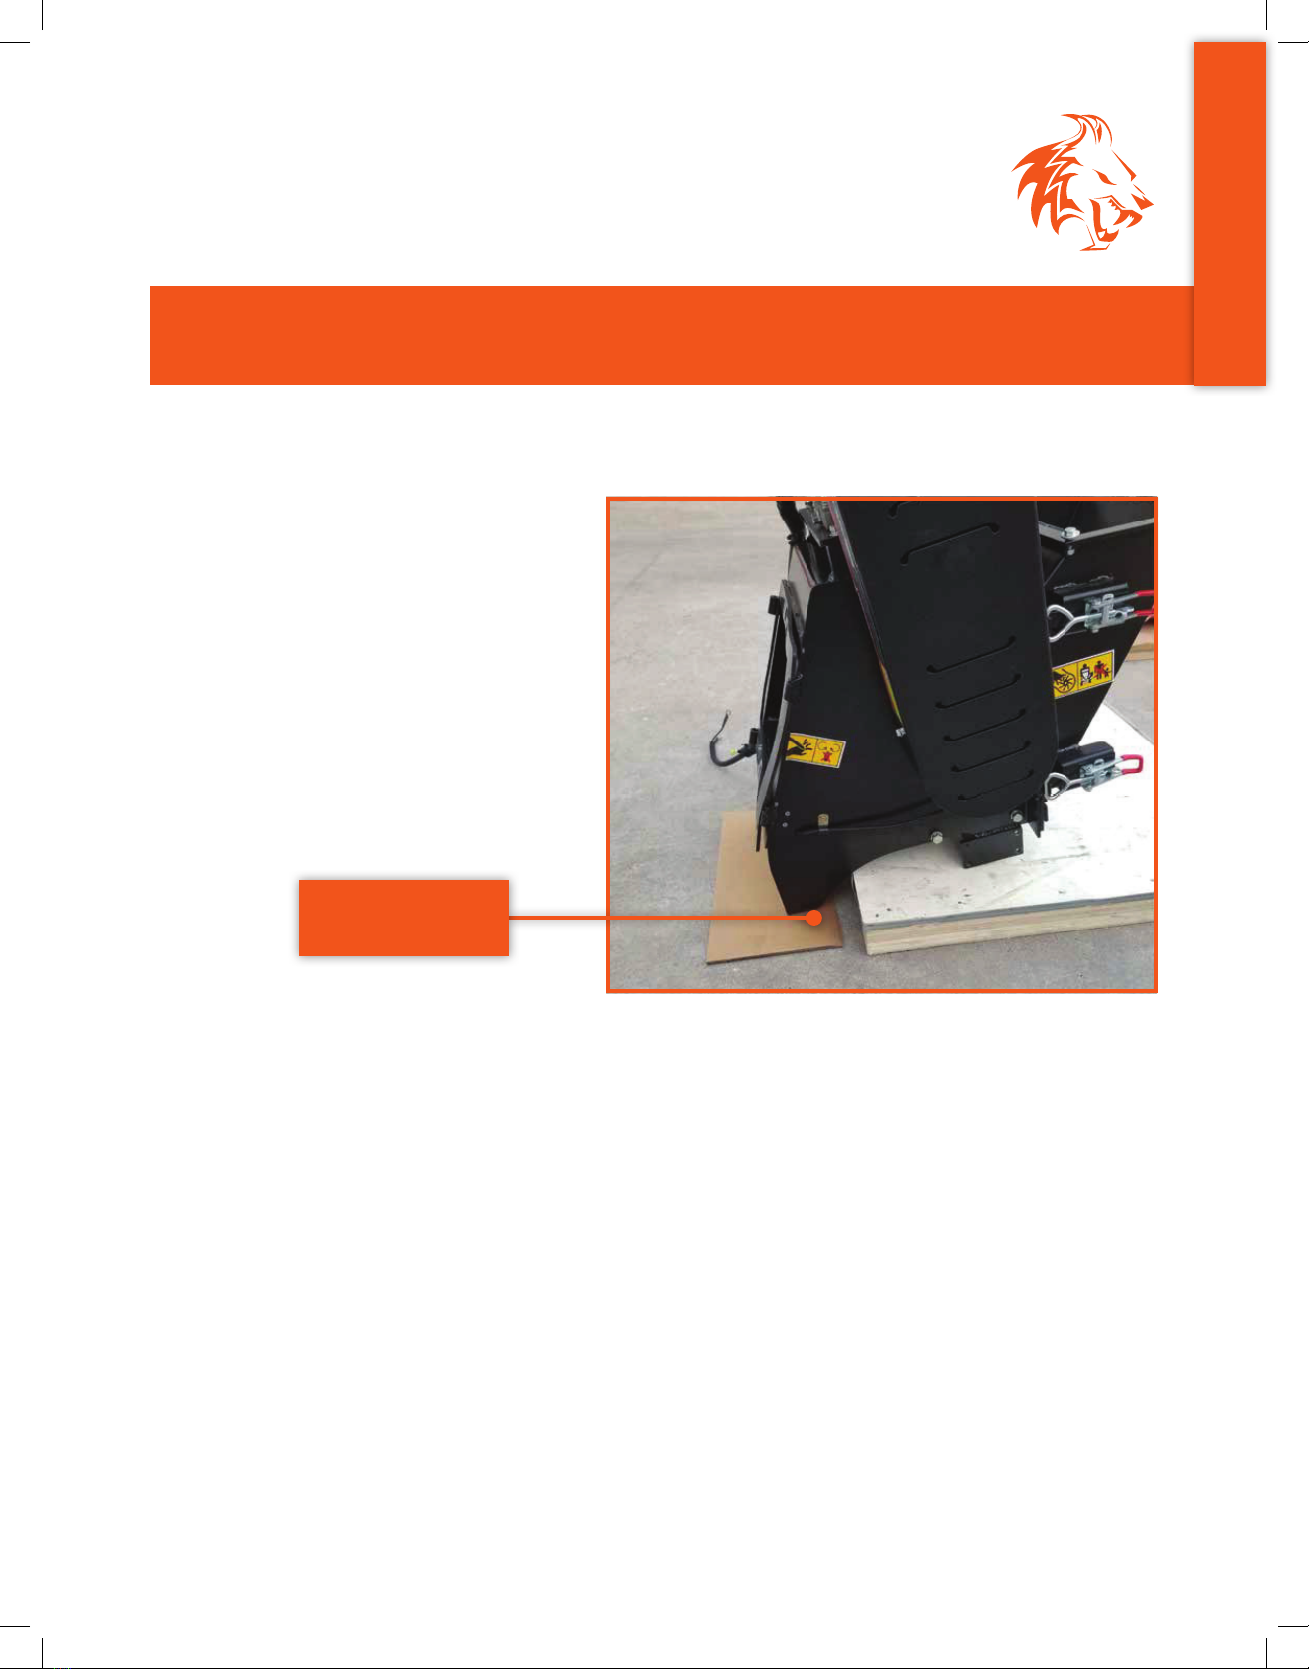
STEP 1: INSPECT THE PACKAGING......................................................4
STEP 2: PREPARATION ................................................................5
STEP 3: FEED CHUTE .................................................................6
STEP 4: WHEELS .....................................................................7
STEP 5: AXLE ........................................................................8
STEP 6: FRONT HITCH ................................................................9
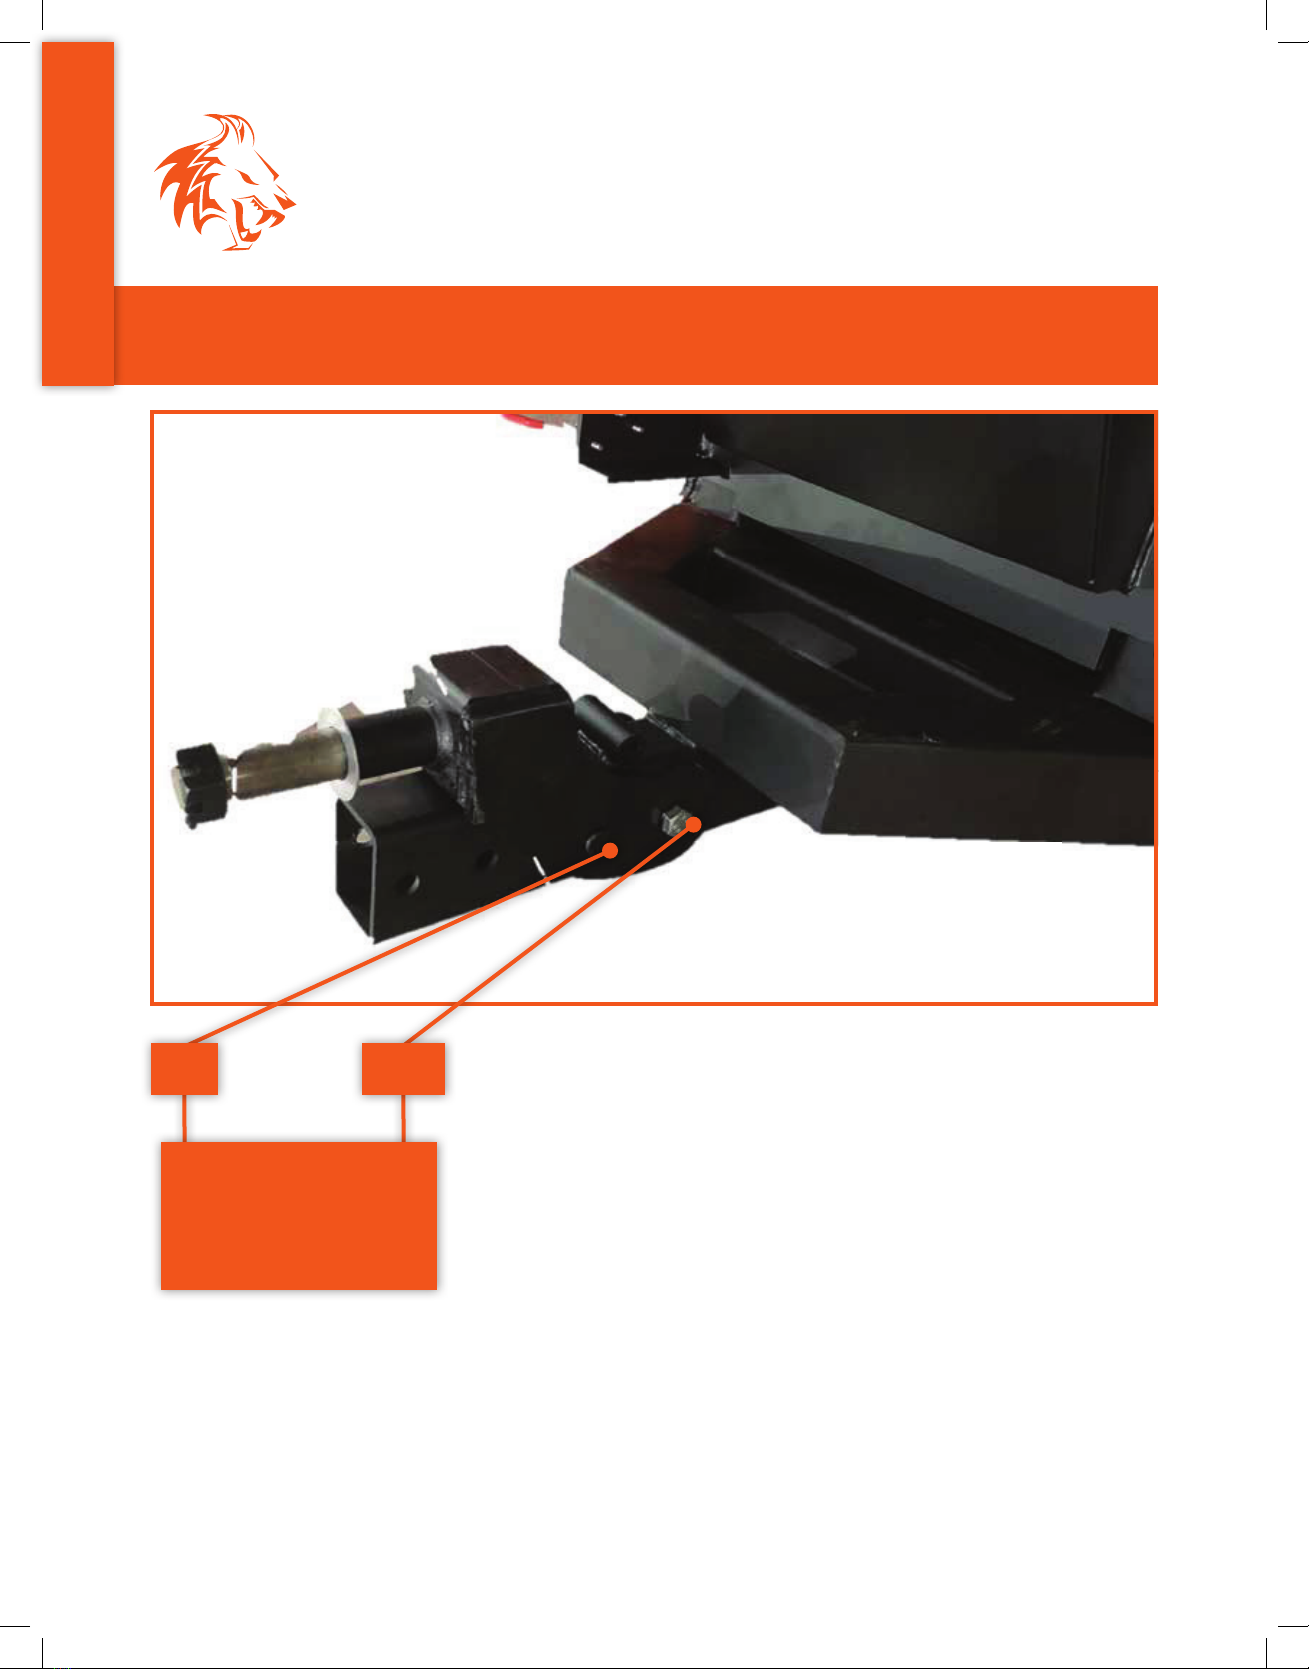
STEP 7: FRONT AXLE SWING MOUNT .................................................10
STEP 8: FRONT AXLE .................................................................11
STEP 9: TOW BAR ...................................................................12
STEP 10: EXPULSION CHUTE .........................................................13
STEP 11: BATTERY ...................................................................14
SECTION II: SAFETY & OPERATION ................................................15
SAFETY CONVENTIONS .............................................................16
SAFETY LABELS..................................................................... 17
YOUR KOHLER ENGINE ..............................................................18
EMERGENCY STOP ..................................................................19
SAFE PRACTICES & GENERAL INFORMATION ..........................................20
TECHNICAL SPECIFICATIONS.........................................................24
OPERATION GUIDELINES.............................................................25
MAINTENANCE .....................................................................27
TROUBLESHOOTING ................................................................28
SECTION III: PARTS & SCHEMATICS ................................................29
SCHEMATICS .......................................................................30
PARTS LIST .........................................................................31
WARRANTY .....................................................................34
ENGLISH

SECTION I
ASSEMBLY

4 | OPC566E man.
ASSEMBLY
CHECK THE PACKAGING
STEP 1: INSPECT THE PACKAGING
Open and unpack all items. Leave lots of working space. Inspect all parts.
The Wood Chipper is shipped in a crate. Leave the sides folded down and use as your work space.
NOTE: Upon inspection of parts, if you find any damage or missing parts please call DK2
POWER at 1 (888) 277-6960 or contact us via our website at www.detailk2.com. We will
replace any damaged or missing parts to you for free. Please do not return to the store.
ENGLISH

v.211123 | 5
ASSEMBLY
STEP BY STEP INSTRUCTIONS
STEP 2: PREPARATION
1. Slide the chipper body to hang o the side of the crate as shown below.
2. Have a helper tip the unit forward while you complete the next step.
EXTEND THE UNIT
OFF THE CRATE.
ENGLISH

6 | OPC566E man.
ASSEMBLY
STEP-BY-STEP INSTRUCTIONS
STEP 3: FEED CHUTE
With a helper, slide the feed chute hinge pins into place, close and latch shut.
ENGLISH

v.211123 | 7
ASSEMBLY
STEP BY STEP INSTRUCTIONS
STEP 4: WHEELS
1. Install the wheel, washer, nut and pin to the axle.
2. Wheels should spin freely.
3. Install end cap.
4. Repeat for the other wheel.
ENGLISH

8 | OPC566E man.
ASSEMBLY
STEP-BY-STEP INSTRUCTIONS
STEP 5: AXLE
1. Tip the unit forward with a helper as shown below.
2. Install the axle using the 2 bolts and hardware provided, and tighten.
2 BOLTS AND NUTS
ENGLISH

v.211123 | 9
ASSEMBLY
STEP BY STEP INSTRUCTIONS
STEP 6: FRONT HITCH
INSTALL THE FRONT HITCH ASSEMBLY
USING THE 8 BOLTS AND HARDWARE
PROVIDED, FASTEN TIGHTLY
ENGLISH

10 | OPC566E man.
ASSEMBLY
STEP-BY-STEP INSTRUCTIONS
STEP 7: FRONT AXLE SWING MOUNT
BOLTPIN
USE THE BOLT AND PIN
HARDWARE PROVIDED
AND PARTIALLY TIGHTEN
TO ALLOW THE ASSEMBLY
TO RAISE AND LOWER.
ENGLISH

v.211123 | 11
ASSEMBLY
STEP BY STEP INSTRUCTIONS
STEP 8: FRONT AXLE
INSTALL THE FRONT
AXLE AS SHOWN USING
WASHER, NUT, THEN PIN
ENGLISH

12 | OPC566E man.
ASSEMBLY
STEP-BY-STEP INSTRUCTIONS
STEP 9: TOW BAR
INSTALL THE TOW
BAR USING THE 2
BOLTS PROVIDED
ENGLISH

v.211123 | 13
ASSEMBLY
STEP BY STEP INSTRUCTIONS
STEP 10: EXPULSION CHUTE
INSTALL THE EXPULSION CHUTE
USING THE 4 BOLTS PROVIDED
ENGLISH

14 | OPC566E man.
ASSEMBLY
STEP-BY-STEP INSTRUCTIONS
STEP 11: BATTERY
CAUTION: Be careful when connecting the battery wires. DO NOT make contact
with your tools or any other conductive material to the metal frame when installing the
positive (red) wire.
SECURE THE BATTERY TO THE
UNIT USING 2 BOLTS AND
HARDWARE PROVIDED
CONNECT THE
WIRING AS SHOWN
ENGLISH

SECTION II
SAFETY & OPERATION

16 | OPC566E man.
SAFETY & OPERATION
SAFETY CONVENTIONS
CONVENTIONS USED IN THIS MANUAL
WARNING: This indicates a hazardous situation, which, if not avoided, could result
in death or serious injury.
CAUTION: This indicates a hazardous situation, which, if not avoided, could result in
minor or moderate injury.
NOTICE: This information is important in proper use of your machine. Failure to
follow this instruction could result in damage to your machine or property.
ADDITIONAL INFORMATION AND POTENTIAL CHANGES
We reserve the right to discontinue, change, and improve our products at any time without
notice or obligation to the purchaser. The descriptions and specifications contained in this
manual were in eect at printing. Equipment described within this manual may be optional.
Some illustrations may not be applicable to your machine.
ENGLISH

v.211123 | 17
SAFETY & OPERATION
SAFETY LABELS
SAFETY LABELS FOUND ON YOUR UNIT
ENGLISH

18 | OPC566E man.
SAFETY & OPERATION
YOUR KOHLER ENGINE
1Air Filter - Summer and Winter Positions
2Choke - Left is On / Right is O (Run Position)
3Gas - Use Mid Grade or Higher
4Gas On / O Switch - Left is O / Right is On
5Throttle - Rabbit Fast / Turtle Slow
6Pull Starter - Pull Tight - Then Pull Start
7Oil - Fill to mark 10W30, will not start if oil is low, has low oil shuto
protection. Two yellow caps are oil fill caps, use either one to fill oil.
2
1
5
3
4
6
7
ENGLISH

v.211123 | 19
SAFETY & OPERATION
EMERGENCY STOP
WARNING: Make sure the emergency stop wire is connected properly. If not, this
may result in death or serious injury.
WARNING: EMERGENCY STOP
AVERTISSEMENT : ARRÊT D'URGENCE
(EN) Make sure the emergency stop wire is connected properly. If not,
this may result in death or serious injury.
(FR) Assurez-vous que le fil d'arrêt d'urgence est correctement connecté.
Sinon, cela peut entraîner la mort ou des blessures graves.
EMERGENCY STOP WIRE
CÂBLE D’ARRÊT D'URGENCE
EMERGENCY SWITCH
COMMUTATEUR D’ARRÊT
D'URGENCE
WARNING: Read this Safety & Operations section before you use the Wood
Chipper. Become familiar with the operation and service recommendations to ensure
the best performance of your machine.
CAUTION: This machine is designed solely to chip wood and must not be used for
any other purpose. It should only be used by trained operators who are familiar with
the content of this manual. It is potentially hazardous to fit or use any parts other than
DK2 OEM parts. The company disclaims all liability for the consequences of such use,
which in addition voids the machine warranty.
ENGLISH

20 | OPC566E man.
SAFETY & OPERATION
SAFE PRACTICES & GENERAL INFORMATION
NOTICE: BEFORE USING THE WOOD CHIPPER
• Clear area of all people and property that could be damaged.
• Flying projectiles from operation can cause injury.
• Wear safety glasses, hearing protection, and gloves.
• Do not wear loose fitting clothes that could get stuck in the moving parts of the machine.
• Children should not run this equipment.
• Stay alert of your surroundings and persons that could appear in the area of operation.
• Operators must be fully trained before using this machine.
• User manual is read and understood.
• Machine is positioned on level ground; all guards are fitted and in good condition.
• Blade is in good condition and secure.
• All fasteners are checked for tightness.
• Only wooden materials, free of nails etc. are to be fed into this machine.
• Emergency stop wire is correctly connected and the switch is functional.
• Fire extinguisher is available on site.
NOTICE: WHEN USING THE WOOD CHIPPER
• Always feed standing from the side of the feed chute.
• It is better to have a second trained operator within easy reach of the machine.
• Maintain strict discipline at all times and service the machine at specified periods.
• Be aware of the expulsion chute direction and if necessary, be aware of the wind direction as
well to prevent debris from being blown or where to could aect bystanders.
• DO NOT put any part of your body into the in-feed chute while the machine is running.
• DO NOT operate the machine while under the influence of alcohol or drugs.
• DO NOT operate inside a building or confined space.
• DO NOT climb on the machine.
ENGLISH
Other manuals for OPC566E
2
Table of contents
Languages:
Other DK2 Power Chipper manuals

DK2 Power
DK2 Power OPT118 User manual

DK2 Power
DK2 Power OPC504 User manual

DK2 Power
DK2 Power OPC566E User manual

DK2 Power
DK2 Power OPC525 User manual

DK2 Power
DK2 Power OPC505AE User manual

DK2 Power
DK2 Power OPC506 User manual

DK2 Power
DK2 Power OPC524 User manual

DK2 Power
DK2 Power OPC503 User manual

DK2 Power
DK2 Power OPC505AE Guide

DK2 Power
DK2 Power OPC524 User manual