Secure Loose end of webbing length as follows: continued
Operating Instructions
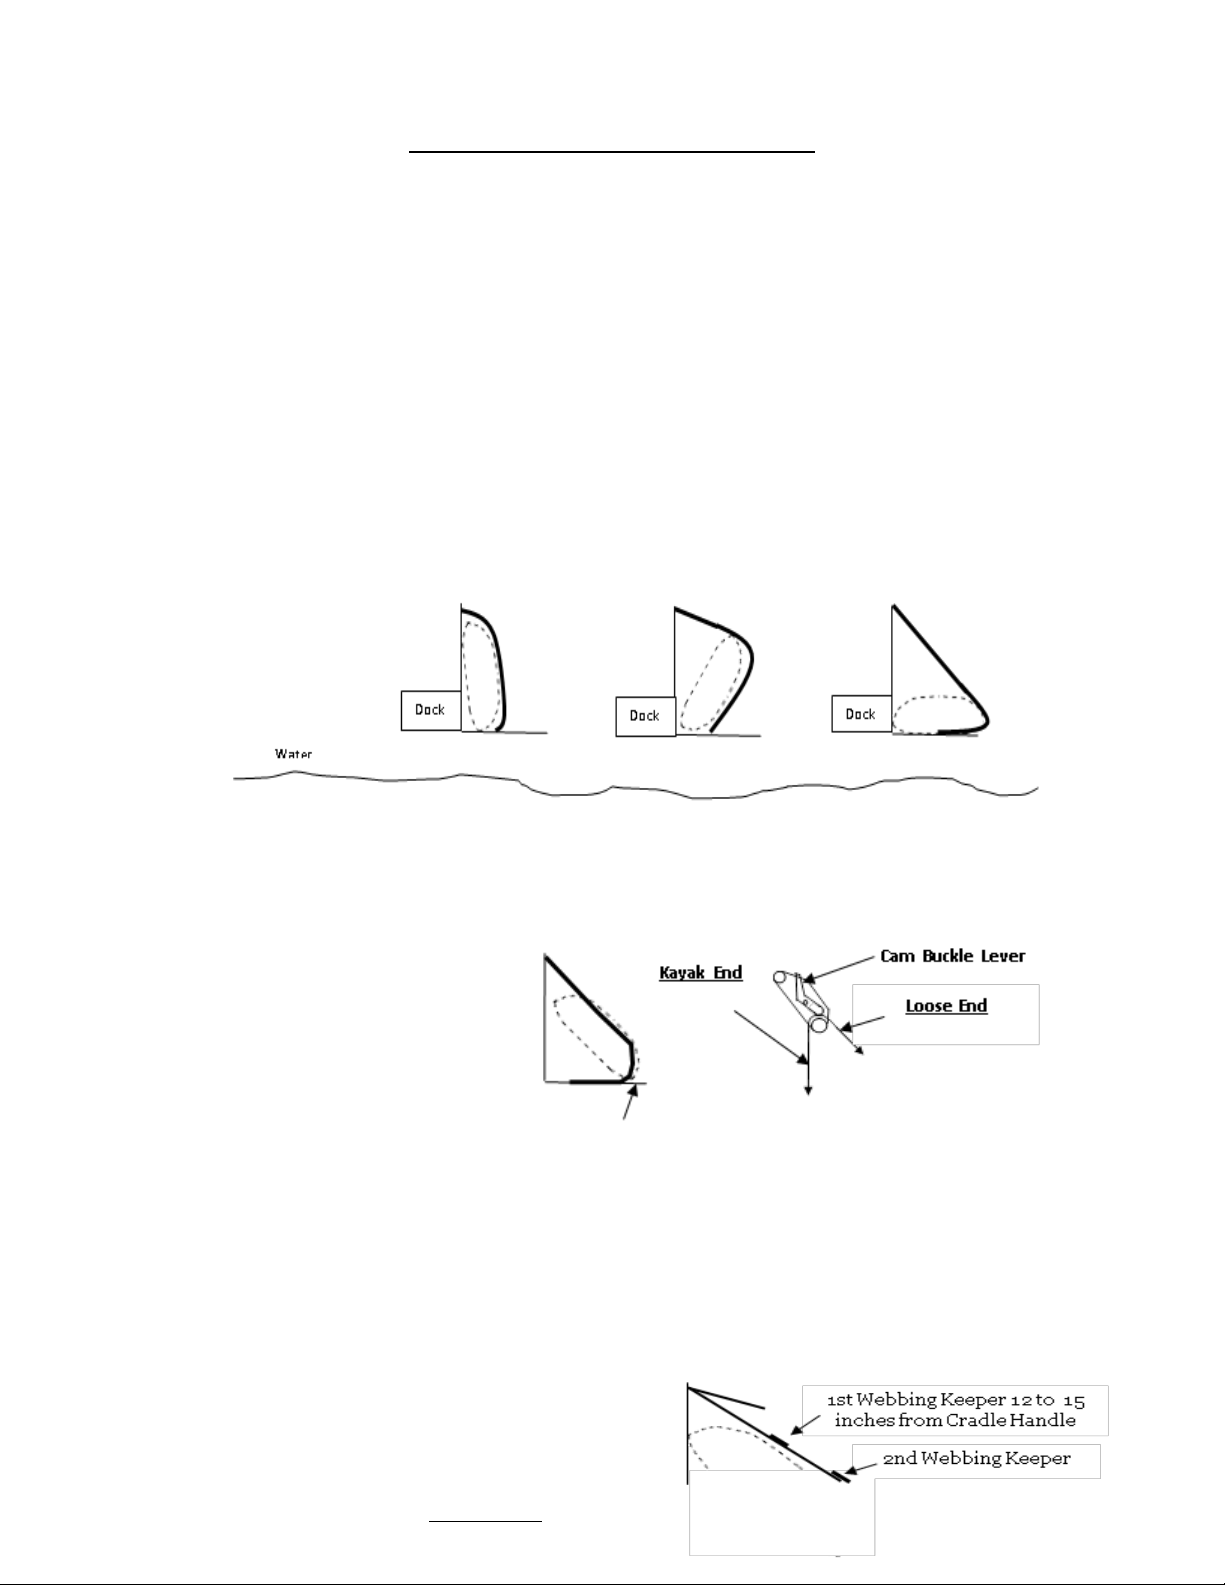
Dockside Operating Models Waterside Operating Models
1 - Before unloading, check to Ensure that there 1 –Use caution when lowering your kayak as
are no objects or people in the path of the your kayak will be rotating to the water
kayak when rotated toward the water. toward you. Ensure you are physically fit to
2 - Standing on the Dock, grasp the tether cord manage the weight of lowering your kayak
in one hand and then grasp the center of the and that there are not any obstacles in the
handle. water that would cause you to trip.
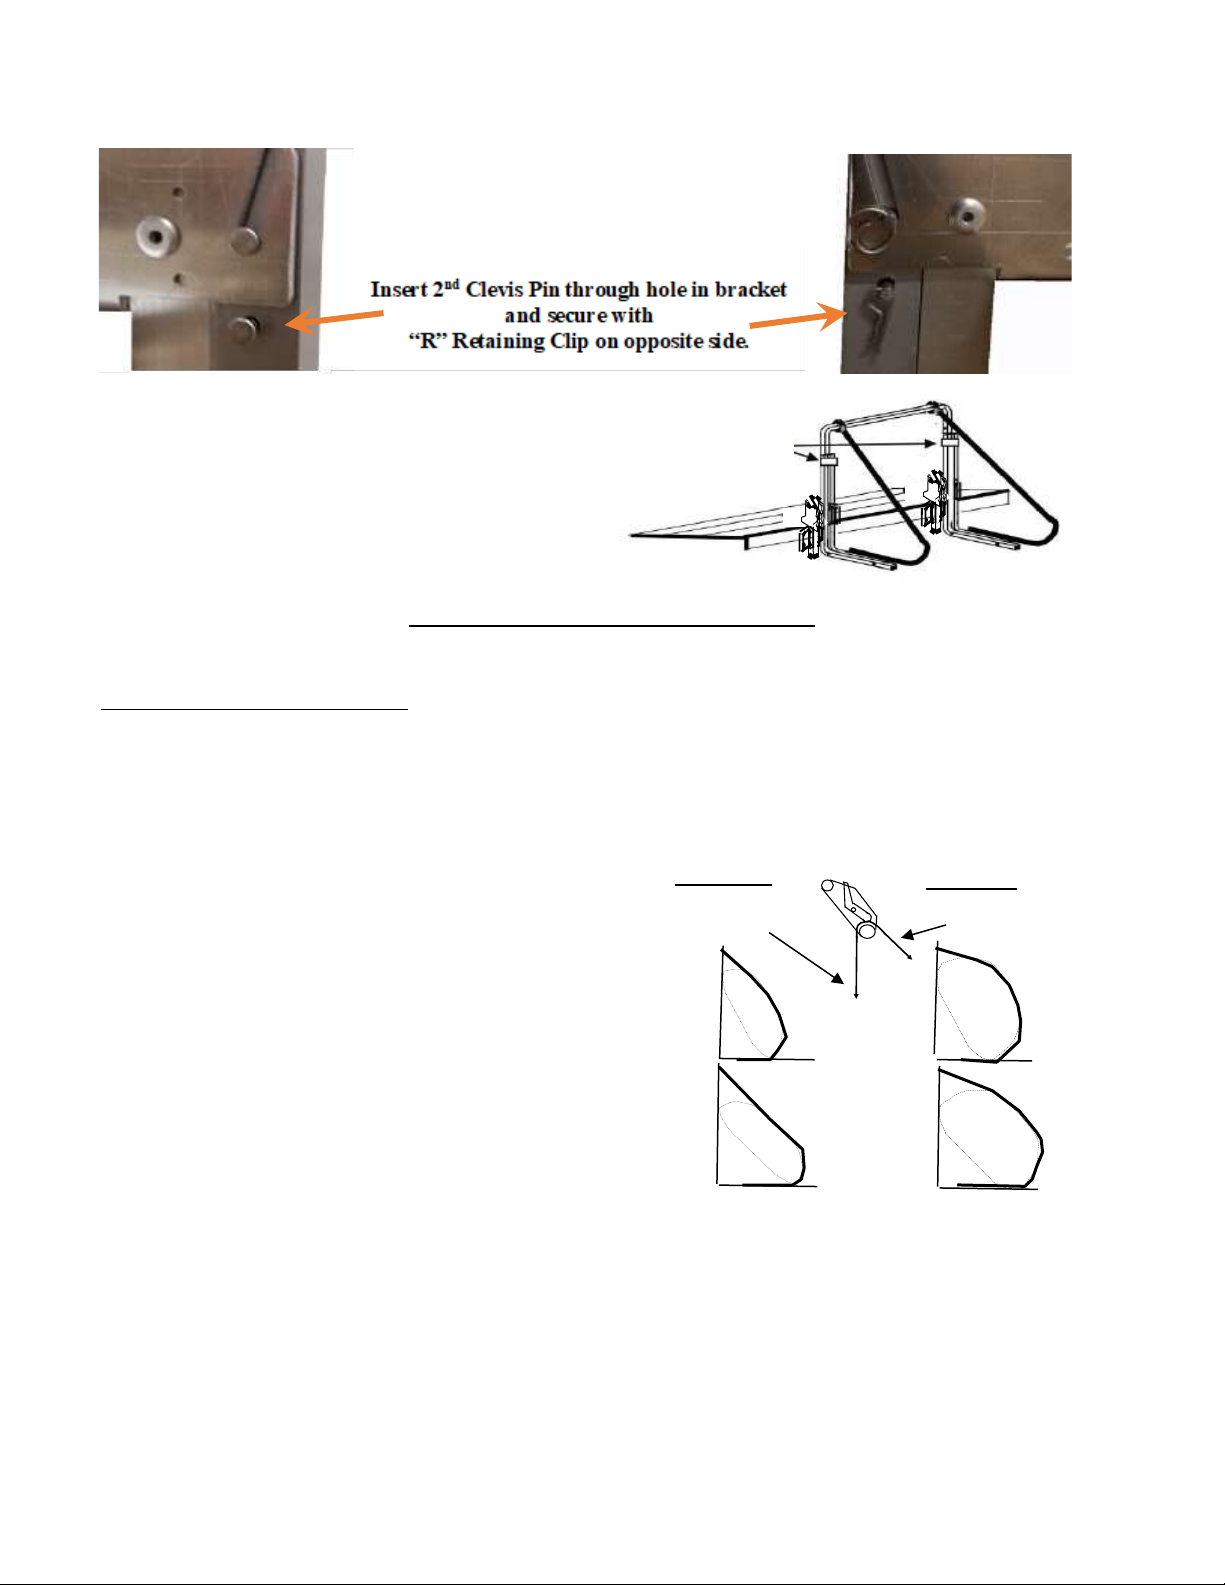
3 - Rotate the Latch Plates on both Pivot Laterals 2 - Stand in the water and center yourself
90 degrees counterclockwise. Note: Securely with the length of the kayak rack.
hold the handle as the Latch Plates are rotated
out of the way, the weight of the Kayak will 3 - Release the Latch Plates by rotating both
cause the Kayak Rack to want to rotate toward 90 degrees clockwise.
the water.
4 - Firmly holding the tether cord, slowly lower the 4 - Grasp the center of the cradle handle with
kayak into the water, by releasing (hand over hand) both hands and slowly lower your kayak
the length of the tether cord until your kayak is into the water.
in the water.
5 - Secure the end of the tether cord that is left in your 5 - Float your kayak completely out of the
hand around one of the pivot laterals such that rack and rotate the cradle back into its
you may float your kayak out of the rack. storage position.
6 - Float your kayak completely out of the rack and 6 - Rotate one of the Latch Plates back into
then pull on the tether cord, to lift the cradle back position such that the cradle will not
into the storage position. Rotate back toward the water.
7 - Rotate one of the Latch Plates back into its holding 7 - Enter your kayak ensuring you are clear of
position such that the cradle will not rotate back the rack, grab your paddle and start your
into the water when released. Voyage
8 –Enter your Kayak ensuring you are clear of the rack,
Grab your paddle and start your voyage.
Page 10 of 11
Note:
It is much easier to thread the webbing through the webbing keeper with the
Kayak out of the Kayak Rack.
Reposition the 2nd webbing keeper and thread, similar to above, such that there
is 1 to 3 inches of webbing extended beyond the webbing keeper after threading.
Reload your Kayak, and rotate your kayak into its storage position.
You may place your Paddle in the loop between the handle and the 1st webbing keeper.