WeatherPro Awning User’s Guide
2
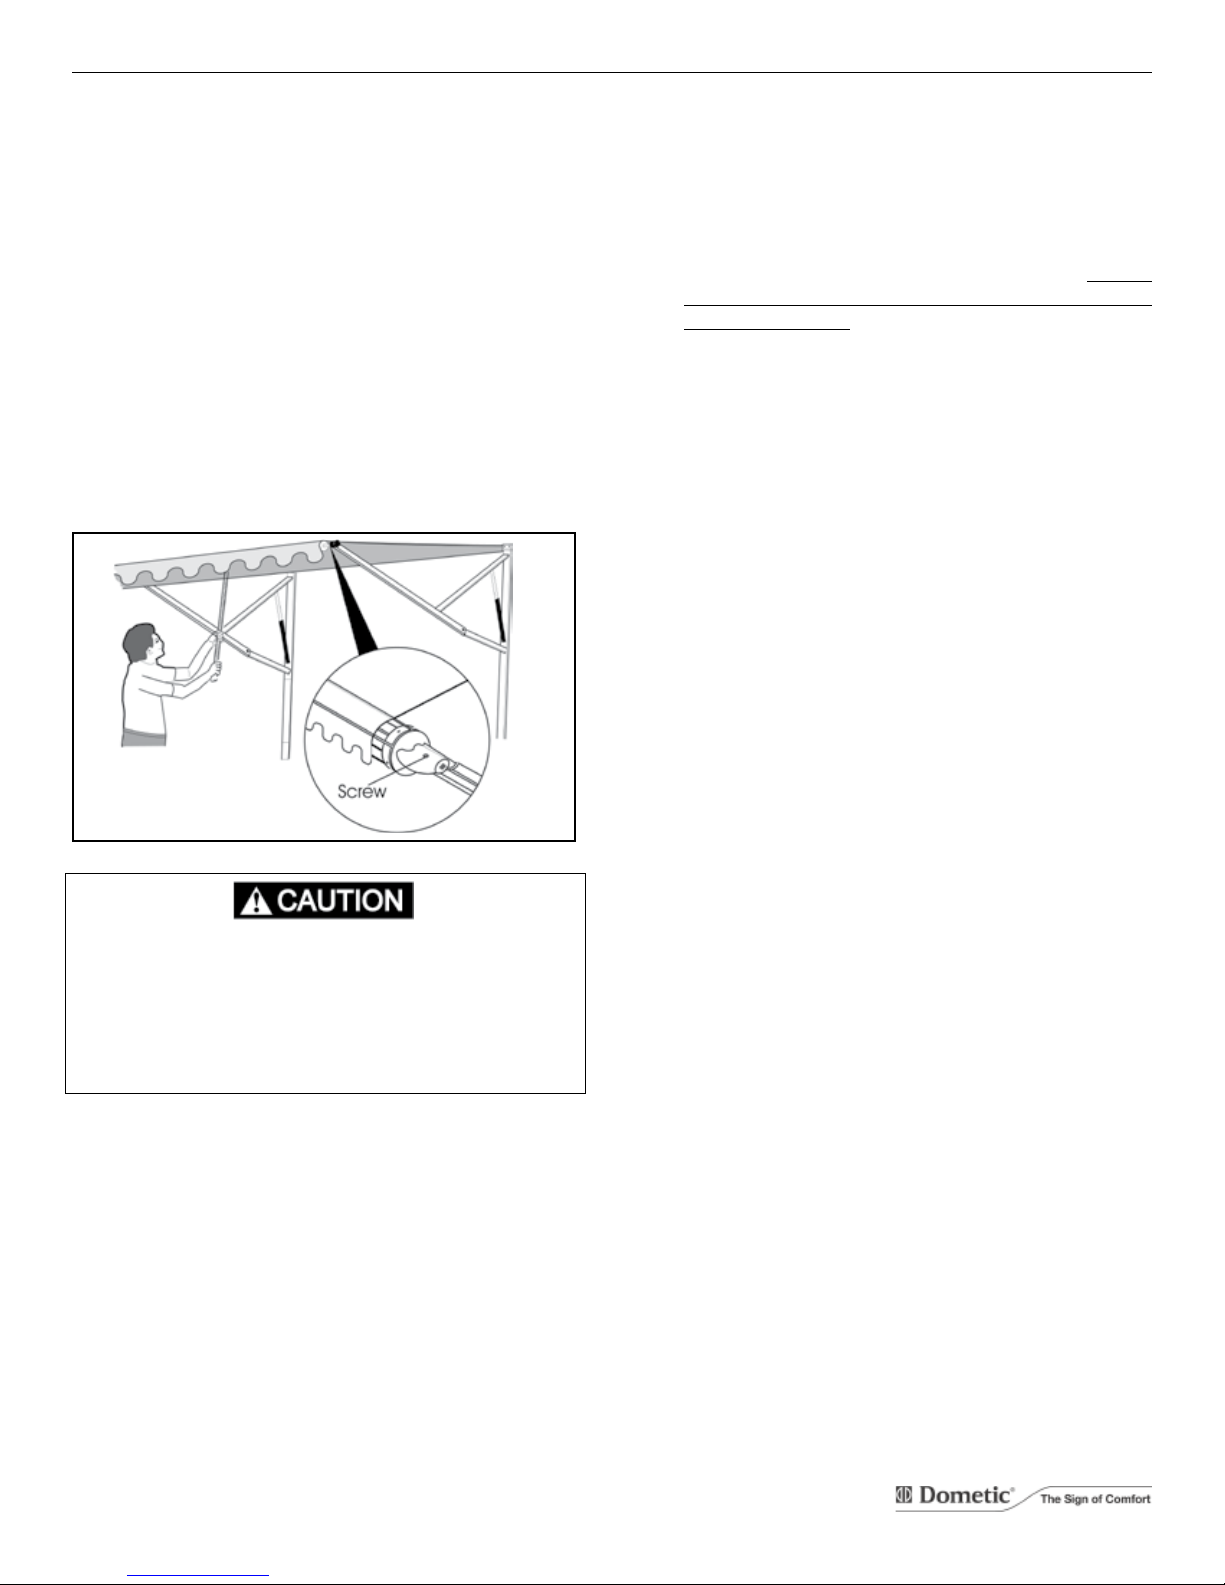
To Open Awning:
A. UsingTheRemoteControl(KeyFOB)
a. Pressandholdthe“Extend”button
for3secondsandtheawningwill
automaticallyopen.Ifnotheldfor
threeseconds theawning willre-
maininthepositionwhenbuttonis
releasedandwillcontinuetoextend
whenpressedagain.
B. UsingTheRemoteRockerSwitch
a. Pressandholdthe“Extend”button
for3secondsandtheawningwill
automatically open. If not held for
three seconds the awning will re-
maininthepositionwhenbuttonis
releasedandwillcontinuetoextend
whenpressedagain.
Important: When the power has been interrupted,
wait approximately 30 seconds before depressing but-
ton again. The control box will automatically restore
power when button is pressed again.
Important: When installed correctly on a motorized
RV, this system is wired to prevent accidental awning
“extension” when vehicle ignition key is in the “ON”
position. When the ignition key is turned “ON”, the
“extension” mode is de-activated and awning will not
extend. This however, will not prevent the awning from
being retracted.
The A & E WeatherPro awning is equipped with a wind
sensing device that will automatically close the awning
when wind conditions are present that may damage the
awning. The factory preset setting is 18 MPH. To activate
the wind sensor feature, locate the control box (usually
mounted in a storage compartment), simultaneously de-
press and hold buttons 1 & 2 on the Remote Control (Key
FOB) for 3 seconds. One of the wind speed LED’s will
illuminate.
To de-activate the wind sensor feature, simultaneously
depress and hold buttons 3 & 4 on the Remote Control
(Key FOB) for 3 seconds. There are no wind speed LED’s
illuminated when de-activated. Damage to the awning can
occur in high winds if the awning is left in the open position
with this feature de-activated. Wind sensor is activated
when shipped from the factory.
Important: Do not attach or hang any objects from
the awning or tie the awning down. If the sensor is
activated or the retract button is depressed and the
awning rolls up, damage to the awning and attached
objects can occur.
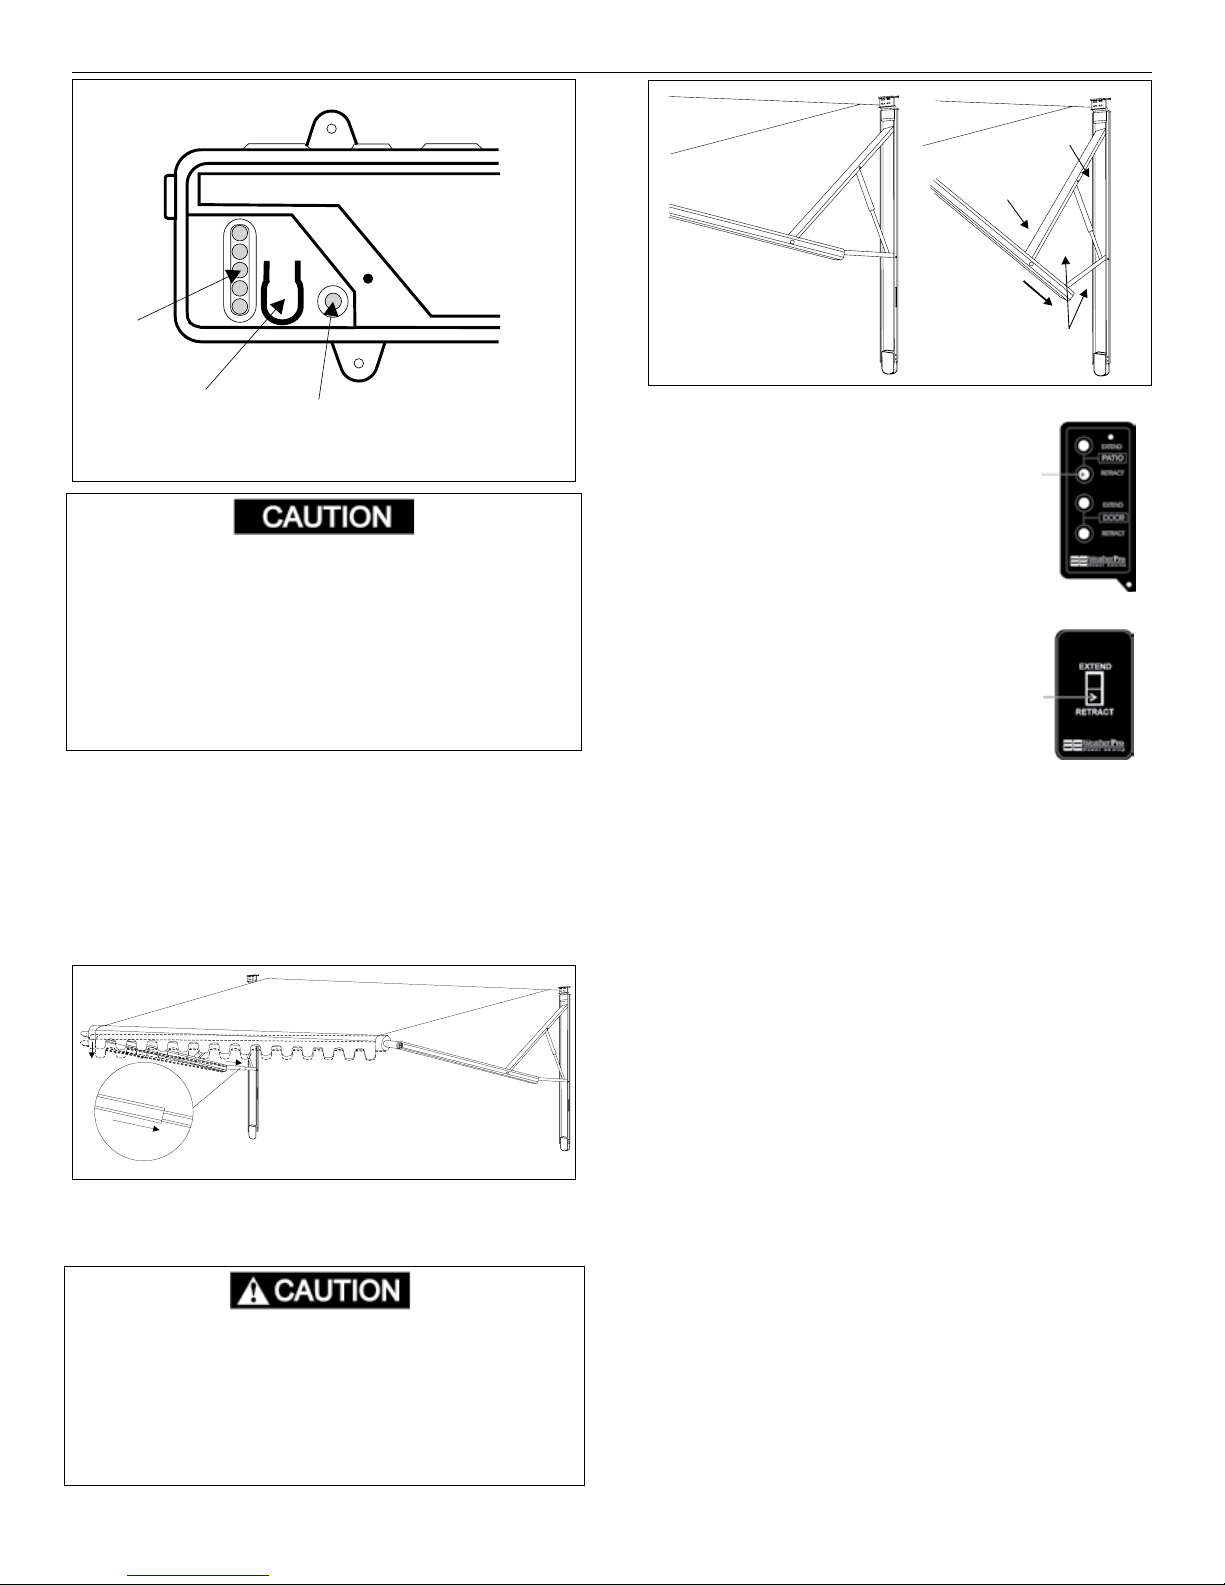
There are six (6) LED’s in the WeatherPro control and one
(1) button for selecting the wind speed.
A. 12 VDC Power Indicator/Fault Indicator
1 When the LED is constant Yellow this indicates
that there is 12 VDC power at the control.
2. WhentheLEDisashingYellowattherateof1
time per second, this indicates that the voltage is
below 10 (± .50) VDC. Awning will not operate.
3. WhentheLEDisashingYellowandalternates
ashingwith the selectedwind speed LED,this
indicates a communication fault between the wind
sensor and the control box.
B. Wind Speed Setting
1. The LED that is yellow indicates the wind speed
currently selected.
C. Wind Speed Selection Button
1. Wind speed is preset from the factory at 18
MPH.
2. The wind speed can be adjusted by pressing the
wind speed selection button. To increase or de-
crease the sensor sensitivity, press and release
the wind speed selection button until the desired
wind speed LED is lit. The recommended setting
is 18 MPH.
Note: Awning is not intended for cold weather operation.
Awning will automatically close when outside temperature
reaches 32° F. when the wind sensor is activated. When
this condition occurs, the bottom 2 wind speed LED’s will
blink alternately.
To de-activate the wind sensor simulta-
neously press and hold buttons 3 & 4
for 3 seconds.
To activate the wind sensor, simultane-
ously press and hold buttons 1 & 2 for
3 seconds.
1
2
3
4
Obstructions in the proximity of the wind sensor can dimin-
ish the sensitivity. If wind sensor is de-activated and dam-
age to awning occurs, the awning warranty will be void.
Thewindsensorisspecicallydesignedtoallowairtopass
across sensor probe.
Important: The wind sensor will only function cor-
rectly if the airway to the sensing probe is clear. Keep
airway clear of dust, insects, ice, snow, or other debris.
The sensing probe can be cleaned with a mild soap
solution and a small soft bristle brush.