29-31 Richland St. Kingsgrove. Sydney NSW 2208 Australia
Phone: 02 9554 9600 | Fax: 02 9554 9433
enquiries@domuslighng.com | www.domuslighng.com
Installaon Manual
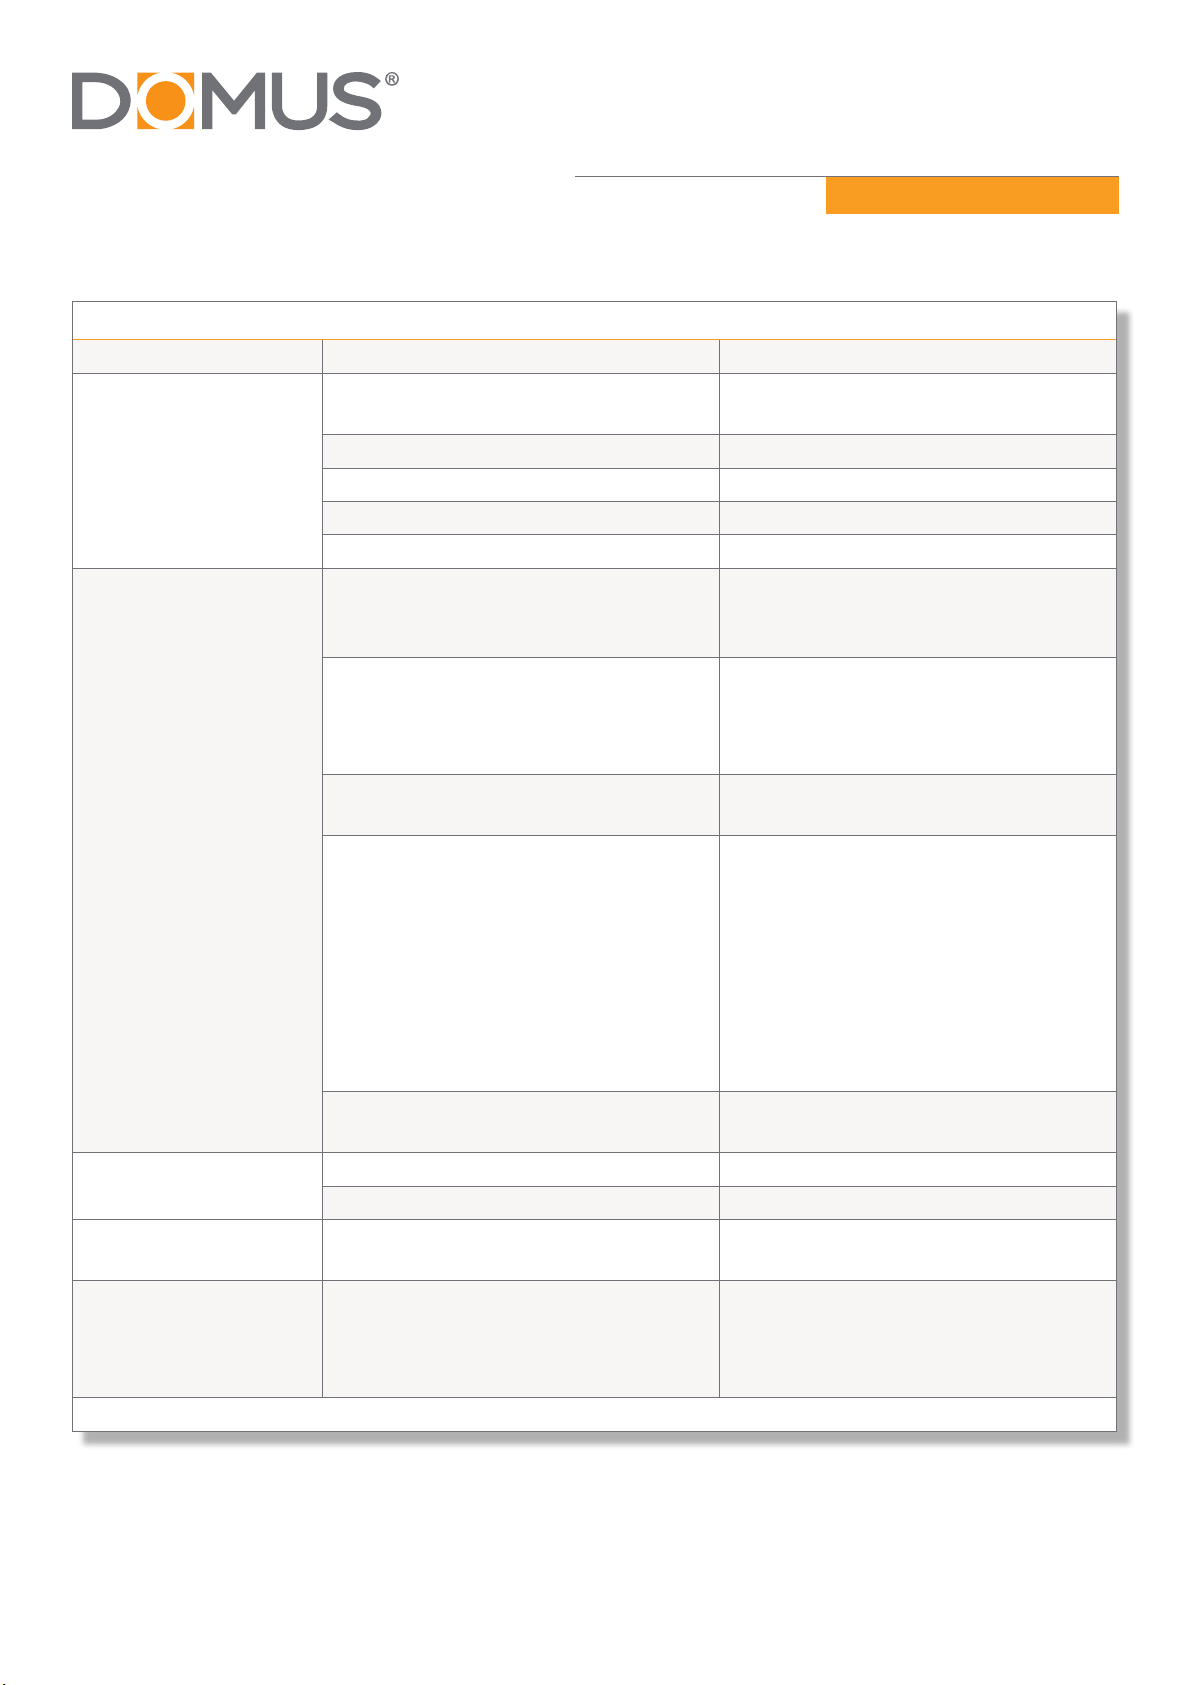
Specicaons
Voltage: 240V AC Lumen (±5%): 1000lm Dimmable: No
Power: 15W Beam Angle: 115°CRI: ≥80
IP Rang: 44 CCT: 5000K Lifespan: 40,000hrs
Note: -The lamp must be installed by professional electrician
-Ensure the power supply is switched o before ng this product
-Do not touch the lamp when in use
-Keep away from hot steam and corrosive gas
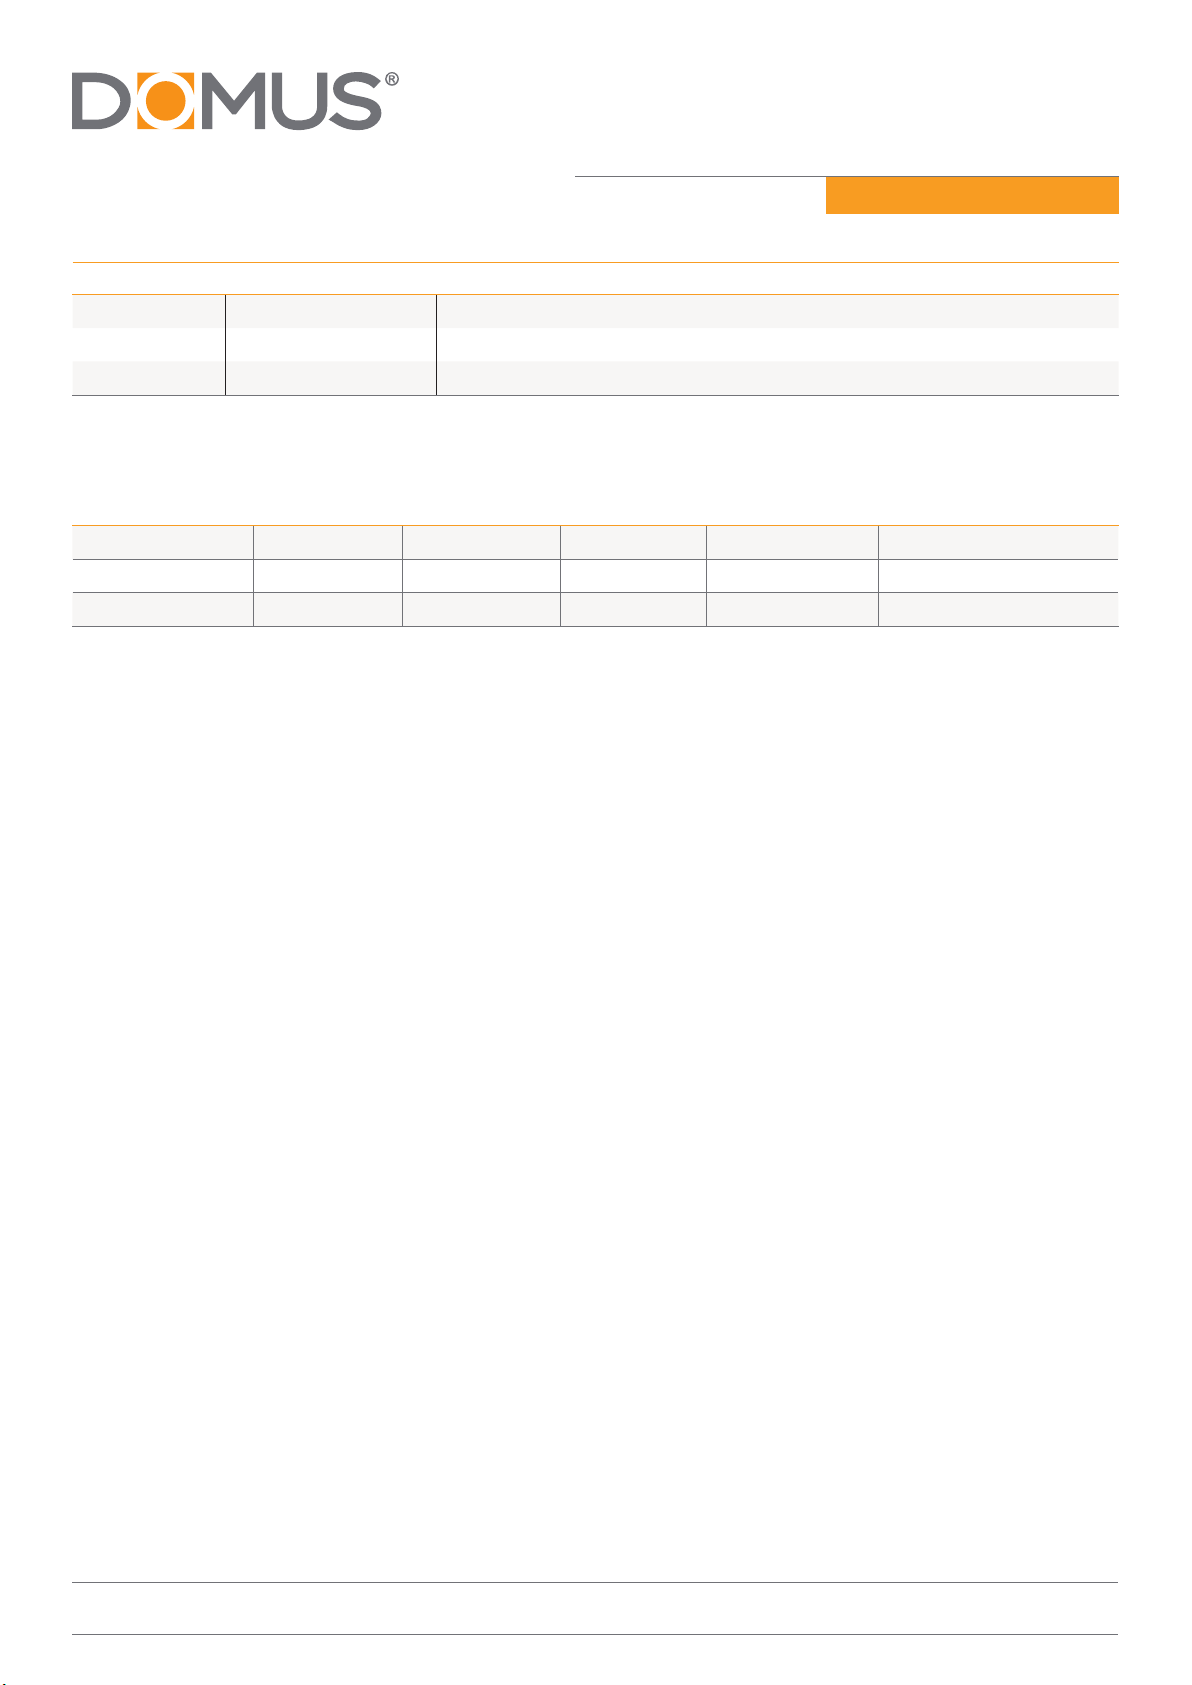
MURO-15S
Order Code Product Code Descripon
25016 MURO-15S-B-W 15W Spotlight with sensor, Black Die Cast Aluminium. White 5000K
25017 MURO-15S-S-W 15W Spotlight with sensor, Silver Die Cast Aluminium. White 5000K
25018 MURO-15S-W-W 15W Spotlight with sensor, White Die Cast Aluminium. White 5000K
Thank you for purchasing your new LED MURO-15S, Please take the me to read and understand the instrucon
sheet below. Failure to do so may void warranty.
Introducon
The LED Light incorporates a PIR (Passive Infra Red) sensing device which connuously scans a preset operang
zone and immediately switches the light on when it detects movement in that area.
This means that whenever movement is detected within the range of the sensor the light will switch on
automacally to illuminate pathways, steps, paos, porches, or whatever area you have selected to light for
reasons of safety, convenience.
While there is movement within range of the unit the light will remain on.
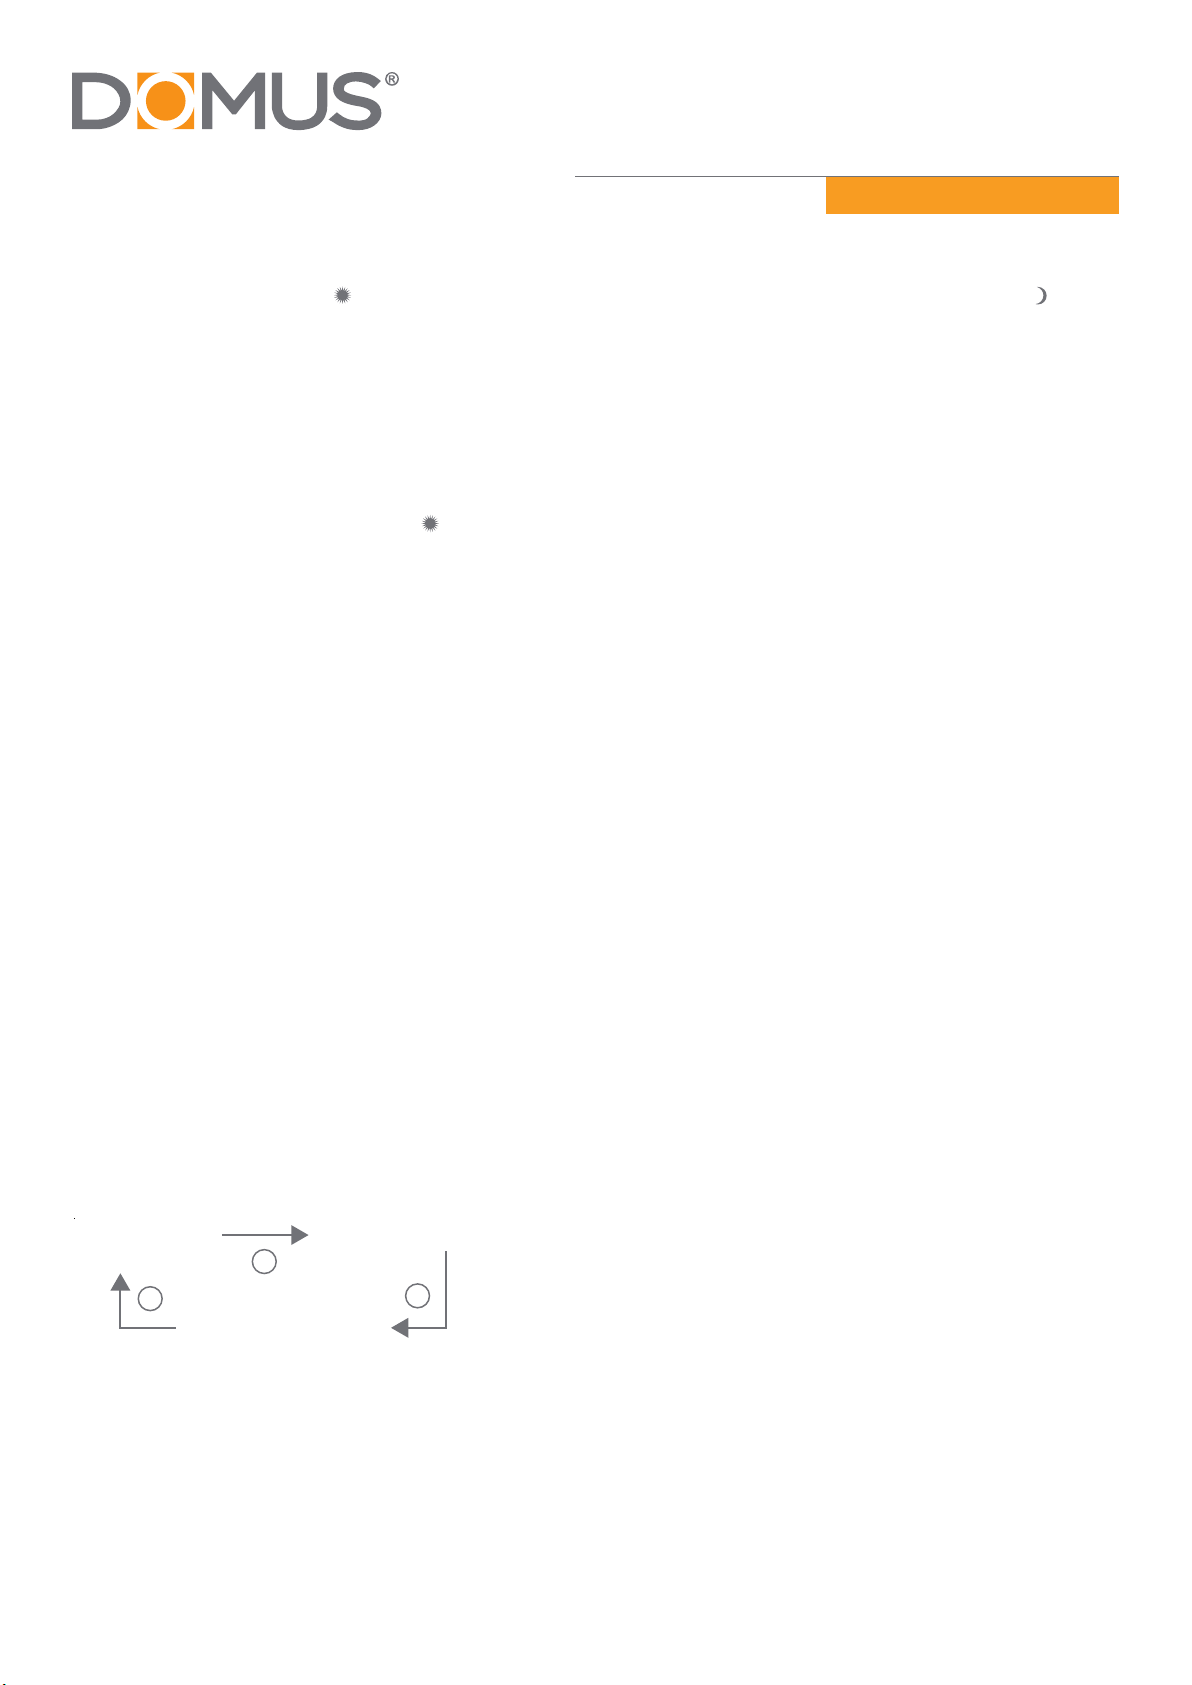
While to t your LED lamp
To achieve best results, we suggest you take into account the following points:
• Ideally the LED lamp should be mounted 1.8 to 2.5 meters (6 to 8) above the ground to be scanned
• To avoid damage to unit - do not aim the sensor towards the sun.
• To avoid nuisance triggering, the sensor should be directed away from heat sources such as barbecues, Air
condioners, other outside lighng, moving cars and ue vents.
• To avoid nuisance triggering, keeping away from the area of strong electromagnec disturbance.
• Do not aim towards reecve surfaces such as smooth white walls, swimming pools, etc. The LED lamp
scanning specicaons (approximately 12 meters at 180°) may vary slightly depending on the mounng height
and locaon. The detecon range of the unit may also alter with temperature change. Before selecng a place
to install your LED lamp you should note that movement across the scan area is more eecve
than movement directly toward or away from the sensor. If movement is made walking directly towards or
away from the sensor and not across, the apparent detecon range will be substanally reduced.
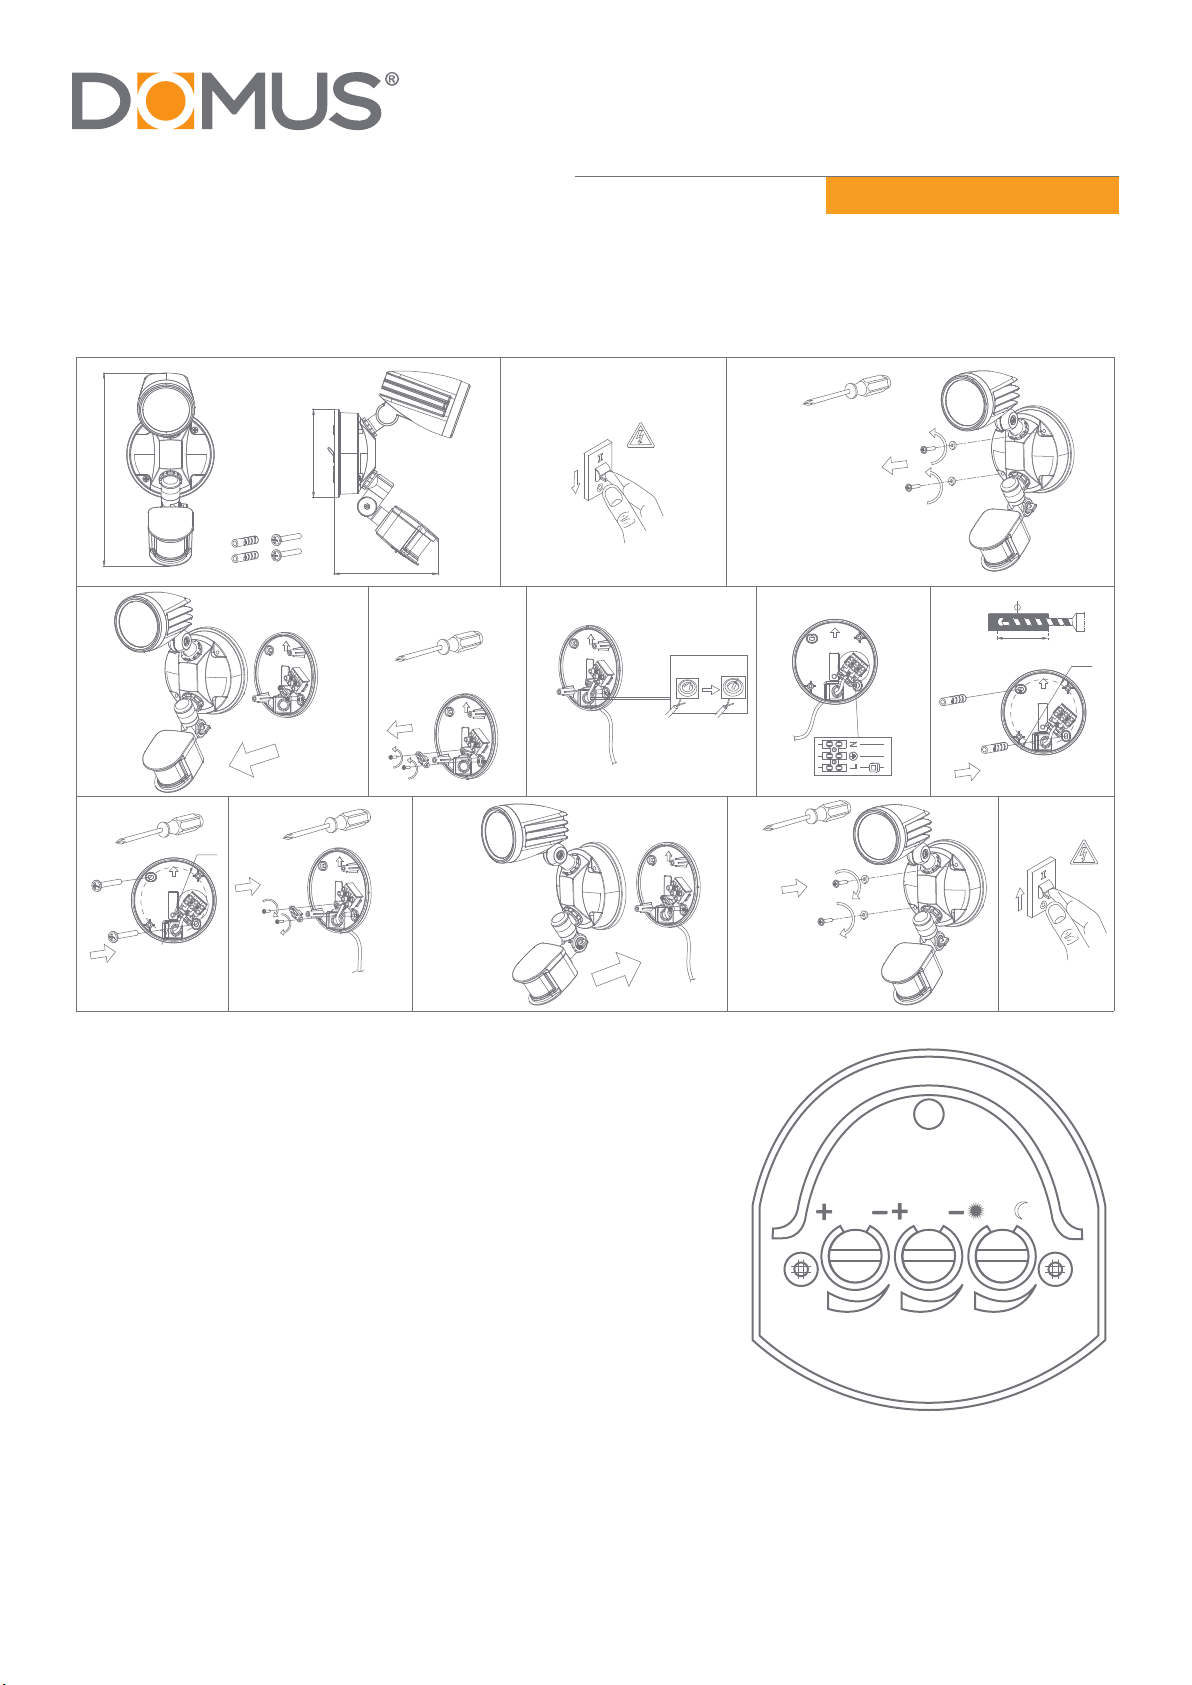
Installaon
• Switch power o at the meter box and ensure that there is no power to the lamp.
• Unscrew the screws on the main body, remove the backcover.
• Remove the Cable Anchorage and connect the cable to the Terminal Block.
• Use the back cover to mark the posion of screw holes onto mounng surface. Drill the wall to depth of about
3cm and t the wall plugs (supplied), then x the support to the mounng surface with the screws. Care
should be taken to avoid drilling or screwing into concealed electrical wiring.
• Re-place the Cable Anchorage.
• Fit main body onto the backcover. Adjust the light direcon desired and ghten the screws.
• Switch the main power back on.