DONPER MINI2 User manual
User Manual
Mini²

Table of Contents
Preface 2
I. Use and Characteristics 3
II. Precautions 4
III. Set Up & Operation 5
IV. Setting Temperature 7
V. Clean Up 9

Preface
Thanks for selecting the Donper USA Mini2slush machine. The purpose
of this manual is to provide you with the product specifications and our
recommendations for effective and normal operation of this machine in
order to ensure and guarantee the service life of this machine.
• Before using this machine, please read the product specifications
carefully while becoming familiar with this machine.
• Configure the switch board and wire according to the voltage and
electric current prescribed by the performance parameter of the
machine.
• Pay attention to the ingredients of the raw materials, with the sugar
content not less than 13% to avoid abnormal use and damage of the
machine.
• Please clean the machine after each use as this will help guarantee
the health of everyone.
• Most importantly, enjoy your new slush machine with your friends
and family then watch their faces light up with amazement. After all,
that is what it’s all about.
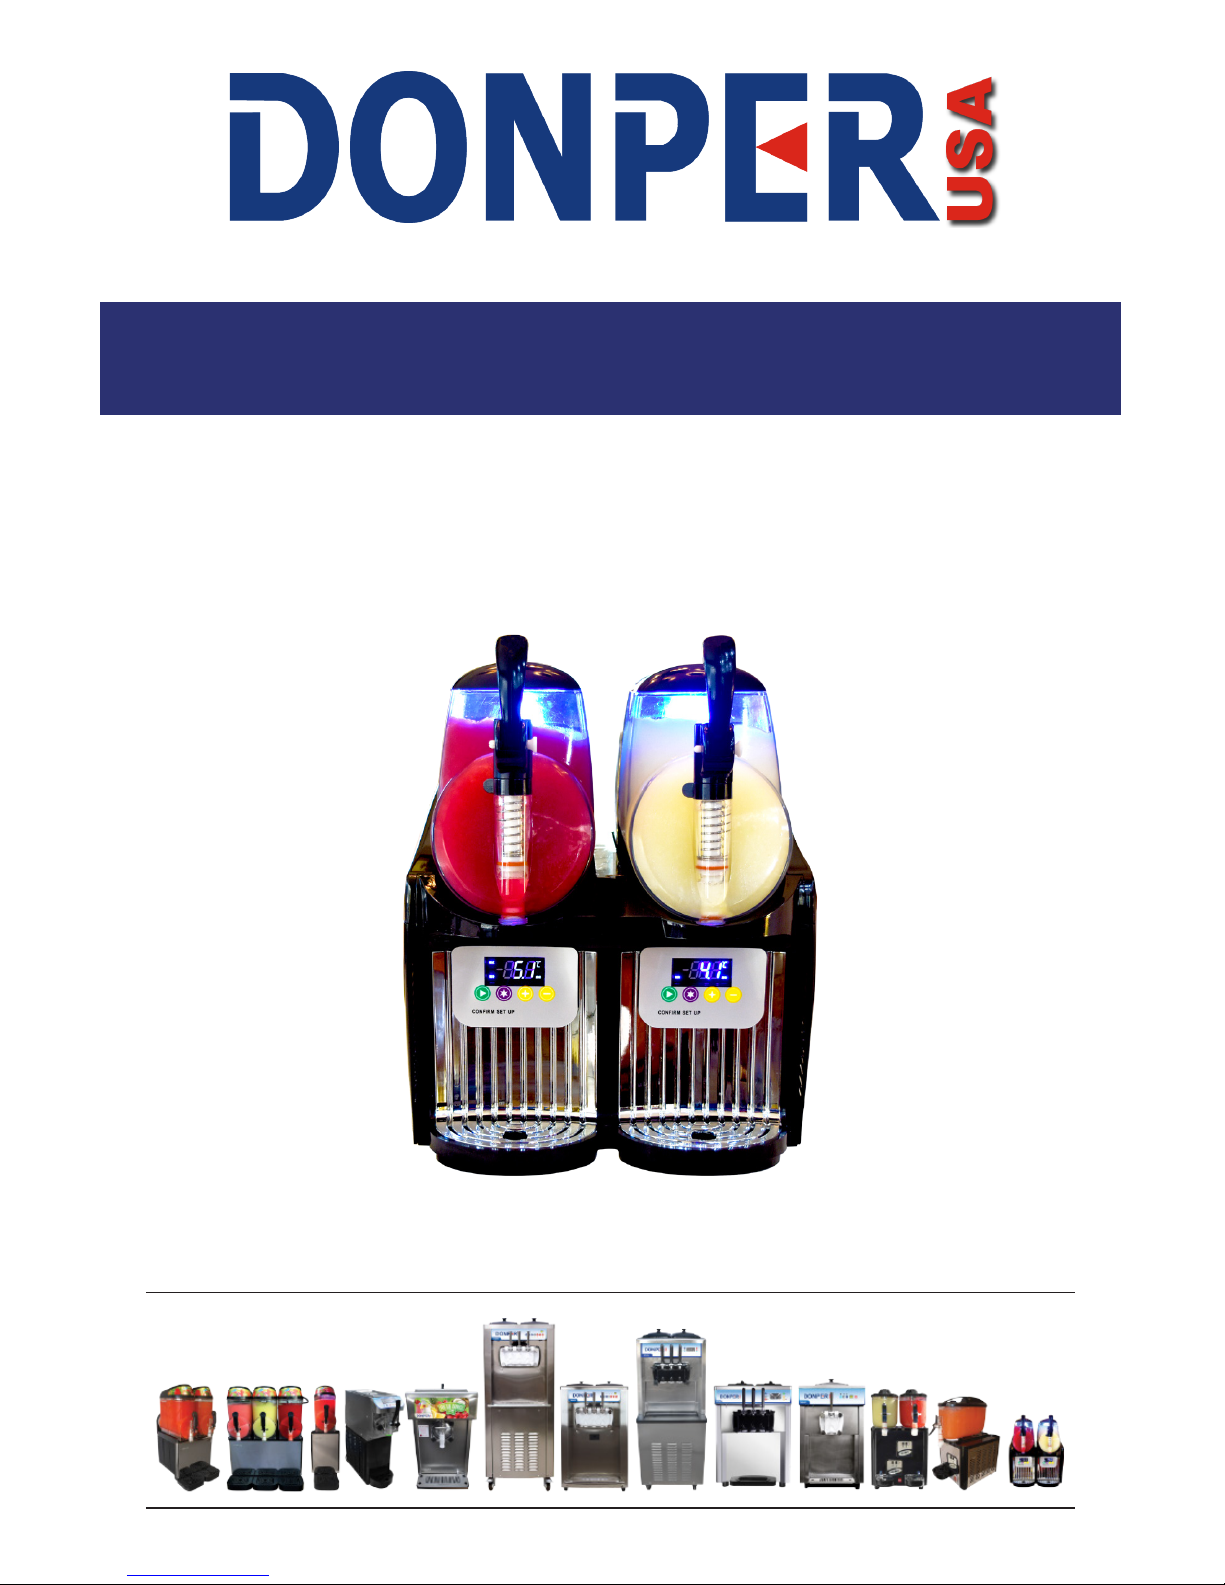
I. Use and Parameters
Model Size (inch) Voltage Power Net Weight Refrigerant
Mini214.5 x 13 x 17 115v/60Hz 300w 48.4 lbs R134a
13.3”
17.2”
14.4”
The Mini2 slush machine can turn just about any of your favorite beverages into a
delicious frozen drink through it’s built in refrigeration process.
This machine is a product of the new generation developed and produced by our
company recently. It absorbs the advanced techniques and crafts of Italy as fol-
lows: the host machine adopts the original compressor of an international brand;
the electrical motor production line belongs to the production line imported from
Italy; the system control is electric automatic control; the mixing principle inside
the material cylinder uses the magnetic transmission, and the plastic products
adopt the food-grade quality representing the advanced level in China: and the
machine chooses the forced-convection air-cooled cooling technology. The com-
plete machine with the compact structure, beautiful shape and simple operating
methods, is suitable for being used in scenic spots, supermarkets, large-scale
shopping malls, guest-houses, hotels, bars, schools, and cultural and recreational
places, etc.

1. The machine shall not be placed upside-down. The gradient of the machine
shall not exceed 30˚. The machine shall be kept stable during set up.
2. The machine should be set up in a place without direct sunlight but with
good ventilation. The surface where the machine will sit, shall be flat, dry
and clean. The environmental temperature shall not exceed 32˚C.
3. When lifting the Mini2, be sure to slide your hands underneath the machine
so that the base of the machine is resting on top of your hands. Do NOT
attempt to lift and move the machine by holding the beverage containers as
this could cause damage to your machine and possible bodily injury.
4. Do not place any sides of the machine closer than 35cm near any walls to
help ensure a well ventilated area and effective operation.
5. Verify whether the power supply will meet the requirements of operation
before the installation.
6. The sugar content of your mix shall not be less than 13%. Do not make your
mix using saccharin or sodium cyclamate or the wall of the mixing drum will
ice up, which can damage the auger and the motor.
7. Pour your mix, which should not exceed 1.8L, into the Mini2 bowls then
cover the bowls with the lids.
8. Don’t start the “Freeze” function if there is no mix inside the mixing bowls, as
this could damage the auger and the motor.
II. Precautions
The following is a list of important information that the user of this machine
should know prior to operating the machine in order for the machine to maintain
its expected service life but more importantly for the safety of the user.
III. Setup & Operation
1. Setting Up
1. Prepare your mix of about 3.2L and distribute evenly between the 2 bowls
on the Mini2.
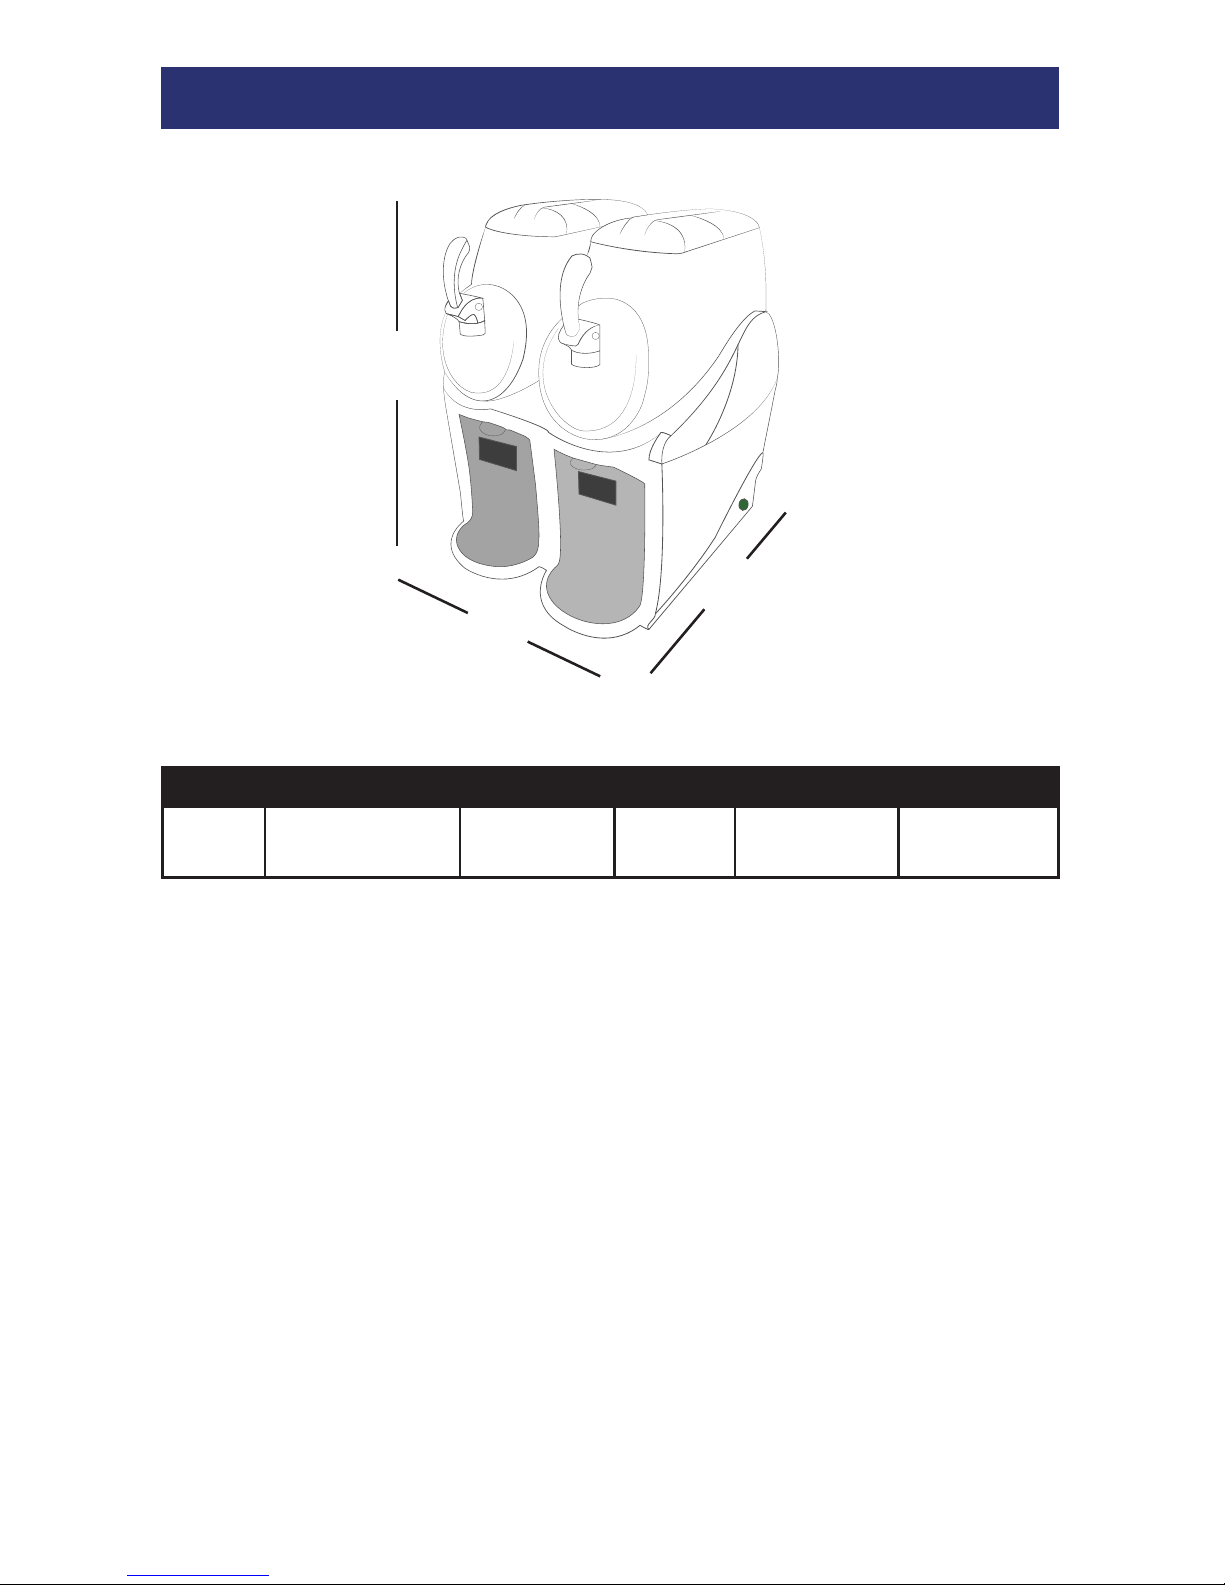
2. Make sure that the Main Power Button on the machine is in the off position.
3. Connect the power cord into the wall outlet. Check whether the indicator
light of the power wire is on as shown in the figure below. If the indicator
light is not on, press the RESET button to reset the switch and the light
should turn on. Press the TEST button to verify that the circuit breaker is
working correctly. If the Indicator Light turns off then the breaker is working
correctly.
IndIcator LIght
test Button
reset Button
OFF Position ON Position
III. Setup & Operation
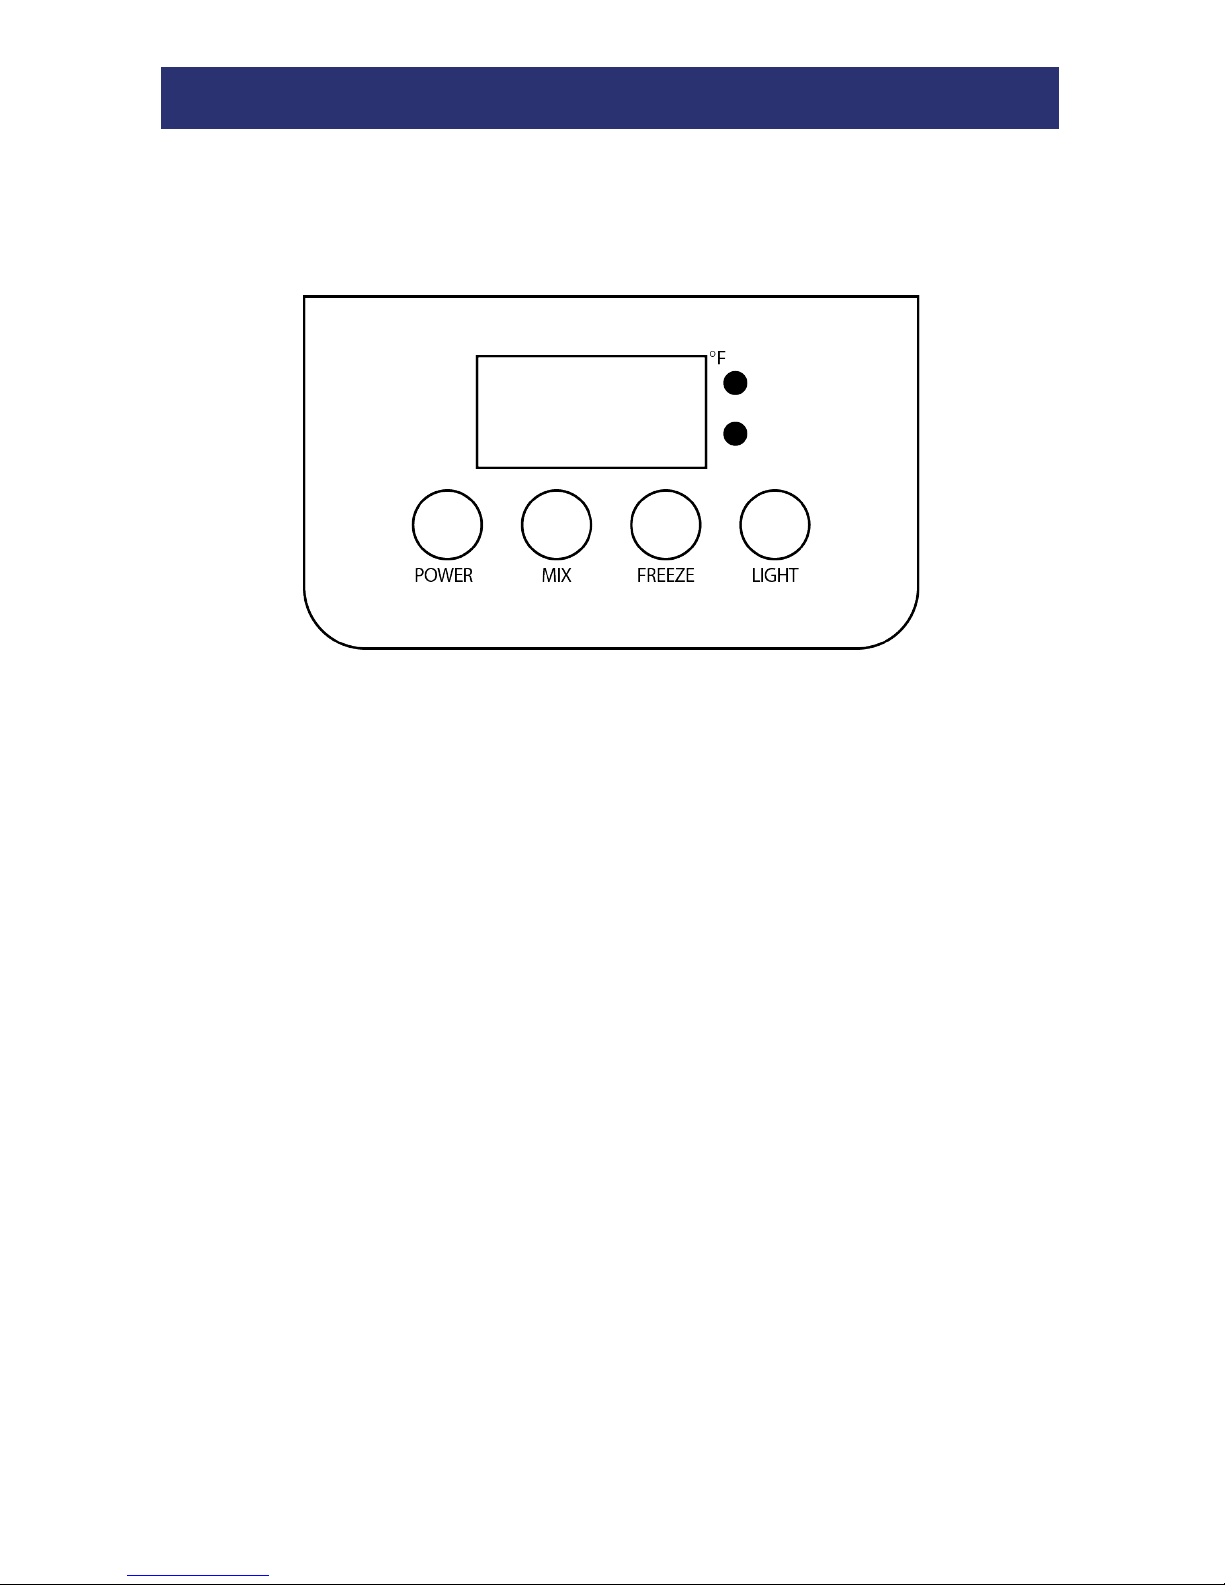
1. With the Main POWER button in the on position, press the Power button on
the display panel and the current temperature will display on the screen.
2. Press the MIX key to start the auger motor and the indicator light will turn
on. Pressing the MIX key again will shut down the auger moter and the
indicator light will turn off.
3. Pressing the FREEZE key will start the mixer motor and the compressor at
the same time. Your Mini2 is now in FREEZE mode and you are moments
away from dispensing your first frozen beverage.
4. Pressing the LIGHT button will turn on the rear LED lights. Pressing the
LIGHT button a second time will turn off the light.
2. Operating
Note: Pressing the FREEZE button again will shut off the compressor and the mixer
motor will continue to run.
Note: In the state of Refrigeration, the mixer motor will be on.

1. Setting the Temperature Use
1. Press and HOLD the POWER button until the FREEZE indicator light begins
to flash. Press the POWER button again to switch the Temperature on the
display panel to “Degree Centigrade” and wait until the Freeze indicator light
stops flashing.
2. With the machine now in Centigrade Mode, press and hold the FREEZE
button for about 5 seconds and the temperature on the display panel will
display the current temperature set value between 10 to -10.
Note: When your display is set to display temperatures in Degrees Fahrenheit, your
machine will not display a negative (-) symbol when changing this setting. When
scrolling UP from 0 to 9.9, you are in negative degrees centigrade. When you are
scrolling down from 10 to 0, you are in positive degrees centigrade. See figure on next
page.
Tip: Use the Temperature Conversion Chart on the next page to determine the Degrees
Fahrenheit your machine is set at.
3. Upon releasing the FREEZE button you will enter into the Temperature
Setting Mode. Continue to press the FREEZE button again to set the
temperature value in Degrees Centigrade with the value rolling circularly.
The temperature range is between -10˚C and 10˚C.
IV. Setting the Temperature

TEMPERATURE CONVERSION CHART
DegreesCelcius DegreesFahrenheit
‐9 15.8
‐8 17.6
‐7 19.4
‐6 21.2
‐5 23
‐4 24.8
‐3 26.6
‐2 28.4
‐1 30.2
0 32
1 33.8
2 35.6
3 37.4
4 39.2
5 41
6 42.8
7 44.6
8 46.4
9 48.2
10 50
FREEZESETTING
IV. Setting the Temperature

V. Clean Up
1. Cleaning Machine
1. With the machine in FREEZE mode, press the FREEZE button to shut off the
compressor. The FREEZE indicator light will turn off and the mix light will
stay on.
2. Remove all mix from both bowls. Remove the lids from both bowls and fill
the bowls with clean water.
3. While the auger continues to rotate, drain the water out of both bowls as
this will help rinse the inside of the bowls.
4. Repeat steps 3 & 4 until all mix has be removed from the bowls.
5. Power down the machine and unplug the power cord from the power
source before continuing.
6. Dismantle and remove the bowl from the Mini2 body and hand wash all
parts with warm water. Remove all seals and augers from the Mini2 and
hand wash these parts as well.
7. Using a warm wet cloth, wipe down the freezing cylinders to remove any
residual residue.
Table of contents
Popular Kitchen Appliance manuals by other brands

Tayama
Tayama TYG-35AF instruction manual

AEG
AEG 43172V-MN user manual

REBER
REBER Professional 40 Use and maintenance

North American
North American BB12482G / TR-F-04-B-NCT-1 Assembly and operating instructions

Presto
Presto fountain popper instruction manual

Westmark
Westmark 1035 2260 operating instructions


