Doro Sara User manual

Doro Sara
Manual
English

2
Doro Sara
Note! All illustrations are for illustrative purposes only and may not
accurately depict the actual device. The items supplied with your unit might
vary depending on the software and accessories available in your region
or offered by your service provider. You can obtain additional accessories
from your local Doro dealer. The supplied accessories provide the best
performance with your unit.
Parts and descriptions �������������������������������������������������������������4
Description of functions ����������������������������������������������������������6
Activate the alarm ...................................................................... 6
Alarm transmitter........................................................................ 6
Alarm receivers .......................................................................... 6
Other functions........................................................................... 6
Installation ���������������������������������������������������������������������������������7
Connection ................................................................................. 7
Telephone connection, with ADSL modem................................ 8
Programming�����������������������������������������������������������������������������9
Program the radio triggers ......................................................... 9
Check the radio coverage.......................................................... 9
Check the functionality............................................................... 9
Radio trigger Elliot����������������������������������������������������������������� 10
General information��������������������������������������������������������������� 12
Maintenance ��������������������������������������������������������������������������� 12
Cleaning ................................................................................... 12
Replace the carephone batteries............................................. 12
Replace the radio trigger batteries........................................... 12
Technical data .......................................................................... 12
Correct disposal of batteries in this product ............................ 14

3
Doro Sara
READ FIRST: SAFETY INFORMATION
Always read and follow the safety information accompanied by
this symbol.
• Protect the unit from moisture. Rain/snowfall, moisture and all types of
liquid can contain substances that corrode the electronic circuits.
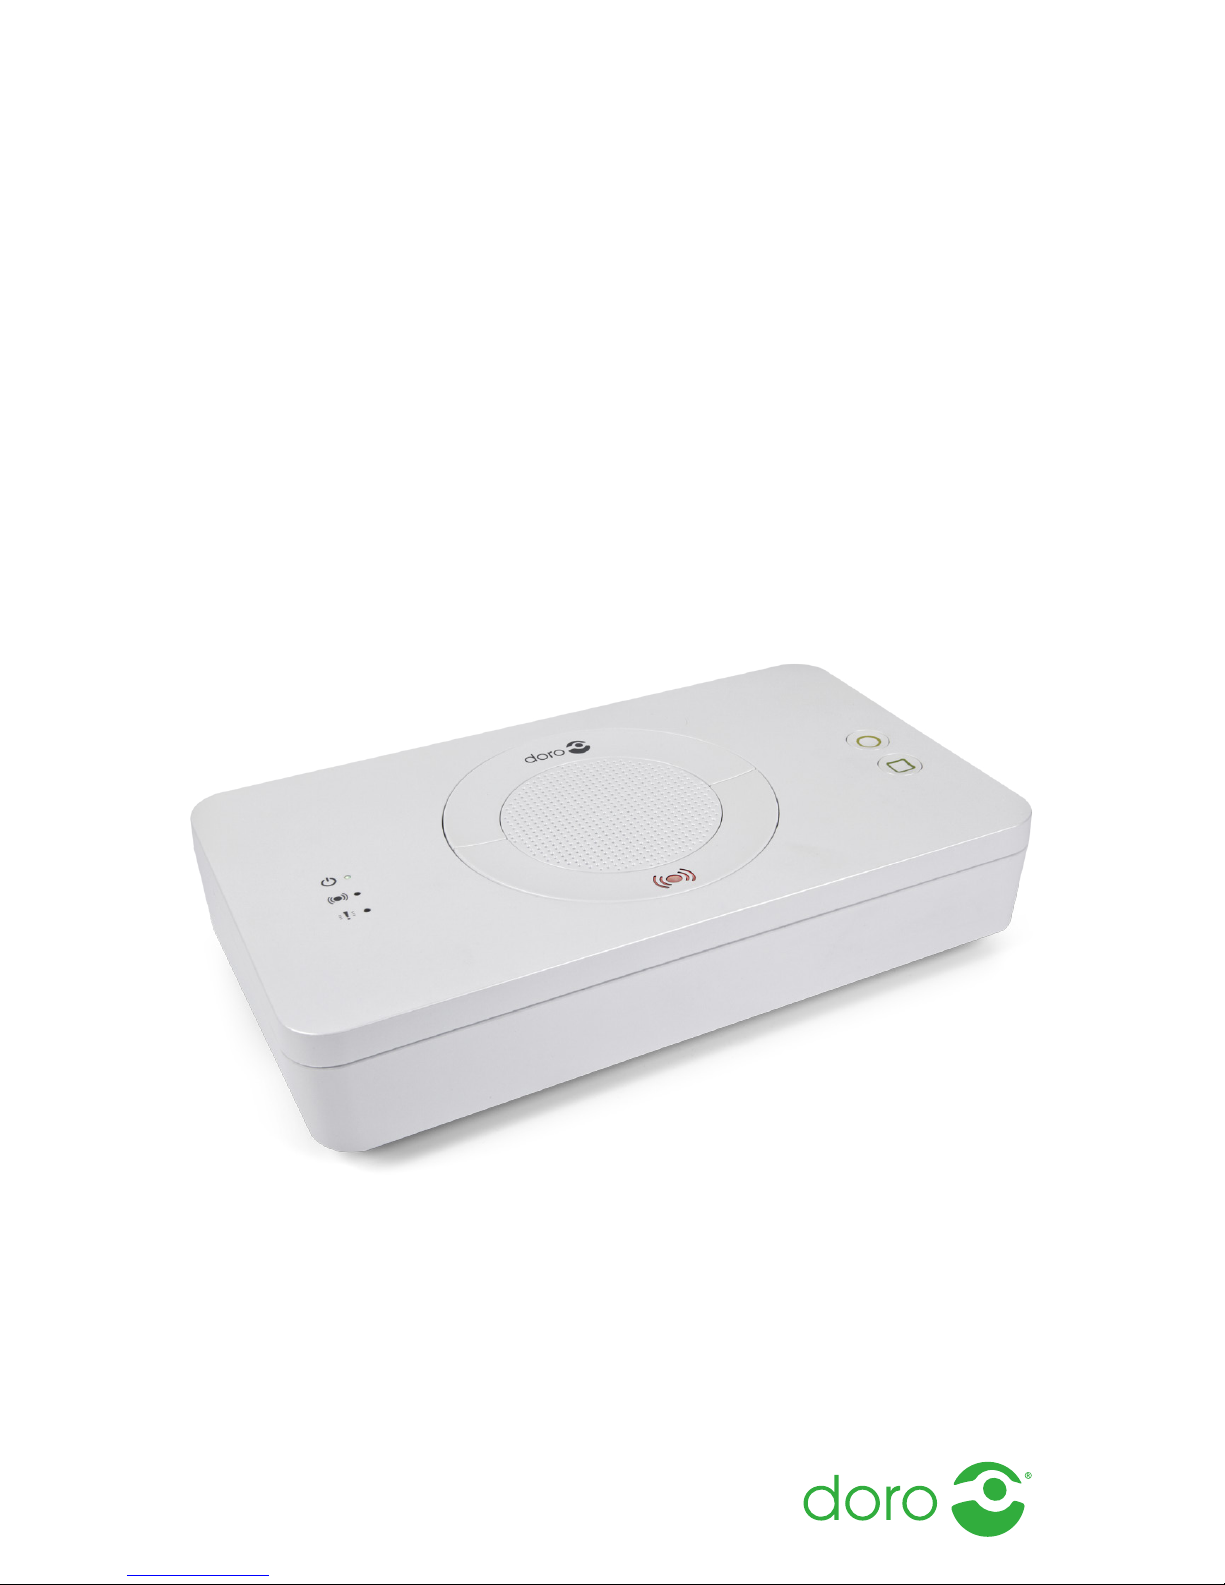
• The carephone shall be placed on a hard surface to avoid blocking the
microphone (positioned underside of the carephone).
• Battery replacement may be performed only by authorized persons
in accordance with the instructions in service manual. Only use
recommended battery type as stated in the service manual.
• Only use recommended power supply as stated in the service manual.
• The power supply can be used as a disconnecting device. The wall
socket shall be installed near the equipment and shall be easily
accessible.
• AUX-port: Wired installation must be performed only by authorized
persons in accordance with the instructions in the service manual.
CAUTION
Risk of explosion if battery is replaced by an incorrect type. Dispose of used
batteries according to the instructions.
Important Information
All systems using radio and network communication are subject to
interference beyond the user’s control.
Products from Doro are designed to minimise the impact of such
interference.
Nevertheless, the user must be aware that system components can be
subjected to interference or other inuences that may cause malfunction.
It is therefore important to regularly check that every part of the system
works in all areas, especially radio communications. Contact your supplier
immediately in case of any suspected malfunction.
Users should pay particular attention to the risk of disruption from products
which communicate using the same or adjacent frequencies.
For further information, please contact your supplier or refer to the service
manual or the documentation at www.doro.com/care.

4
Doro Sara
PARTS AND DESCRIPTIONS
1On steady green
ashing green
off
mains power
radio programming mode
mains failure
2Alarm slow ashing red
fast ashing red
in alarm state
connection to alarm receiver on
alarm
3Error slow ashing red
fast ashing red
off
no connection to telephone line
power failure, battery fault
normal operation
4Loudspeaker
5Red button Alarm button Activates the alarm
6Yellow button Function button
7Green button Cancel button Stops the alarm
8Microphone
Note! The yellow button has no function upon delivery but is programmable
for special functions.

5
Doro Sara
The following can be found on the back of the unit.
8Microphone
9Holes for wall mounting
10 AUX input and output
11 OFF and ON switch
12 TEL
connection to telephone network
13 POWER supply/programming cable
Note! The carephone shall be placed on a hard surface to avoid blocking
the microphone (item number 8).
8

6
Doro Sara
DESCRIPTION OF FUNCTIONS
Sara is a practical, well-designed, mains-operated unit that is ideal for use
in the individual’s own home. The Elliot radio trigger is adapted for use with
Doro Sara.
Activate the alarm
The assistance alarm can be activated:
1. by pressing the button on a radio trigger.
2. by pressing the red button on Doro Sara.
On activation, the Doro Sara carephone calls an alarm receiver to summon
help.
Other alarm types can be activated using accessories. There is a possibility
to attach up to two different wired and nine different wireless triggers.
Tip: If an alarm is activated accidentally, it can be reset by pressing the
green button on Doro Sara.
Alarm transmitter
Nine radio transmitters can be programmed with the carephone, e.g. a radio
trigger, smoke detector, motion detector, etc.
In the event of an alarm from a radio transmitter, the battery status of the
radio transmitter is tested. The Elliot radio trigger has automatic battery
monitoring.
Alarm receivers
Up to six alarm receivers can be programmed. The alarm is identied using
an alarm code which is programmed into the carephone. An alarm placed to
a private receiver is identied by a recorded voice ID. The person receiving
the alarm can then speak directly with the person raising the alarm and take
appropriate action.
Other functions
Additional functions can be activated or changed by programming – refer to
the service manual or contact your supplier for further information.

7
Doro Sara
INSTALLATION
Connection
The carephone is very easy to install, connection to the telephone network is
via the telephone lead/adapter.
The carephone should be connected to the master telephone socket in the
home in order for it to continue to work even if a telephone receiver is left
off the hook or is faulty. The master socket is normally the one closest to the
entrance door – for further advice, contact your supplier.
Power is supplied via the power supply from a wall socket.
1. Disconnect the existing telephone from the telephone jack and connect
the telephone lead/adapter to the jack. Connect the telephone lead to
the
TEL
socket on the carephone.
2. Connect the power supply to the wall socket and the power supply lead
to the
POWER
socket on the carephone.
3. Turn the power switch to the
ON
position. Check that the indicator
lamp has a steady green light.
4. Connect the existing telephone to the intermediate plug. Lift the receiver
and check that you can hear the tone.
5. Carry out a test alarm from the carephone.

8
Doro Sara
Telephone connection, with ADSL modem

9
Doro Sara
PROGRAMMING
The carephone’s telephone numbers, alarm codes and settings are
programmed via a computer, using the programming cable and the Doro
software.
For help with programming and information about other programming tools,
please refer to the carephone’s service manual or contact your supplier.
In some cases, the carephone can be delivered ready-programmed by the
supplier.
Program the radio triggers
Up to nine radio triggers or other radio-alarm transmitters, e.g. smoke
detectors, can be programmed with the carephone.
1. Hold down the green button for approximately four seconds until light
starts to ash green.
2. Press the radio trigger. Once the carephone has received the radio
signal, you will hear a distinct tone signal.
3. Conrm by pressing the red button on the carephone.
Check the radio coverage
Always check the function after installation and programming.
• Hold down the green button for approximately four seconds until the
green light starts to ash.
• Press the radio trigger. The built-in speaker will produce a tone signal
on successful reception. Repeat this in all areas where the alarm
needs to operate.
Check the functionality
Always check the function after installation and programming. Test alarms
shall be done regularly and in a way that secures the whole alarm chain
from radio transmitter to alarm receiver.

10
Doro Sara
RADIO TRIGGER ELLIOT
Radio trigger Elliot uses two-way radio communication, this means that when
Doro Sara receives an alarm from Elliot it will send an acknowledgement of
the receipt. This is shown on Elliot by the indicator light that changes from
red to green light. If Elliot doesn’t get any acknowledgement the alarm will
be repeated. Elliot is equipped with one programmable button.
Accessories included: wristband, wristband attachment, neckband, pocket
clip, “easy-press” accessory and cover. The accessories are attached to the
alarm button with a simple click-in action.
1. Indicator light
2. Alarm button
3. Function button (not supported)
Wristband attachment
1. Neckband attachment
2. Cover plate

11
Doro Sara
RADIO TRIGGER ELLIOT
Radio trigger Elliot uses two-way radio communication, this means that when
Doro Sara receives an alarm from Elliot it will send an acknowledgement of
the receipt. This is shown on Elliot by the indicator light that changes from
red to green light. If Elliot doesn’t get any acknowledgement the alarm will
be repeated. Elliot is equipped with one programmable button.
Accessories included: wristband, wristband attachment, neckband, pocket
clip, “easy-press” accessory and cover. The accessories are attached to the
alarm button with a simple click-in action.
1. Indicator light
2. Alarm button
3. Function button (not supported)
Wristband attachment
1. Neckband attachment
2. Cover plate
Doro Care Easy Press Concept
(EPC) accessories makes it easier
for those with reduced physical
strength to activate the alarm.
• Pocket clip
• Cover plate

12
Doro Sara
GENERAL INFORMATION
• If the telephone line is not working, no alarm can be sent.
• The carephone should be connected to the master telephone socket in
the home.
• In order for an alarm to be sent, at least one alarm receiver/response
centre needs to be programmed.
• The carephone must not come into contact with water or any other liquid.
• Used batteries should be disposed of in an environmentally-responsible
manner.
MAINTENANCE
Cleaning
The carephone and portable alarm trigger should be cleaned using a slightly
damp cloth. Solvents should not be used when cleaning.
Replace the carephone batteries
Battery should be replaced a.s.a.p after battery alarm or within three years,
please refer to the service manual or contact your supplier.
Replace the radio trigger batteries
To replace the radio trigger batteries, please refer to the service manual or
contact your supplier.
Technical data
Carephone Doro Sara
Dimensions: 114 x 200 x 36 mm (LxWxH)
Power supply: Enclosed power adapter
Backup batteries: 4.8V NiMH battery pack
Backup time: Up to two days
Inputs: Two opto isolated
Output: Relay output, potential-free , max 2A
Communication: Analogue telephone line
Radio frequency: 869.2125 MHz
Radio receiver class: 1*
Number of radio transmitters: Up to 9
*Refers to radio module ”C1”, type 9340.

13
Doro Sara
Portable alarm trigger Elliot
Dimensions: 45 x 30 x 13 mm (LxWxH)
Battery: 3V Lithium coin cell, CR2430
Battery life: Up to ve years
Water resistance: Complies with IP67
Frequency band: 869.200-869.250 MHz
Radio-frequency power: Max. 3,16mW (5 dBm)
Environment
This product is intended for indoor use in a normal residential environment.
Temperature: Operating temperature +5ºC to +35ºC
Humidity: 0% to 75% relative humidity (non-condensed)
Environmental class: 1 (EG-I)
Equipment class: Class 1 radio equipment
Radio receiver parameters:
Max. usable sensitivity: -113dBm;
Average usable sensitivity: ver. 28,7dBuV/m, hor.27,0dBuV/m;
Adjacent channel selectivity: -26,2dBm/-28,2dBm;
Intermodulation rejection: -36dBm/-37dBm;
Spurious response rejection: -30dBm;
Blocking or desensitisation: >-16dBm
Doro Sara can also be equipped with radio module type 9320, which
allows maximum security and includes receipt of transmission, automatic
transmission repeat, power control and frequency control. See order
information for indicating which radio module the unit is equipped with.
DECLARATION OF CONFORMITY
Hereby Doro declares that the radio equipment type, social alarm, is in
compliance with Directive 2014/53/EU (RED) and 2011/65/EC (RoHS).
The full text of the EU declaration of conformity is available at the following
internet address: www.doro.com/dofc

14
Doro Sara
CORRECT DISPOSAL OF THIS PRODUCT
(Waste Electrical & Electronic Equipment)
(Applicable in countries with separate collection systems)
This marking on the product, accessories or manual indicates that the
product and its electronic accessories (e.g. charger, headset, USB cable)
should not be disposed of with other household waste. To prevent possible
harm to the environment or human health from uncontrolled waste disposal,
please separate these items from other types of waste and recycle them
responsibly to promote the sustainable reuse of material resources.
Household users should contact either the retailer where they purchased
this product, or their local government ofce, for details of where and how
they can take these items for environmentally safe recycling. Business users
should contact their supplier and check the terms and conditions of the
purchase contract. This product and its electronic accessories should not
be mixed with other commercial wastes for disposal. This product is RoHS
compliant.
Correct disposal of batteries in this product
(Applicable in countries with separate collection systems)
The marking on the battery, manual or packaging indicates that the battery
in this product should not be disposed of with other household waste.
Where marked, the chemical symbols Hg, Cd or Pb indicate that the battery
contains mercury, cadmium or lead above the reference levels in
EC Directive 2006/66.


www.doro.com
© 2017 Copyright Doro AB
Manual Doro Sara
English
Version 1.3
Other manuals for Sara
1
Table of contents
Other Doro Personal Care Product manuals