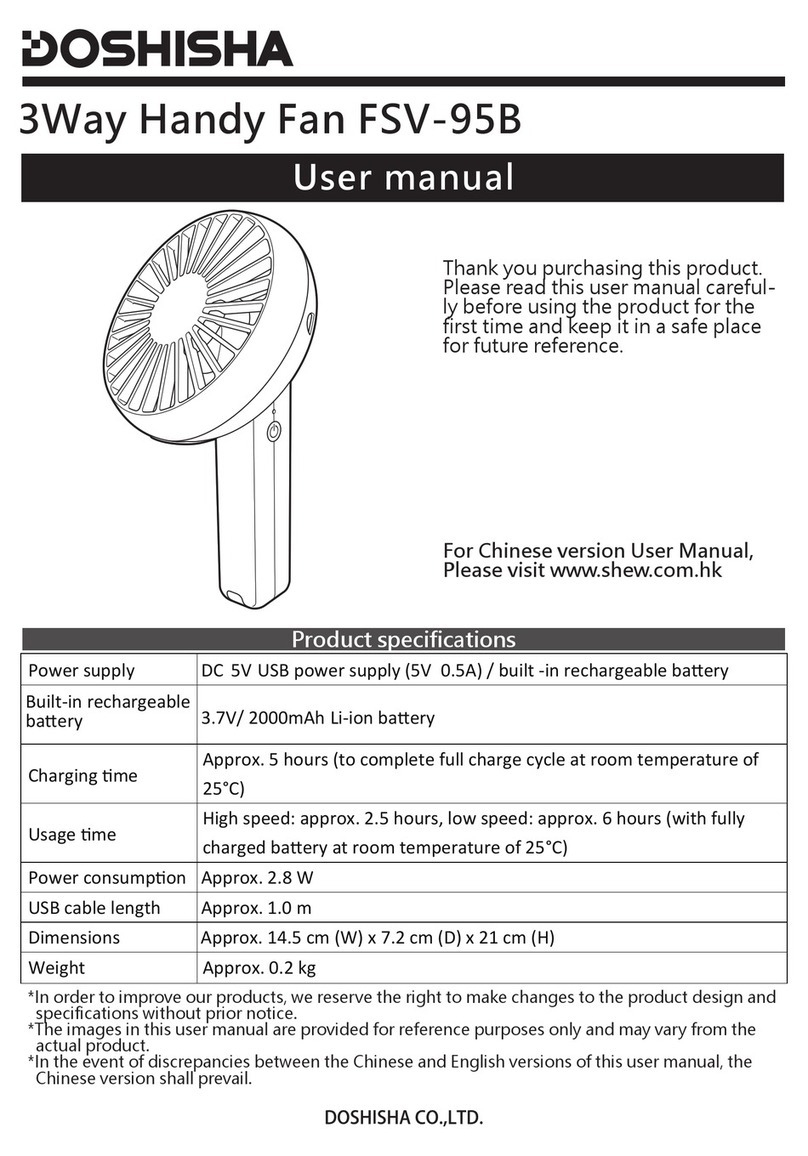
DOSHISHA FSV-92B User manual

Power supply DC 5V USB power supply (5V 0.5A) / built -in rechargeable baery
3.7V/ 2000mAh Li-ion baery
Charging me
Approx. 5 hours (to complete full charge cycle at room temperature of
25°C)
Usage me
High speed: approx. 2.5 hours, low speed: approx. 6 hours (with fully
charged baery at room temperature of 25°C)
Power consumpon Approx. 2.8 W
USB cable length Approx. 1.0 m
Dimensions With fully extended tripod: 10.7 cm (W) x 6.3 cm (D) x 24 cm (H)
Weight Approx. 0.2 kg
User manual
Odekake Fan FSV-92B
Thank you purchasing this product.
Please read this user manual careful-
ly before using the product for the
first time and keep it in a safe place
for future reference.
For Chinese version User Manual,
Please visit www.shew.com.hk
Product specifications
DOSHISHA CO.,LTD.
*In order to improve our products, we reserve the right to make changes to the product design and
specifications without prior notice.
*The images in this user manual are provided for reference purposes only and may vary from the
actual product.
*In the event of discrepancies between the Chinese and English versions of this user manual, the
Chinese version shall prevail.
Built-in rechargeable

Safety Precautions
Warning Indicates a situation in which incorrect use may result in death or serious injury.
Caution
Indicates a situation in which incorrect use may cause an injury or damage
to property.
(Damage to property includes damage to buildings, objects, livestock and pets.)
Meaning of symbols
This symbol indicates a prohibited action. The prohibited action is shown inside the
(The example in the left-hand image indicates that disassembly is prohibited. )
This symbol indicates actions which must be completed. The corresponding action
is shown inside the
(The example in the left-hand image indicates that the power adapter must be disconnected
from the power supply. )
Warning
Prohibited
Prohibited
Do not use
Instruction
Inserting/
disconnecting
the power cable
Disassembly
prohibited
Wet hands
prohibited
Water
prohibited
1
Do not clean or carry out
maintenance work on the product
when the battery is charging. This
may damage the product or cause a
fire or electric shock.
Do not place on or near your head
or important objects.
This may cause the product to fall to
the ground, resulting in damage or
an injury.
Do not attempt to disassemble the
product. Repairs must only be
completed by qualified technicians.
Failure to observe this instruction
may result in damage to the product
or cause a fire or electric shock. For
repairs, please contact the retailer or
Shun Hing Electric Service Centre
Limited.
Do not insert paper clips, pins or
other metal objects or foreign
matter into the holes on the
product.
Failure to observe this instruction
may result in an electric shock or
damage the product.
When the battery has finished
charging, unplug the USB connector
from the USB port.
Failure to observe this instruction
may damage the insulation,
resulting in an electric shock,
leakage or fire.
Do not allow children to use this
product unsupervised.
Failure to observe this instruction
may result in an electric shock or
injury.
If the rechargeable battery leaks and
the battery fluid gets into your eyes,
rinse your eyes with water and seek
immediate medical attention. Do
not rub your eyes.
Leaking battery fluid may cause
blindness or eye damage.
Discontinue use if there is a loose
connection between the USB cable
and the USB port.
Failure to observe this instruction
may cause an electric shock, short
circuit or fire.
Fully insert the USB connector into
the USB port in the correct
orientation.
Failure to observe this instruction
may cause an electric shock, short
circuit or fire.
Do not submerge the product in
water or allow it to get wet. Failure
to observe this instruction may
cause a short circuit or electric
shock.
Do not damage, modify, forcefully
bend, pull, twist, or bundle the USB
cable. Do not place heavy objects on
the USB cable or allow it to become
trapped between objects.
Failure to observe this instruction
may cause a fire or electric shock.
In the event of a malfunction (e.g.
burning smell or smoke),
discontinue use immediately.
Unplug the USB connector to stop
the charging process.
Failure to observe this instruction
may cause a fire or electric shock.
Do not insert or disconnect the AC
power adapter or USB connector
with wet hands.
Failure to observe this instruction
may cause an electric shock.
•Please read the “Safety Precautions” carefully before first use and ensure that the product is
used correctly.
•This section contains important safety precautions which must be observed at all times.
•Store these “Safety Precautions” in a convenient place for future reference.
symbol or in adjacent images or text.

Instruction
Prohibited
Prohibited Prohibited
CAUTION
Part names and functions
Air outlets
Rear guard• Air inlets
Power/fan speed switch
Power/charging indicator
Main unit
Fan blades
Connecting
piece
Micro USB port
Front guard
Micro USB connector
USB cable
USB connector
Accessories
Front
Package contents
Check that the packaging contains all of the following parts before first use:
Main unit
USB cable ...........................1PC Warranty card .........................1PC
User manual ..........................1PC
Back Fan unit
2
Do not pull on the USB cable to
disconnect the USB plug. Always
hold the USB plug between your
fingers.
Failure to observe this instruction
may result in an electric shock, short
circuit or damage to the USB cable.
Do not insert your fingers into the
guard. Failure to observe this
instruction may cause an injury.
Do not use the product in the
following environments:
•Next to stoves or sources of heat
•Areas containing flammable gases
•Areas in which the product may be
exposed to rain or moisture.
Failure to observe this instruction
may cause the product to become
deformed or discoloured or result in
a short circuit, fire or electric shock.
Do not expose yourself to wind
generated by the product for a long
time. This may constitute a health
hazard.
Keep your hair away from the guard.
Hair may become trapped inside the
fan and cause an injury.
Do not use household cleaning
agents, abrasives or petroleum/alco-
hol-based chemicals to clean the
product. These may cause the
product to become discoloured or
deformed or result in an electric
shock or injury.
■This product is not intended for use by people with reduced physical, sensory or mental capabilities
or lack of experience and knowledge (including children), unless they are supervised by someone
who is responsible for their safety.
■Children must be supervised to ensure that they do not play with the product.
Legs
Tripod
...........................1PC

How to use
Micro USB
connector
Power/
charging indicator
Micro USB port
Before first use
Charge the battery
Switch off the power supply before connecting
the USB cable.
Fully charge the battery before using the
product for the first time.
Place on a stable, level surface
1.
Insert the USB connector on the USB
cable into a USB port on a computer
or a USB power adapter
2.
Caution
3.
Insert the micro USB connector on
the USB cable into the micro USB
port on the fan
Check that the power/charging
indicator is switched on
4.
The power/charging indicator will
switch off when charging is complete
5.
6.
When the battery has finished
charging, unplug the micro USB
connector from the micro USB port.
Warning
Power/
fan speed switch
Micro USB port
3
Place the fan on a stable surface to prevent it
from falling over and causing the micro USB
connector to become disconnected when the
battery is charging.
※To prevent the fan from moving, we recom-
mend placing it face down when the battery is
charging.
The USB port/USB power adapter must be able
to deliver a 5V/500mA power supply.
The power/charging indicator will turn green
when the battery is charging.
The power/charging indicator will switch off
when the battery has finished charging. Depend-
ing on the residual capacity of the battery, the
battery takes approximately 5 hours to recharge.
•Do not connect the USB connector to a USB hub.
This may result in an unstable power supply.
•Ensure that the USB connector is fully inserted into
the USB port in the correct orientation.
Ensure that the micro USB connector is fully
inserted in the correct orientation. It can only be
inserted in one orientation.
Do not press the power/fan speed switch when the
battery is charging, as this will interrupt the
charging process and power the fan using the USB
cable.
※The battery will resume charging when the fan is
switched off.
Do not keep the micro USB connector plugged
into the fan.
Overcharging may damage the battery or
cause the product to malfunction.
Caution
Caution

Position the fan
1.
The tripod features flexible legs
that can be used as a stand, or
to suspend or attach the fan to
other objects.
Bend the legs to the desired position, taking care to
ensure that they are not bent to a sharp angle.
(Example)
4
Do not place the fan on or near your
head or important objects. This may
cause the product to fall to the
ground, resulting in damage or an
injury.
Important information about using the tripod
•The tripod is made of metal and features a
protective outer layer to prevent damage in the
event of contact with small amounts of water.
However, the tripod should not be placed in areas
that are frequently exposed to moisture or water.
(The main unit is not waterproof.)
•Do not bend the legs repeatedly at the same
position, as this may cause the legs to snap.
•The top of the legs are particularly susceptible to
aging and should not be bent to large angles.
The product supplier shall not be liable for any
damage or injuries caused by the fan falling off the
tripod or other surfaces.
Check that the fan unit and tripod are
securely attached
If the fan unit and tripod are not attached
correctly, the fan may fall off the tripod
when subjected to small movements.
Detaching the fan unit from
the tripod
Attaching the fan to the tripod
The fan unit can be detached from the tripod.
This allows you to charge the battery and
conduct maintenance work without the tripod in place.
Hold the tripod in one hand and
twist the fan unit with your other
hand . Detach the fan unit from
the tripod .
1.
Hold the tripod in place and twist
the fan unit with your other hand .
2.
Twist the fan unit. Remove the fan from
the tripod.
As shown in the image, align the
hole on the bottom of the fan
unit with the protruding socket
on the tripod .
1.
The oval-shaped part on the tripod should be
aligned with the oval-shaped part on the fan .
Detach
Assemble
Both parts
are aligned
Warning
Caution

Cleaning, maintenance and storage
Always disconnect the micro USB connector
from the main unit before cleaning the
product or conducting maintenance work.
Failure to observe this instruction
may result in an electric shock or fire.
Important information
•Do not use household cleaning agents,solvents,
abrasives or petroleum/alcohol-based chemicals
to clean the product.
•Do not use water to clean the main unit or AC
power adapter (this may cause an electric shock
or malfunction).
Cleaning and maintenance
To remove dirt, wipe the main unit with a soft cloth
dipped in warm water or neutral dish detergent
(non citrus-based), and then wipe dry with a dry cloth.
(Do not apply pressure when wiping the plastic parts,
as this may damage the surface.)
Cleaning the guard
Dust on the guard can be removed with a vacuum cleaner.
Cleaning the parts inside the guard
The front guard can be removed to allow you to clean
the inner surface and the fan blades.
※The fan blades cannot be removed.
Removing the front guard
Rotate the front guard to the left (anticlockwise) and
detach it from the fan.
Attaching the front guard
The front and rear guards feature a small notch. When
the guards are in the correct position, the notches should
be aligned with each other.
1.
Align the recess on the front guard with the notch on
the rear guard .
2. Rotate the front guard to the right (clockwise) as far as
it will go . Ensure that the notches on each guard are
aligned.
Rear guard
Front guard Notch on
front guard
Notch on
rear guard
Recess
5
Starting/stopping the fan
1. 2.
Do not allow the battery to fully discharge.
This may significantly impair the battery
performance.
Low
Off
(indicator is switched off)
Press the power/fan speed switch to
switch on the fan and change the fan
speed.
To switch off the fan, press the power/fan
speed switch repeatedly until the pow-
er/charging indicator switches off.
The power/charging indicator will turn green to
indicate that the fan is switched on. You can then press
the power/fan speed switch to change the fan speed.
Medium High
Warning
Warning

Warning The product must only be disassembled and repaired by a qualified technician.
If you suspect that the fan is faulty, follow the troubleshooting steps below before contacting a
qualified technician or customer service.
Problem Possible cause Solution
The fan does not switch on.
The fan blades do not rotate.
•The battery was not charged. Charge the battery.
•The USB cable is not connected to
a USB port, or the USB port
(e.g. computer USB port) is not
switched on.
Connect the USB cable to a USB port,
and check that the USB port
(e.g. computer USB port) is switched
on.
The battery does not charge. •The USB cable is not connected. •Ensure that the USB cable is connected.
The battery life has decreased. •The ambient temperature is low. The battery life decreases when the
fan is used in cold environments.
The battery takes a long time
to charge.
•Depending on the ambient
conditions, the battery make longer
to charge.
This is normal and does not indicate
that the fan is faulty.
If the battery does not finish charging,
please contact Shun Hing Electric
Service Centre Limited.
Inspect the fan at regular intervals
Did you notice any of the following?
•The USB cable or main unit heats up.
•The power supply is intermittent when the USB
cable is moved.
•There is a burning smell.
•Other malfunctions or abnormalities.
•To prevent an accident or injury, disconnect the power
supply immediately and unplug the micro USB
connector from the main unit. Contact your retailer or
customer service to arrange a repair.
Before arranging a repair or contacting customer service
Storage instructions
•Allow the fan to dry after cleaning.
•Cover the fan with a plastic bag and store
it in a dry location that is not exposed to
moisture.
If you do not plan to use the fan for an
extended period, ensure that the battery
is fully charged and recharge the battery
every 6–12 months. The battery will slowly
discharge when the fan is not in use.
Excessive discharge will reduce the lifespan
of the battery.
•Allow the fan to dry after cleaning. Failure
to observe this instruction may cause a fire,
burn injuries or malfunction.
6
Caution
Table of contents
Other DOSHISHA Fan manuals
Popular Fan manuals by other brands

Faro
Faro Vanu manual

Energy Wall
Energy Wall U-ERV 600 Installation, operation & maintenance manual

SPT
SPT SF-3312M instruction manual

Hurricane
Hurricane CLASSIC 16" OSCILLATING WALL MOUNT FAN Instructions for use

AC Infinity
AC Infinity AC-TWT8 user manual

EdenPURE
EdenPURE 360 Air Fan Important instructions

Munters
Munters WM54 Manual for use and maintenance including assembling instructions

NOVENCO
NOVENCO AUO 290 Installation and Maintenance

KDK
KDK U56PR Operating and installation instructions

Click
Click TF-A02 instruction manual

Vortice
Vortice VORT NRG MEGA-R Series Installation and maintenance manual

Argo
Argo Polifemo BREEZE operating instructions