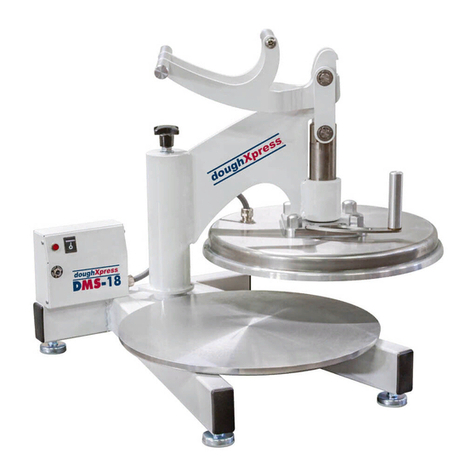
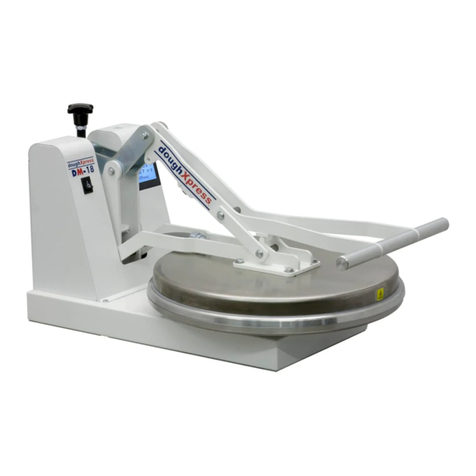
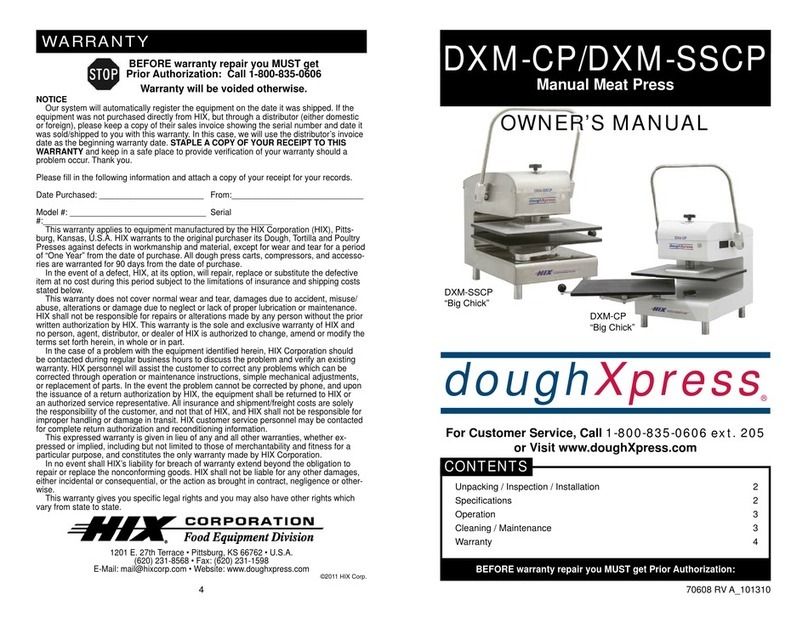
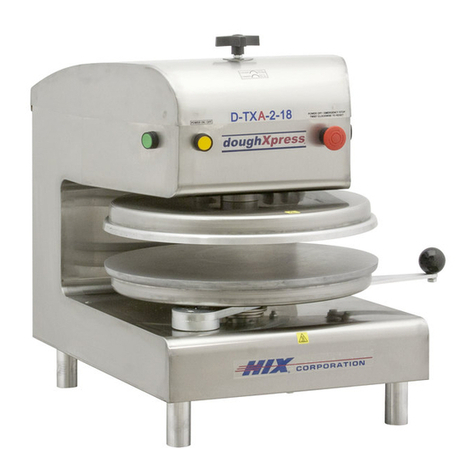
DOUGHXPRESS TXM-SS User manual

70613 RV B_030711
Unpacking / Inspection / Installation 2
Operation 3-4
Cleaning / Maintenance 5
Specifications 6
Warranty 8
TXM-SS
OWNER’S MANUALOWNER’S MANUALOWNER’S MANUAL
CONTENTS
BEFORE warranty repair you MUST get Prior Authorization:
Manual Tortilla Press
For Customer Service, Call 1-800-835-0606 ext. 205
or Visit www.doughXpress.com
TXM-SS shown

2
RECEIVING & INSTALLATION
Please read this manual in its entirety before operating
your press.
UNPACKING
Remember to save all packing materials - including any crating,
boxes, liners and boards. You may need these for shipping your
machine or should a repair be necessary in the future.
INSPECTION
Inspect your machine for hidden shipping damage. Contact the
delivery company immediately, should you find damage.
INSTALLATION
1. Lift press from box and place on cart, if you purchased one with
the press. Align legs with holes in top of cart and bolts (supplied)
fasten to cart. You will need a 9/16 wrench.
2. If press is to be placed on counter top stick plastic end caps on
the bottom of the legs.
3. Plug the press into a standard single phase, 220 volt, 30 amp
range plug.
WARNING: Do not use an extension cord to supply power to
your press.

3
INITIAL SETUP
Thickness Control Knob
Lower Platen
On/Off Power On
Press Once To Turn On
Digital
Temperature
Control
CONTROL
DIAGRAM
SETTING UP YOUR PRESS
1. Push the power on button located on the front right face of the
press. This is the master power on/off button. The yellow on/
off button on the left gives you the option of turning the heat on/
off the lower platen. If it is lighted the power is on to the lower
platen.
2. To change or set the temperature, press the menu button on
the digital control on the right of the press. The green light next
to “Temp” will light. Adjust temperature to the desired setting
by pressing the up or down arrows until the indicator shows
the correct temperature. Press the menu button once more to
program the control. The yellow light next to “Heater On” will
begin flashing. This indicates the press is heating.

4
OPERATION
4. To set the finished tortilla thickness, turn the dial on the top
of the machine as indicated.
5. Waitfor themachine toreachyour presettemperaturewhich
willbeindicatedonthedigitalreadout. Ittakesapproximately
30 minutes for machine to reach full temperature.
6. Swing out lower platen and place your tortilla dough balls
on platen. You are know ready to produce tortillas.
PRESSING TORTILLAS
Your doughXpress tortilla press is designed for easy use and will
reliably press your dough balls into tortillas. Thickness, shape
and size is directly related to your dough balls, its shape and the
temperature of the dough as well as the settings of your press. You
should experiment with the following for the results you want.
• Set your temperature (per instruction #3 under Operations) to
the desired setting. For flour tortillas generally start at 325°F
and raise or lower the temperature until the desired results are
achieved. For corn tortillas start the temperature at 325°F.
• Using the thickness control knob, turn right for thicker tortillas or
left for thinner ones until you have the desired thickness.
• Placeyourpreformed dough ballsdistributedevenlyon the lower
platen Dusting with flour or oiling platens is not necessary.
• Dough balls at room temperature functions best. WARNING:
NEVERATTEMPT TO PRESS FROZEN DOUGH. PERSONAL
INJURY AND DAMAGE TO YOU PRESS COULD RESULT!
• Rotate lower platen out and remove your finished tortillas.

5
CLEANING / MAINTENANCE
WARNING
Before cleaning, maintenance, or repairs, make sure the
machine is off and unplugged!
This appliance is not waterproof. Never spray or pour
water on any electrical appliance.
CLEANING TEFLON COATED HEAT PLATENS
You may clean the Teflon coated platens with a mild soap and
warm water. Use a soft cloth or sponge. Do not use steel wool,
scrubbies, kitchen cleansers, or other abrasives.
CLEANING OUTSIDE SURFACES OF MACHINE
Use a mild soap and warm water with a soft cloth or sponge.
Do not use steel wool, kitchen cleansers, or other abrasives.

6
SPECIFICATIONS
PRESS SPECIFICATIONS
Dimensions
Width: 22-1/2 inches, 57.2 centimeters
Height: 31-3/8 inches, 79.2 centimeters
Depth: 30-7/8 inches, 78.4 centimeters
WEIGHT
Press Only: 217 lbs.
Shipping: 235 lbs.
EXTERIOR
Stainless Steel, Type 304
With #4 Polished Finish

7
NOTES

8
1201 E. 27th Terrace • Pittsburg, KS 66762 • U.S.A.
(620) 231-8568 • Fax: (620) 231-1598
NOTICE
Our system will automatically register the equipment on the date it was shipped. If the
equipment was not purchased directly from HIX, but through a distributor (either domestic
or foreign), please keep a copy of their sales invoice showing the serial number and date it
was sold/shipped to you with this warranty. In this case, we will use the distributor’s invoice
date as the beginning warranty date. STAPLE A COPY OF YOUR RECEIPT TO THIS
WARRANTY and keep in a safe place to provide verification of your warranty should a
problem occur. Thank you.
Please fill in the following information and attach a copy of your receipt for your records.
Date Purchased: _______________________ From:_____________________________
Model #: ______________________________ Serial #:___________________________
This warranty applies to equipment manufactured by the HIX Corporation (HIX), Pitts-
burg, Kansas, U.S.A. HIX warrants to the original purchaser its Dough, Tortilla and Poultry
Presses against defects in workmanship and material, except for wear and tear for a period
of “One Year” from the date of purchase. All dough press carts, compressors, and accesso-
ries are warranted for 90 days from the date of purchase.
In the event of a defect, HIX, at its option, will repair, replace or substitute the defective
item at no cost during this period subject to the limitations of insurance and shipping costs
stated below.
This warranty does not cover normal wear and tear, damages due to accident, misuse/
abuse, alterations or damage due to neglect or lack of proper lubrication or maintenance.
HIX shall not be responsible for repairs or alterations made by any person without the prior
written authorization by HIX. This warranty is the sole and exclusive warranty of HIX and
no person, agent, distributor, or dealer of HIX is authorized to change, amend or modify the
terms set forth herein, in whole or in part.
In the case of a problem with the equipment identified herein, HIX Corporation should
be contacted during regular business hours to discuss the problem and verify an existing
warranty. HIX personnel will assist the customer to correct any problems which can be
corrected through operation or maintenance instructions, simple mechanical adjustments,
or replacement of parts. In the event the problem cannot be corrected by phone, and upon
the issuance of a return authorization by HIX, the equipment shall be returned to HIX or
an authorized service representative. All insurance and shipment/freight costs are solely
the responsibility of the customer, and not that of HIX, and HIX shall not be responsible for
improper handling or damage in transit. HIX customer service personnel may be contacted
for complete return authorization and reconditioning information.
This expressed warranty is given in lieu of any and all other warranties, whether ex-
pressed or implied, including but not limited to those of merchantability and fitness for a
particular purpose, and constitutes the only warranty made by HIX Corporation.
In no event shall HIX’s liability for breach of warranty extend beyond the obligation to
repair or replace the nonconforming goods. HIX shall not be liable for any other damages,
either incidental or consequential, or the action as brought in contract, negligence or other-
wise.
This warranty gives you specific legal rights and you may also have other rights which
vary from state to state.
BEFORE warranty repair you MUST get
Prior Authorization: Call 1-800-835-0606
Warranty will be voided otherwise.
©2011 HIX Corp.
WARRANTY
Table of contents
Other DOUGHXPRESS Commercial Food Equipment manuals
Popular Commercial Food Equipment manuals by other brands

Diamond
Diamond AL1TB/H2-R2 Installation, Operating and Maintenance Instruction

Salva
Salva IVERPAN FC-18 User instructions

Allure
Allure Melanger JR6t Operator's manual

saro
saro FKT 935 operating instructions

Hussmann
Hussmann Rear Roll-in Dairy Installation & operation manual

Cornelius
Cornelius IDC PRO 255 Service manual

Moduline
Moduline HSH E Series Service manual

MINERVA OMEGA
MINERVA OMEGA DERBY 270 operating instructions

Diamond
Diamond OPTIMA 700 Installation, use and maintenance instructions

Diamond
Diamond G9/PLCA4 operating instructions

Cuppone
Cuppone BERNINI BRN 280 Installation

Arneg
Arneg Atlanta Direction for Installation and Use