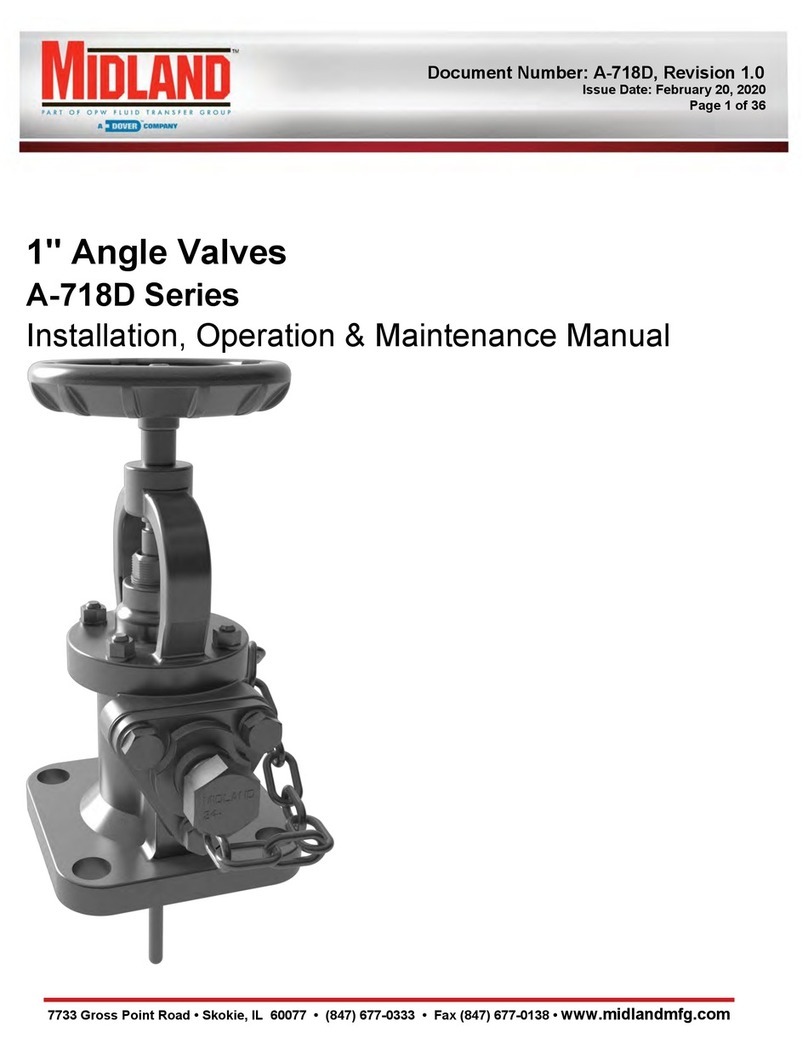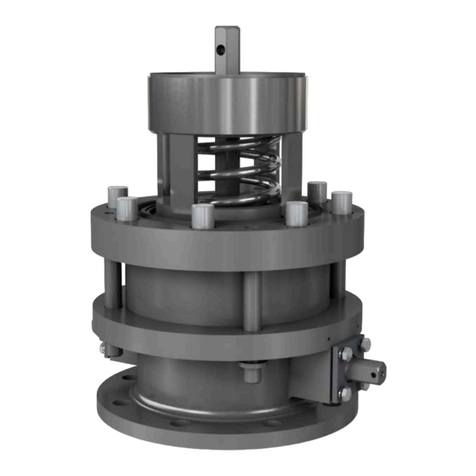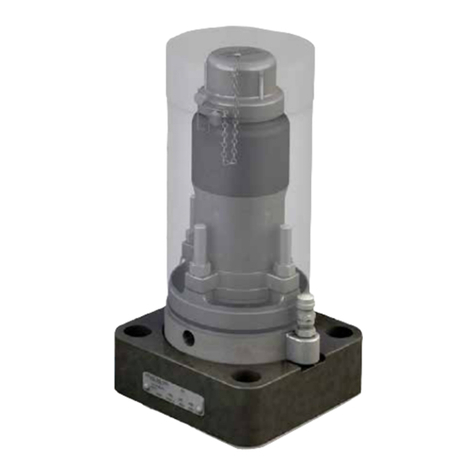
Installation, Operation & Maintenance Manual
8Top-Transfer 2" Angle Valves A-720, A-721, A-721-B and A-724 Series
3 VALVE INSTALLATION
Keep the new Angle Valve in its original shipping container. This will ensure that it remains clean and will protect the gasket face from
nicks and other damage.
Prior to installation, ensure that the valve remains clean, and the gasket-sealing surfaces are not damaged.
3.1 INSTALLATION AND REQUIRED TOOLS
NOTICE: Conform to all regulations and your company’s installation instructions.
It is not the intention of this pamphlet to conflict with or supersede these requirements.
CAUTION: Be sure the car is empty and clean, and that the work area is free of hazardous chemicals
that may have been in the car, before removing a valve or installing a new one.
3.1.1 Remove the old valve and then insert a soft rubber plug into the tank opening to prevent debris from
entering the tank during cleaning of the valve-mounting groove and studs on the man-way cover plate.
3.1.2 Wire-brush the stud threads of the cover plate until clean. Properly installed studs will extend 3/4" within the cover plate.
3.1.3 Remove the gasket in the groove of the cover plate. Avoid scratching the metal in the bottom of the groove.
Discard the used gasket.
3.1.4 Examine the sides of the groove to verify that there are no dents or burrs. Since the valve fits tightly in the groove,
any peening of the groove edges may make it difficult to properly fit the valve’s tongue into the groove.
3.1.5 Up to this point, the new valve should have been kept in its original shipping container and a
special plastic protector should have been positioned over the tongue on the bottom of the valve.
3.1.6 If the valve is reconditioned, or retested, inspect the tongue by running your fingernail around the edge of the tongue
to ensure it is free of nicks, gouges and burrs. The tolerance on the tongue is plus or minus 0.003"; therefore,
any irregularity in this surface will make it difficult to seat the valve on the cover plate groove.
3.1.7 Properly install the new gasket into the groove of the cover plate.
3.1.8 Start all four (4) nuts on the studs while the valve is still on the cover plate.
3.1.9 Gently lower the valve down onto the cover plate until you feel the tongue goes down into the groove on the cover plate.
NOTICE
CAUTION
SAE WRENCH COMPONENT(S)/DESCRIPTION
7/16" Socket STEM RETAINER (ITEM 18)
1-1/16" PACKING SCREW (ITEM 4)
3/4" SAE or 3/4" Crowfoot Wrench MOUNTING NUTS (NOT SUPPLIED)
OTHER TOOLS, SUPPLIES, AND EQUIPMENT:
Silicone Grease (or equivalent lubrication) TO GREASE APPROPRIATE SEALING SURFACES
Lint-Free Cloth TO CLEAN SEALING SURFACES
Emery Paper (400 grit, cut in 1" strips)
Wire Brush TO CLEAN DEBRIS AND SURFACES
Table 3-1 Required tools for valve installation

