manuals.online logo
Brands
  1. Home
  2. •
  3. Brands
  4. •
  5. Draper
  6. •
  7. Tools
  8. •
  9. Draper 23310-BPF User manual

Draper 23310-BPF User manual

BRAKE PIPE
FLARING
TURRET KIT
23310 – BPF/PRO/TURRET INSTRUCTIONS FOR USE
EN
Original Instructions
Version 2 – January 2023
Read this manual in full before using this product and retain it for future use. Always use the latest version of
the manual. Please visit drapertools.com/manuals for the latest version.
1. Intended Use
This product is designed to are brake pipes of
various sizes according to SAE Convex, DIN Convex
and SAE Double standards. Any other application
beyond the conditions established for use will be
considered misuse. Draper Tools accepts no
responsibility for improper use of this product.
Important: Ensure that you are familiar with the
various types of ares and their applications before
using this product. ALWAYS consult the vehicle
manufacturer’s instructions before use.
WARNING! Keep your hands clear of moving
parts, clamps and punches while using this
product and keep long hair and jewellery
tied back.
2. What’s in the Box?
(C2)
(E2)
(B)
(A)
(D)(C1)
(E1) (F)
3. Operating Instructions
1. Clamp the base of the tool into a suitable
bench-mounted vice and screw the press lever
(B) into the lever socket (1).
2. Fully loosen the die clamp lever (2) and swing
the die clamp (3) open.
1 Fig.
(2)
(4)
(1)
(B)
(3)
3. Use 6. Flaring Reference Chart to determine
the correct die and punches for the required
are.
4. Clean the die of grease and place the two parts
horizontally into the die socket (4) with the
required mould directed towards the turret (5).
2 Fig.
(6)
(6)
(5)
(C/D/E/F) (C/D/E/F)
Important: Ensure that both parts of the die are
in contact with the die stops (6).
A. 1 × Flaring tool
assembly
B. 1 × Press lever
C. 1 × 3 ⁄ 16" combi die
C1. 3 ⁄ 16" (4.75mm)
SAE die
C2. 4.75mm DIN die
D. 1 × 1 ⁄ 4" SAE die
E. 1 × 5 ⁄ 16" combi die
E1. 5 ⁄ 16” (8mm)
SAE die
E2. 8mm DIN die
F. 1 × 3 ⁄ 8" SAE die
5. Prepare the brake pipe; see 4. Preparing the
Brake Pipe.
6. Ensure that the tube nut (7) (not supplied) is
installed onto the brake pipe (8), then lightly
lubricate the end of the brake pipe using brake
uid or an appropriate oil and insert it through
the rear of the die.
3 Fig.
(8) (7)
Important: Ensure that the end of the pipe is
ush with the face of the die.
7. Close the die clamp (3) and tighten the die
clamp lever (2) to secure the die in position.
Important: The die clamp must be very tight to
prevent the die and pipe from moving during the
operation. After tightening, ensure that the die
and pipe are correctly positioned.
8. Rotate the turret (5) until the correct OP.1 punch
is directed towards the pipe.
4 Fig.
(2) (3) (5)
Important: The punch number identied in the
chart (see 6. Flaring Reference Chart)
corresponds with the number in the blue ring at
the outer edge of the turret label. The numbers
are also marked on the nut of each punch.
9. Pull the press lever (9) to engage the punch with
the end of the pipe until rm resistance is felt,
then return the lever to its original position.
5 Fig.
(9)
10. If the chart identies a second operation
required for the are (SAE Double ares only),
rotate the turret to the required OP. 2 position
and pull the press lever to engage the punch.
11. Return the press lever (9) to its original position,
then loosen the die clamp lever (2) and open the
die clamp (3).
6 Fig.
(2)
(3)
(9)
12. Remove the die from the die socket and extract
the pipe from the die. If necessary, tap the die
gently on a suitable surface to release the pipe.
13. Check the quality of the are to ensure that the
pipe did not move during the operation and
blow any residual debris from the pipe.
– 2 –– 2 –
4. Preparing the Brake Pipe
Important: ALWAYS ensure that the brake pipe is
correctly prepared before aring.
•  The end of the pipe MUST be cut square.
•  The outside edge of the pipe must be
champfered by approximately 0.25mm at 45°.
•  The bore of the pipe must be deburred.
•  If the pipe is plastic-coated, remove at least
3mm from the end of the pipe to be ared,
ensuring that the pipe is not scored and that no
metal is removed while doing so.
Important: DO NOT use an abrasive cloth on the end
of the brake pipe to be ared.
– 3 –
Flare type Pipe diameter OP.1 punch OP. 2 punch Die Die part
reference
SAE Convex 3 ⁄ 16" 1N/A 3 ⁄ 16" SAE (C1)
1⁄4" 2N/A 1 ⁄ 4” SAE (D)
5⁄ 16" 3N/A 5 ⁄ 16" SAE (E1)
3⁄8" 4N/A 3 ⁄ 8” SAE (F)
8mm 3N/A 5 ⁄ 16” SAE (E1)
113°–117° DIN Convex 4.75mm 6N/A 4.75mm DIN (C2)
8mm 3N/A 8mm DIN (E2)
SAE Double 3 ⁄ 16" 17 3 ⁄ 16” SAE (C1)
1⁄4" 27 1 ⁄ 4” SAE (D)
5 ⁄ 16" 38 5 ⁄ 16” SAE (E1)
3⁄8" 48 3 ⁄ 8” SAE (F)
4.75mm 17 3 ⁄ 16” SAE (C1)
8mm 38 5 ⁄ 16” SAE (E1)
6. Flaring Reference Chart
5. Product Care and Disposal
•  Clean the product of any dust or debris before
and after each use.
•  Replace any punch that shows signs of damage
or excessive wear.
•  Keep the inner faces of the die lubricated when
not in use to avoid corrosion.
 − Clean the die of oil before use to prevent the
die from slipping while it is in the clamp.
•  Remove all dies from the die clamp and loosen
all joints before storing the product.
•  Before storing the product, wipe it thoroughly
with a lightly oiled cloth to prevent corrosion of
the exposed metal parts.
•  Store the product in a clean and dry
environment, out of reach of children.
•  At the end of its working life, dispose of the
product responsibly and in line with local
regulations; recycle where possible.
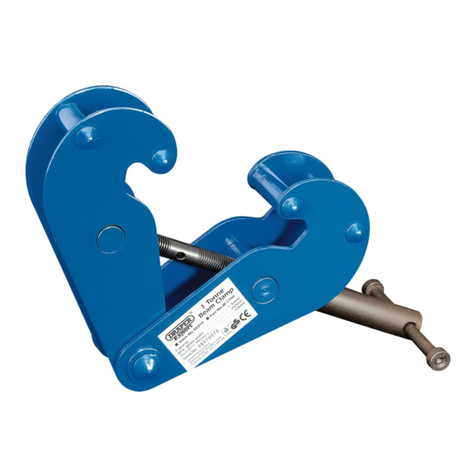
Suitable for DIN Convex ares
Read the instruction manual
Suitable for SAE Single ares
Suitable for SAE Convex ares
Helpline: +44 (0) 23 8049 4344 Sales Desk: +44 (0) 23 8049 4333 General Enquiries: +44 (0) 23 8026 6355 Website: drapertools.com Email: [email protected]
Draper Tools Limited, Hursley Road, Chandler’s Ford, Eastleigh, Hampshire, SO53 1YF, UK 0123
7. Explanation of Symbols

This manual suits for next models

2

Other Draper Tools manuals

Draper GPAUG52-B User manual

Draper

Draper GPAUG52-B User manual

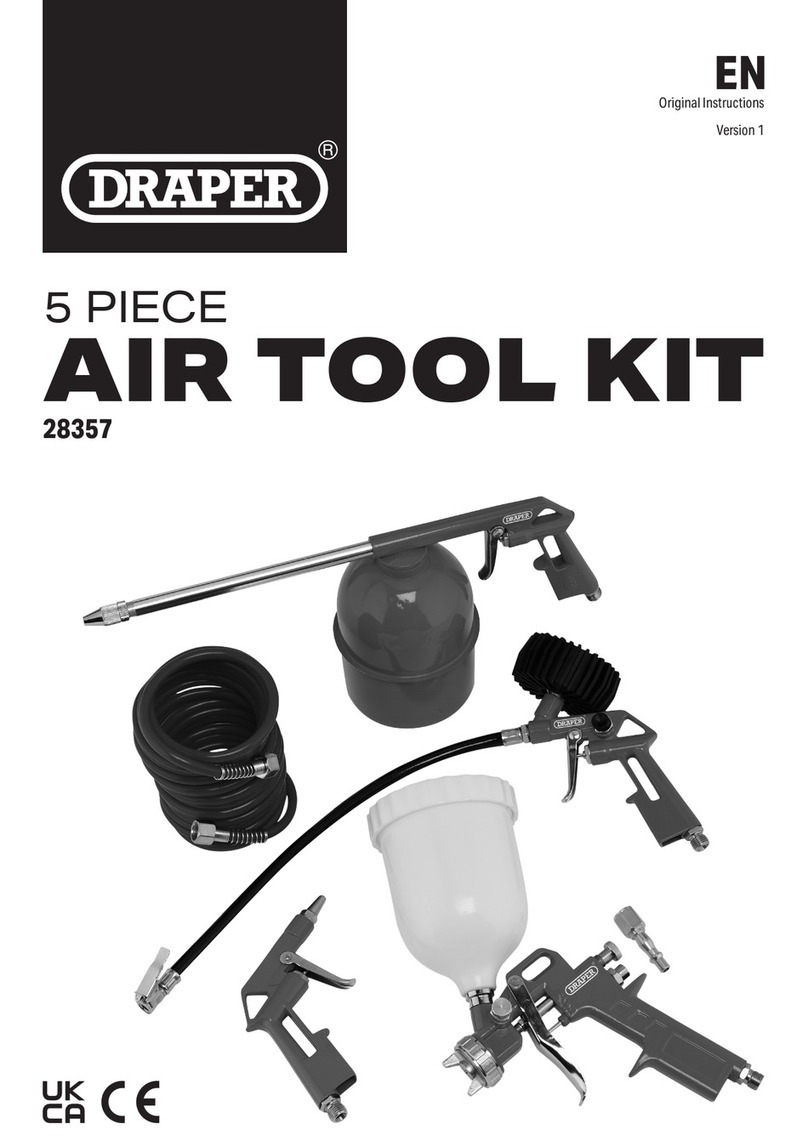
Draper 28357 User manual

Draper

Draper 28357 User manual

Draper HT/1 User manual

Draper

Draper HT/1 User manual

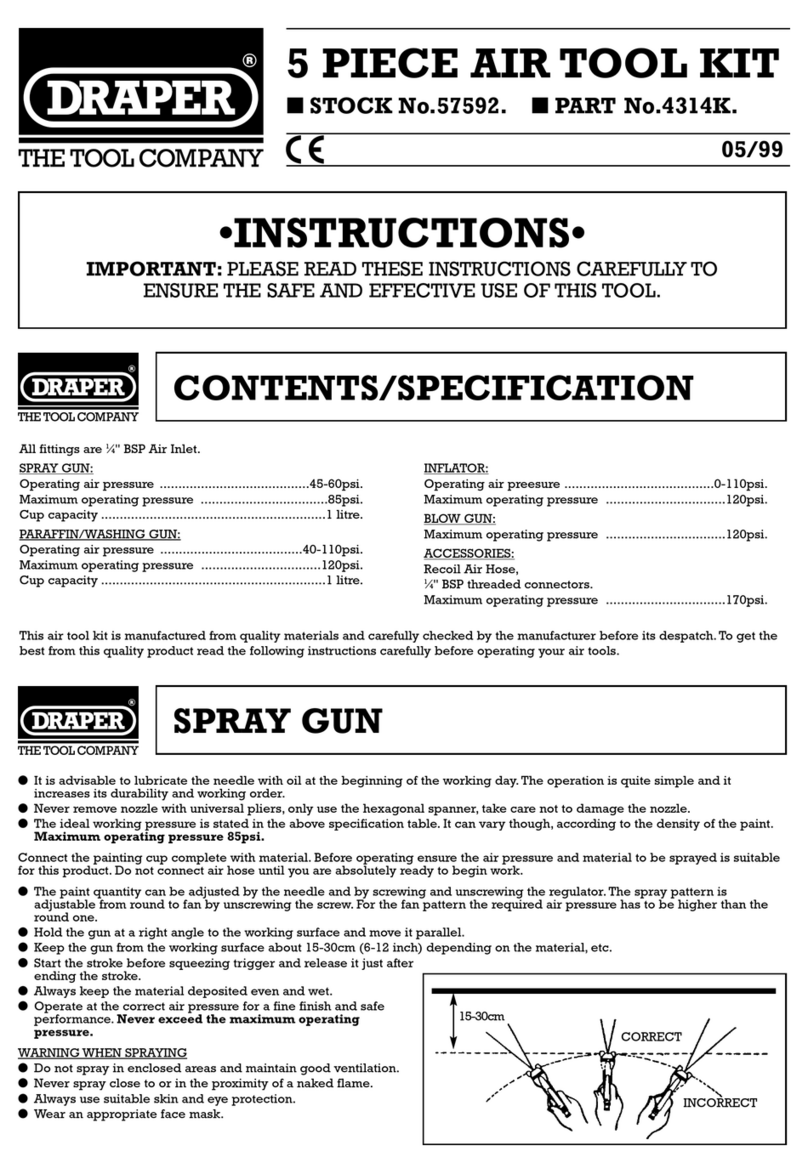
Draper 4314K User manual

Draper

Draper 4314K User manual

Draper BC1000 User manual

Draper

Draper BC1000 User manual

Draper PJSK User manual

Draper

Draper PJSK User manual

Draper P5 User manual

Draper

Draper P5 User manual

Draper Storm Force SFAH4 User manual

Draper

Draper Storm Force SFAH4 User manual

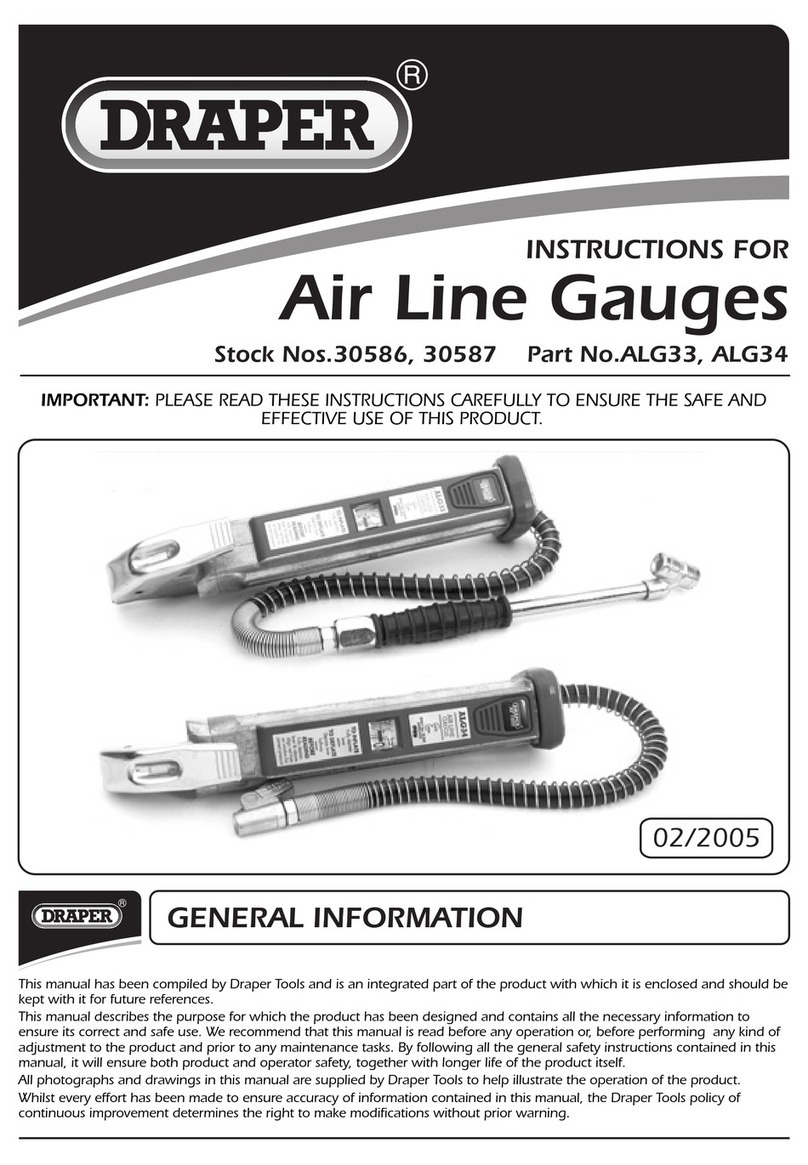
Draper ALG33 User manual

Draper

Draper ALG33 User manual

Draper 50094 User manual

Draper

Draper 50094 User manual

Draper STORMFORCE MT400 User manual

Draper

Draper STORMFORCE MT400 User manual

Draper 19141 User guide

Draper

Draper 19141 User guide

Draper 98421 User manual

Draper

Draper 98421 User manual

Draper 17609 User guide

Draper

Draper 17609 User guide

Draper PT2000D User manual

Draper

Draper PT2000D User manual

Draper 15498 User guide

Draper

Draper 15498 User guide

Draper A10/EXP/F User manual

Draper

Draper A10/EXP/F User manual

Draper TK58/BL Operation manual

Draper

Draper TK58/BL Operation manual

Draper 18745 User guide

Draper

Draper 18745 User guide

Draper Expert 19106 User guide

Draper

Draper Expert 19106 User guide

Draper GPAUG52-B User manual

Draper

Draper GPAUG52-B User manual

Draper DTK-FORD 52576 User manual

Draper

Draper DTK-FORD 52576 User manual

Draper PTF User manual

Draper

Draper PTF User manual

Draper 27118 User guide

Draper

Draper 27118 User guide

Popular Tools manuals by other brands

Sharper Image 207366 user guide

Sharper Image

Sharper Image 207366 user guide

Topex 07A107 Original instructions

Topex

Topex 07A107 Original instructions

MG MERO 18 P operating instructions

MG

MG MERO 18 P operating instructions

BGS technic 8924 instruction manual

BGS technic

BGS technic 8924 instruction manual

Dremel 8300 Original instructions

Dremel

Dremel 8300 Original instructions

YATO YT-82144 manual

YATO

YATO YT-82144 manual

Matco Tools GG60A Operating instructions, warning information, parts breakdown

Matco Tools

Matco Tools GG60A Operating instructions, warning information, parts breakdown

Graco 309446A Instructions and parts data

Graco

Graco 309446A Instructions and parts data

G&G Technics GGT-6045 quick start guide

G&G Technics

G&G Technics GGT-6045 quick start guide

Porter-Cable 59370 instructions

Porter-Cable

Porter-Cable 59370 instructions

KLANN KL-0039 Series manual

KLANN

KLANN KL-0039 Series manual

BGS technic 8584 instruction manual

BGS technic

BGS technic 8584 instruction manual

DeWalt DWMT70785 instruction manual

DeWalt

DeWalt DWMT70785 instruction manual

Cembre TC085 Operation and maintenance manual

Cembre

Cembre TC085 Operation and maintenance manual

Ironton 45984 owner's manual

Ironton

Ironton 45984 owner's manual

Extra 300/SC Maintenance manual

Extra

Extra 300/SC Maintenance manual

Cleco CellCore CCBA instruction manual

Cleco

Cleco CellCore CCBA instruction manual

Facom 500 instruction manual

Facom

Facom 500 instruction manual

manuals.online logo
manuals.online logoBrands
  • About & Mission
  • Contact us
  • Privacy Policy
  • Terms and Conditions

Copyright 2025 Manuals.Online. All Rights Reserved.