Drawmer 1973 User manual

DRAWMER
Three-Band Stereo
FET Compressor
OPERATOR’S MANUAL
CONTENTS
Warranty
SafetyConsideration
Chapter 1 - Introduction
Introduction
Installation
PowerConnection
AudioConnections
Chapter 2 - Control Description
ControlDescription
QuickSetupProcedure
Chapter 3 - General Information
If afault develops
ContactingDrawmer
Specification
Block Diagram
Recall Sheet
. . . . . . . . . . . . . . . . . . . . . . . . . . . . . . . . . . . . . . . . . . . . . . . . . . . . . . . . . . . 2
. . . . . . . . . . . . . . . . . . . . . . . . . . . . . . . . . . . . . . . . . . . . . . . . 2
. . . . . . . . . . . . . . . . . . . . . . . . . . . . . . . . . . . . . . . . . . . . . . . . . . . . . . . 3
. . . . . . . . . . . . . . . . . . . . . . . . . . . . . . . . . . . . . . . . . . . . . . . . . . . . . . . . 4
. . . . . . . . . . . . . . . . . . . . . . . . . . . . . . . . . . . . . . . . . . . . . . . . . 4
. . . . . . . . . . . . . . . . . . . . . . . . . . . . . . . . . . . . . . . . . . . . . . . . . 5
. . . . . . . . . . . . . . . . . . . . . . . . . . . . . . . . . . . . . . . . . . . . . . . . . 6
. . . . . . . . . . . . . . . . . . . . . . . . . . . . . . . . . . . . . . . . . . . . . 9
. . . . . . . . . . . . . . . . . . . . . . . . . . . . . . . . . . . . . . . . . . . . . . . . . 10
. . . . . . . . . . . . . . . . . . . . . . . . . . . . . . . . . . . . . . . . . . . . . . . .10
. . . . . . . . . . . . . . . . . . . . . . . . . . . . . . . . . . . . . . . . . . . . . . . . . . . . .10
. . . . . . . . . . . . . . . . . . . . . . . . . . . . . . . . . . . . . . . . . . . . . . . . . . . 11
. . . . . . . . . . . . . . . . . . . . . . . . . . . . . . . . . . . . . . . . . . . . . . . . . . . . . 12

2DRAWMER 1973 OPERATOR’SMANUAL
Drawmer Electronics Ltd., warrants the Drawmer 1973
Three-Band Stereo FET Compressor to conform
substantiallyto the specificationsof thismanual for a period
of one year from the original date of purchase when used
in accordance with the specifications detailed in this
manual. In the case of a valid warranty claim, your sole
andexclusiveremedyandDrawmer’sentireliabilityunder
any theory of liability will be to, at Drawmer’s discretion,
repair or replace the product without charge, or, if not
possible, torefundthepurchasepricetoyou. This warranty
is not transferable. It applies only to the original purchaser
of the product.
For warranty servicepleasecall yourlocal Drawmer dealer.
Alternatively call Drawmer Electronics Ltd. at +44 (0)1709
527574.Thenshipthedefectiveproduct, withtransportation
and insurance charges prepaid, to Drawmer Electronics
Ltd.,ColemanStreet, Parkgate,Rotherham, S626ELUK.
Writethe RAnumber in large letters in a prominent position
on the shipping box. Enclose your name, address,
telephonenumber,copy of theoriginal salesinvoiceanda
detailed descriptionof theproblem. Drawmer will not accept
responsibility for lossor damageduring transit.
This warranty isvoid if theproduct has been damaged by
misuse, modification or unauthorisedrepair.
THIS WARRANTY IS IN LIEU OF ALL WARRANTIES,
WHETHERORALORWRITTEN,EXPRESSED,IMPLIED
OR STATUTORY. DRAWMER MAKES NO OTHER
WARRANTY EITHER EXPRESS OR IMPLIED,
INCLUDING, WITHOUT LIMITATION, ANY IMPLIED
WARRANTIES OF MERCHANTABILITY, FITNESS FOR
APARTICULARPURPOSE, OR NON-INFRINGEMENT.
PURCHASER’S SOLE AND EXCLUSIVE REMEDY
UNDER THIS WARRANTY SHALL BE REPAIR OR
REPLACEMENTAS SPECIFIED HEREIN.
IN NOEVENTWILLDRAWMER ELECTRONICS LTD. BE
LIABLE FOR ANY DIRECT, INDIRECT, SPECIAL,
INCIDENTAL OR CONSEQUENTIAL DAMAGES
RESULTING FROM ANY DEFECT IN THE PRODUCT,
INCLUDING LOSTPROFITS, DAMAGETO PROPERTY,
AND,TOTHEEXTENTPERMITTEDBYLAW,DAMAGE
FOR PERSONAL INJURY, EVEN IF DRAWMER HAS
BEEN ADVISED OF THE POSSIBILITY OF SUCH
DAMAGES.
Some states and specific countries do not allow the
exclusionof impliedwarranties orlimitationson howlong
an implied warranty may last, sothe above limitations may
not apply to you. This warranty gives you specific legal
rights.Youmayhave additionalrightsthat varyfrom state
to state, and country to country.
In the interests of product development, Drawmer reserve the right to modify or
improve specifications of this product at any time, without prior notice.
ONE YEAR LIMITED WARRANTY
COPYRIGHT
This manual is copyrighted © 2014 by Drawmer Electronics Ltd. With all rights reserved. Under copyright
laws,no part of this publication may be reproduced, transmitted, stored in a retrieval system ortranslated
intoanylanguageinany formbyany means,mechanical,optical,electronic,recording,orotherwise,with-
out the written permission of Drawmer Electronics Ltd.
DRAWMER
1973
Three-Band Stereo
FET Compressor
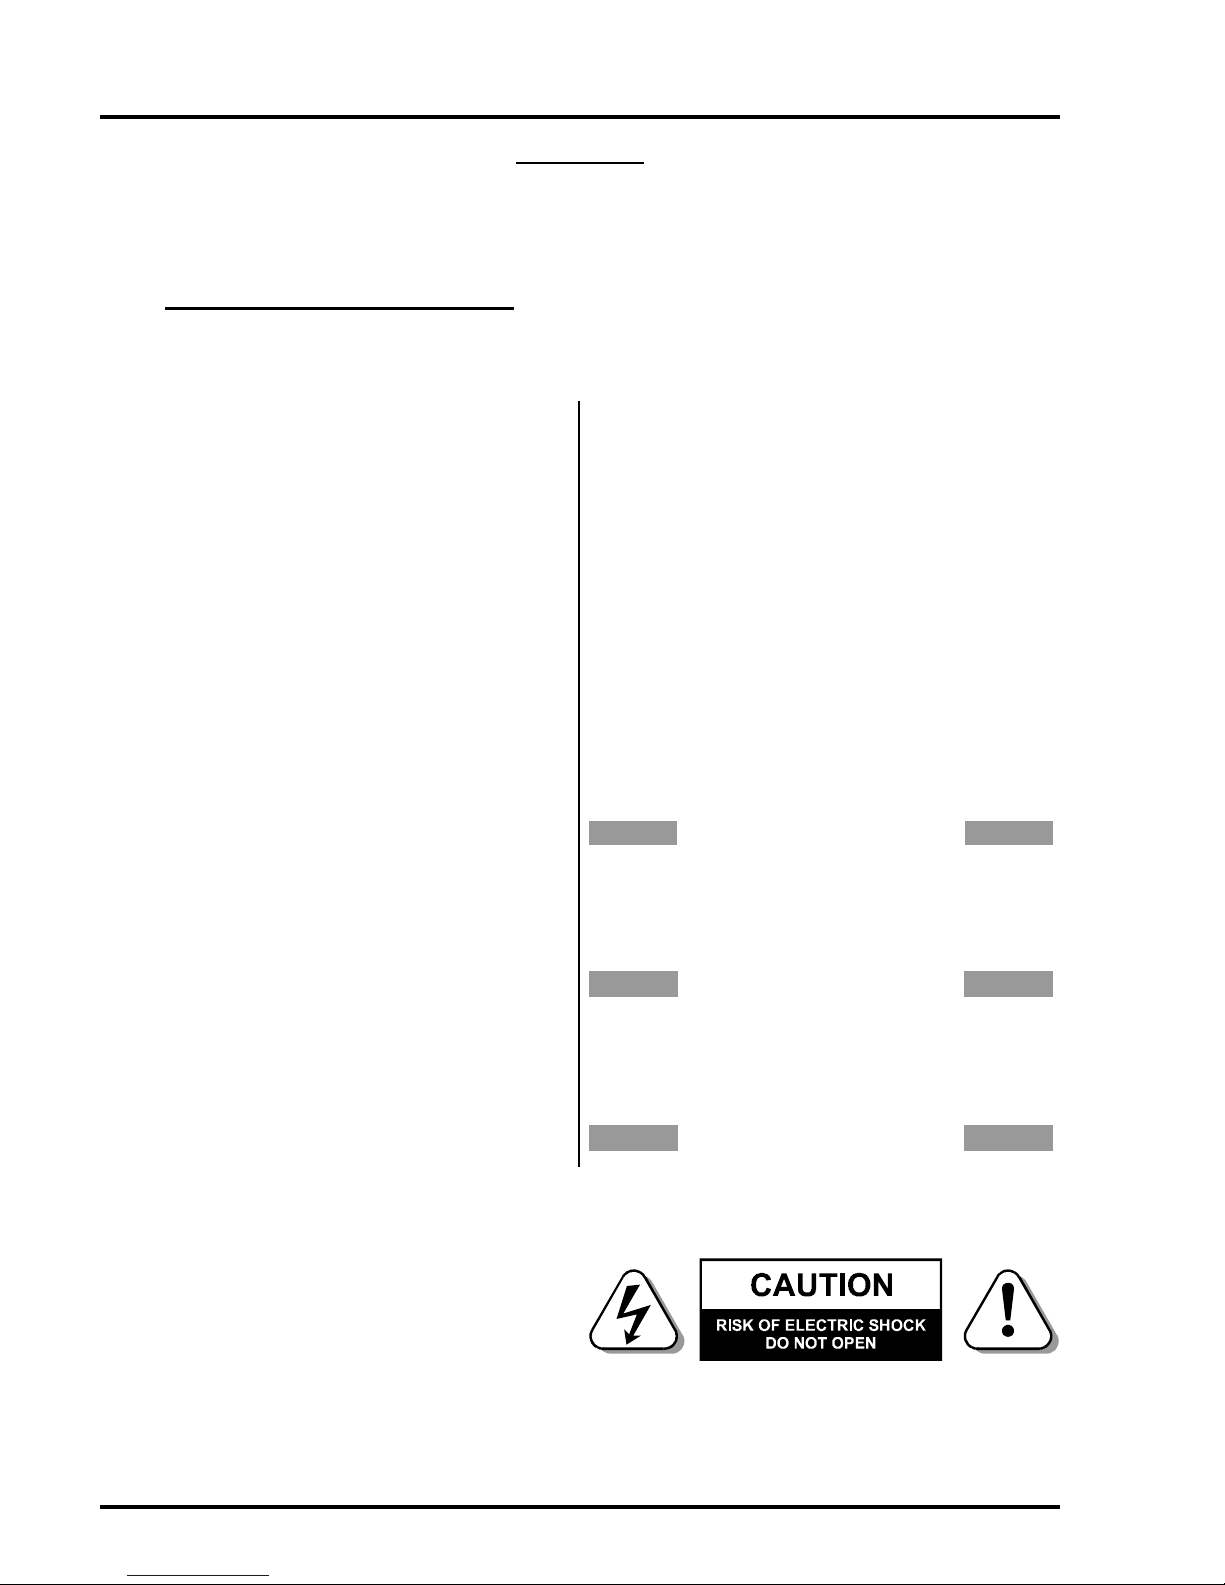
SAFETY CONSIDERATIONS
CAUTION-MAINSFUSE
TO REDUCE THE RISK OF FIRE
REPLACETHE MAINSFUSE ONLYWITH
A FUSE THAT CONFORMS TO IEC127-2.
250 VOLTWORKING,TIMEDELAYTYPE
AND BODY SIZE OF 20mm x 5mm.
THEMAINSINPUTFUSEMUSTBE
RATEDAT230V=T250mAand115V=T500mA.
CAUTION-MAINSCABLE
DO NOTATTEMPT TO CHANGE
OR TAMPER WITH THE
SUPPLIEDMAINS CABLE.
CAUTION-SERVICING
DO NOT PERFORM ANY SERVICING.
REFERALLSERVICINGTOQUALIFIED
SERVICE PERSONNEL.
WARNING
TO REDUCE THE RISK OF FIRE OR
ELECTRIC SHOCK DO NOT EXPOSE
THISEQUIPMENTTO RAIN ORMOISTURE.

3
DRAWMER 1973 OPERATOR’SMANUAL
DRAWMER
THREE-BAND STEREO
FET COMPRESSOR
The1973is aThreeBandCompressorwiththe versatility,
control and ability to shape sound that no full band
compressor couldever provideand at an affordable price.
Expanding on the renowned range of dynamicsprocessors
DRAWMER introduce an affordable Three Band Stereo
FET Compressor that every engineer will completely
appreciate - the 1973. The culmination of 30 years of
development and experience, the 1973 combines the
functionality and control of the world class DRAWMER
S3 with the familiarity and quality of the illustrious 1960
and 1968, providing three bands of transparent, intuitive
compression for the price of a conventional single full band
compressor.
Howdoesthe 1973differfrom afull bandcompressor?In
essence, the 1973 comprises a set of crossover filters
that splits the audio signal into three frequency bands,
each split signal thenpassesthrough itsowncompressor
andisindependently adjusted, after which the signalsare
recombined and the final Wet/Dry mix and levels can be
adjusted. The advantage is that one band's compression
has no affect on the others.
What's so good about a three band compressor anyway?
The 1973 can pull off amazing feats that a single-band
compressor could never accomplish. For example, it can
easily prevent an acoustic guitar, cello, or double bass
from sounding boomy on low notes without thinning the
highs.
Are you recording a vocal track that sounds too shrill?
Thetimbre caneasilybealteredwithout eliminating detail
and clarity. Adding heavier compression in the bassband
can add to the thicknessand richness of the voice, in the
mid band raspiness is controlled, whilst compression to
thehigh band can give sizzle and definition to an otherwise
bland voice. In addition, sibilance can easily be tamed.
In amastering situation, havingindependent control over
each band can resolve a problem mix, pullingout individual
instruments, brightenthebrilliance/air or makethebottom
CHAPTER 1
INTRODUCTION
end of a mix sound huge whilst simultaneously avoid
"pumping" or "breathing" artifacts and increase headroom.
Multiband compressors can be intimidating and difficult
touse due toa minefieldof controlsandpoor layout, with
thisin mind, the 1973 has been designed to be as simple,
familiar and intuitive aspossible whilst still giving complete
controlovertheaudio.
Main Features:
Standard intuitive controls such as Threshold, Gain,
Switched Attack & Release with Gain Reduction
Metering on Each Band.
Fast Reacting Soft Knee F.E.T. Design with excellent
Left/Right Tracking across the Full Range of
compression.
Variable Wet/Dry Mix plus Output Gain Knobs give a
'Parallel Compression' function without the need for
external mixing devices, providing Complete and
Effortless Control over the amount of compression used
and Output Levels.
Variable Band Split Filters at a 6dB Per Octave slope
with Switch-able Mute andBypass onEachBandmake
'Tuning In' toa Frequency Simple.
‘Big’ and 'Air' Modes Help to preserve the Very Deep
Lows and Enhance the Sparkling Highs.
TwoAnalogue V.U. Meters with Switchable +10dB Meter
Rescale Modes and a Switchable ‘Peak’ mode to
Display Fast Transients Not Normally Seen on
Conventional V.U.s.
Internal Low Hum Toroidal Linear Power Supply with
Voltage Selector Switch
Classic Drawmer Build Quality with Rugged Steel
ChassisandAluminium Front Panel.

4DRAWMER 1973 OPERATOR’SMANUAL
The unit will have been supplied with a power cable suitable
fordomesticpoweroutletsinyourcountry.Foryourownsafety
it isimportant that you usethis cable.The unitshouldalways
be connected to the mainssupply earth using this cable, and
no other.
If for some reason the unit is to be used at a mains input
operating voltage which is different to that as supplied, the
following procedure mustbe carriedout.
1: Disconnect the unit fromthe mains.
2: Remove the two screws holdingthe voltage selection
cover-plate.
3: Remove the coverplate andslide the switch fully to its
oppositeend.
4: Rotate thecover plate one half turn(180 degrees) and
refit the two screws.
5: Replace with a correctly rated fuse for the selected
operation voltage in the IEC socket:
230V-T250mAand115V-T500mA
6: Re-connect to mains power source.
Never disconnect theearth
fromthe mains supply
The 1961 is designed for standard 19" rack mounting and occupies 2U of rack space. Fibre or plastic
washersmay be used to prevent the front panel becoming marked by the mounting bolts.
-Care should be taken in the choice of positioning. The unit should not bemountedwhereother
equipment obstructsthe normal airflow.The unit should not be situated near any heat source, such
as a radiator, stove ora high power amplifier that would generate heat.
- The appliance should not be operated near any water or in a location where moisture might be
present.
-Always connect the mains earth to the unit.
If the 1973 isto becontinuouslymoved fromonelocationto another, we suggestusingadditionalsupport in
the rackat the rear of the unit.
INSTALLATION
POWER CONNECTION

5
DRAWMER 1973 OPERATOR’SMANUAL
AUDIOCONNECTIONS
• Ground Loops:
If ground loop problems are encountered, never disconnect
the mains earth,but instead, try disconnecting the signal screen
ononeend of eachofthecablesconnectingthe outputsofthe
1973 to the patchbay. If such measures are necessary,
balanced operationisrecommended.
• Interference:
If the 1973 is to be used where it maybe exposed to
high levels of disturbance such as found close to a TV
or radio transmitter, we advise that it is operated in a
balanced configuration. The screensof thesignal cables
should be connected to the chassis connection on the
XLR connectoras opposed to connecting to pin1.
The 1973 conforms to the EMCstandards.
Atypicalsetup for connecting the 1973 would be by the use of aY-lead between the two input and output
xlr’s on the rear of the 1973and insert point forthe respective channelof the desk -thiswould be repeated
for both channels.The wiring of the Y-lead can be seenbelow.
The inputsand outputs are electronically balanced on conventionallywired XLRs (pin1 screen, pin 2 hot,
pin 3 cold and XLRshell isconnected to chassis). The operatinglevel is nominally+4dBu.Balanced use is
recommended.

6DRAWMER 1973 OPERATOR’SMANUAL
CONTROL DESCRIPTION
X-OVER FREQUENCIES
The 6dB per octave crossover frequencies
determine the points within the frequency
spectrum onebandstops toprocess audio,and
another band takesover.
Low X-Over Frequency: 50Hz - 1.3kHz
Sets the frequency point at which the split
between low and mid bands occurs.
High X-Over Frequency: 1kHz - 14kHz
Sets the frequency point at which the split
between mid and high bandsoccurs.
CHAPTER 2
1
2
The1973sharessimilar parameterstoastandardfull bandcompressor, such astheDrawmer1968, thedifferencebeing
that the stereo signal is split into low, mid and high bands, each one processed separately without affecting the other,
and then summed back into a stereo signal again before output.
As you would imagine a multiband compressor
could become a very intimidating beast due to
the numberof controls,however, the1973asbeen
layed out to be as intuitive to use as possible.
Anyonefamiliar withthe Drawmer 1960’srange,
theS2and especiallythe S3 compressors should
beimmediately at home.
Essentiallythe 1973 comprises the three low,mid
and high compressor bands to the left of the unit
with the crossover frequency knobs inbetween.
These bands are all almost identical, the only
difference being the Big andAir switches. To the
right of the unit the meters and output sections
arelocated (seebelowdiagram).
The three bands are almost identical - the only difference being the
inclusion of ‘Big’ (8) and ‘Air’(9) on the low and high bands respectively.

7
DRAWMER 1973 OPERATOR’SMANUAL
LOW BAND, MID BAND, HIGH BAND
Threshold: infinity - -32dB allbands
Determines the level below which compression starts to take
place.The1973incorporatesa Soft Knee,morecompression is
applied automaticallyas the input signal level increases, negating
the needfora Ratio control.
Attack: see below diagram allbands
Controlsthespeedthatthecompressorrespondstosignalsthat
exceed the level set by threshold. Six switchableAttack settings.
All times are nominal, the actual attack time isfurther modified
by the release setting chosen.
Release: see below diagram allbands
Sets the time taken for the signal to return to normal after the input level has fallen below threshold.
The firstthree switch positionsare fixed andprovide progressively increasing releasetimes, while positionsF(ast),
M(id) and S(low) cause the release times to vary in a manner which automatically adapts to the dynamics of the
incomingsignal.
Gain: -10 - +20dB allbands
Duringcompressionthesignal isattenuated, gainmay be requiredto produce the requiredoutput level. Inaddition,
as the 1973 ismulti-band, the three gain controls are used to adjust the levels of each band to obtain a desirable
overall signal, or to bring out the bass, treble etc.
Gain Reduction Meter: -1,-2,-3,-5,-7,-10,-15,-20dB allbands
Use the meter as a guide to how much gain to re-apply using the Gain control .
3
4
5
Release Presets
Attack Presets
The following diagram provides a good, but general, idea of some useful frequencies that will aid in setting the
crossover frequencies:
7
6
6

8DRAWMER 1973 OPERATOR’SMANUAL
11
Big: Off - On lowband only
Big is located only on the low band and when on reducesthe side-chain's sensitivity to low frequencies, with the
result that less gain reduction is applied, creating the effect that the bass is louder or 'bigger'. The 'BIG' mode
enables application inbusscompression situations where youstill want thick and warm tone yet complete dynamics
control.
Air: Off - On highbandonly
Air is located only on the high band and is used to re-introduce high frequencies, which can sometimes be lost
after heavy compression so that it sounds more intimate, detailed and transparent, but without making it sound
harsh or introducing anynoticeably unnatural artifacts. Cymbals are more vibrant withoutbecoming splashy, and
vocalssound more open but without becoming sibilant.
Status: Mute/On/Bypass allbands
Athree postionStatus switch islocated ineachof thebandsthat allowsnormal operation, bypassormutingof that
band. IntheON position allthecontrolsof that particularbandare inoperation andcompressiontakesplace. Inthe
“BYPASS” position the signal for thelow, mid, orhigh band isallowed to passthroughtothe summing stage without
beingalteredby thecompressorstage(including gain). Inthe “MUTE” position thesignalfor that particular band is
effectively turned off -any combinationof mute isavailable,to hear onlythe signal of the low band mute the mid and
high bands etc.
Using a combination of mute and bypassswitches for the various bandsallows the operator to hear and monitor
only the frequenciesthat are required and so ‘tune in’ tothe low, mid and high frequency settings using the cross-
over controls.
METERS
VU Meter:
Two backlit moving coil VU meters
monitor the level of the output signal.
Note: To see the input level on the VU
meters the Bypass switch should be
on.
Pad: Vu - +10dB
Atwopositionswitchadjuststhe meters
to show either normal output level, (and
for thoseworkingat ‘hot’ output levels)
VU +10dB i.e. with the switch at VU
+10dB, when the VU meter reads 0dB
the actual level is+10dB.
Peak VU: Peak VU - VU
On smooth, gentle pieces of music the “VU”(averagelevel) setting would besufficient, however, onfast dynamic
signals the“PeakVU” settingprovidesmoreaccurate readings.
OUTPUT
Mix: WET - DRY
A variable control that mixes a user defined amount of 'uncompressed' signal (dry) with the compressed signal
(wet) tocreate a'parallel compressioneffect'without the need forexternal mixingdevices. Inthiswaytheamount
of overall compression on the stereo signal is under complete control - set the three bands to provide heavy
compression but then reduce the overal effect by mixing in some of the dry signal using the mix control.
Gain: -12 - +12dB
The1973 providesa singlecontrol to modify the stereo output level after summing, without having to adjust the three
bandgain controls(andthusalteringthemix). Adjust sothattheoutput signal approachesthedesired level onlyon
signal peaks.
Bypass: Off - On
A fully balanced hard-wire unit bypass connects the input directly to the output without alteration.
Note:Toseetheinputlevel ontheVU meterstheBypassswitch should beon,asthemetersdisplaythelevel found
at the output.
Power: Off - On
Turns the 1973 on and off. This switch is hard wired and so when off the 1973 will draw no power
10
8
9
14
12
13
15
16
17

9
DRAWMER 1973 OPERATOR’SMANUAL
QUICK SETUP PROCEDURE
Please note that the following procedure is only a guide.All audiois different, requiring numerous settings, however,
thisshould give a good staring point:
1) Set the compressor settings to be the same on all bands - Threshold fully counter-clockwise, Gain at 0dB,
the Attack in a mid position (2 or 3) and Release set to F(ast). The overall Gain control should be set to 0dB,
and the Mix at 0 (Wet).
2) Turn on the Bypass switch (bottom right) so that the input signal is heard without compression and adjust the
incoming signal until the VU meters rear 0dB. Set the Bypass switch back to Normal.
3) With the Low X-Over Frequency setfully counter-clockwise, and the High X-Over Frequency setfully clockwise,
listen to the audio and bring in the two knobsto the positions that you think the cross-over points should be set
- generally to separate the main bassand treble sounds from the mid-range. Using a combination of Mute and
Bypass switchesfor the various bands allowsthe operatorto monitor only the frequencies that are required and so
tunethelow,midandhighfrequencies.
4) Keeping aneye on the Gain Reduction Meters alter the Threshold level control foreachbanduntil thedesired
compression level isachieved - a G.R. level up to -10dB isacceptable.
5) Adjust the Gain control of each band until 0dB is reached on the Output VU meter. To see only the band that
is being adjusted on the VU meter Mutethe other two bands.
6) Set the Attack and Release settings of each band to suit the audio being compressed.
7) The Threshold and Gain of each band can be modified to achieve the desired compression, levels and tonal
balanceto theoverall signal.
8) At this point the Bypass switch can be toggled to listen to the affect that the 1973 is having on the audio.
Adjust to suit.
9) Once each band is setup correctly modify the overall Output Gain and Mixuntil the VU meters read 0dB
(more if in +10dB VU mode) and the desired amount of compression is heard.
Belowis an example setup that could be used for a General Pop Mix, though, of course, as all music is diverse and
varied, will not beideal elsewhere.

10 DRAWMER 1973 OPERATOR’SMANUAL
CHAPTER 3
IF A FAULT DEVELOPS
For warranty service please call Drawmer Electronics Ltd. or
their nearest authorised service facility, giving full details of
the difficulty.
A list of all main dealers can be found on the Drawmer
webpages.
On receipt of this information, service or shipping instructions
will be forwarded to you.
No equipment should be returned under the warranty without
prior consent from Drawmer or their authorised representative.
For service claims under the warranty agreement a service
Returns Authorisation (RA) number will be issued.
Write this RA number in large letters in a prominent position
on the shipping box. Enclose your name, address, telephone
number, copy of the original sales invoice and a detailed
description of the problem.
Authorised returns should be prepaid and must be insured.
All Drawmer products are packaged in specially designed
containers for protection.If theunit isto be returned, theoriginal
container must be used. If this container is not available, then
the equipment should be packaged in substantial shock-proof
material, capable of withstanding the handling for the transit.
CONTACTING DRAWMER
Drawmer Electronics Ltd., will be pleased to answer all
application questions to enhance your usage of this
equipment. Please address correspondence to:
Drawmer (Technical Help line)
Coleman Street
Parkgate
Rotherham
S62 6EL
UK
Alternatively contact us by E-mail on :
for sales enquiries: sales@drawmer.com
or for technical issues: tech@drawmer.com
Further information on all Drawmer dealers, Authorised service
departments and other contact information can be obtained
from our web pages on:
http://www.drawmer.com
GENERAL INFORMATION
INPUT
Input Impedance 20k Ohms or greater
Maximum Input Level +26dBu
OUTPUT
Output Impedance 100 Ohms
Maximum Output Level +25dBu into 10k Ohms Load
FREQUENCY RESPONSE
<5Hz to 51kHz -1dB
<3Hz to 70kHz -3dB
CROSSTALK < -80dB @ 1kHz
NOISE AT UNITY GAIN
with flat EQ response switched in circuit
Wideband 22Hz - 22kHz
AV -82dB -87dB
1973 THREE-BAND STEREO FET COMPRESSOR
DATA SPECIFICATION
% DISTORTION (THD & NOISE) @ 1kHz
0dB (ref +4) 0.03%
10dB (ref +4) 0.07%
20dB (ref +4) 0.5%
POWER REQUIREMENTS
230Volt or115V at50-60hZ, 60VA
FUSE RATING
T250mAfor 230Volt,
T500mAfor 115Volt
Conforming to IEC 127-2
FUSE TYPE
20mm x 5mm, Class 3 Timed-Blo, 250Volt working
CASE SIZE
482mm (W) x 88mm (H) x 270mm (D)
WEIGHT 4.2Kgs

11
DRAWMER 1973 OPERATOR’SMANUAL
BLOCK DIAGRAM
1973 ver 01 B 20/03/14

12 DRAWMER 1973 OPERATOR’SMANUAL
Table of contents
Other Drawmer Recording Equipment manuals

Drawmer
Drawmer TS1 User manual

Drawmer
Drawmer DS201 User manual

Drawmer
Drawmer TS2 User manual

Drawmer
Drawmer MXPro MX30 User manual

Drawmer
Drawmer S2 User manual

Drawmer
Drawmer 1977 User manual

Drawmer
Drawmer DS101 User manual

Drawmer
Drawmer 1969 User manual

Drawmer
Drawmer 1970 User manual

Drawmer
Drawmer 1977 User manual
Popular Recording Equipment manuals by other brands

PIONEER DJ
PIONEER DJ Toraiz Squid operating instructions

Axxess
Axxess CHTO-02 installation instructions

Solid State Logic
Solid State Logic Nucleus installation guide

Nav TV
Nav TV VOLVO-CAM 15 NTV-KIT748 quick start guide

Klark Teknik
Klark Teknik KonneKT 6 IOBT-WP quick start guide

Quatech
Quatech QS-100D user manual