DRAX REDON NR30 User manual

Be sure to read the manual before using the product in order to use safely and
correctly. Please keep user manual at a place to be available easily.
1
USER’S MANUAL NR30/NR25/NR20
V1.2E
EU

1. GETTING STARTED
2. INSTALLATION
- PRECAUTIONS
- PART NAME
- HOW TO MAKE INSTALLATION
- HOW TO CHECK OPERATION
- ADJUSTMENT OF BELT-TENSION
3. HOW TO USE
- DETAIL OF DISPLAY CONSOLE
- DISPLAY AND CONSOLE
- SPEEDSYNC TYPE
- NORMAL TYPE
4. FUNCTION OF PROGRAM
5. FEATURES BY MODEL
6. MAINTENANCE
7. LIMITED WARRANTY
2
3
3
3
4
6
7
8
8
9
9
11
12
17
19
22
CONTENTS

SAVE THESE INSTRUCTIONS FOR FUTURE REFERENCE.
NEW REDON
1 GETTING STARTED
SAFETY INSTRUCTIONS _
Please read and fully understand this user manual prior to using this machine.
Please keep this manual in a safe and handy place for future reference.
Failure to adhere to the following could potentially void your warranty.
Always disconnect power supply when servicing/cleaning or during extended periods of non-operation
of this exercise equipment.
Do not attempt to disassemble this exercise equipment. Only authorized service providers may service
this equipment.
Do not operate this exercise equipment if damaged or if any abnormal noises are heard.
Please Contact DRAX INC. Customer Support Center for assistance.
• The owner of exercise equipment must inform all users of the safety instructions and correct operating
procedure for this exercise equipment.
• Always operate the exercise equipment in accordance with the supplied instructions.
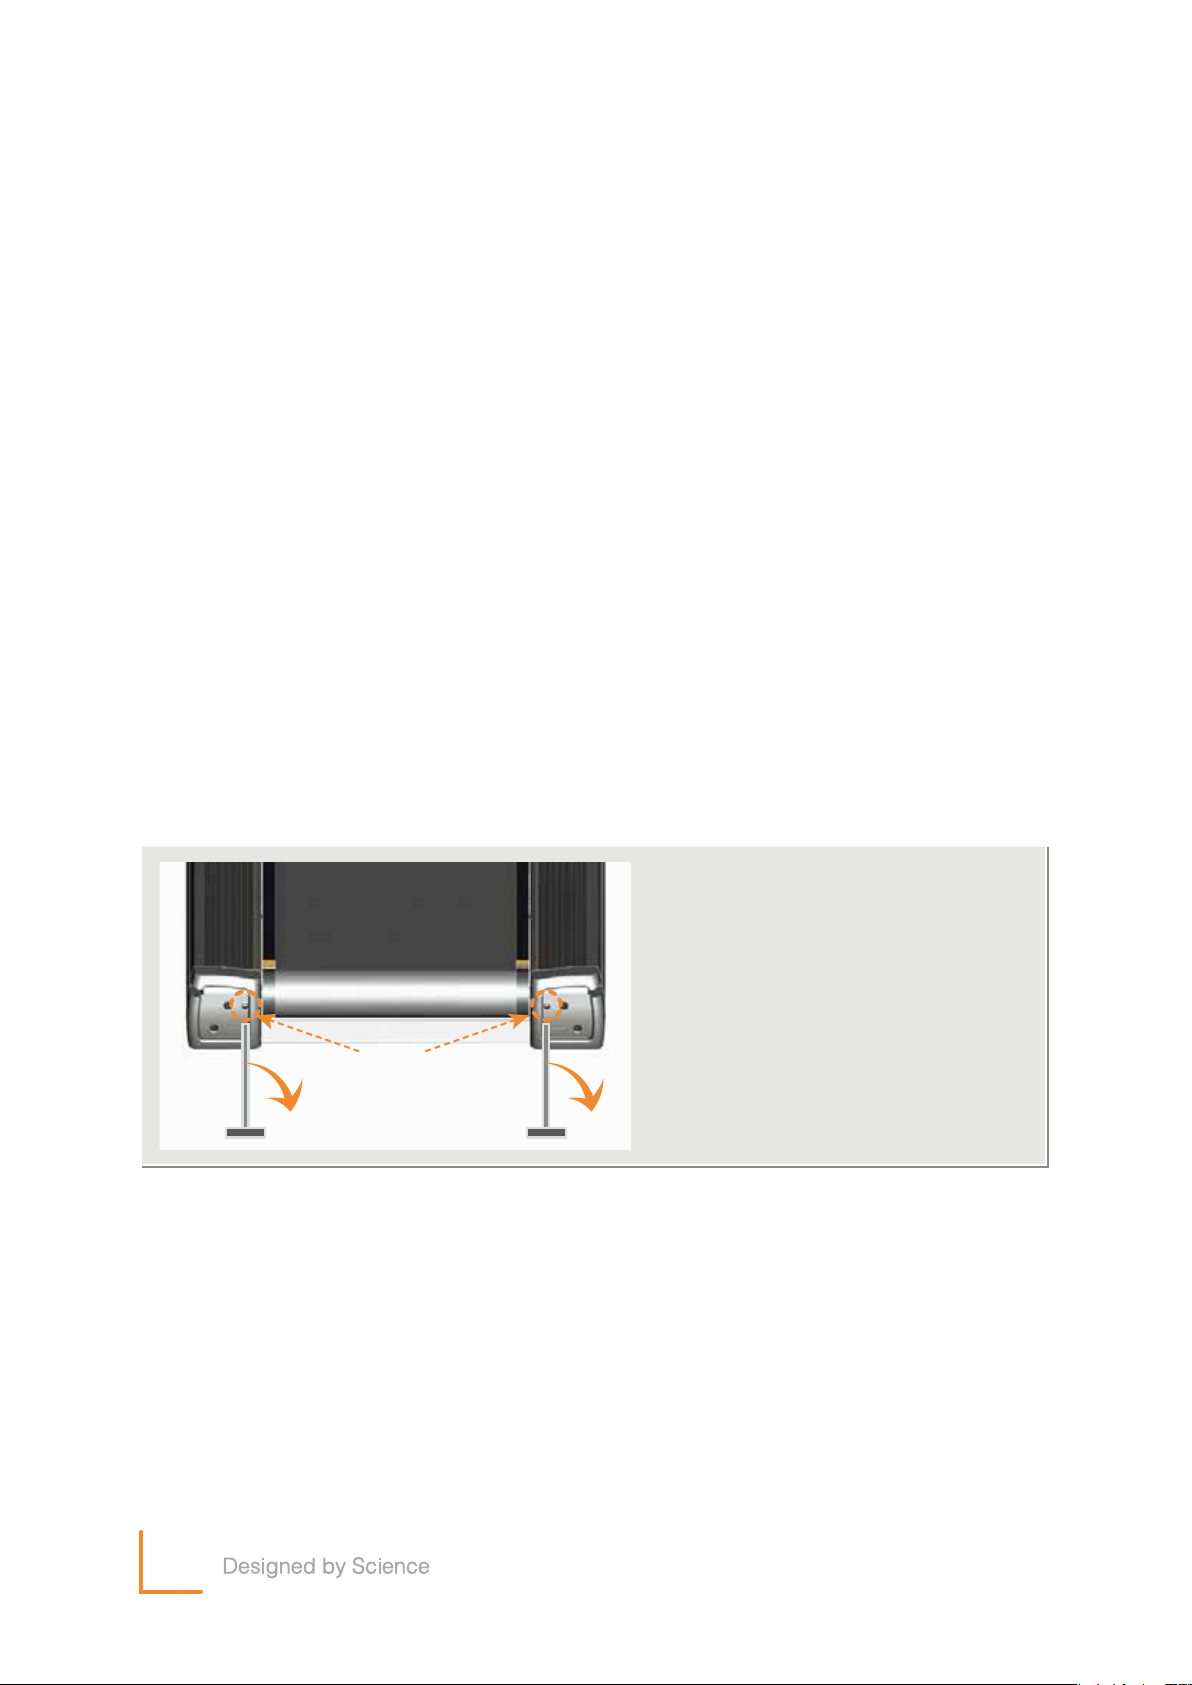
• Always ensure that this exercise equipment is installed on flat level ground prior to operation.
• Always ensure that this exercise equipment installed in a low humidity and low dust environment.
• Do not operate this exercise equipment prior to proper installation.
(Please refer to installation instructions)
• Always ensure that children and pets are kept off this exercise equipment.
• The maximum user weight supported by the exercise equipment is 180kg.(400lbs)
• Never allow more than one person on this exercise equipment at any one time.
• Always wear appropriate clothing and footwear when using this exercise equipment.
Do not wear baggy loose clothes.
• Always ensure that the machines power cord is neatly wrapped up and protected from being
walked on, pinched or damaged in anyway. A damaged power cord has the potential to cause
an electrical shock or fire.
• Do not remove the plug by pulling on the cord and do not handle the plug with wet hands.
This could result in electric shock, fire or damage to the cord and equipment.
• Do not allow uncontained food or drink on or near this exercise equipment.
• Regularly inspect this exercise equipment to ensure safe operation.
• There shall be a safe space of 2,000 × 1,000 mm (78.7” x 39.4”) behind the Treadmill.
Warning
Caution
2

3
2 INSTALLATION
PRECAUTIONS _
(1) Always ensure that this exercise equipment is installed on flat level ground and feet are leveled and
locked into place prior to operation.
(2) Always only use the grounding type power cord that is supplied with the exercise equipment.
(3) Always allow enough space to access the power switch located on the front of the treadmill.
① Display
④ Touch Type Heartrate Sensor
⑦ Support-Column
⑩ Foot
② Operation Panel
⑤ Emergency STOP Key
⑧ Motor room and Motor cover
⑪ Running Belt
③ USB & Earphone
⑥ Console
⑨ Incline
PART NAME _

NEW REDON
HOW TO MAKE INSTALLATION _
(1) Unpack the exercise machine from the transport packaging and remove all rubbish.
(2) Lay all of the components out in a clear manner and check that you have all of the components shown
below, if any of the components are missing please contact DRAX INC. Customer Support Center.
(3) Remove the motor cover from the treadmill base.
(4) Insert the communication cables into right hand side support column. Loosely attach the support
columns to the base frame using the 6x M12 bolts supplied (see Fig.1).
(5) Loosely attach the upper frame assembly to the top of the support columns using the 6x M8 bolts
supplied (see Fig.2).
Fig.1 Assembly between “Main Frame ASSY” and “ Support Column”
4
Components
- Main Frame ASSY
- Upper Frame ASSY
- Console Display ASSY
- Support Column
- Bolt and Nut Sets
- User’s Manual
Motoer
Cover
Support
Column
MAIN-Frame
ASSY
Upper Frame
ASSY
Cable Insertion
point
Console Display ASSY
Upper Frame ASSY
Support Column
Motor Cover
Main Frame ASSY

5
(6) Evenly tighten all of the M12 and M8 bolts, making sure that everything is lined up correctly and all
cables are free of any impingements.
Note: Recommended torque settings.
- M12 Bolt : 30 Nm
- M8 Bolt : 20 Nm
(8) Remove the rear cover from the console by unscrewing the 5 Philips head screws (see Fig.3).
(9) Fit the console main display unit to the treadmill using the 4x M8 bolts supplied (see Fig.4).
Be sure to check that the console guide lugs (Fig.5) are lined up before tightening the mounting bolts.
(10) Connect all communication/power/TV cables to the console.
※ Attention : Before connecting any cables ensure that the treadmill is disconnected from
mains power.
(11) Re-fit the console rear cover using the 5x Philips head screws.
(12) Re-fit treadmill motor bay cover.
Rear Cover
Front Cover
Console guide rib(2point)
Fig.2 Assembly “Front Cover” and “Rear Cover”

(13) Plug the tr eadmill in and power it up.
NOTE : Do not stand on the treadmill during power up phase.
Reference : Cable-connection depends upon the treadmill model
NEW REDON
HOW TO CHECK OPERATION _
(1) Plug the power cord into an appropriate outlet and turn the treadmill ON.
(2) Once the treadmill has gone through its initial boot up phase, you can run the treadmill belt and
check the belt alignment and tension(see 2-5 Adjustment of belt tension).
(3) Once belt adjustment is complete, you can start testing all functions and features (for more details,
see Page 8 “How to use”). During this testing phase listen for any abnormal noises or vibrations.
(4) If any problems are found during the testing phase, please contact DRAX INC. Customer Support
Center.
(5) During operating the treadmill, check whether abnormal noise/vibration occurred or not.
If abnormal noise/vibration is detected, don’t operate the treadmill.
Contact DRAX INC. Customer Support Center.
(6) Check whether running belt is centered or not between the left/right roller-side. If not, adjust the
belt-centering according to “Adjustment of Belt-Tension” instruction.
6
DRAX Inc.
Address : 26, Jeonpa-ro 62Beon-gil, Manan-gu, Anyang-si, Gyeonggi-do, 14086, KOREA
Tel : +82-31-459-8530 Fax : +82-31-459-8531
E-mail : drax@draxfit.com

ADJUSTMENT OF BELT-TENSION _
(1) Run the treadmill belt up to 5km/h for approximately 1 minute, watch the belt alignment at the
rear roller. The belt should sit in the middle of the rear roller.
(2) If the belt is tracking closer to the right hand side of the machine use an 8mm Allen key wrench and
tighten the right hand side roller adjustment bolt (see pic below) by ¼ of a turn in the clockwise direction.
Then monitor the belt running for another minute. Keep repeating this procedure until the belt is
centered on the rear roller.
(3) If the belt is tracking closer to the left hand side of the machine use an 8mm Allen key wrench and
tighten the left hand side roller adjustment bolt (see pic below) by ¼ of a turn in the clockwise direction.
Then monitor the belt running for another minute. Keep repeating this procedure until the belt is
centered on the rear roller.
(4) If the belt is running in the centre of the roller but slipping under the foot when walking simply tighten
both right and left hand roller adjustment bolts ¼ of a turn in the clockwise direction. Repeat this
procedure until the belt stops slipping. If slipping continues please contact customer support.
NOTE : To access the roller adjustment bolts you will have to slide the Allen key wrench through
the access hole in the end caps (see picture below).
7
NOTE :
Do not over tension the running belt.
If the belt continues to slip after multiple
attempts to tension it, please contact
DRAX INC.
Customer Support Center.
Adjustment of
Belt-Tension

NEW REDON
3 HOW TO USE
DETAIL OF DISPLAY CONSOLE _
① START / STOP Button
Used to start and stop the exercise program.
② Emergency STOP Key
The emergency stop lanyard must be securely connected/clipped to the user prior to starting the
treadmill. In the case of a trip/fall or other emergency, the emergency magnet will be pulled from
the machine and all of the machines operations will be stopped. To continue the workout simply
replace the emergency stop magnet on to the machine and restart the workout.
③ Incline control lever
Used to incline or decline the treadmill gradient.
④ Speed control lever
Used to increase or decrease the speed of the running belt.
⑤ Touch type Heartrate Sensor
When the user holds both right hand and left hand heart rate sensors simultaneously the users heart
rate will be displayed on the treadmill screen. Note: the displayed heart rate is only a guide and not
to be relied on as a medical instrument.
8
① Start/Stop Button
④ Speed control lever
② Emergency STOP Key
⑤ Touch type Heartrate Sensor
③ Incline control lever

9
SPEEDSYNC TYPE _
① Main Screen
Displays TV / Internet / Screen-mirroring / Workout Programs etc.
② Emergency Display
Displays critical workout metrics like, Time / Distance / Level / Calories / Heart rate etc.
③ USB
Multi media port : Plug a USB flash drive in and enjoy watching your very own movies, music videos,
or photos on the machines large display screen. Supports USB 2.0
④ Earphone Jack
Plug your headphones or earphones in to listen to what ever you are watching on the screen.
⑤ Program Button
Program : Select a preset exercise programs.
Cool Down : Instantly starts the cool down program regardless of where you are at in your workout.
Pause : Pauses the workout.
① Main Screen
④ Earphone Jack
⑦ SpeedSYNC
② Exercise Display
⑤ Program Button
⑧ Quick Speed Button
③ USB
⑥ Keypad

NEW REDON
⑥ Keypad
- ON/OFF : Switch the main screen on and off.
- MENU : Used to enter menu options.
- Mirroring : Mirror your Android or IOS device screen directly to the machines main screen.
- OK : OK Button.
- CANCEL : Used to exit menus.
- Navigation Arrows : CH▲, CH▼, VOL◀, VOL▶
These buttons are used to change TV channels, adjust TV.
⑦ SpeedSYNC
Used to toggle the treadmill into speed sync mode.
This allows the treadmill to automatically adjust speed based on the users position on the machine.
Eg. User moves forward on the machine the running belt will speed up.
If the user moves back on the machine the running belt will slow down.
- Excite : When excite mode is selected the Speed Sync feature is dynamic and quick to react.
This feature is well suited to users who plan on running on the treadmill.
- Comfort : When comfort mode is selected the Speed Sync feature will react much slower and the
top speed of the treadmill will be limited. This feature is most suited to users who prefer
to walk on the treadmill or beginners getting used to how Speed Sync works.
⑧ Quick Speed Button (3Km/h, 6Km/h, 9Km/h)
Three pre-set speed buttons used to quickly select or toggle between speeds with one touch of a button.
Note, this feature does not work with Speed Sync.
10

NORMAL TYPE _
① Main Screen
Main Screen : Displays TV / Internet / Screen-mirroring / Workout Programs etc.
② Exercise Display
Displays critical workout metrics like, Time / Distance / Level / Calories / Heart rate etc.
③ USB
Multi media port : Plug a USB flash drive in and enjoy watching your very own movies, music videos,
or photos on the machines large display screen. Supports USB 2.0
④ Earphone Jack
Plug your headphones or earphones in to listen to what ever you are watching on the screen.
⑤ Quick Incline Buttons(0%, 3%, 6%)
Three pre-set incline buttons used to quickly select or toggle between inclines with one touch of
a button.
⑥ Keypad
- ON/OFF : Switch the main screen on and off.
- MENU : Used to enter menu options.
- Mirroring : Mirror your Android or IOS device screen directly to the machines main screen.
- OK : Used to confirm functions.
- CANCEL : Used to exit menus.
- Navigation Arrows : CH▲, CH▼, VOL◀, VOL▶
These buttons are used to change TV channels, adjust TV.
⑦ Program Button
Program : Select a preset exercise programs.
Cool Down : Instantly starts the cool down program regardless of where you are at in your workout.
Pause : Pauses the workout.
⑧ Quick Speed Button (3Km/h, 6Km/h, 9Km/h)
Three pre-set speed buttons used to quickly select or toggle between speeds with one touch of a button.
Note, this feature doesn’t work with Speed Sync.
11
① Main Screen
④ Earphone
⑦ Program Button
② Exercise Display
⑤ Quick Incline Button
⑧ Quick Speed Button
③ USB Port
⑥ Keypad

TV
Enjoy watching free to air TV.
Once TV is selected, either touch the screen and use ‘CH +/-’ or alternatively use the ‘CH ▲/▼’ hard
buttons located on the operating panel to scroll through the available channels.
VIDEO
Enjoy watching your own movies/shows or music videos by plugging your USB flash drive directly into
the provided USB slot below the screen.
WORKOUT
Choose one of many available preset workout programs to help you achieve your fitness goals.
INTERNET
Enjoy surfing the web, watching YouTube, or checking in to your social media directly on the machines
main screen.
VTOUR
Enjoy running through a number of virtual cities that are stored within the machine.
MIRRORING
Enjoy mirroring your Android or IOS device screen directly to the machines main screen.
MAIN SCREEN _
Android based system : Comes preloaded with various functions such as TV, video, internet, virtual
tour etc.
NEW REDON
4 FUNCTION OF PROGRAM
12
Caution
Incorrect SETUP settings may cause some system to malfunction

13
3. Select your preferred Wi-Fi network from the list of available networks.
4. Enter the networks password when prompted.
5. Press the ‘cancel’ button to exit.
WI‒FI SETUP _
1. Press “SETUP” button located in the bottom right hand corner of the main screen.
2. Press ‘Admin Setup’ followed by ‘WiFi Setup’.
Note - Password : 1100

BLUETOOTH SETUP _
1. Press ‘Setup’ button located in the bottom right hand corner of the main screen.
2. Press ‘Bluetooth Setup’ and choose from the list of available devices.
TV SETUP
_
1. Press ‘Setup’ button located in the bottom right hand corner of the main screen.
2. Press ‘Admin Setup’ followed by ‘TV Setup’.
NOTE - Password : 1100
3. Press ‘Menu’ located within the pop-up key pad on the right hand side of the main screen.
4. Press ‘Up/Down’ buttons to highlight the desired menu then use the ‘OK’ button to select the desired
menu.
5. Select ‘Tuner Mode’ and then choose between ‘Antenna’ or ‘Cable’ based on which system is available
to you .
6. Select ‘Channel Scan’ and press ‘OK’.
7. Once the channel scan is finished press the ‘cancel’ button to exit.
NEW REDON
14

15
MIRRORING SETUP _
1. Enter the screen mirroring menu by pressing the ‘Mirroring’ hard button located on the keypad below
the screen, or alternatively, press the ‘mirroring’ button located on the main touch screen.
2. Note the machines mirroring ID number which will be displayed on the bottom right hand side of
the main screen. You will need this ID number when selecting the machine on your mobile device.
TV SETUP (TV Model) _
1. Press 'MENU' button to select 'Antenna'.
3. Once you have accessed screen mirroring on your mobile device, select the machine ID that corresponds
to the machine you are using (ie. DRAX 463 shown in the above picture).
4. Once mirroring is connected your mobile device screen will appear on the machines main screen.
Note : you can not operate your mobile device from the machine. The machine will only display
what is on your mobile device screen.

2. Press 'MENU' button for more 2 seconds and the
menu mode appears.
3.
▲,▼,◀,▶ Use this button to select 'Auto Tuning'
mode.
4. ▲,▼,◀,▶ Use this button to select your country
then press ‘OK’.
NEW REDON
16

5 FEATURES BY MODEL
INCLINE SUPPORTED MODEL SERIES _
MODEL
SPEED
SpeedSYNC SYSTEM
(Patented)
INCLINE
MOTOR
ROLLERS
MOTOR CONTROL
RUNNING SPACE
DIMENSIONS
WEIGHT
MAX. USER WEIGHT
DISPLAY
EXERCISE INFORMATION
HEART RATE MONITORING
ENTERTAINMENT
Android OS System
Touch Screen
POWER
EMERGENCY STOP
NR
30
SXA
NR
30
XA
NR
30
SX
NR
30
EX
NR
30
X
NR
25
SXA
NR
25
XA
NR
25
SX
NR
25
EX
NR
25
X
NR
20
SXA
NR
20
XA
NR
20
SX
NR
20
EX
NR
20
X
SAFETY STOP
SENSOR DETECTION OF USER
0.8~25 km/h (0.5 ~ 15.5 mph)
●-●- -●-●- -●-●- -
0~22 % (Patented Dual Incline) 0~16 % (Patented Dual Incline)
0.8~25 km/h (0.5 ~ 15.5 mph)
AC 3HP (Max. 5HP treadmill duty) AC 2HP (Max. 3HP treadmill duty)
Ø100 mm (3.9”)
Sensorless Vector Control
520x1580 mm (20.5” x 62.2”) Patented Floating Deck System
928 x 2165 x 1640 mm (36.5” x 85.2” x 64.5”) WxLxH
190 kg (420 lbs)
180 kg (400 lbs)
Embedded 21.5 inch LCD additional White 6 FND
Speed, Incline, Time, Distance, Calories, Heart Rate
Touch Heart Rate, Wireless Heart Rate(Optional)
HDTV (ATSC, DVB)
Smart Phone Mirroring (Android, iOS auto recognition)
USB connectivity, Stereo Headphone Connectivity
AC 220-230V, 50/60Hz, 2.2kW (it can be different specification according to country of electric POWER supply conditions)
Magnetic Holder Type
0.8~20 km/h (0.5 ~ 12.4 mph)
●-●●-●-●●-●-●●-
●
●
-
-
●
●
-
-
●
●
-
-
17

INCLINE NON-SUPPORTED MODEL SERIES _
MODEL
SPEED
SpeedSYNC SYSTEM
(Patented)
INCLINE
MOTOR
ROLLERS
MOTOR CONTROL
RUNNING SPACE
DIMENSIONS
WEIGHT
MAX. USER WEIGHT
DISPLAY
EXERCISE INFORMATION
HEART RATE MONITORING
ENTERTAINMENT
Android OS System
Touch Screen
POWER
EMERGENCY STOP
NR
30
SA
NR
30
A
NR
30
S
NR
30
E
NR
30
NR
25
SA
NR
25
A
NR
25
S
NR
25
E
NR
25
NR
20
SA
NR
20
A
NR
20
S
NR
20
E
NR
20
SAFETY STOP
SENSOR DETECTION OF USER
0.8~25 km/h (0.5 ~ 15.5 mph)
●-●- -●-●- -●-●- -
-
0.8~25 km/h (0.5 ~ 15.5 mph)
Ø100 mm (3.9”)
Sensorless Vector Control
520x1580 mm (20.5” x 62.2”) Patented Floating Deck System
928 x 2165 x 1640 mm (36.5” x 85.2” x 64.5”) WxLxH
180 kg (400 lbs)
180 kg (400 lbs)
Embedded 21.5 inch LCD additional White 6 FND
Speed, Time, Distance, Calories, Heart Rate
Touch Heart Rate, Wireless Heart Rate(Optional)
HDTV (ATSC, DVB)
Smart Phone Mirroring (Android, iOS auto recognition)
USB connectivity, Stereo Headphone Connectivity
AC 220-230V, 50/60Hz, 2.2kW (it can be different specification according to country of electric POWER supply conditions)
Magnetic Holder Type
0.8~20 km/h (0.5 ~ 12.4 mph)
●-●●-●-●●-●-●●-
●
●
-
-
●
●
-
-
●
●
-
-
AC 3HP (Max. 5HP treadmill duty) AC 2HP (Max. 3HP treadmill duty)
NEW REDON
18

6 MAINTENANCE
TROUBLE SHOOTING _
•
Machine has no power
- Check the power supply by plugging another device into the power point.
- Check the power switch on the machine.
- Check the power cord is connected properly at both ends.
- Remove the power cord from the power supply and inspect it for damage.
- If the problem continues contact DRAX INC. Customer Support Center.
• Treadmill Belt is slipping
- Refer to section 2.5 of this manual ‒ Adjustment of Belt Tension.
• Rubbing or scraping sound coming from the machine
- Check for any foreign objects that might be lodged underneath the machine.
- Check the tracking of the running belt.
• Speed Sync feature is unresponsive
- Switch the treadmill off at the power supply and wait for 1 minute.
Then switch the power back on re starting the treadmill. Note: Make sure that there is no one on
the treadmill during the start up. The treadmill calibrates the load cells under the treadmill deck
during start up. If there is weight on the deck during this period the machine will not calibrate correctly
causing the Speed Sync to be un responsive.
• Treadmill Suddenly Stops
- Check that the Emergency-stop hasn’t been activated.
Always only use the grounding type power cord that is supplied with
the exercise equipment.
Notice
Please Contact DRAX INC. Customer Support Center for assistance.
Notice
19
This manual suits for next models
29
Table of contents
Other DRAX Treadmill manuals