4/57
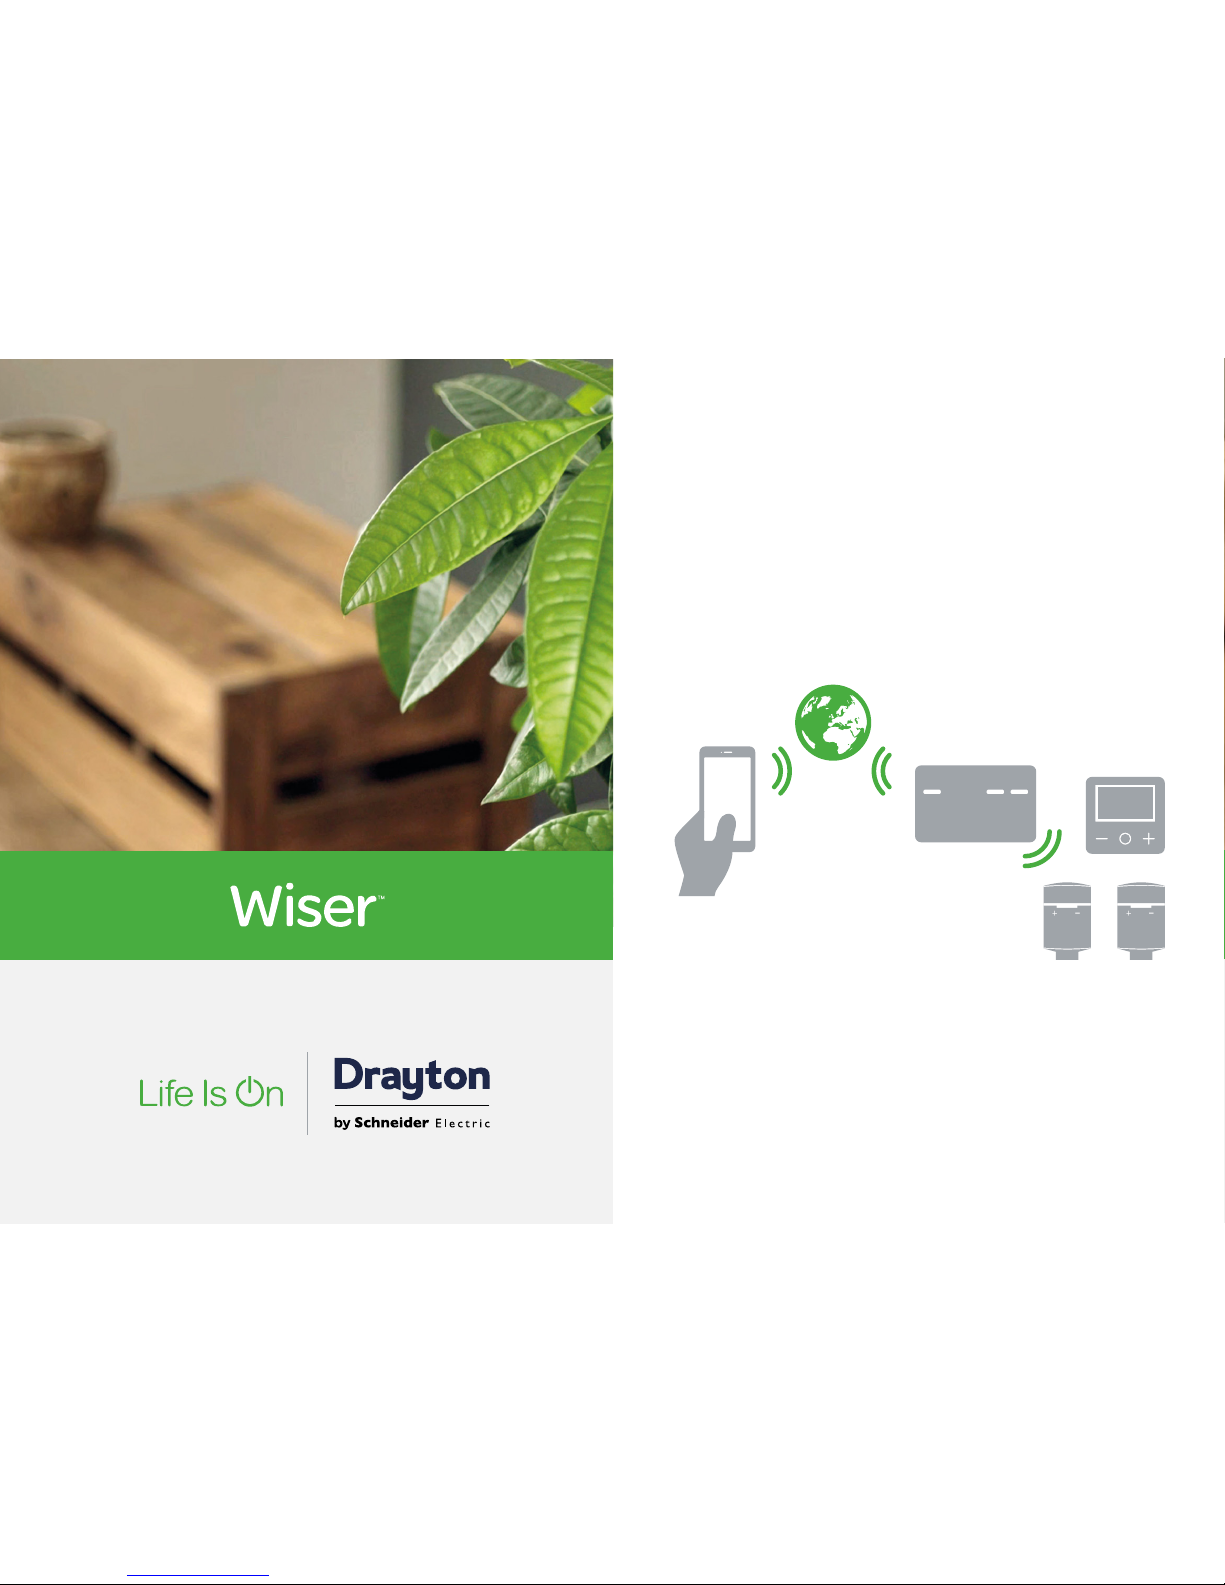
Wiser system
I need to know how to ...
Wiser System .........................................1
Getting to know the Wiser system .........................2
Three key steps to success ..............................3
I need to know how to ... ................................4
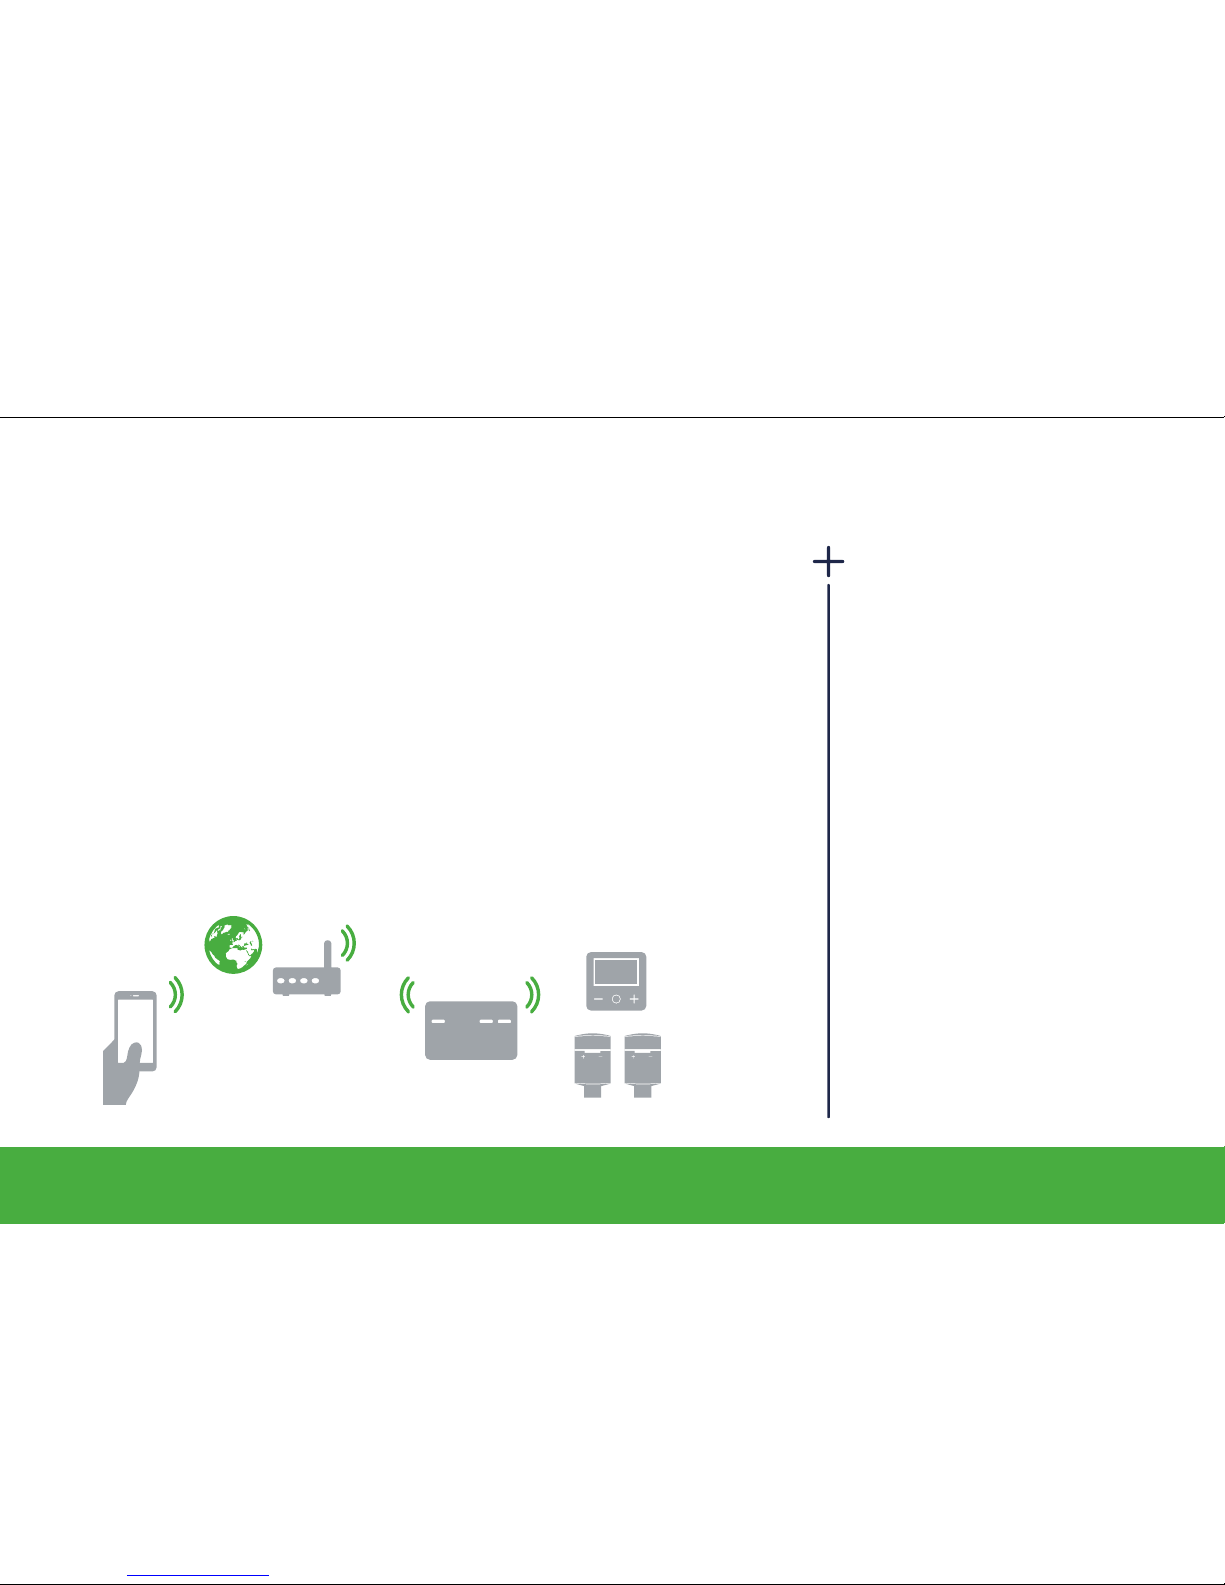
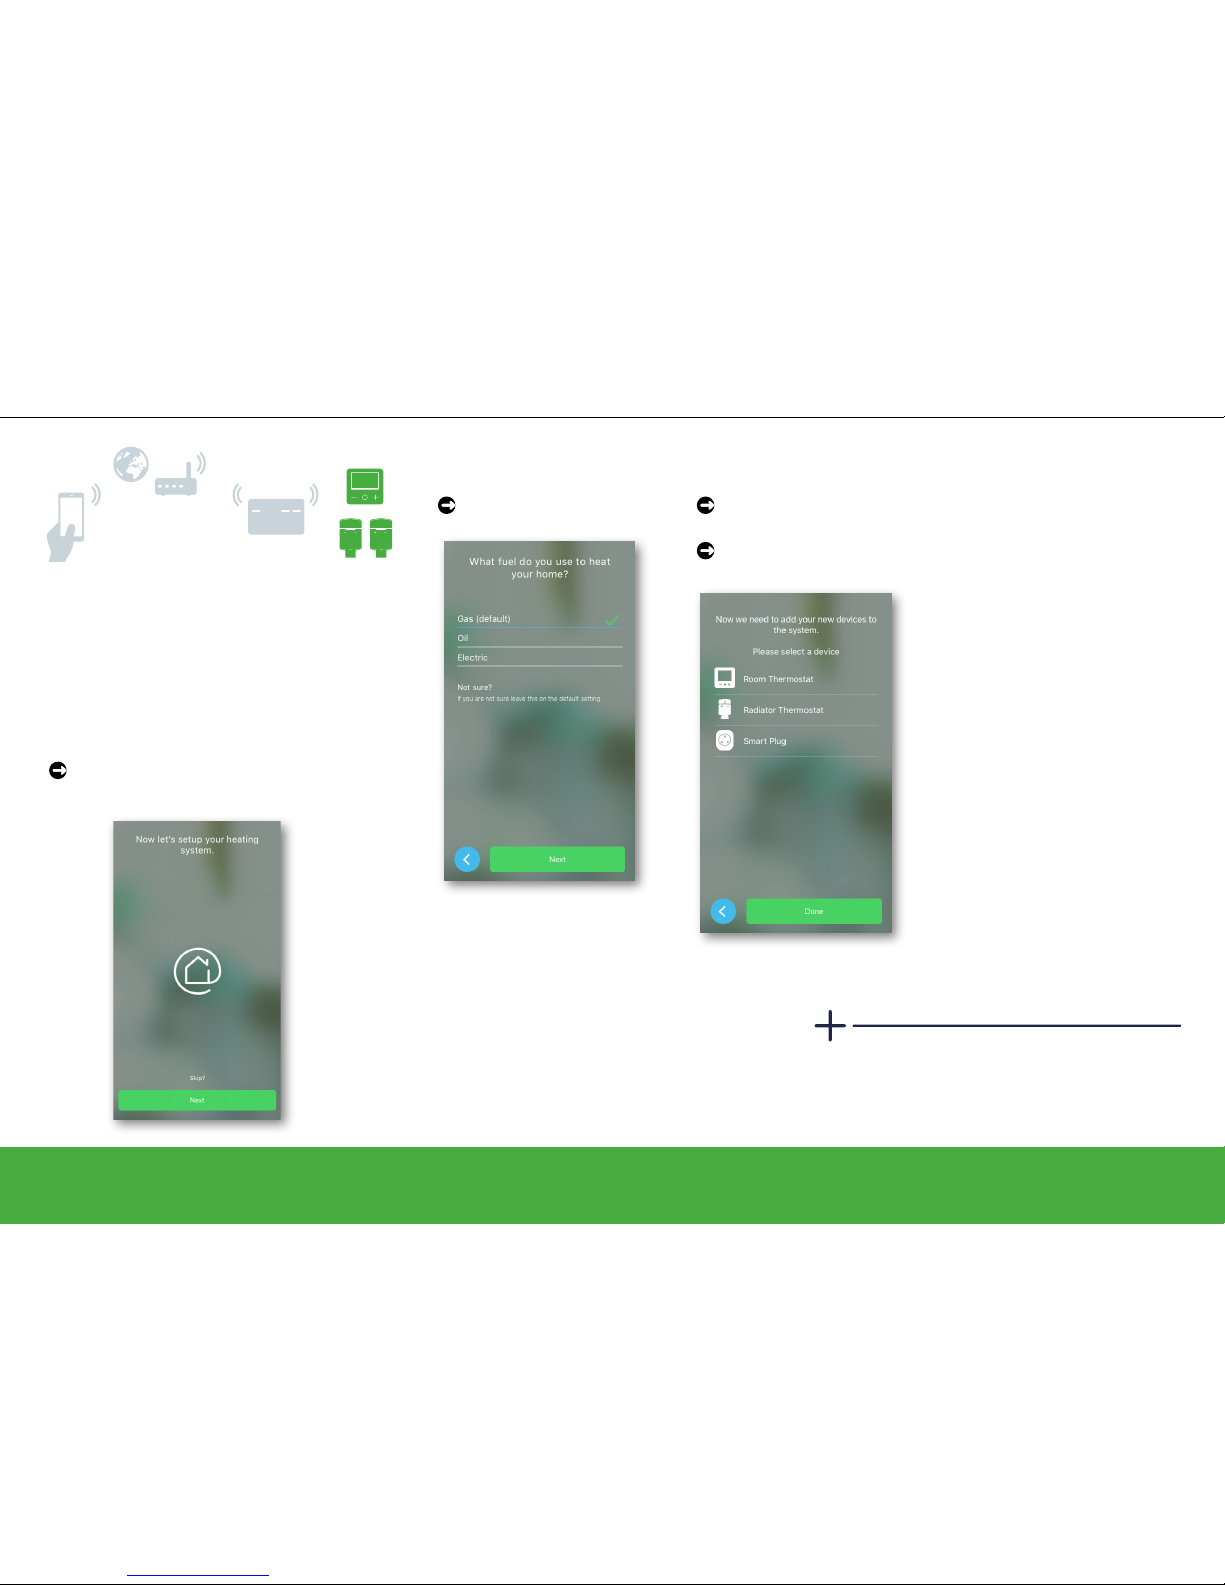
Set up a system .......................................6
Connect the Heat HubR.................................7
Step 1: Download the Wiser Heat app....................7
Step 2: Connect your mobile device .....................8
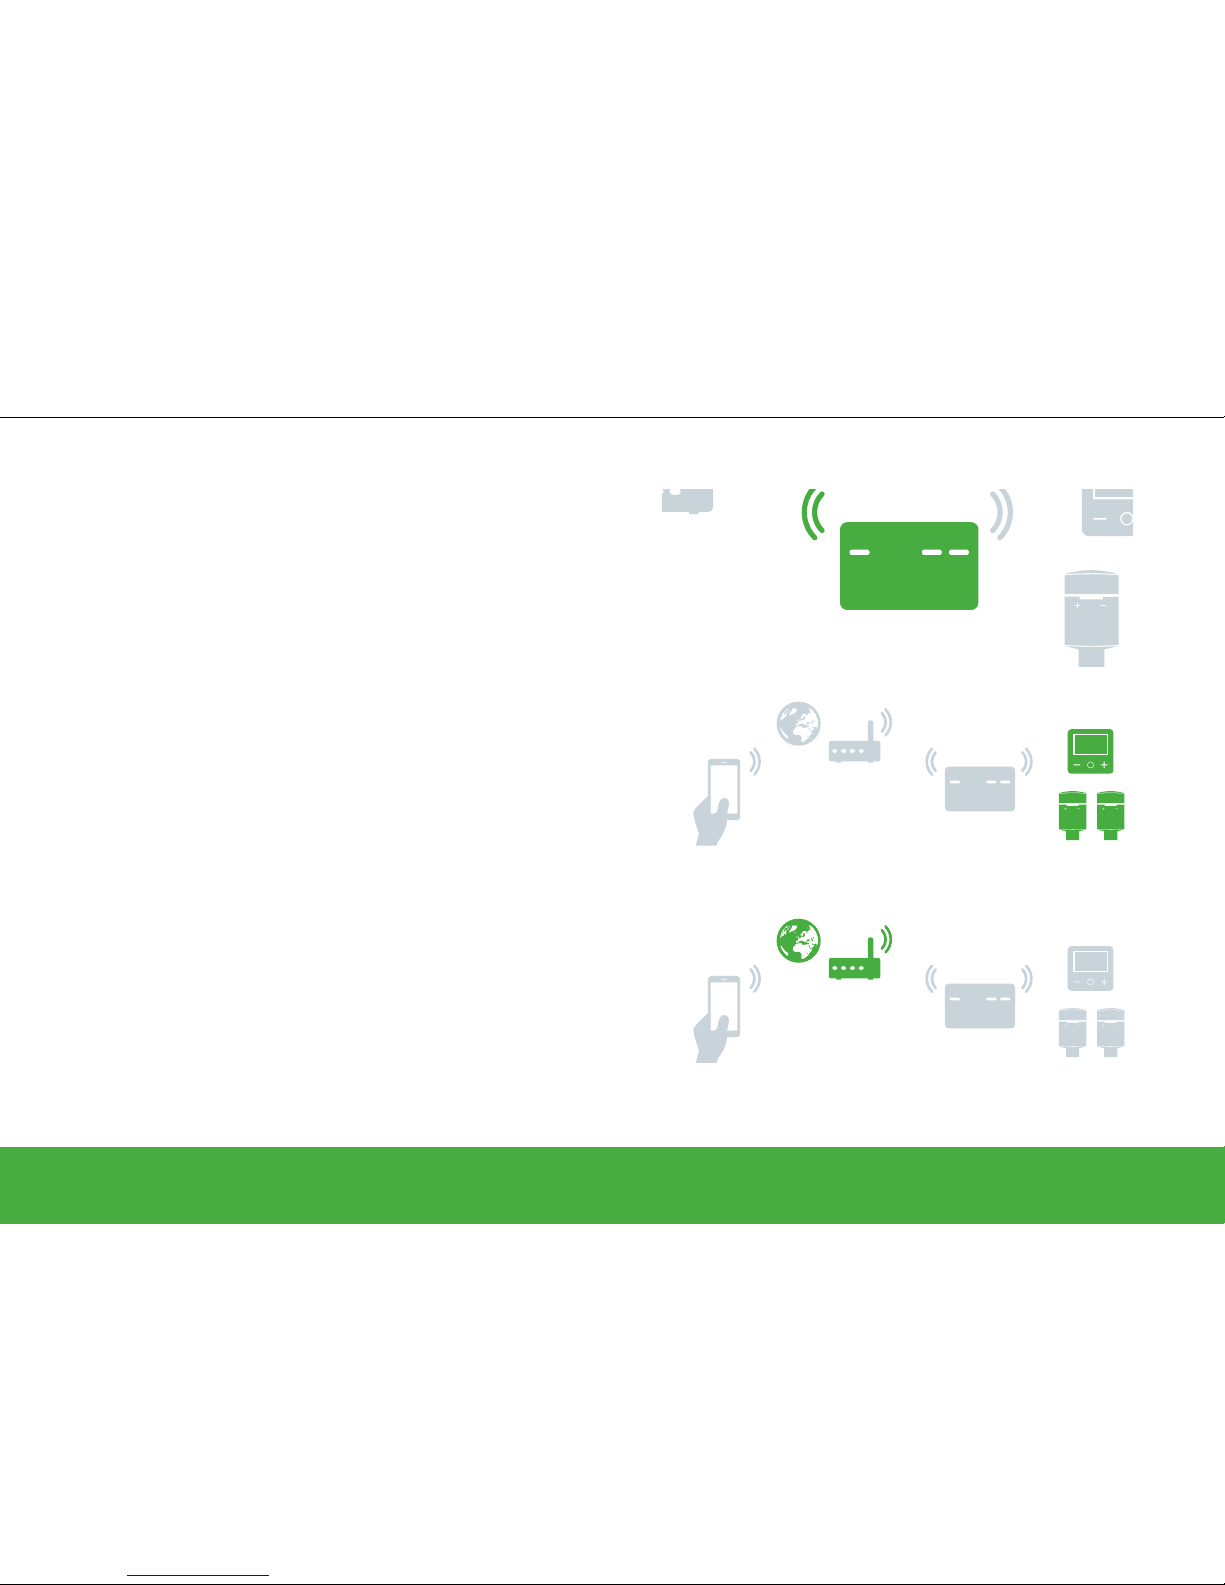
Step 3: Join devices to the Heat HubR ...................9
Add a Room Thermostat ............................10
Add a radiator Thermostat...........................11
Add a smart plug ..................................12
Select a channel of a 3-channel Heat HubR.............13
Do you have an OpenTherm®boiler? ..................13
Gas, oil or electric? ................................13
Connect it all to the Internet .............................14
Step 4: Join the Heat HubRto your home Wi-Fi ............14
Account registration .................................15
Control your heating ..................................16
Open and start .......................................17
First access - Good to know . . . . . . . . . . . . . . . . . . . . . . . . . . 17
Home view and what it displays........................18
Room view and what it displays........................19
Operate ............................................20
Set the room temperature ............................20
Boost the room temperature ..........................21
Controlling hot water ................................22
Boost hot water ....................................23
Two ways to access the schedule ......................24
How to edit the schedules ............................25
How to add new rooms and devices ....................26
What can I do in settings? ............................27
Room Details . . . . . . . . . . . . . . . . . . . . . . . . . . . . . . . . . . . . . . 28
Device Details .....................................29
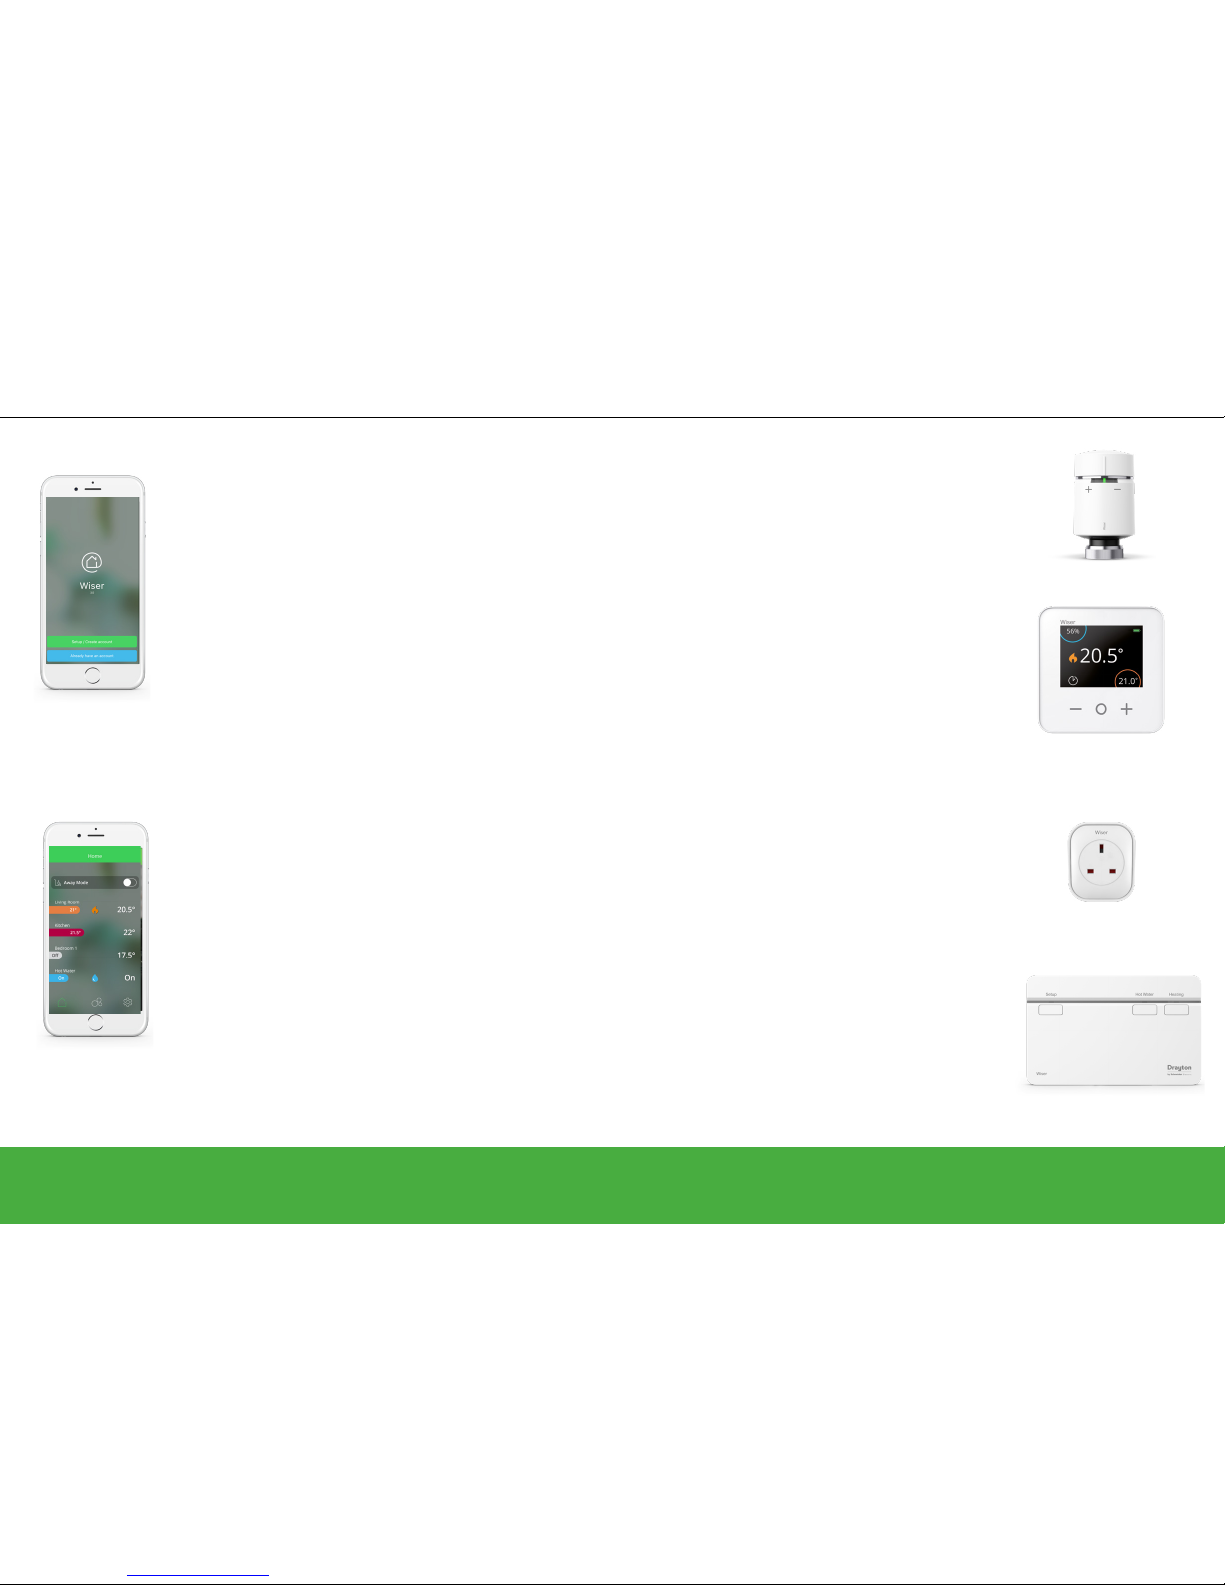
Wiser Room Thermostat ...............................30
Operate ............................................32
Getting to know the room thermostat....................31
Set a room temperature ..............................32
Replace the batteries ................................33
Wake up the Room thermostat ........................33
Reset the Room thermostat ...........................33
Heat HubROne Channel .............................34
Heat HubR,2 Channel Heat HubR,3 Channel Heat HubR. . . 34
Getting to know the Heat HubR........................35
Reset the Heat HubR................................35
What do the buttons do? .............................35
Wiser Radiator Thermostat .............................36
Operate ............................................37
Getting to know the radiator thermostat..................37
How to boost the room temperature.....................37
Replace the batteries ................................38
Reset the radiator thermostat..........................38
Install a valve adapter ...............................38
Wiser Plug...........................................39
Operate ............................................40
Getting to know the smart plug ........................40
Scheduling the smart plug . . . . . . . . . . . . . . . . . . . . . . . . . . . . 41
Installing your Wiser Multi-zone Kit .....................42
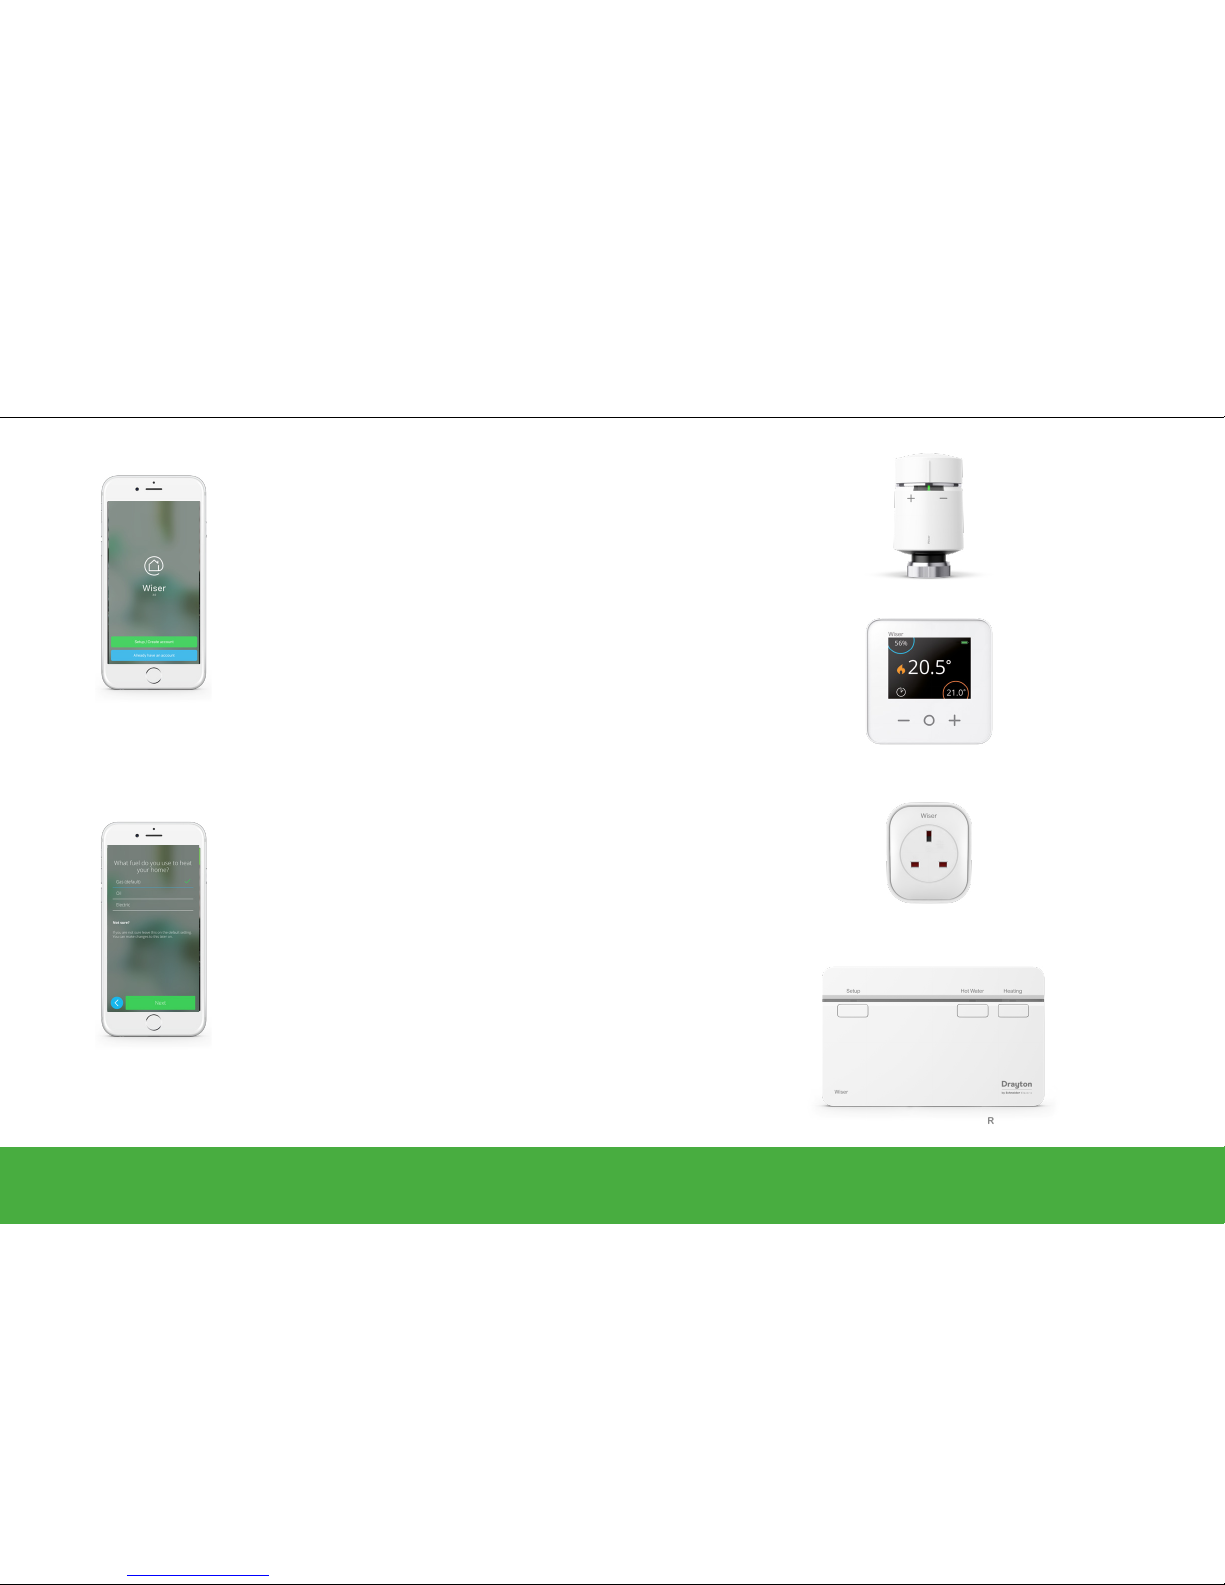
Wiser Radiator Thermostat
Wiser Room Thermostat
Wiser Plug
Wiser Heat HubR