- 10 -
2.2 CONNECTING THE HEATER TO ELECTRIC NETWORK
Heater - connect to fixed supply.
The appliance must be connected with a protective conductor! Electric installation of heaters
with fixed connection shall only be performed by an authorised firm holding a licence
for works on electric equipments. Correctness of installation must be confirmed
in the warranty certificate. Without that confirmation, the warranty for the product
is not applicable!
Parts that require intervention in the electric part of the appliance shall only be replaced with an authorised
electric service shop! Failing to follow the instructions advised by the manufacturer constitutes cessation
of the title to warranty repair!
2.3 MAINTENANCE INSTRUCTIONS
Maintenance of flow heater is very simple. It is only limited to maintaining its surface cleanliness, checking
the cleanliness of the sieve in the cold water inlet, andcleaning of the pearlator or the shower element.
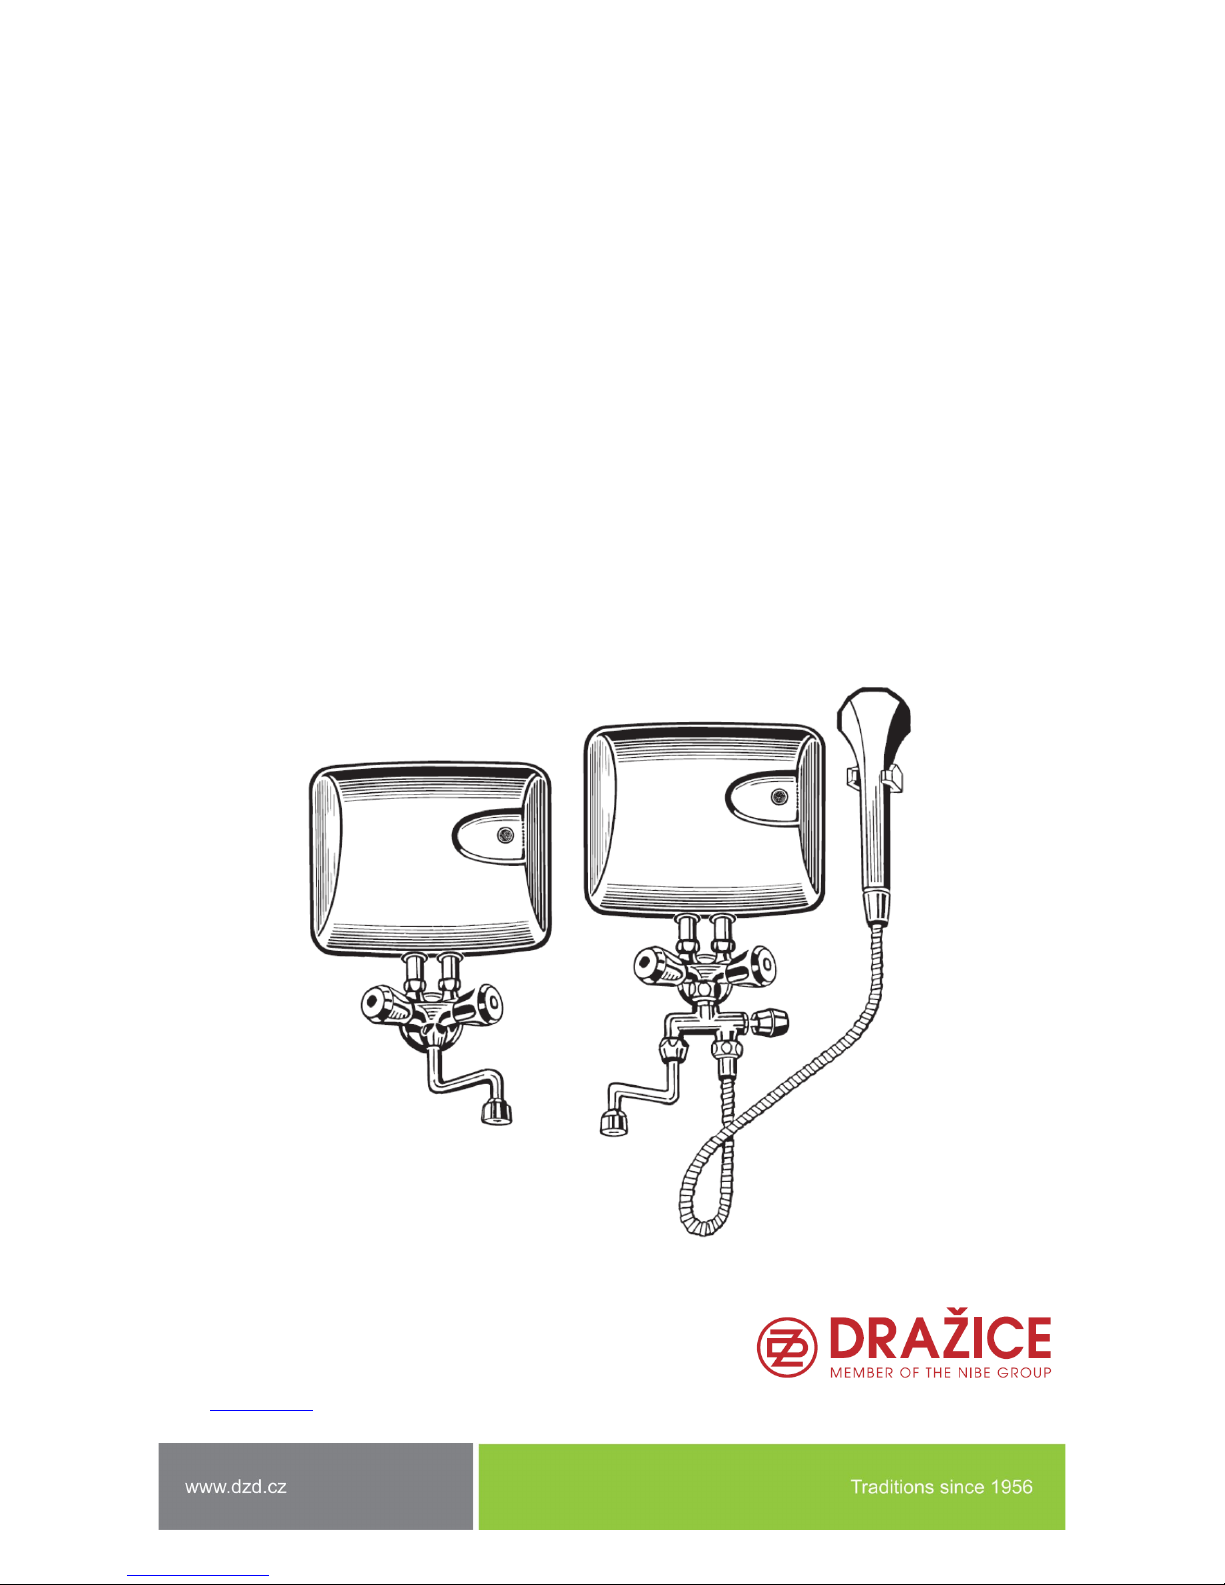
Pearlator
During cleaning, unscrewthe pearlator from the swivel arm.Take the element out and clean the holes of it.
Proceedin the opposite manner to assemble it.
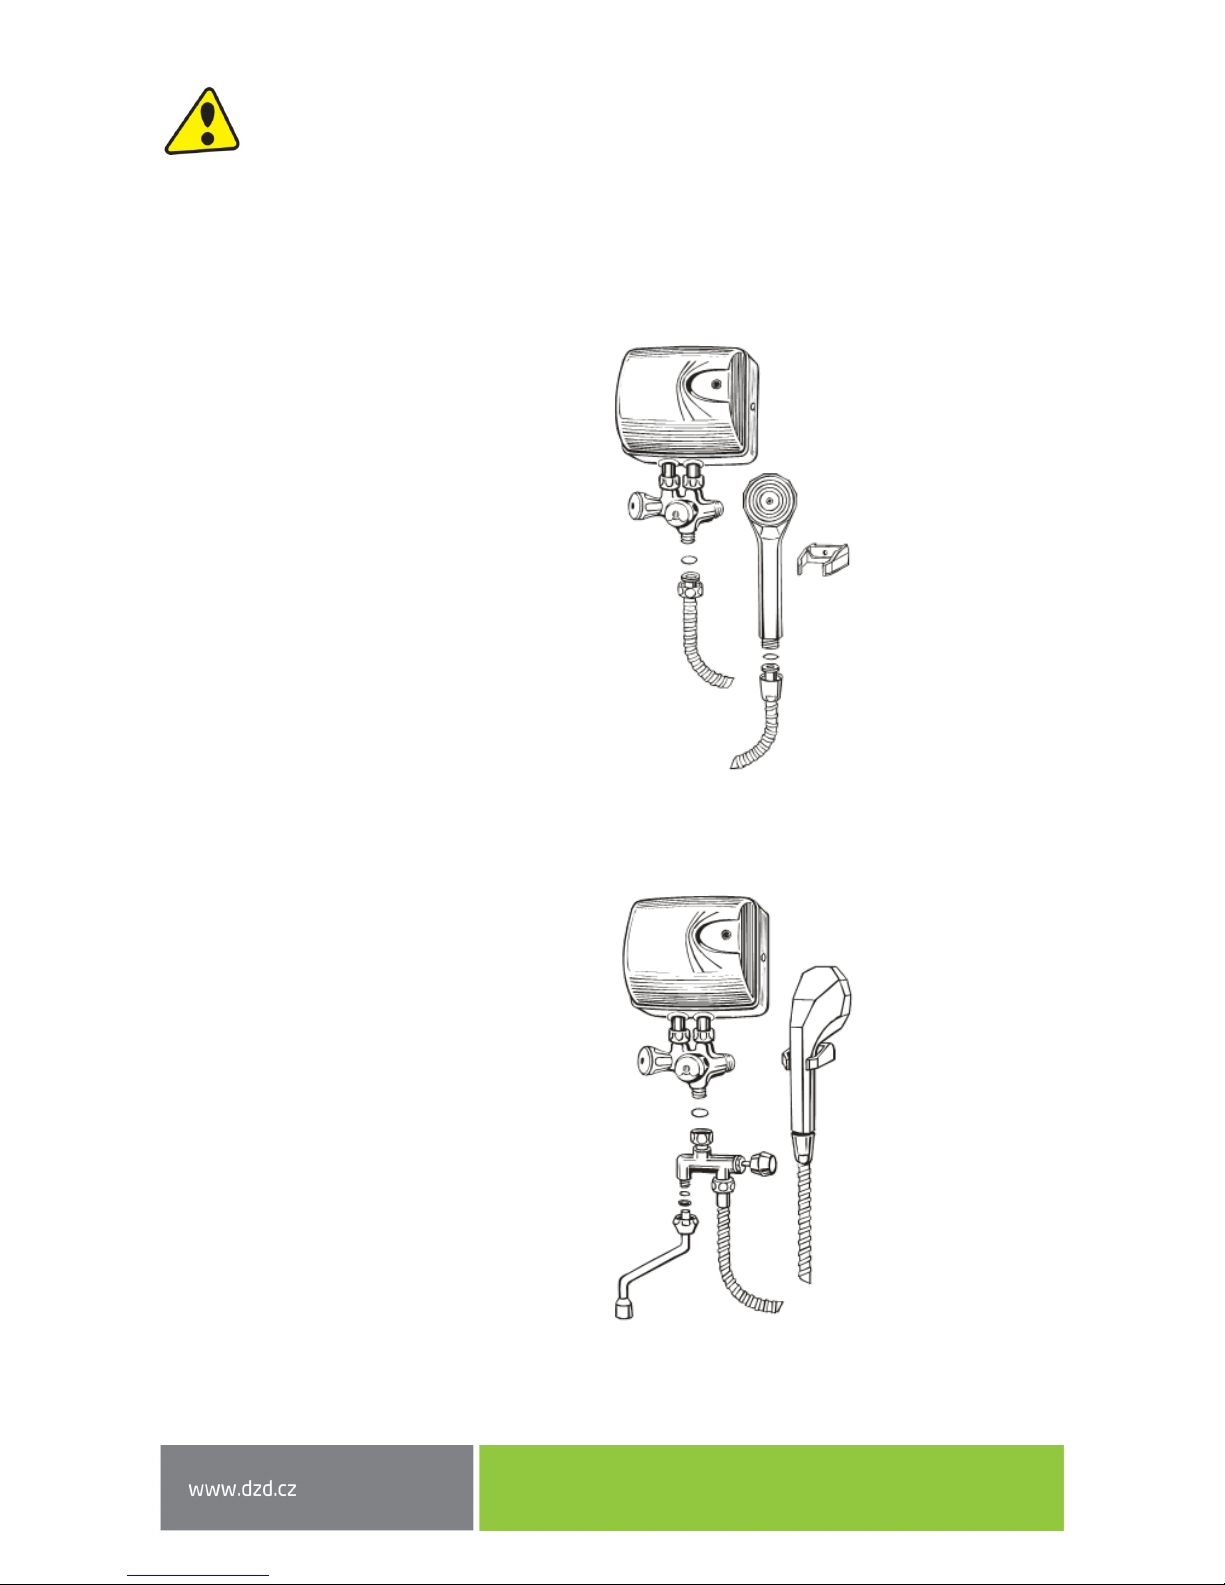
Shower element
When cleaning the shower element, loosen the screw on the front drain surface. Take outindividual elements
andcleanthe flow channels on theperiphery of the elements, e.g. using asoft brush. Proceedin the opposite
manner to assemble it.
If,despite the cleaning, the water flow of the heater is lower, you needto cleanthe screen in the water inlet
to theheater.
Cleaning the screen in the water inlet
First disconnect the appliance using the protection element from the power supply and familiarise other
heater users with its disconnection. Then close the water supply. Dismantle the heater from the wall
and from the water inlet. Cleanthe screen(sieve) andproceedin the opposite manner to mount the heater
back on.
Protection from freezing and damage due to frost
If the flow heater is mounted at aplace with arisk of freezing in winter (e.g. cottagesor cabins not occupied
in winter), the appliance hasto be dismantled and storeit in such manner to avoid its exposureto frost. Pure
removal of residual water in theheating element andlabyrinth by blowing throughthe drain arm
is not enough, and does not protect against damagecaused by frost.
If the stated instructionsarenotfollowed andthe appliance gets damagedby frost, the title
to warranty repair ceases dueto improper use of the product.