manuals.online logo
Brands
  1. Home
  2. •
  3. Brands
  4. •
  5. Drieaz
  6. •
  7. Fan
  8. •
  9. Drieaz TurboDryer Sahara E User manual

Drieaz TurboDryer Sahara E User manual

07-01758B 1 Legend Brands, Inc.
SaharaETurboDryer
230V/50HzModel
Owner’s Manual
The Sahara E is a high-performance airmover for accelerated drying of building
structures and contents. The unit is designed for a balance of static pressure and airflow,
as well as durability and ease of use.
RE AD AN D SA VE T H ES E IN S TR UC TIO NS
Safety Information
Keep children away: Do not allow children to play with or
around the unit, which could result in injury. Be sure the unit
is inaccessible to children when not attended.
Keep unit grounded: Always operate the unit with a
grounding plug and a grounded electrical outlet. A grounding
plug is an essential safety feature that helps reduce the risk
of shock or fire.
Protect power cord from damage: Never operate a unit
with a damaged power cord, as this may lead to electrical or
fire hazards. If the power supply cord is damaged, it must be
replaced by a cord of the same type and amperage rating.
Extension cords: Extension cords must be grounded and
able to deliver the appropriate voltage to the unit.
When using outdoors: When using outdoors, connect only
to an outlet provided with a Ground Fault Interrupting (GFI)
device, and do not use an extension cord, to reduce the risk
of electrical shock. Do not expose to rain.
Do not use speed control device: To reduce the risk of fire
or electric shock, do not use TurboDryers with a solid-state
speed control device.
Handle with care: Do not drop or throw the unit. Rough
treatment can damage the components or wiring and create
a hazardous condition.
Run on stable surface: Always operate the unit on a stable,
level surface, like the floor or a strong counter, so it cannot
fall and cause injury.
Secure during transport: When transporting in a vehicle,
secure the unit to prevent sliding and possible injury to
vehicle occupants.
Keep out of water: Never operate the unit in pooled or
standing water, as this may create a risk of injury from
electrical shock. Do not store or operate outdoors. If elec-
trical wiring or components become wet, thoroughly dry them
before using the unit.
Keep air intakes clear: Do not clog or block air intakes, as
may occur if operated to close to draperies or similar
materials. This may cause the unit to overheat and result in a
fire or electrical hazard.
Keep out dust and dirt: Do not allow dust, dirt, or other
particles to be drawn into the air intakes. Dirt in the motor
can cause it to overheat, resulting in a fire or electrical
hazard. If the motor gets dirty, clean it using an air hose.
Allow repair only by qualified person: Do not attempt to
disassemble or repair the unit if you are not qualified to do
so. You may handle some maintenance and troubleshooting,
but make sure that more complex problems are handled by
an authorized service technician. For information about
authorized repair, contact your Dri-Eaz Distributor.
HOW TO USE TURBODRYERS
TurboDryer airmovers are designed to blow air across wet
surfaces for speed drying. They are especially good for
drying floors because they create a flat ribbon of air. High-
volume airflow will increase the rate of evaporation, help
prevent mould growth, and reduce the risk of additional
moisture damage. Moving air will improve evaporation by re-
moving a boundary layer of saturated air that hangs near wet
surfaces. TurboDryers whisk away this moist air and replace
it with dryer air.
Positioning TurboDryers
When drying in a building, place at least one TurboDryer per
room, or one for every 18 square meters. Place as many as
needed for maximum airflow across all wet areas of the floor.
Ensure that all wet surfaces receive good airflow. Open
interior doors to maintain good air circulation. Doors may
need to be braced to prevent them from blowing shut.
Control the Humidity
Using TurboDryers to speed the rate of evaporation in a
building usually causes the humidity to rise immediately.
When this occurs, the air movement becomes less effective
and the rate of drying slows. It is vital that TurboDryers be
07-01758B 2 Legend Brands, Inc.
used with adequate dehumidification. To help control mould
growth, keep indoor humidity below 60% RH. If possible,
maintain indoor humidity below 45% RH. This may require
the use of DrizAir Refrigerant Dehumidifiers.
To improve drying, close off the area being dried from the
rest of structure. Regulate the heating or air conditioning
system at 20–27°C. When dehumidifiers are not available,
run exhaust fans in the attic, kitchen and bathroom to
remove some humidity. If outdoor air is very dry, open some
windows or doors at least slightly. Use a thermo-hygrometer
to determine the relative humidity.
Check if Materials are Dry
Monitor the moisture condition of wet materials with moisture
meters. To check how completely materials have dried out,
compare your readings to readings you take on similar
materials you know are dry.
Cooling & Ventilation
Over-heated rooms can be cooled with high-volume airflow
from a TurboDryer. Place the airmover on the floor or other
flat surface and direct the air from cooler areas or the out-
doors. Use the kickstand or tilt the unit to a 45 or 90 degree
angle to elevate the snout and circulate cool air throughout
the room.
OPERATING INSTRUCTIONS
1. Plug in to a standard outlet with the correct voltage and
amperage for the unit. Set the switch at the desired
speed. Check for proper operation before leaving the unit
unattended.
2. Do not move or carry the TurboDryer when it is running.
ELECTRICAL CONNECTIONS
TurboDryers are designed to operate on a 230V/50 Hz
electrical connection. Make sure that the electrical outlet is
grounded and that all safety precautions are taken.
MAINTENANCE
Always turn off the power before performing maintenance
procedures. All the service procedures below are to be
executed with the unit unplugged. Perform before each use
or as needed.
INSPECT ELECTRICAL SYSTEM: Inspect the electrical cord
for damage at regular intervals. Periodically, remove the
housing and inspect internal wiring for bare wires, insecure
fasteners, and discoloration. Remove and repair any dam-
aged wiring as needed. Failure to do so may lead to
electrical shock or a fire hazard.
CLEAN AIR INTAKES: Clean off any accumulated lint or
other materials from the air inlet side-screens. A buildup will
reduce the airflow and may cause the motor to overheat and
become a fire hazard.
CLEAN EXTERIOR: Clean the housing with mild detergent
and water. Bring back the original shine with a vinyl cleaner
and polish like those used on automobile plastics.
EXTERIOR INSPECTION: Evaluate exterior components
and make sure they are properly installed. Listen to the unit
for abnormal sounds. Repair or replace components as
needed.
Periodic Maintenance (as needed)
Make sure unit is unplugged and the wheel has stopped.
Remove four screws to remove each side screen. This will
permit access to motor and wheel for cleaning.
CLEAN COMPONENTS: Use compressed air or a vacuum
to remove lint and dust from blower wheel, motor and side
screens.
DO NOT WET MOTOR OR WIRING: To prevent damage to
electrical components, do not use a hose or pressure washer
to clean a TurboDryer. If electrical components do become
wet, dry them immediately.
MOTOR BEARINGS: The bearings on all Dri-Eaz Turbo-
Dryers are permanently lubricated. Do not oil.
WARRANTY
TO REQUEST WARRANTY SERVICE: Write or call your
Dri-Eaz distributor for instructions.
CONTACT
For product information, service and warranty repairs,
contact your Dri-Eaz distributor.
Dri-Eaz Products, Inc.
15180 Josh Wilson Road • Burlington, WA USA 98233
Fax US: 360-757-7950 • Phone US: 360-757-7776
www.dri-eaz.com.
07-01758B 3 Legend Brands, Inc.
SPECIFICATIONS
Model
SAHARA E
Switch
3-speed rocker
Actual CFM
1364, 1736, 1830 cmh
Rated CFM
4500 cmh
RPM
1075 (3 SPD)
Static pressure (H2O)
3.9, 4.2, 4.2 cm
Power
1.9 amps/230 volts/50 Hz
Carpet clamp
Kit available
Kickstand
n/a
Positions
3
Dimensions
(H × W × L)
47 × 38 × 51 cm
Use weight
12.4 kg
Ship weight
15.3 kg
Motor rating
.4 hp
Overheating cutoffs
Dual thermal
Safety listings
CE
Specifications are subject to change without notice. Some values are approximate.
TROUBLESHOOTING
In COLUMN 3, the technician in the field can handle ”FS“ or Field Solutions. Others solutions should be handled by a repair technician –an
“AST” or Authorized Service Technician.
WARNING: Execute all the service procedures below only with power turned off, i.e., unplugged.
PROBLEM
CAUSE
See
above
SOLUTION
Motor won’t run
No power to machine
FS
Plug in the unit; check circuit breaker or fuse
Switch not turned on
FS
Turn on the switch
Blower wheel jammed
FS
Remove material jamming wheel
Intake or exhaust blocked
FS
Turn machine off and allow to cool, then remove
blockage
Switch is broken
AST
Call distributor or Dri-Eaz for replacement switch
Loose wiring
AST
Check wiring and tighten as needed
Motor runs but blower
wheel turns erratically or
scrapes
Severe jolt has caused motor mount to
bend and blower wheel to rub
AST
Remove motor from housing, then replace or repair bent
motor mount
Severe jolt caused motor to slip out of
mount and blower wheel to rub
AST
Remove motor from housing, then install motor into
mount correctly
Unit vibrates excessively
Accumulation of soil on blower wheel
FS
Clean blower wheel
Blower wheel has lost balance
AST
Balance or replace blower wheel
Blower wheel has been bent
AST
Replace blower wheel
Bent motor shaft
AST
Replace motor
FOR PARTS AND SERVICE CALL YOUR LOCAL DISTRIBUTOR

Other Drieaz Fan manuals

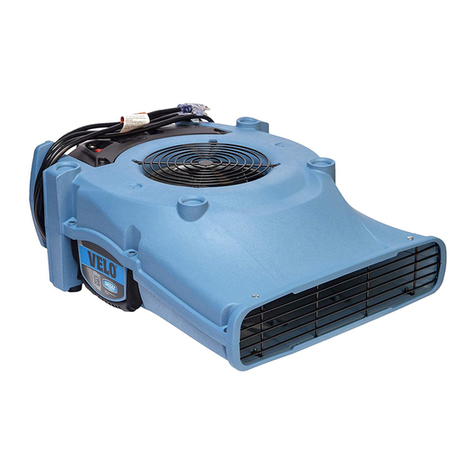
Drieaz Velo User manual

Drieaz

Drieaz Velo User manual

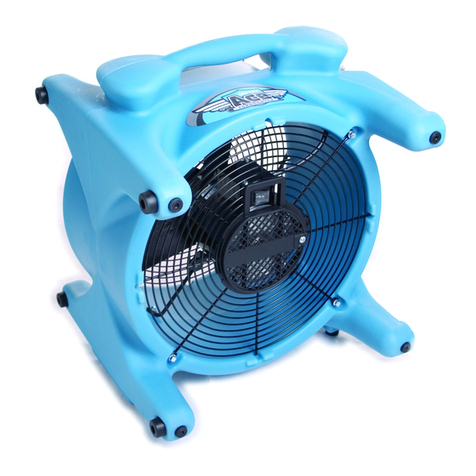
Drieaz Ace TurboDryer F259-115V User manual

Drieaz

Drieaz Ace TurboDryer F259-115V User manual

Drieaz Ace TurboDryer User manual

Drieaz

Drieaz Ace TurboDryer User manual

Drieaz Velo User manual

Drieaz

Drieaz Velo User manual

Drieaz VORTEX F174-230V User manual

Drieaz

Drieaz VORTEX F174-230V User manual

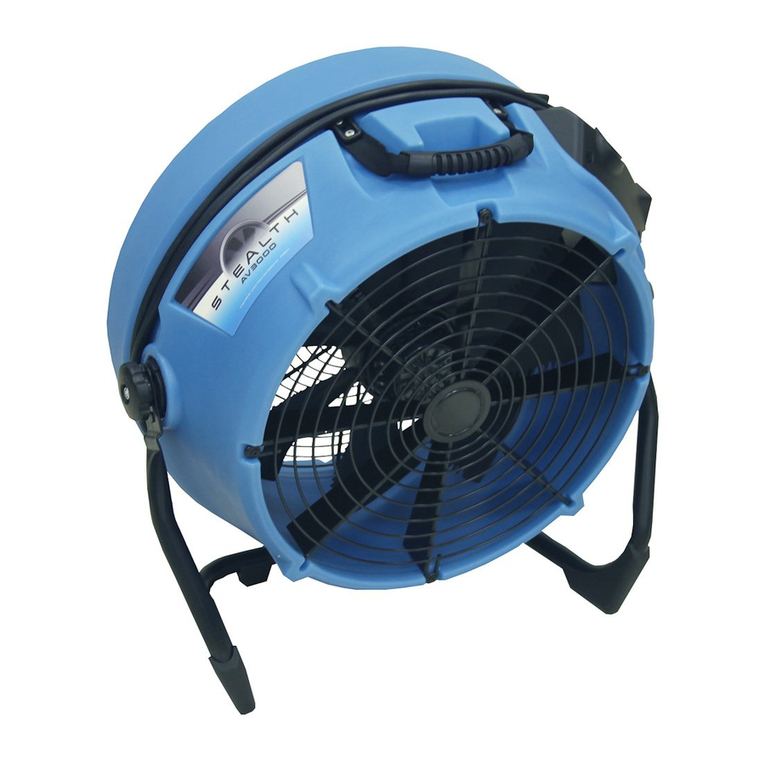
Drieaz Stealth AV3000 User manual

Drieaz

Drieaz Stealth AV3000 User manual

Drieaz Velo User manual

Drieaz

Drieaz Velo User manual

Drieaz VORTEX F174 User manual

Drieaz

Drieaz VORTEX F174 User manual

Drieaz TurboDryer Vortex User manual

Drieaz

Drieaz TurboDryer Vortex User manual

Drieaz Vortex User manual

Drieaz

Drieaz Vortex User manual

Popular Fan manuals by other brands

NuAire Genie/tops 230 volt Installation and Maintenance

NuAire

NuAire Genie/tops 230 volt Installation and Maintenance

Euromatic KYT40-5 instruction manual

Euromatic

Euromatic KYT40-5 instruction manual

CLEANTEC LANG Instructions of use

CLEANTEC

CLEANTEC LANG Instructions of use

TJERNLUND Duct Booster RB10 Owner's instructions

TJERNLUND

TJERNLUND Duct Booster RB10 Owner's instructions

Boneco F500 manual

Boneco

Boneco F500 manual

TZS First AUSTRIA FA-5560-2 instruction manual

TZS First AUSTRIA

TZS First AUSTRIA FA-5560-2 instruction manual

Skov DA 820 LPC Technical user guide

Skov

Skov DA 820 LPC Technical user guide

Chore-Time Endura 57" Fan Installation & operator's instruction manual

Chore-Time

Chore-Time Endura 57" Fan Installation & operator's instruction manual

Dantherm HCC 2 ALU Service manual

Dantherm

Dantherm HCC 2 ALU Service manual

Commercial Electric HVFF16CE Use and care guide

Commercial Electric

Commercial Electric HVFF16CE Use and care guide

HOFFEN FJ-15A instruction manual

HOFFEN

HOFFEN FJ-15A instruction manual

kuzco lighting BAYLOR CF77860 instruction sheet

kuzco lighting

kuzco lighting BAYLOR CF77860 instruction sheet

Trotec TTW-25000S operating manual

Trotec

Trotec TTW-25000S operating manual

Modern Forms ELF installation instructions

Modern Forms

Modern Forms ELF installation instructions

Parrotuncle Lighting F6273 Installation & operating instructions

Parrotuncle Lighting

Parrotuncle Lighting F6273 Installation & operating instructions

Ellington RVF52ABZ5 installation guide

Ellington

Ellington RVF52ABZ5 installation guide

Hunter 25658 Parts guide

Hunter

Hunter 25658 Parts guide

Korona 81010 instruction manual

Korona

Korona 81010 instruction manual

manuals.online logo
manuals.online logoBrands
  • About & Mission
  • Contact us
  • Privacy Policy
  • Terms and Conditions

Copyright 2025 Manuals.Online. All Rights Reserved.