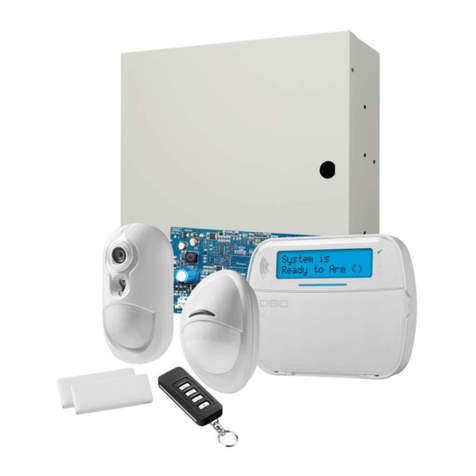
Módulo expansor de 8 zonas
Este folleto de instalación debe utilizarse junto con el Manual de Instalación del equipo de DSC
al cual se conectará el PC5108FLR o desde donde recibirá alimentacón (Ej.: controlador de
alarma, fuente de alimentación, etc.). Se puede utilizar el módulo PC5108FLR para ampliar el
sistema con hasta ocho zonas de respuesta rápida de circuito con hilo en controladores de
alarmas DSC compatibles, que son los modelos PC5020, PC1864, PC1832 y PC1616. La
respuesta rápida del circuito será de aproximadamente 25 ms.
General
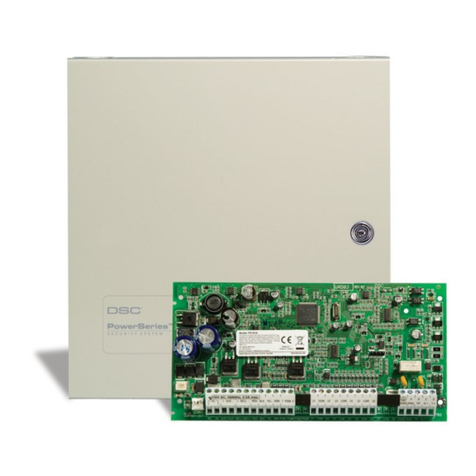
El PC5108FLR puede instalarse en la misma caja metálica del controlador de alarma / fuente de
alimentación (modelo Power UC1, PC5003C) o en un compartimiento separado (PC4003C). El
cableado interno y/o externo del PC5108FLR debe orientarse, soportarse, fijarse o protegerse de
manera en reducir la probabilidad de (a) tensión excesiva bajo lo hilos y conexiones de los
terminales (b); aflojado de las conexiones de los terminales y (c) daños al aislamiento de los
conductores.
Especificaciones
•Rango de temperatura: -10°C a + 55°C
•Humedad Relativa: 93% sin condensación
•Tensión nominal: 12 VCC/135 mA (proveída por el controlador de alarma o fuente de
alimentación en separado)
•Consumo de corriente de la tarjeta: 35 mA (ajustado y no ajustado)
•Dimensiones de la tarjeta: 45 mm x 92 mm
•Tensión de salida VAUX: 12 V
CC
, -15%/ +10% cuando la tensión de entrada esté entre 85%
y 110% del valor nominal y la corriente de salida esté entre 0 mA y 100 mA como máximo.
•Fusible posible de reiniciar (PTC) utilizado en la tarjeta de circuitos envés de fusibles
sustituibles
Descripciones de los terminales
TAM - Utilizado para violar la caja en la cual está instalado el PC5108FLR. Conecte un
interruptor normalmente cerrado (NC) a los terminales TAM y BLK. Si la violación no es
utilizada, conecte un pedazo de hilo a los terminales TAM y BLK para eliminar la condición de
problema. Hay un interruptor antiviolación integrado en el módulo de expansión ubicado
en la esquina superior izquierda de la tarjeta de circuitos. Si la caja en que está
instalado el PC5108FLR tiene el equipo necesario para presionar ese interruptor
antiviolación, no conecte cualquier elemento al terminal TAM.
VAUX - Utilizado para proveer alimentación a los dispositivos. El consumo máximo de
corriente no puede exceder 100 mA. Conecte el polo positivo de los dispositivos alimentados
al VAUX y el negativo al BLK o a cualquier terminal COM.
KEYBUS - La conexión del bus KEYBUS de cuatro hilos es utilizada por el panel para la
comunicación con el módulo. Conecte los terminales RED, BLK, YEL y GRN a los terminales
KEYBUS del panel de control principal de los modelos PC1616, PC1832, PC1864 y PC5020.
Z1 a Z8 - Conecte los hilos de las zonas según la descripción detallada en el Manual de
Instalación del panel de control.
Cajas de protección
El PC5108FLR puede instalarse en las cajas de protección metálicas listadas a continuación.
Los interruptores antiviolación pueden instalarse en todas las cajas de protección, incluyendo
la protección contra apertura de la puerta y/o renovación de la posición de instalación. Las
puertas pueden protegerse por tornillos o cerraduras.
•Modelo PC5003C (puerta amovible) hecho de acero de 22Ga, pintado, dimensiones: 248
mm (L) x 298 mm (A) x 76 mm (A), peso: 1.500 g.
•Modelo PC5003C (puerta pivotante) hecho de acero con 1,2 mm de espesor, pintado,
dimensiones: 248 mm (L) x 298 mm (A) x 76 mm (A), peso: 2.500 g.
•Modelo Power UC1 hecho de acero de 18 Ga, pintado, dimensiones: 315 mm (L) x 319 mm (A) x
100 mm (A), peso: 3.150 g.
•Modelo PC4003C hecho de acero de 18Ga, pintado, dimensiones: 230 mm (L) x 180 mm (A) x
75 mm (P), peso: 1.050 g.
Configuraciones de los puentes
Se puede utilizar el módulo PC5108FLR para agregar hasta ocho zonas de respuesta rápida
de circuito con hilo al panel de control PC1616, PC1832, PC1864 ó PC5020 (consulte el
Manual de Instalación para lograr instrucciones completas acerca de la instalación).
Puentes
El PC5108FLR funcionará en un único grupo de ocho zonas. Consulte las configuraciones de
puentes a continuación:
Para agregar zonas con hilo a un panel de control
1. Conecte el módulo al terminal Keybus (con el panel apagado).
2. Configure los puentes en el módulo.
3. Encienda el sistema.
4. Entre en la sección [902] y espere 1 minuto.
5. Entre en la sección [903] para verificar si el módulo está supervisado.
6. Defina las zonas en las secciones [002]-[004] para el panel de control PC1616,
PC1832, PC1864 ó PC5020.
7. Agregue las zonas a la partición apropiada en las secciones [202]-[265].
LIMITED WARRANTY
Digital Security Controls warrants that for a period of twelve months from the date of purchase,
the product shall be free of defects in materials and workmanship under normal use and that in
fulfilment of any breach of suchwarranty, Digital Security Controls shall, at its option, repair or
replace the defective equipment upon return of the equipment to its factory. This warranty
applies only to defects in parts and workmanship and not to damage incurred in shipping or
handling, or damage due to causes beyond the control of Digital Security Controls such as
lightning, excessive voltage, mechanical shock, water damage, or damage arising out of abuse,
alteration or improper application of the equipment.
The foregoing warranty shall apply only to the original buyer, and is and shall be in lieu of any
and all other warranties, whether expressed or implied and of all other obligations or liabilities
on the part of Digital Security Controls. This warranty contains the entire warranty. Digital
Security Controls neither assumes responsibility for, nor authorizes any other person purporting
to act on its behalf to modify or to change this warranty, nor to assume for it any other warranty
or liability concerning this product. In no event shall Digital Security Controls be liable for any
direct or indirect or consequential damages, loss of anticipated profits, loss of time or any other
losses incurred by the buyer in connection with the purchase, installation or operation or failure
of this product.
Warning: Digital Security Controls recommends that the entire system be
completely tested on a regular basis. However, despite frequent testing, and due
to, but not limited to, criminal tampering or electrical disruption, it is possible for
this product to fail to perform as expected.
FCC COMPLIANCE STATEMENT
CAUTION: Changes or modifications not expressly approved by Digital Security
Controls could void your authority to use this equipment.
This equipment generates and uses radio frequency energy and if not installed and
used properly, in strict accordance with the manufacturer’s instructions, may cause
interference to radio and television reception. It has been type tested and found to
comply with the limits for Class B device in accordance with the specifications in
Subpart “B” of Part 15 of FCC Rules, which are designed to provide reasonable
protection against such interference in any residential installation. However, there
is no guarantee that interference will not occur in a particular installation. If this
equipment does cause interference to television or radio reception, which can be
determined by turning the equipment off and on, the user is encouraged to try to
correct the interference by one or more of the following measures:
• Re-orient the receiving antenna
• Relocate the alarm control with respect to the receiver
• Move the alarm control away from the receiver
• Connect the alarm control into a different outlet so that alarm control and receiver
are on different circuits.
If necessary, the user should consult the dealer or an experienced radio/television
technician for additional suggestions. The user may find the following booklet
prepared by the FCC useful: “How to Identify and Resolve Radio/Television
Interference Problems”. This booklet is available from the U.S. Government
Printing Office, Washington D.C. 20402, Stock # 004-000-00345-4.
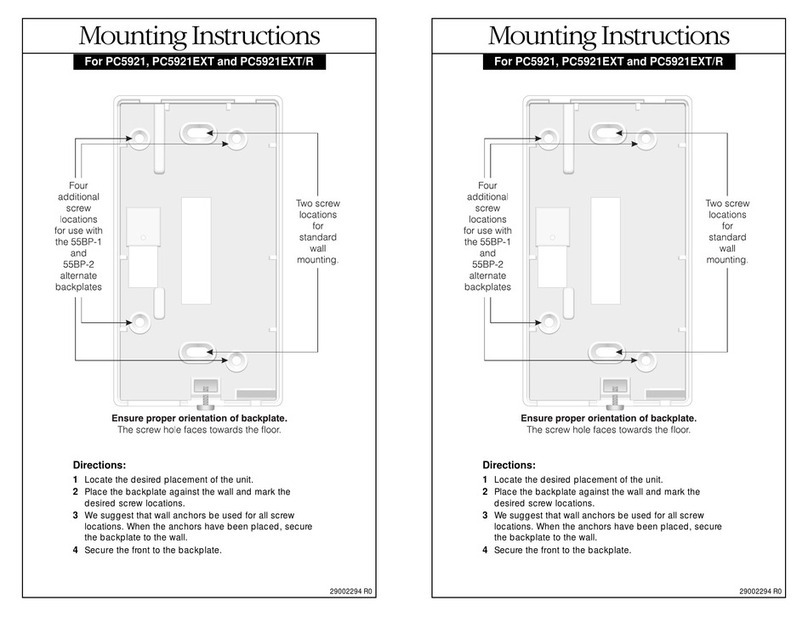
Instrucciones de instalación del PC5108FLR
PC5108
SW1
J6
J4
ON
OFF
OFF ONON
OFF
J5
J1 J2 J3
VAUX
TAM Z1 COM Z2 Z3 COM Z4 Z5 COM Z6 Z7 COM Z8Z8
RED BLK YEL GRN
BLK
RED
GRN
YEL
VAUX
12VDC, LIMITED
AT 100mA
COM
ROJO
NEGRO
AMARILLO
VERDE
KEYBUS AL
MÓDULO DE
EXPANSIÓN O AL
PANEL DE CONTROL
PRECEDENTE
A los dispositivos que
requieren energía
Zonas de exp. Puentes Zonas atrib.
Grupo A (Zonas 1-8) J1 J2 J3
Grupo B (no utilizado)
ACT. ACT. ACT. Zonas deshab.
DES. ACT. ACT. Zonas 9-16
ACT. DES. ACT. Zonas 17-24
DES. DES. ACT. Zonas 25-32
ACT. ACT. DES. Zonas 33-40
DES. ACT. DES. Zonas 41-48
ACT. DES. DES. Zonas 49-56
DES. DES. DES. Zonas 57-64
©2008 Digital Security Controls Toronto, Canadá • www.dsc.com
Soporte técnico: 1-800-387-3630 (Canadá y EEUU), 905-760-3036
Impreso en Canadá


