9
NOTE: If only an AC Failure trouble is present, the keypad sounder will not beep.
[
∗
]+[3]: Display Alarm Memory
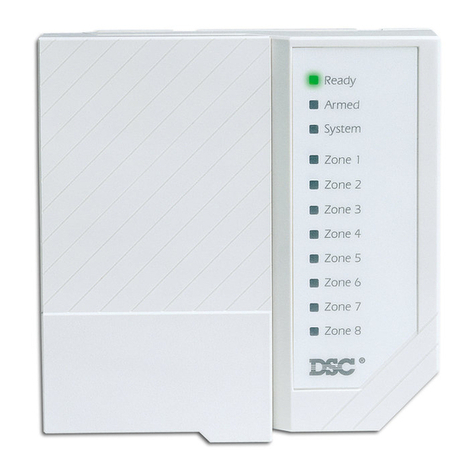
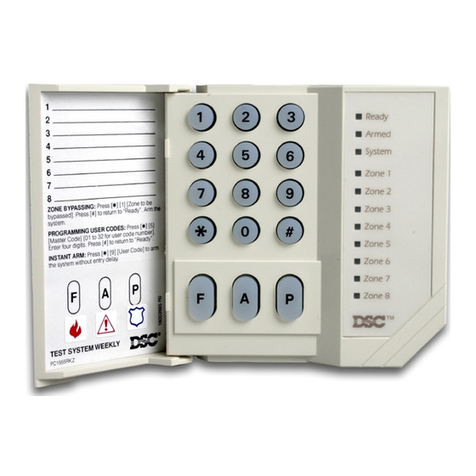
Alarms caused during the previous armed period are stored in memory. To display the zones that went into
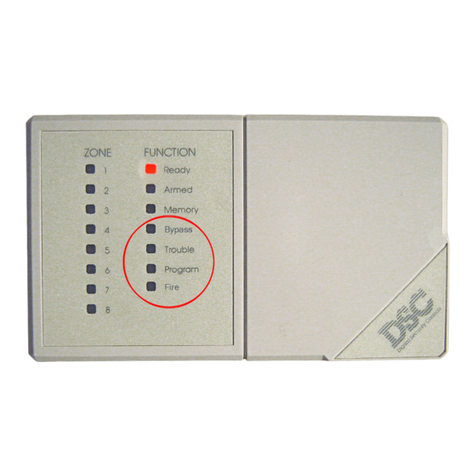
alarm, enter [∗][3]. The “System” light will FLASH and the alarms will be displayed on the flashing zone lights.
NOTE: The alarm memory will be cleared the next time the system is armed.
[
∗
]+[4]: Bell Test
Entering this command will sound the siren and turn ON all the keypad lights for 2 seconds.
[
∗
]+[5]+[Master Code]: Program Access Codes
The [∗][5][Master Code] command allows the user to program the Master Code and 3 additional Access
Codes.
Programming Access Codes:
Enter [∗][5][Master Code]. The “Ready”, “Armed” and “System” lights will FLASH and the zone lights will
indicatewhichAccessCodeshavebeenprogrammedandwhichAccessCodeispresentlybeingprogrammed:
Zone Light Access Code is...
OFF not programmed
ON steady programmed
Flashing presently being programmed
Whenthe [∗][5][Master Code] command isentered,Zone Light 1 willbeON to indicate thattheMaster Code
is programmed with the factory default code.
Changing or Adding a Code
To change Access Codes 1 to 4, enter the number of the code to be changed; the corresponding zone light
willbegintoFLASH. Enteranew4-digitAccessCode;
donotpress[
∗∗
∗∗
∗
]or[#]whenentering thecode.
After
the code is entered, the keypad will beep 3 times and the zone light will stop flashing and remain ON. If an
existingcodeisbeingchanged,thenewcodewillreplacetheoldone. Ifanothercodeistobechanged,press
the number key for the code to be programmed and enter the new 4-digit code. When all desired changes
are complete, press the [#] Key to return to “Ready”.
Erasing a Code
To erase a code, enter [∗][5][Master Code]. Enter the number of the code to be erased; the zone light for the
code will FLASH. Enter [∗∗∗∗] to erase the Access Code.
NOTE: Do not erase the Master Code!
If the
Master Code is accidentally erased, reset the system’s programming to the factory default settings. Refer to
“Resetting Programming to the Factory Default Settings” for instructions on restoring the system’s factory
default programming.
[
∗
]+[6]: Door Chime On/Off
TheDoorChimefeaturecauses thekeypadtobeepwhenevera DelayorInstantZoneisactivated. Thisfeature
isusefuliftheEntry/Exitdoor ordoorsareoutofview,andtheuser desiresanindicationofwhenthedoorzones
are opened and closed. The Door Chime feature only functions when the system is disarmed.
The Door Chime feature may only be turned on or off while the system is disarmed. To turn the Door Chime
feature on or off, enter [∗][6]. If the feature is being turned ON, the keypad sounder will beep 3 times. If the
feature is being turned OFF, the sounder will emit a single long tone.
[
∗
]+[8]+[Installer’s Code]: Installer’s Programming Command
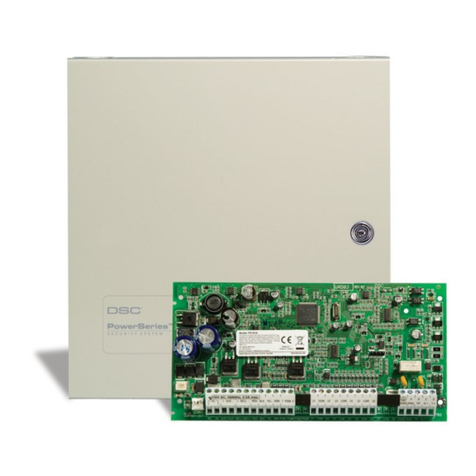
ThePC560isprogrammedfromthekeypadbyusingcommandsinthe[∗][8][Installer’sCode]section. These
commands are described in detail in the Programming Section of this manual. The default Installer’s Code
is [0560].
[08] First Phone Number
This is the first telephone number the Communicator will dial when an alarm is generated. Enter the
telephone number the same way it would be dialled on a touch-tone phone. Press [#] after the last digit to
complete the telephone number programming.
A pause of 2 seconds can be added by entering HEX ‘D’ between digits in the phone number. To enter HEX
‘D’, press [∗] [4] [∗]. The total number of digits and pauses must not exceed 17.
Do not program any HEX
digits other than ‘D’ in the telephone number.
NOTE: Ifthe Second Phone Numberistobe used, program theFirstPhoneNumber first. If only onetelephone
number is to be used, program the number in Section [08].
[09] Second Phone Number
The system will call the Second Phone Number if 8 communication attempts to the First Phone Number are
unsuccessful. Refer to Section [08] First Phone Number for programming instructions.
[10] Customer Account Code
The Customer Account Code is always transmitted to the telephone number to identify the customer. Enter a
4-digit number in Section [10]. Where a zero is required in the account code, enter HEX ‘A’ [∗] [1] [∗].
Disabling Communications
To disable the communicator, program all the reporting codes in Section [11], [12] and [13] with “00” or
hexadecimal “FF”.
[11] Zone Alarm and Restoral Reporting Codes
When Section [11] is entered, enter ten 2-digit numbers for the Alarm and Restoral Reporting Codes for zones
1 to 4 and the tamper zone. The alarm codes are transmitted when there is an alarm on a zone; the restoral
codesaretransmitted when the zone is restoredandaftertheBellCut-offtime has expired, or when thesystem
is disarmed. 24-hour Zones and the Tamper Zone transmit their restoral codes when the zones are restored.
[12] Closing and Opening Reporting Codes
When the system is armed (closed) or disarmed (opened), a closing or opening reporting code will be
transmitted to indicate which Access Code was used to arm or disarm the system.
If the Opening After Alarm Reporting Code is programmed, it will be transmitted to the monitoring station on
disarming if an alarm occurred during the previous armed period. This feature is useful for installations where
openings and closings are not normally reported, but it is desired to have a report on opening if an alarm
occurred during the armed period. This feature allows the monitoring station to know that the user is on the
premises and is available to receive a report on the alarms that occurred during the armed period.
16
