INSTALLATION MANUAL
RK SERIES - DVR and NVR
Page: 5
Connect a DVR
If you have purchased a DVR, your device can manage both analog cameras with its BNC inputs and IP cameras via the network
port.
These are the rear connections. The equipment varies according to the model you have purchased.
VIDEO IN - You can connect any type of analog camera in AHD, CVI or TVI technology, up to 8MP resolution, to these BNC video
inputs. You can also connect old analog CVBS cameras. The only cameras with BNC connection that you cannot connect are SDI
digital cameras.
A OUT - You can connect a speaker to this RCA connector to broadcast the audio of the DVR. Remember that the HDMI monitor
output also conducts audio so if you connect a TV via HDMI you can hear audio without connecting a speaker to this output.
HD OUT - This is the HDMI output for the monitor. Almost all TVs and PC monitors have this connection port. If you connect a TV,
remember to select the external HDMI input you used for the NVR on your TV to see the images. This is usually done by pressing
the SOURCE button on the remote control. These DVRs come from the factory with a low output resolution that you can increase up
to 4K to match the monitor's maximum resolution.
Remember that the HDMI cable cannot be longer than a few meters. To connect a remote HDMI monitor from the NVR you need to
use an HDMI transmission device.
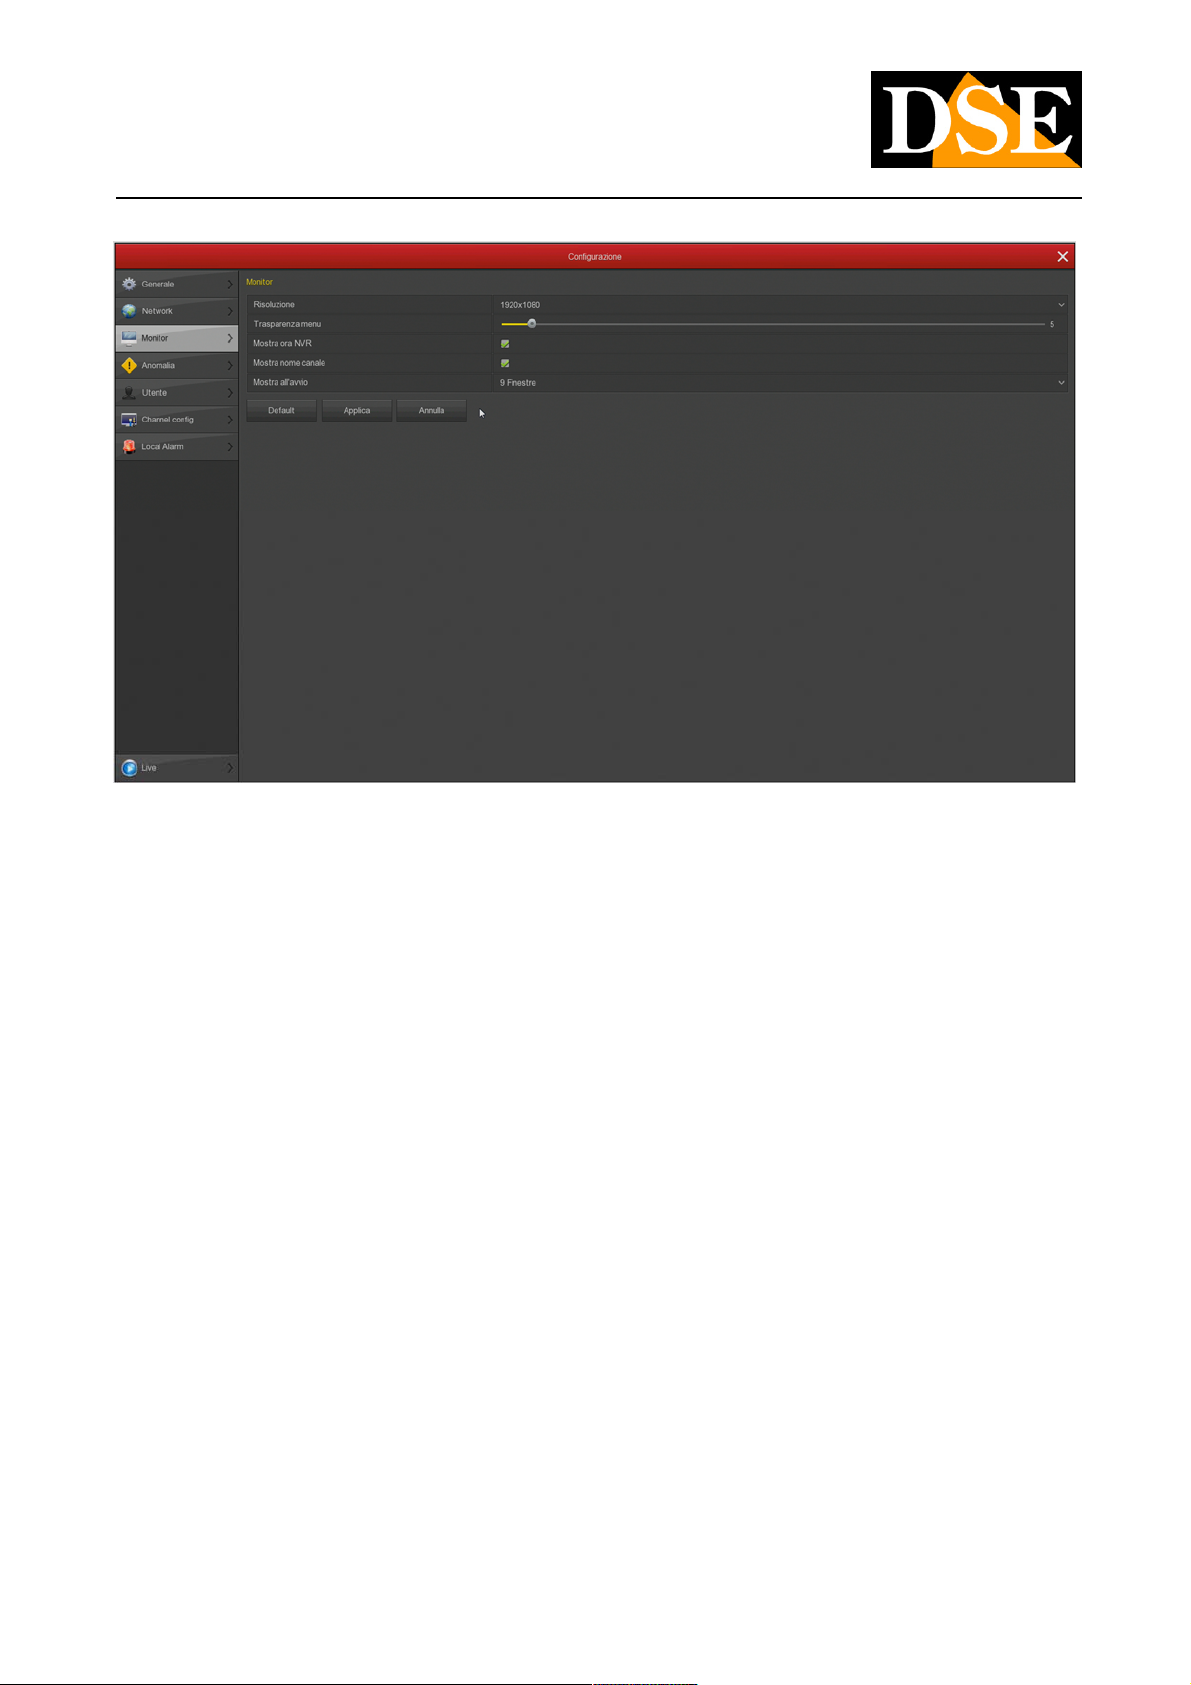
VGA - You can connect a computer monitor not of the latest generation to this output. This output supports the maximum resolution
of 1920x1080 FullHD. You can use this output with a VGA / BNC converter if you need a CVBS video output, which is no longer
available on these high resolution models.
A1..A4 - You can connect audio signals from cameras or microphones to these RCA inputs. Remember that these audio inputs are
only usable on BNC channels because IP cameras require the microphone to be connected to the camera.
NET - This is the RJ45 network port. To be able to view your cameras via the Internet, or to connect IP cameras, you need to
connect the DVR to your network. You must use a normal straight type network cable and plug it into the NET port of the DVR on
one end and into a free port on your router or switch on the other. The DVR is factory set to auto-configure to the network
automatically (DHCP).
DSE SRL - ITALY - WWW.DSE.EU