DTSystems TDS1 S/R User manual

Handbook Contents Box Contents
HSafety 1 x TDS1 S/R
IInstallation 1 x Power Supply
IFacilities 1 x Telephone Lead
IOperation 1 x Handbook
ITroubleshooting
IWarranty
ITechnical Details
This symbol is used to alert the user to important operating or
maintenance instructions.
The Lightning bolt triangle is used to alert the user to the risk of electric
shock.
SAFETY
1. It is important to read these instructions and follow them.
2. Keep this instruction manual for reference.
3. Do not operate this unit in a damp environment. It is not waterproof.
4. Refer installation and servicing to qualified personnel.
5. This unit is double insulated and safe to use without an earth connection. The
case does not connect to a protective earth unless provided by the screen of
the line input XLR connector (pin 1).
INSTALLATION - Please read ALL this Manual before starting
First of all, plan your installation and decide where to fit your TDS1 S/R. It needs
to be close to a telephone socket, have mains power and an audio signal feed. In
MANual mode, you will be using a telephone to call the listener, so it may be
convenient to install the unit in an ante or side room where no-one will be
disturbed by your conversations. The TDS1 S/R generates virtually no heat and
so can be installed in any dry, convenient location.
Unpack the unit and check the contents against the list above. As supplied, the
TDS1 S/R is set to 100V line working and the three hour timer enabled.
You will need the following to
get your TDS1 S/R to work:
lWorking telephone line
lAudio signal
lMains power
lAnother telephone eg a mobile to
test operation.
lTwo small screwdrivers, a posidrive
to remove the lid and a flat blade to
adjust the volume.
Issue 1.2
January 2006
For latest Handbook
see www.dt4u.com
15V
ac/dc
Power
supply
TDS1 S/R
Telephone Socket
PA Amplifier
Power
Audio
Telephone
Telephone Dialup System
TDS1 S/R HANDBOOK

Audio Inputs
Twist together
100V speaker line
12
3Line Input
Female XLR
Socket Twist together
Low Z Speaker feed
12
3
12
3
0V
Unbalanced Line Out (Rec Out)
12
3
0V
Balanced Line Out
**IMPORTANT**
If using a 100V line signal, you
MUST set the attenuator to the
highest setting (J1 + J5)
BEFORE turning your TDS1 S/R
on for the first time. There is a
risk of damaging the input circuits
if you ignore this advice.
INPUT ATTENUATOR
Link Out
Link In
J1 J2
J10
2V
J9
5V
J8
15V
J7
35V
J6
75V
J5
125V
100V Line In
0dB Line In
As shown in the drawing,
the attenuator is selected
(J1) and the unit set for a
15V (J8) input signal. This
might be typical of a low impedance loudspeaker where the signal is taken from directly
across the loudspeaker. Always start with link J5 and move towards J10 to set a sensible
volume with the gain control in mid position.
3 Hour Timer J17
Enabled Link=In
Line Fuse 100mA x2
Auto / Man
Switch
Active
LED Power On/Off
Switch + Indicator
LED
100mA
PowerSupply
Fuse 20mm
J5
J10
J17
Attenuator Links
J1 J2
100V Line In
0dB Line In
Telephone
Line In
Telephone
Line Out
XLR Audio
Input
Facilities
Socket
Power
In
PCB Layout
Drawing
NOTE: Not to scale. Drawn for clarity
100V
2V
VR1 Adjust
Send Volume
FS2 FS1
FS5
LED 5 Compressor Control
Microprocessor
Answer
LED Answer
Switch
XLR Audio
Output
J12 J13
J14 J15 Output
Attenuator

Start by wiring in the audio feed cable and terminate with a male 3 pin XLR plug.
Wire the XLR plug according to the type of input signal as shown. Note that pin 1
of the XLR connects to the case of the TDS1 unit and should be grounded at the
source end.
The TDS1S/R has a balanced 3 wire audio input which allows it to work remotely,
without electrical interference, even with long lengths of feed cable attached. You
can use an unbalanced low level 2 wire feed (eg record out), but keep the feed
cable short (<2m) to avoid hum and noise interference. Unbalanced inputs should
have pins 1 and 3 connected together and both of these connect to the screen
(braid) of the incoming audio feed cable.
The signal source can be any line level signal from 0.5V up to a 100V line
speaker feed. Taking the output from the terminals of a loudspeaker will also
work, though you will need a much lower attenuator setting (around 15V).
WARNING It is possible to get an electric shock from a 100V speaker line
during peak audio output. Switch the PA system off to prevent the risk of
electric shock when making connections.
Isolation Barrier
Listen
Comment
12
3
12
3
Telephone
Interface
Circuit
Compressor
VR1
Send Level
J2
J1
Connected to
Case Only
Connected to
Case Only
XLR Socket
Audio Input
XLR Socket
Audio Output
LED 5 Compressor
Control Signal
J5
J10
Attenuator
Telephone
Line
30dB Attenuator

J12 J13
J14 J15
J12 J13
J14 J15
Output
Attenuator
Line Level
Output
Mic Level
Output
Answer Mode
The TDS1 S/R can be operated in Send or Receive mode. The audio direction
is controlled by the Send / Receive switch mounted on the front panel and is
also available as a remote control function via the facilities connector. To listen
(receive) audio from the distant end, simply operate the Receive switch. To
restore normal transmission, return the switch to the Send position.
Note that the Send / Receive switch has three positions.
!In the UP direction, the switch locks and puts the TDS1 S/R into permanent
Receive mode. Use this setting if you want to receive audio from a distant
source eg listen in to a remote programe.
!In the Center (OFF) position, the TDS1 S/R works normally in both
automatic and manual modes. **Important** Leave the switch in the OFF
position if you want to use the remote Send/Receive switching (via Facility
socket).
!The DOWN position is a momentary contact and is used, usually by the
sound operator, to listen to comments. Release the switch when the
answer is finished.
Note that switching by this method allows the TDS1 S/R to be used as the
listening end of a telephone hookup system where one location can connect
and listen in directly to the sound system of another remote location. It would
have been possible to fit a transmission bridge to allow simultaneous ‘2 way’
conversation (eg similar to a radio station phone-in) but this would have made
the unit very expensive. If you want a similar system to that used by radio
stations, visit www.sonifex.co.uk and search for HY-03. This is a single
channel two way interface as used in radio and TV two way telephone
hookups and at the time of writing (Sept 05), cost £711.00 GBP. Cheaper units
are available but these tend to introduce echo and feedback (high pitched
ringing noise) into the sound system.
The TDS1 S/R introduces no feedback or echo at all though at the expense of
a manual switch to change from send to listen mode.
The audio output is balanced and can be at line level with links J12 to J15 set
horizontally, or, by moving all the links vertically, at a lower level suitable for a
microphone input. The output is safe from phantom power microphone
voltages.

Setting Up
Remove the case lid.
Turn the TDS1 S/R on. Check the green power light illuminates continuously.
Check the Active light flashes, once for AUTOmatic, twice for MANual. This
confirms the microprocessor is running.
Play a CD at normal volume over the PA system.
Adjust the attenuator settings until the internal green light (LED 5 immediately
behind the input XLR socket) flashes (weakly) in time with the CD audio signal. If
the signal is too small, move the attenuator link one position eg from J5 to J6 (or
J7 to J8 etc) until the light flashes. With a very small input signal such as a
record output, move link J1 to J2 (this disables the attenuator).
AUTOmatic Mode
Switch the TDS1 S/R to AUTOmatic.
Dial the TDS1 S/R telephone line from another telephone. The call should be
answered immediately, the Active light should illuminate and you should hear the
CD playing.
Adjust VR1 to get the best quality signal. If the sound is distorted or crackles,
reduce VR1 until the sound is clear.
You may need to select a different attenuator link (J5-J10) to get the best
performance. Some experimentation will quickly determine the optimum settings.
Release the call.
The TDS1 S/R should clear down and reset.
Redial the TDS1 S/R telephone line.
The TDS1 S/R should again answer the call and connect to the PA sound.
Release the call.
MANual Mode
Plug a telephone into the front of the TDS1 S/R and call the test telephone.
Answer the call.
Briefly move the switch on the TDS1 S/R to the H/R (Hold / Release) position.
The Active light should illuminate. You should now hear the PA system through
the test telephone and be able to talk to the other telephone as well.
Replace the handset on the telephone plugged into the TDS1 front panel. You
can unplug the telephone if you wish.
You should remain connected and be able to hear the PA system through the
test telephone.
To end the call, press and hold the switch down to the H/R position for around
three seconds or until the Active light extinguishes. Your test telephone should
now be disconnected from the PA system.
3 Hour Timer Link
An additional safety feature is available when the TDS1 S/R is used in MANual
mode. Under normal circumstances, once established, a MANual call, held by
the TDS1 S/R, would remain connected indefinitely. For long meetings, this may
be desired. However, for shorter meetings, the possibility exists that the TDS1

Pin Description
1Remote LED/Start
20V
3Remote AUTOmatic
4Remote LED
5Remote MANual
1
2
3
4
5
1
2
3
4
5
S/R operator may forget to disconnect the call and this could be expensive in
call charges. By enabling the 3 hour timer link (J17), the TDS1 S/R will
automatically release the call after 3 hours.
Link Out - 3 hour timer disabled
Link In - 3 hour timer enabled
J17 can be found to the left of
the microprocessor.
J17
Link
NOTE
If power is lost when a call is established, connection will be lost and the
call must be re-established.
TDS1 Facilities Output
The facilities socket is for advanced users who want to extend the capabilities
of the TDS1 S/R. It enables remote AUTO / MAN switching and allows a
remote Active light to be used. The remote light can be very useful to indicate
the TDS1 S/R is in use and connected. Pin1 (socket 1) is normally configured
as an additional remote LED output. However it can be wired as a remote start
to special order. The remote start (switch to 0V) can be used to start a
messaging service or recorded announcement message or even as an on/off
switch.
If a bi-directional LED is used, it can show green for Active and switch to red
for answer.
S/R
Pin Description
1 Bi-Directional LED A
2 0V
3 Not Connected
4 Bi-Directional LED B
5 Remote Answer
TDS1
Facilities Socket 1
is a 5 Pin DIN
Connector
S/R TDS1
Facilities Socket 2
is a 5 Pin DIN
Connector
S/R
Facility Connector Wiring

Close switch to
enable
AUTOmatic
mode
1
2
3
4
5
Facilities Wiring Diagrams
NOTES
Pin 2 (0V connection). To make it easier to connect multiple return wires to pin
2, solder a thick length of wire onto the pin to extend it by 10-15mm. Solder the
returns onto this thick wire. Insulate connections to prevent short circuits
between pins.
Use a fine tipped soldering iron to make connections. Whilst short circuited
connections are unlikely to damage your TDS1 S/R, they certainly won’t help
matters! Check all connections thoroughly and insulate between pins.
Ensure that the switch on the TDS1 S/R is set to MANual if you wish to use
remote switching. (Otherwise the remote AUTOmatic mode will not work).
Socket 1
Press switch to
Hold / Release
a MANual call
1
2
3
4
5
Socket 1
Remote LED (No resistor needed)
Socket 1
Remote LED
This can be any Bi-Directional
LED and does not need a series
resistor. Active would normally
be green and Answer, Red. If
the colours are wrong, reverse
the connections.
Remote Active
/ Answer LED
Socket 2
1
2
3
4
5
Close switch to
change to
Answer mode
Socket 2
1
2
3
4
5
1
2
3
4
5
0V
To remote
equipment
Remote Start equivalent circuit.
Pins 1 & 3 Socket 1
Remote Start (special order) Socket 1
1
2
3
4
5
Socket 1
Remote LED
1
2
3
4
5

TDS1 OPERATIONS/R
Switch the TDS1 S/R on. Note the green power light illuminates and the
Active light flashes, one flash for automatic operation, two flashes for
manual. This confirms the microprocessor is running. If a remote indicator is
fitted, this flashes in sympathy with the Active light. The TDS1S/R is now
ready for use.
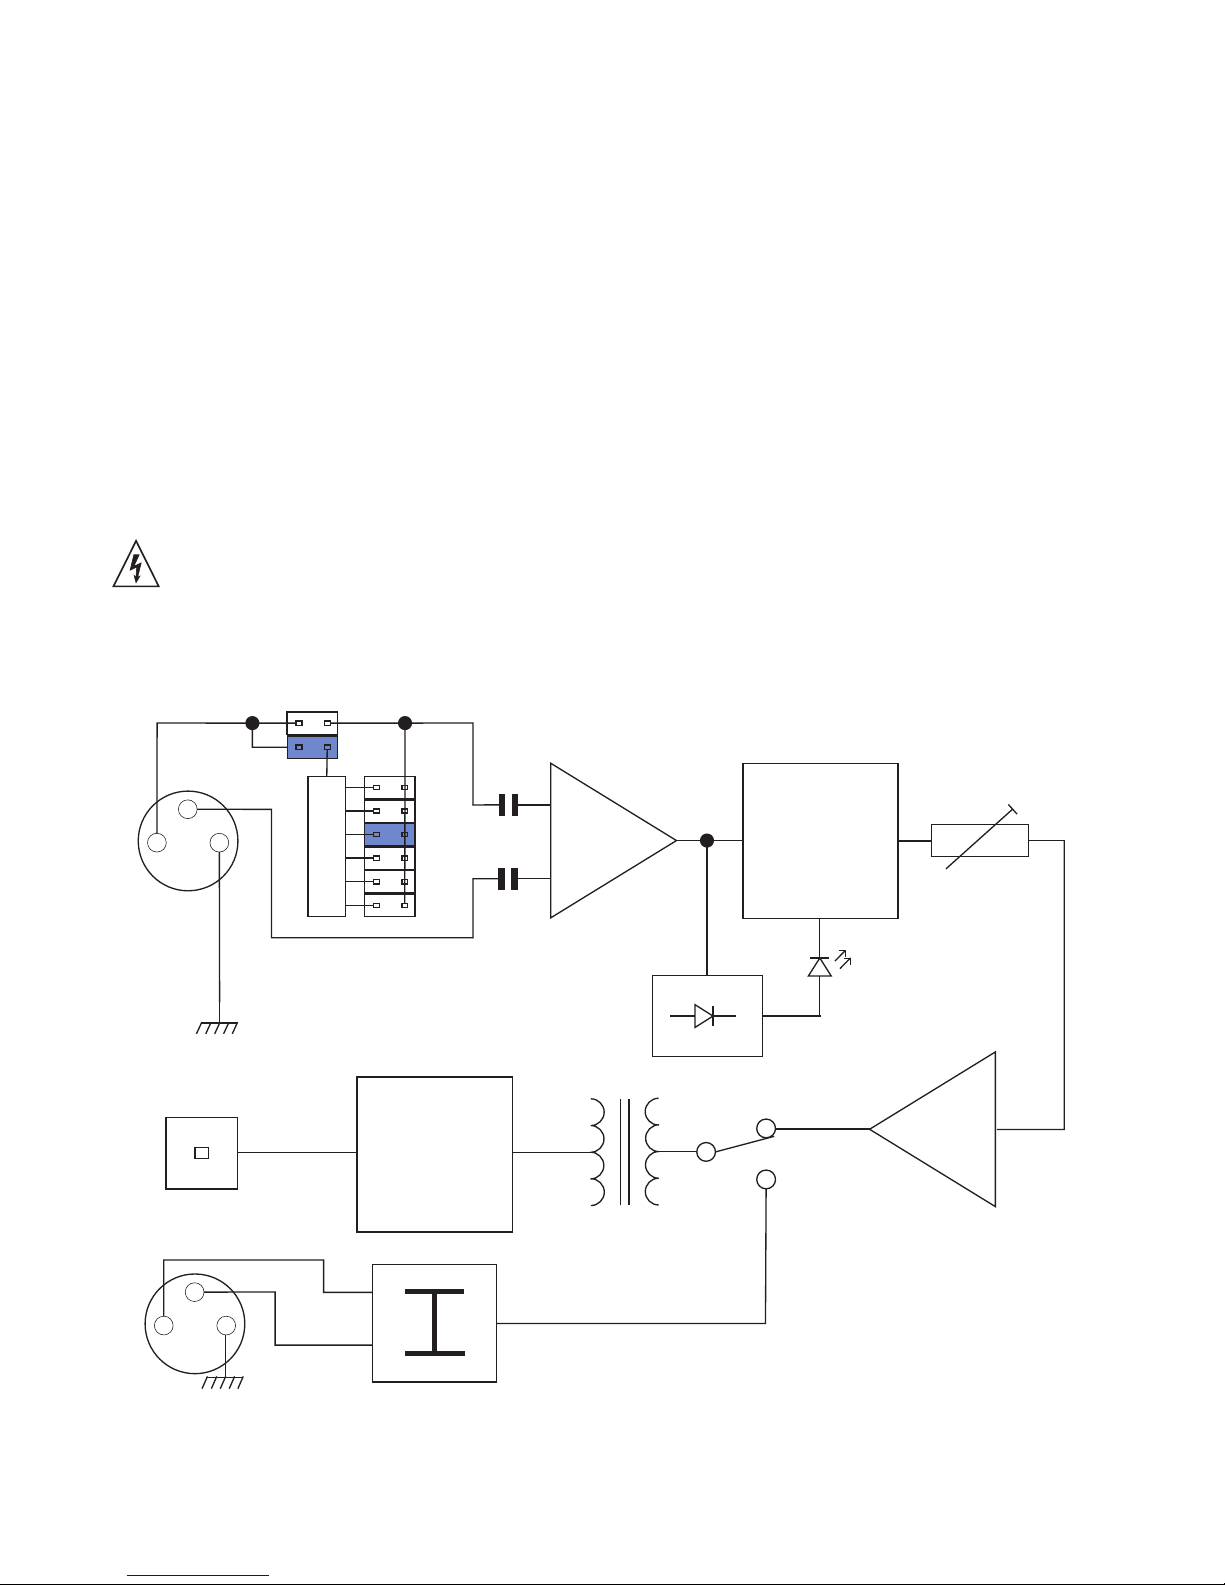
MANual mode Put the switch to Manual. In this mode, both the Dialup unit
and a normal telephone need to be connected to the line. Dial the number
of the person nominated to listen in and wait until connected. After
establishing connection move the switch from the Manual position to the H/R
(Hold / Release) position and keep it pressed until the green Active light
comes on and you can hear sound from the system. Replace the telephone
handset (hang up). The Active light remains on and the called person can
hear the program. Press the H/R switch for about 3 seconds at any time to
disconnect the Dialup and end the call - green Active light goes out. The call
is automatically ended after about 3 hours as a safety precaution though this
option can be defeated by moving an internal link.
Note that the TDS1 S/R when set to the MANual position and not holding a
call, is effectively disconnected and will not answer calls or transmit any
audio. This can be useful if confidential meetings are scheduled and it is
important not to allow anyone to listen in.
Automatic Mode When set to AUTOmatic there is nothing to do - the first
incoming telephone caller is automatically connected to the sound system
and remains connected until they choose to terminate the call. Pressing the
H/R switch has no effect and will not release the line. Turn off the power to
disconnect the caller if necessary.
Answer Mode When set to answer, the caller can speak down the
telephone line and be heard through the sound system. The Red answer
light illuminates on the TDS1 S/R and if a bi-directional remote LED is fitted,
it changes colour from green to red.
General Operating Pointers The sound operator will need to think about
his new role in broadcasting the program not only in terms of his local
audience, but also those now connected by land line. Unlike a live audience
who may be able to half hear even with the microphone turned off, those
listening in will hear nothing at all if the sound operator fails to react quickly
to someone speaking and this is especially noticeable when using a switch
to turn microphones on and off, perhaps missing the first word or sentence
even.
Like a normal radio station, total silence in the program is highly undesirable
and can mislead the listener to think there is a fault in the system perhaps
even causing them to hang up and end the call by mistake. To avoid this,
the sound operator must always be transmitting something even a small
amount of background noise (chatter) will help. This is especially important

before and after the meeting as well as in between program items. Even during
the singing of songs, a small amount of audio via a half opened microphone
(not the one next to the chairman please!) will greatly enhance the program
output to those listening in and make them feel totally involved. Thought is
required by the sound operator as to what is being heard by the listeners. His
efforts in this regard will be highly valued by the callers.
Multiple callers may be able to listen on each telephone line by using the ‘three
way caller' option. Results for this service can be very patchy and depend
upon a number of factors, but it is worth trying. Some users routinely connect
four different locations via two telephone lines. If each caller also has a three
way option, even more callers could be connected though this is unproven.
(Please feedback any results on this to us).
Anyone using the service is well advised to buy a modern loudspeaking
telephone which has a mute feature. This cuts off the internal microphone on
the telephone and can make the sound even clearer especially if multiple users
are connected on each line. If the telephone is placed on a hard surface then
the volume will be found adequate for a room with three or four people in it.
For larger venues or locations where the volume is not adequate i.e. many
miles from the serving telephone exchange, use a handset with jack audio
output. This allows connection from the telephone line into a line input (i.e. CD)
on a hi-fi system and hence the signal can be adjusted for loudness and quality
by using the volume and tone controls. Of course this could also be used in
remote areas for connecting halls together when for example the public
speaker is unable to get to the venue for whatever reason or even for memorial
overflow situations.
The TDS1 S/R Dialup Unit is microprocessor controlled and makes use of
surface mount technology to achieve small size together with high reliability. All
components are conservatively rated to give a long service life.
These instructions are written to help you get the best from your Dialup unit but
they need to be followed closely especially by the sound operator if you are to
achieve this. For best possible results, invest in an automatic microphone mixer
to avoid missing the first word or even sentence of any comments, as this is
highly frustrating to Dialup users.
TROUBLESHOOTING See www.dt4u.com for latest information
1 No Power Make sure the power supply is plugged in and the
mains socket live. Ensure that the TDS1 S/R is
switched on. If the green power light is unlit, unplug the
power supply and check the fuse (FS5) is not blown. If
it is, replace by a 100mA 20mm fuse. Do NOT replace
with a larger fuse or permanent damage will be
caused.

2 Cuts Off Do not try to send too loud a signal down the
telephone line otherwise this will be interpreted by the
microprocessor as a disconnect signal. If the receive
sound crackles or cuts off, reduce the output level
(VR1) until a clear sound is received. If you have been
connected for around three hours and then the
TDS1S/R cuts off, check that the three hour timer link
(J17) is disabled (out).
3 Too Quiet There is a limit to how loud the signal is that can be
sent down a telephone line. If the received sound is too
quiet, the user will need an amplified telephone or
better, a hands free telephone with volume control.
Some models are louder than others so ask for a
demonstration.
4 No Connection The TDS1 S/R seems to be working in MANual mode
but won’t answer calls in AUTOmatic. Check that the
telephone line works and that you are dialing the right
number. Plug an ordinary telephone into the line jack
and test the line. If you can make and receive calls,
check the telephone lead between TDS1 S/R and
telephone socket. There are two telephone line fuses
within the TDS1 S/R. Disconnect the telephone line and
test FS1 and FS2.
5 No Audio Check all the audio wiring for continuity. Ensure the
audio signal is applied between XLR pins 2 and 3.
6 Storm There was a storm and now the TDS1 S/R does not
work. Return to base for repair and check.
7 Erratic After connecting the facilities wiring, the TDS1 S/R
becomes unreliable. Could be faulty wiring (intermittent
joints or short circuits). Or the wiring could run close to
a source of electrical interference eg thyrister lighting -
re-route the cable.
8Remote Remote LED doesn’t work - Reverse the connections.
WARRANTY
The TDS1 S/R is guaranteed for a period of 1 year from the date of purchase
provided that it has been used in accordance with all these instructions. This
warranty specifically does NOT cover damage by lightning or user abuse and is
on condition that the unit is returned by prior agreement, to the supplier. Repair
or replacement is at the discretion of the supplier under the terms of this
warranty.
In the unlikely event that your TDS1 S/R fails, please contact the supplier for a
return address. When returning a unit, use the original packaging, be sure to
include a return address and contact point, and include a brief description of the
problem. We will provide a repair estimate if asked in advance.

TECHNICAL DETAILS
Power: 15V AC/DC 100mA
Fuses: 1 x 20mm 100mA Power
2 x 100mA Boxed Line
Audio: 0.5V - 100V input
Remote Start Capable of switching 50mA to 0V
Remote LED 5V output via 470ÙResistor
REN: 1.0
Approvals: CE approved
DOC Declaration Of Conformity - Available on request
ACCESSORIES
Available to special order and at additional cost for this product - see
www.dt4u.com for more details.
OVERVIEW
The TDS1 (Telephone Dialup System Send / Receive - 1 line) was
originally designed to allow anyone to dial into a sound system and listen live
to the program audio feed. In the AUTOmatic mode, the TDS will answer the
first incoming telephone call and connect the caller to the audio. In the MANual
mode, calls can be established and controlled from the TDS unit. The facilities
connector allows access to various switching and output signals and can be
used to operate remote equipment, generate alarms or give visual indication of
status.
This makes the TDS unit valuable for many applications ranging from:
IRemote monitoring of audio signals such as transmitter sites.
ILive monitoring of a sound system.
IMessaging services.
IAudio program hookups.
IRemote switching.
S/R

TDS1 S/R Manual Iss1.cdr
Table of contents
Other DTSystems Telephone System manuals