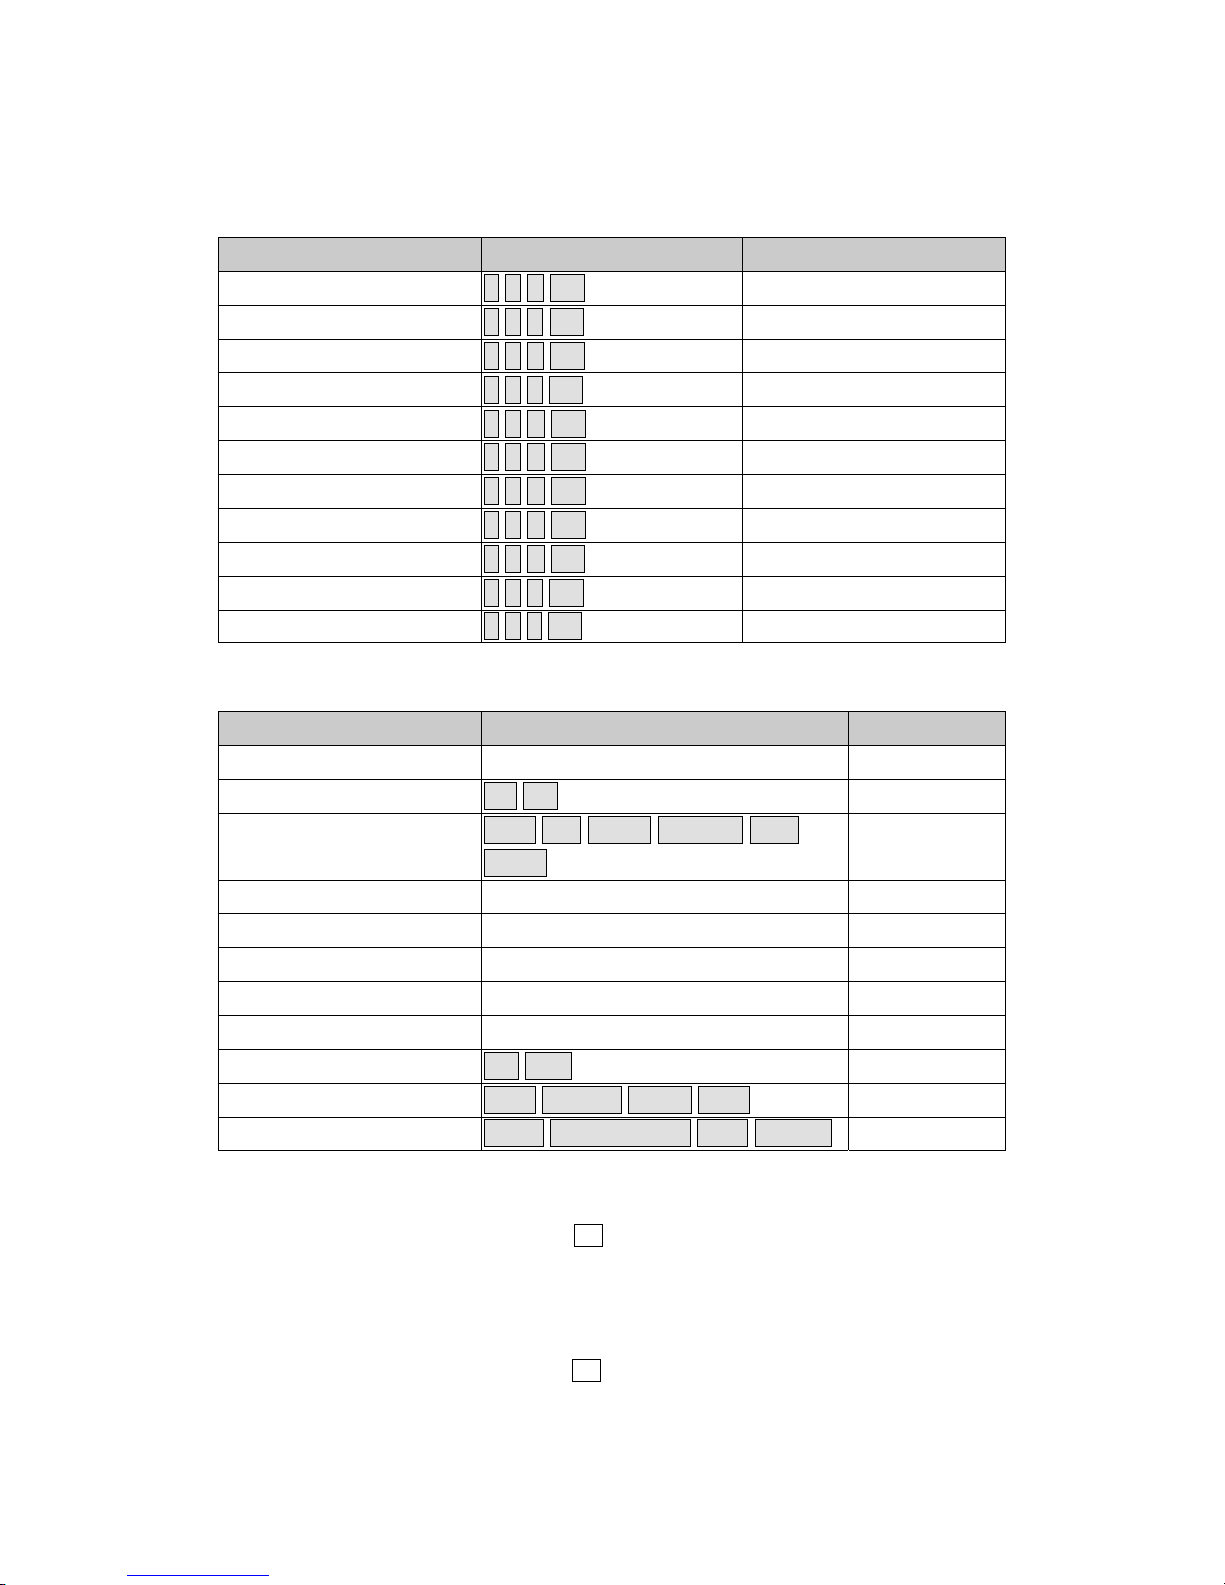
Dukane ImagePro 8778 User manual

Projection Display Serial Interface Spec. 1/14
Projection Display
Serial Interface Specification
Version: 1.4
8778

Projection Display Serial Interface Spec. 2/14
Table of Contents
1. RS232 SETTING................................................................................................................................3
2. CONTROL COMMAND STRUCTURE .........................................................................................3
3. CONTROL SEQUENCE...................................................................................................................3
4. OPERATION COMMAND................................................................................................................4
5. REMOTE COMMAND.......................................................................................................................5
6. SET VALUE COMMAND .................................................................................................................6
7. QUERY COMMAND..........................................................................................................................7
8. HYPER TERMINAL SETTING GUIDE .........................................................................................8
APPENDIX A (AMX CONTROL ROOM CONSOLE COMPATIBILITY)......................................12
APPENDIX B (DIN TO RS232 DIAGRAM)..........................................................................................13

Projection Display Serial Interface Spec. 3/14
1. RS232 Setting
Baud rate: 9600
Parity check: None
Data bit: 8
Stop bit: 1
Minimum delay for next command: 1ms
2. ControlCommandStructure
The command is structured by the Header code, command code, data code
and end code. Most of the commands are structured except some for the
compatibility issue with other projectors.
Header code Command code Data code End code
HEX 7Eh Command Data 0Dh
ASCII ‘~’ Command Data CR
3. Control Sequence
The projector may send a return code after it received a command. If the
command isn’t received correctly, the projector will not send the return code

Projection Display Serial Interface Spec. 4/14
4. Operation Command
The operation commands execute the basic operation setting of this
projector.
Operation ASCII HEX
PowerOn
~ P N CR
7Eh 50h 4Eh 0Dh
Power Off ~ P F CR 7Eh 50h 46h 0Dh
Auto Image ~ A I CR 7Eh 41h 49h 0Dh
Input Select RGB ~ S R CR 7Eh 53h 52h 0Dh
Input Select RGB2 ~ S G CR 7Eh 53h 47h 0Dh
Input Select DVI ~ S D CR 7Eh 53h 44h 0Dh
Input Select Video ~ S V CR 7Eh 53h 56h 0Dh
Input Select S-Video ~ S S CR 7Eh 53h 53h 0Dh
Input Select Component ~ S Y CR 7Eh 53h 59h 0Dh
Input Select Wireless ~ S W CR 7Eh 53h 57h 0Dh
Power On command will not work for 1 minute after the power off
command triggered.
CR :
Carriage Return.

Projection Display Serial Interface Spec. 5/14
5. Remote Command
The remote commands simulate the code send from IR remote handset.
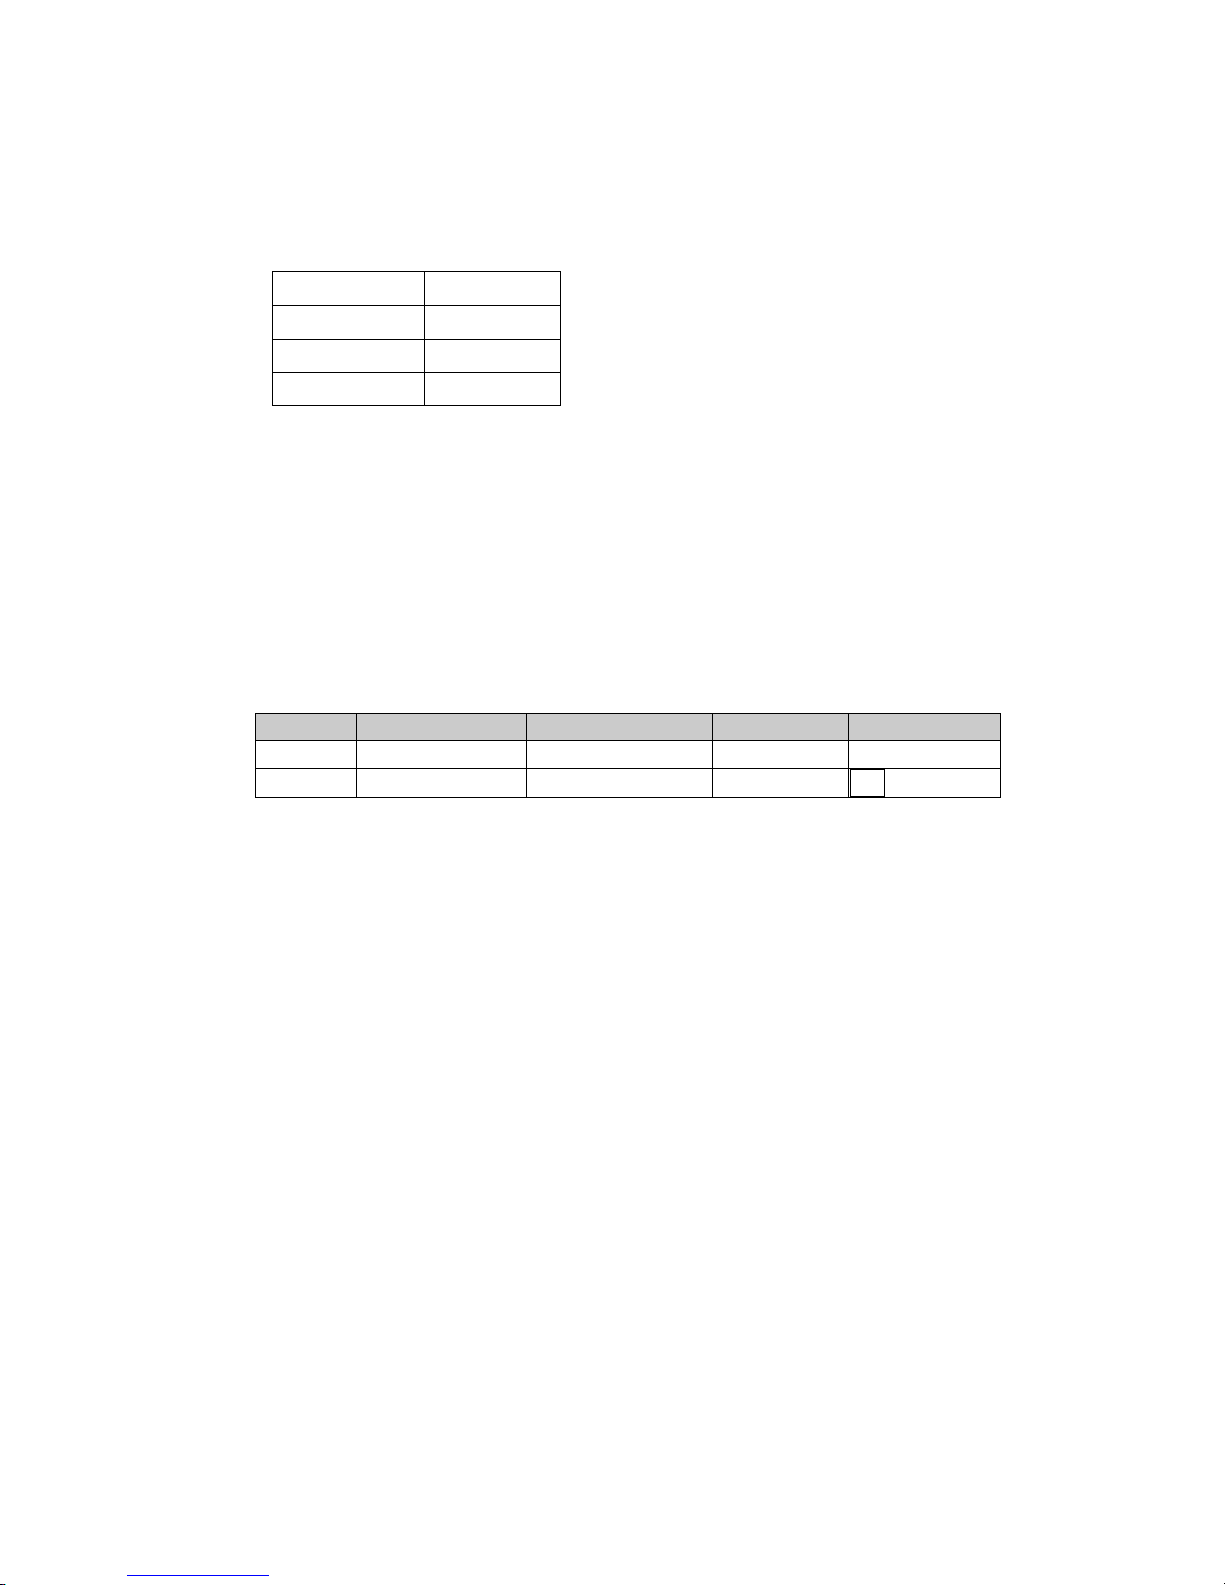
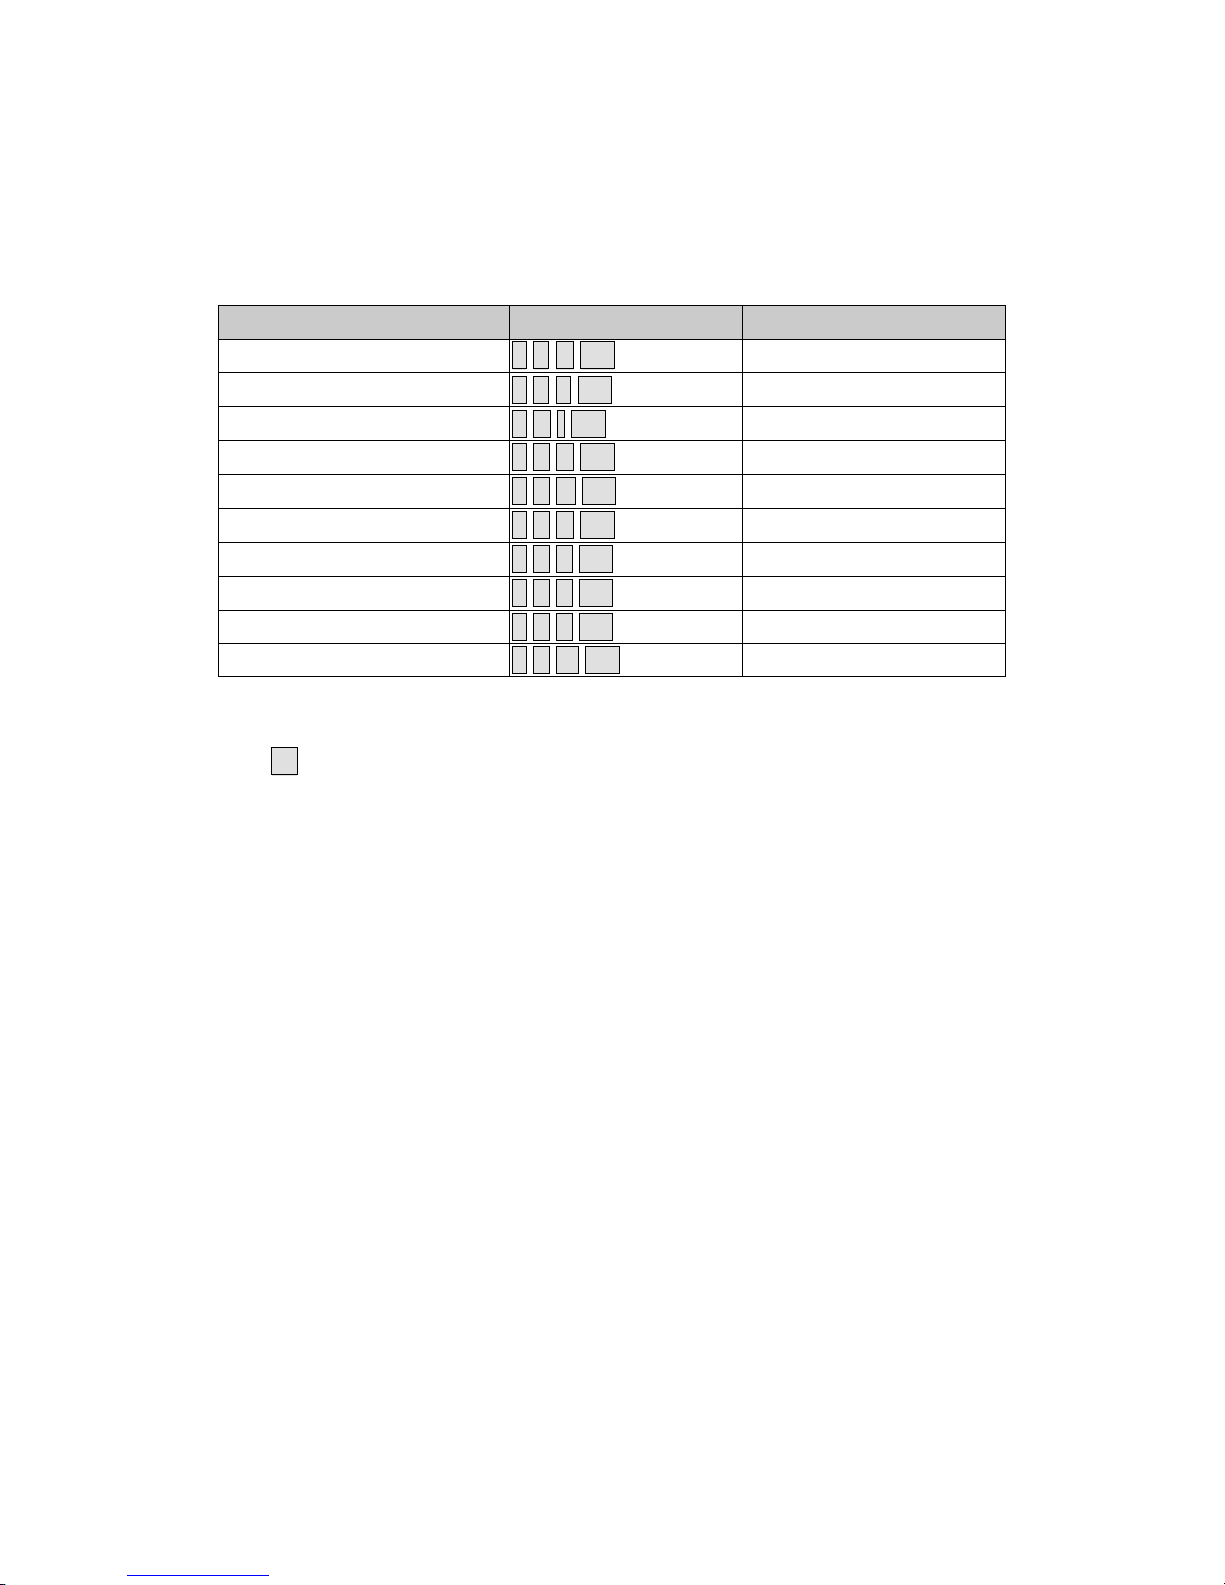
Button’s name ASCII HEX
UP arrow ~ r U CR 7Eh 72h 55h 0Dh
DOWN arrow ~ r D CR 7Eh 72h 44h 0Dh
LEFT arrow ~ r L CR 7Eh 72h 4Ch 0Dh
RIGHT arrow ~ r R CR 7Eh 72h 52h 0Dh
POWER ~ r P CR 7Eh 72h 50h 0Dh
EXIT ~ r E CR 7Eh 72h 45h 0Dh
INPUT ~ r I CR 7Eh 72h 49h 0Dh
AUTO ~ r A CR 7Eh 72h 41h 0Dh
KEYSTONE+ ~ r K CR 7Eh 72h 4Bh 0Dh
KEYSTONE- ~ r J CR 7Eh 72h 4Ah 0Dh
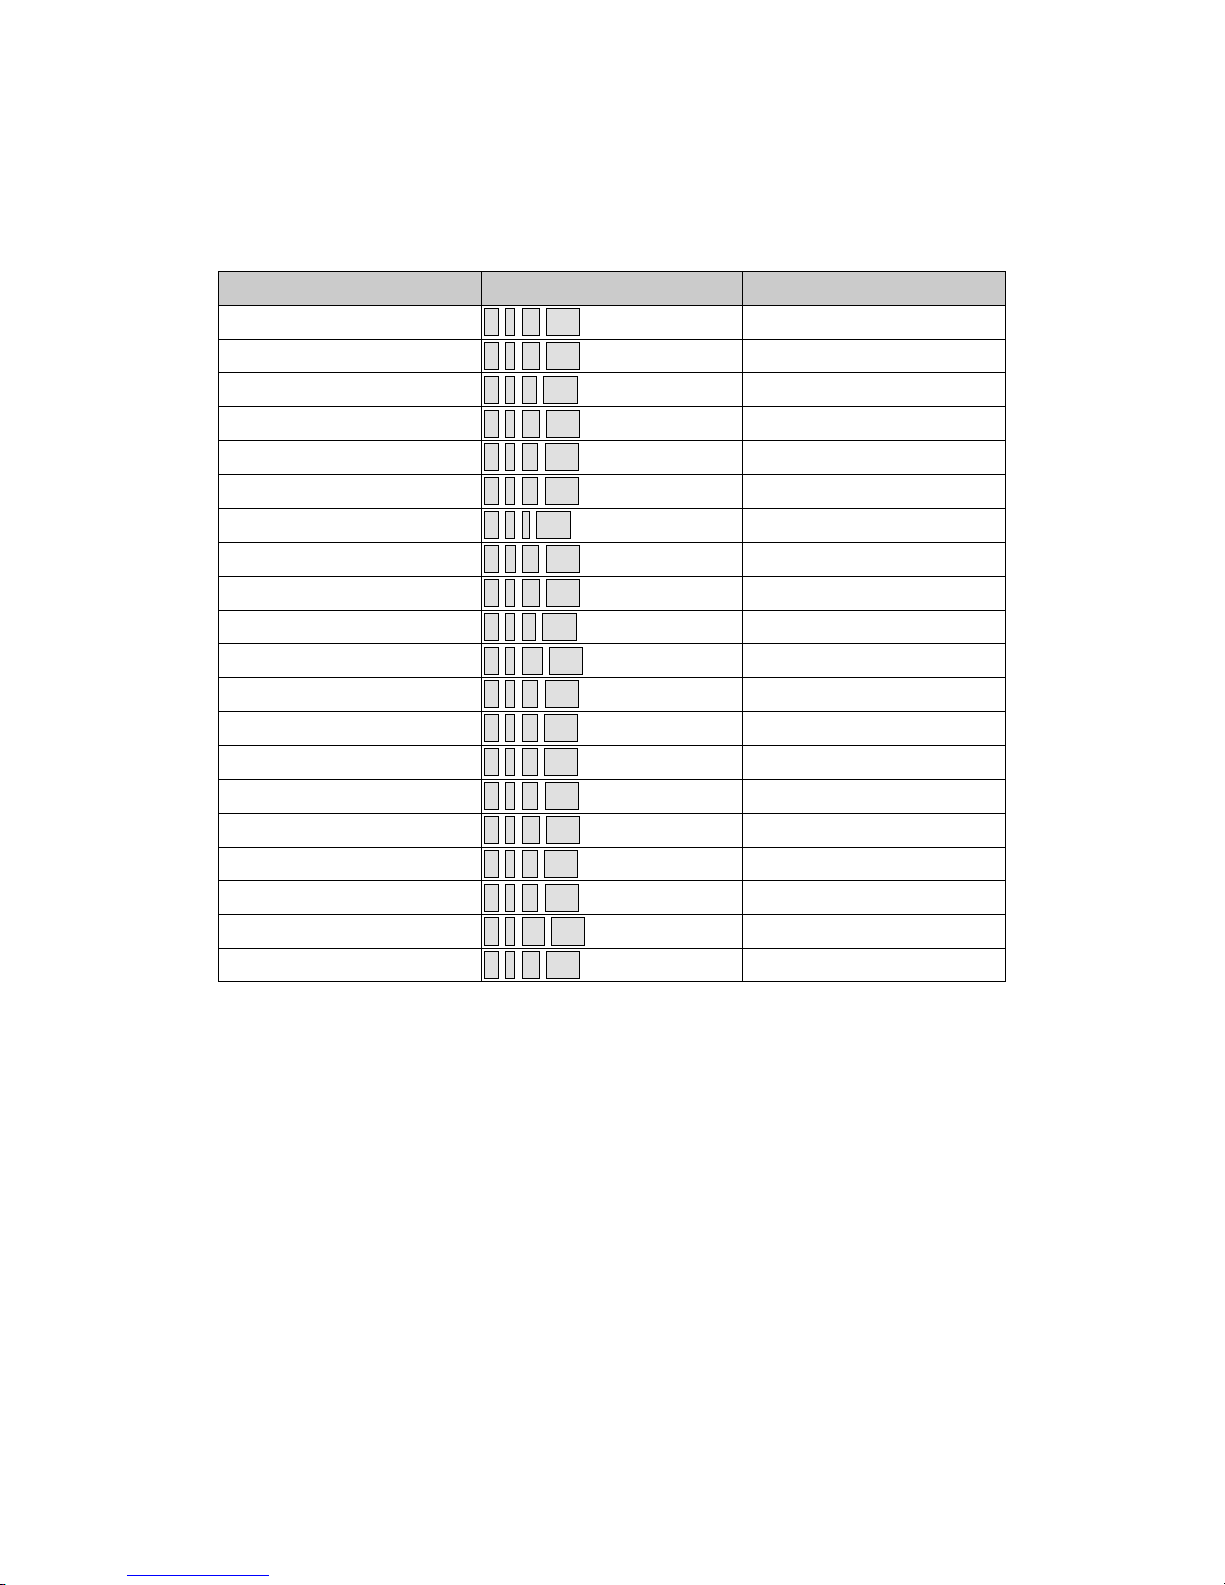
MENU ~ r M CR 7Eh 72h 4Dh 0Dh
STATUS ~ r S CR 7Eh 72h 53h 0Dh
MUTE ~ r T CR 7Eh 72h 54h 0Dh
ZOOM+ ~ r Z CR 7Eh 72h 5Ah 0Dh
ZOOM- ~ r Y CR 7Eh 72h 59h 0Dh
BLANK ~ r B CR 7Eh 72h 42h 0Dh
FREEZE ~ r F CR 7Eh 72h 46h 0Dh
VOLUME+ ~ r V CR 7Eh 72h 56h 0Dh
VOLUME- ~ r W CR 7Eh 72h 57h 0Dh
Enter ~ r N CR 7Eh 72h 4Eh 0Dh

Projection Display Serial Interface Spec. 6/14
6. Set Value Command
ITEM ASCII HEX
Brightness ~ s B ? CR
7Eh 73h 42h ?h 0Dh
Contrast ~ s C ? CR 7Eh 73h 43h ?h 0Dh
Color ~ s R ? CR 7Eh 73h 52h ?h 0Dh
Tint ~ s N ? CR 7Eh 73h 4Eh ?h 0Dh
Scaling ~ s A ? CR 7Eh 73h 41h ?h 0Dh
Color Temperature ~ s T ? CR 7Eh 73h 54h ?h 0Dh
Projection Mode ~ s J ? CR 7Eh 73h 4Ah ?h 0Dh
? : ASCII Data
Data Range
ITEM Set Data Range Source
0 ~ 127 RGBBrightness 0 ~ 200 Video
Contrast 0 ~ 200 RGB / Video
Color 0 ~ 200 Video
Tint 0 ~ 200 Video
Scaling 0: 4:3 1: 16:9 RGB / Video
Color Temperature 0:Cool 1:Normal 2:Warm 3:User RGB / Video
Projection Mode 0:Front 1:Rear+Ceiling 2:Rear
3:Ceiling RGB / Video
Attention: Data range may be different for different models
Example 1. Adjust Brightness value to 100
SendCommand:~sB100CR
Example 2. Adjust Color Temperature to Warm
SendCommand:~sT2CR

Projection Display Serial Interface Spec. 7/14
7. Query Command
ITEM ASCII HEX
Software Version ~ q V CR 7Eh 71h 56h 0Dh
Power State ~ q P CR 7Eh 71h 50h 0Dh
Input Select ~ q S CR 7Eh 71h 53h 0Dh
Lamp Hours ~ q L CR 7Eh 71h 4Ch 0Dh
Brightness ~ q B CR 7Eh 71h 42h 0Dh
Contrast ~ q C CR 7Eh 71h 43h 0Dh
Color (Video) ~ q R CR 7Eh 71h 52h 0Dh
Tint (Video) ~ q N CR 7Eh 71h 4Eh 0Dh
Scaling ~ q A CR 7Eh 71h 41h 0Dh
Color Temperature ~ q T CR 7Eh 71h 54h 0Dh
Projection Mode ~ q J CR 7Eh 71h 4Ah 0Dh
Response message
ITEM Response Message examples
Software Version SAA0. 23
Power State On Off
Input Select RGB DVI Video S-Video DVD
HDTV
Lamp Hours 2000
Brightness 100
Contrast 100
Color (Video) 100
Tint (Video) 100
Scaling 4:3 16:9
Color Temperature Cool Normal Warm User
Projection Mode Front Rear+Ceiling Rear Ceiling
Example 1. Get Brightness value
SendCommand:~qBCR
Response:100
Example 2. Get Color Temperature
SendCommand:~qTCR
Response:Warm

Projection Display Serial Interface Spec. 8/14
8. Hyper Terminal setting guide
8-1 Connect the RS232 Cable between your computer and Projector
8-2 Open HyperTerminal
Window2000/XP HyperTerminal path
Start \ Programs \ Accessories \ Communications \ HyperTerminal
8-3 Setting the HyperTerminal parameter
Step 1. Type the connection name .

Projection Display Serial Interface Spec. 9/14
Step2 . Choose the COM port for your RS232 Cable connected to.
Step3. In Bits per second choose “ 9600 ” and in Flow control choose “ None ”

Projection Display Serial Interface Spec. 10/14
Step4. Click the File and choose Properties to setting Keyboard parameter
Step5. In Setting page , choose Emulation type for your keyboard.

Projection Display Serial Interface Spec. 11/14
Step6. Click ASCII Setting icon to setup ASCII code parameter.
Step7. Mark Send Line ends which line feeds and Echo typed characters locally and
click OK bottom to complete setting.

Projection Display Serial Interface Spec. 12/14
Appendix A (AMX control room console compatibility)
Control room console list
Brand Device Baud Range
Max length
send
Max length
receive
AMX Axcent 300~38400 64 64
AMX Axcent 2 300~38400 64 64
AMX Axcent 3 300~115200 64 64
AMX AXB-EM232 300~38400 64 64
AMX AXC-232 300~38400 64 64
AMX AXC-232++ 300~115200 64 64
AMX AXB-232+ 300~38400 64 64
AMX AXB-232++ 300~115200 64 64
AMX AXB-PCCOM 300~38400 64 64
AMX NXC-COM2 150~230400 900 196
AMX NXI 150~230400 900 196
AMX AXB-MIDI 300~38400 64 64
AMX AXC-MIDI 300~38400 64 64
AMX NXC-ME Ether Net
Please check the relative console provider’s website for updated product information!

Projection Display Serial Interface Spec. 13/14
Appendix B (DIN to RS232 diagram)
DELTA MODEL
NAME :AV-3625/AV-3620/AV-2600

Projection Display Serial Interface Spec. 14/14
Notes:
Appendix C (DIN to RS232 diagram)
DELTA MODEL NAME :DP-2601/AV-2601
Other manuals for ImagePro 8778
1
Table of contents
Popular Projection Screen manuals by other brands

Chetco Digital Instruments
Chetco Digital Instruments vGauge G12A user manual

Elite Screens
Elite Screens CineTension B Series user guide

Draper
Draper 116015 Installation & operating instructions

Colormetrics
Colormetrics P3100 user manual

Elite Screens
Elite Screens EVANESCE TAB-TENSION Series Replacement instructions

AVstumpfl
AVstumpfl MONOBLOX 32 instructions