manuals.online logo
Brands
  1. Home
  2. •
  3. Brands
  4. •
  5. Dwyer Instruments
  6. •
  7. Data Logger
  8. •
  9. Dwyer Instruments DW-DATAPAD Operating instructions

Dwyer Instruments DW-DATAPAD Operating instructions

Model DW-DATAPAD Handheld Portable Data Viewer
pecifications and Operating Instructions
Bulletin DLR-DW-DATAPAD
DWYER IN TRUMENT , INC.
Phone: 219/879-8000 www.dwyer-inst.com
P.O. BOX 373 • MICHIGAN CITY, INDIANA 46360, U. .A. Fax: 219/872-9057 e-mail: [email protected]
The Model DW-DATAPAD Handheld Portable Data Viewer configures
and reads data from up to 500 DW-USB data loggers. A 2.8˝ full color
TFT touch screen display is easy to read and simplifies navigation
through the configuration menus. Data that has been downloaded to the
viewer can be displayed as a trend graph or a statistical summary.
Stored data can also be transferred to a computer using the provided
micro-USB cable and the included Windows®based software. A
rechargeable lithium battery is provided that has an average life of 5 to
8 hours under constant use.
The DW-DATAPAD is compatible with the following DW-USB data
loggers: DW-USB-1, DW-USB-1-HT, DW-USB-1-LCD, DW-USB-2, DW-
USB-2-HA, DW-USB-2-HA-LCD, DW-USB-2-LCD, DW-USB-6, DW-
USB-6-LCD, and DW-USB-LITE.
OPERATING IN TRUCTION
First Time Use
1. Fully charge DataPad by connecting it to your computer or Model KF-
CC-304 charger via the USB cable provided. The device will display a
when fully charged.
2. Turn the DataPad on by holding the button located on the front panel.
The device can be turned off by pressing and holding the button for 3
seconds. After a period of inactivity, the device will turn off. To turn it back
on, either touch the screen or press the button.
etting Time and Date
When the device is fully charged, detach from computer and press the
icon to choose screen options such as time and date.
Connecting a DW-U B Data Logger
First insert your DW-USB Data Logger into the USB port at the top of the
DataPad. nce your Data Logger is connected, you can download
existing data, stop it from logging, or set it up for initial use.
PECIFICATION
Data Recording Capacity: Internal flash memory, greater than 8.5
million readings.
Battery life: 5 to 8 hours (constant use).
Operating Temperature Range: 0 to 50°C (32 to 122°F).
Power Requirements: Rechargeable lithium battery included.
Display: 2.8˝ full color TFT touch screen LCD display.
Resolution: 240 X 320.
Interface: Touch screen and single front-panel push-button power
switch.
Connections: 1 USB type A socket (top of unit) for data logger
connection. 1 micro-USB (bottom of unit) for connection of unit to PC
via supplied USB cable.
Compatible Data Loggers: DW-USB-1, DW-USB-1-HT, DW-USB-1-
LCD, DW-USB-2, DW-USB-2-HA, DW-USB-2-HA-LCD, DW-USB-2-
LCD, DW-USB-6, DW-USB-6-LCD, and DW-USB-LITE.
Weight: 3.9 oz (111 kg).
Agency Approvals: CE, RoHS.
Windows® is a registered trademark of Microsoft Corporation.
3/4
[19.00]
4-7/32
[107.00]
2-11/16
[68.00]
DWYER IN TRUMENT , INC.
Phone: 219/879-8000 www.dwyer-inst.com
P.O. BOX 373 • MICHIGAN CITY, INDIANA 46360, U. .A. Fax: 219/872-9057 e-mail: [email protected]
©Copyright 2014 Dwyer Instruments, Inc. Printed in U.S.A. 4/14 FR# R7-443927-00 Rev.1
etting up Logger
1. Press the “set-up logger” icon
2. Press “full setup” icon
3. Follow on-screen instructions for naming, units, sampling frequency and
any settings you may need.
4. When complete, you will be prompted to remove the logger.
5. If you have already set-up your logger and want to change the start time
and date, use the “quick set-up” icon on the main menu.
top Logger and Download Data
1. Connect Data Logger to DataPad.
2. Press the red “stop logger and download” icon and follow the on-screen
instructions.
Viewing Data
1. Press the blue “view data” button once your data has been downloaded.
Transferring Data to PC
1. Connect DataPad to computer via provided USB cable. The DataPad
will display that it has been connected.
2. Downloaded files can be found in the DataPad drive in the Log Files
directory on your computer.
3. Select files you wish to use and copy them to your computer.
4. Use EasyLog®software to export data to Excel or program of choice.
Recharging
1. To recharge, connect DataPad to computer via USB cable provided.
nce connected, the DataPad will auto charge.
2. To save power, decrease the backlight time by clicking on DataPad
settings .
3. nce in settings, click power management and select your screen time
out preference.
MAINTENANCE/REPAIR
Upon final installation of the Series DW-DATAPAD, no routine maintenance
is required. The Series DW-DATAPAD is not field serviceable and should
be returned if repair is needed. Field repair should not be attempted and
may void warranty.
WARRANTY/RETURN
Refer to “Terms and Conditions of Sales” in our catalog and on our website.
Contact customer service to receive a Return Goods Authorization number
before shipping the product back for repair. Be sure to include a brief
description of the problem plus any additional application notes.
If you are setting up a data logger that is already logging
data follow ‘Stop Logger & Download’ instructions first.
NOTICE

Other Dwyer Instruments Data Logger manuals

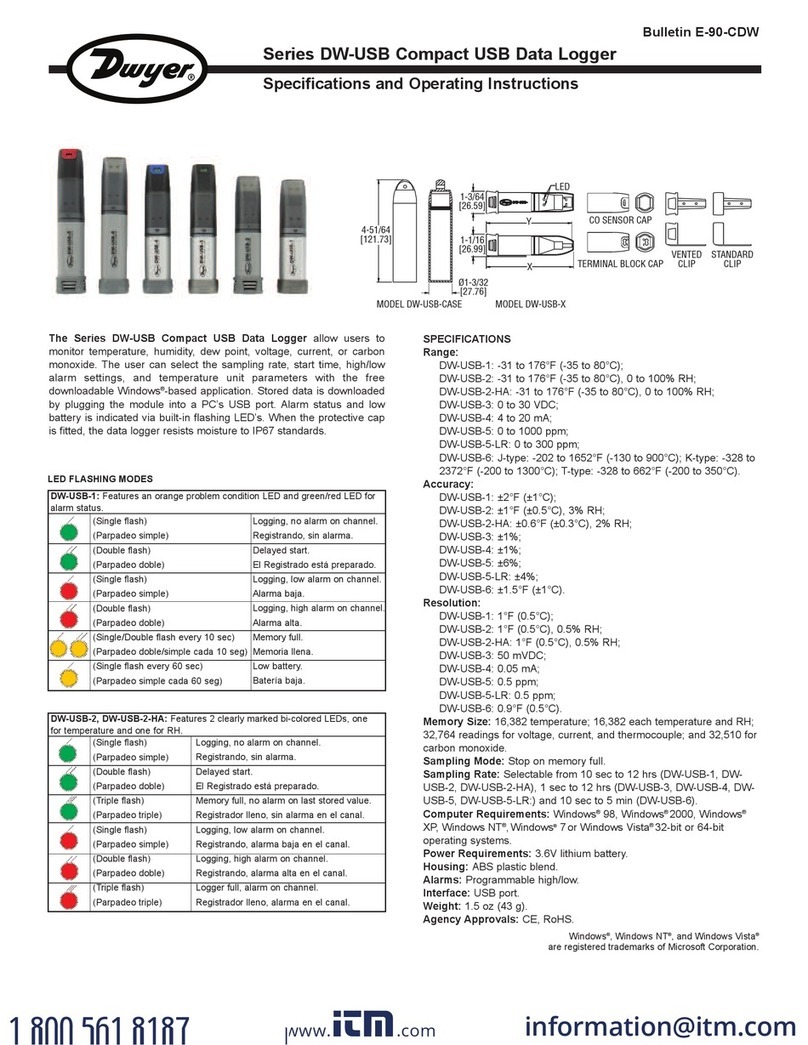
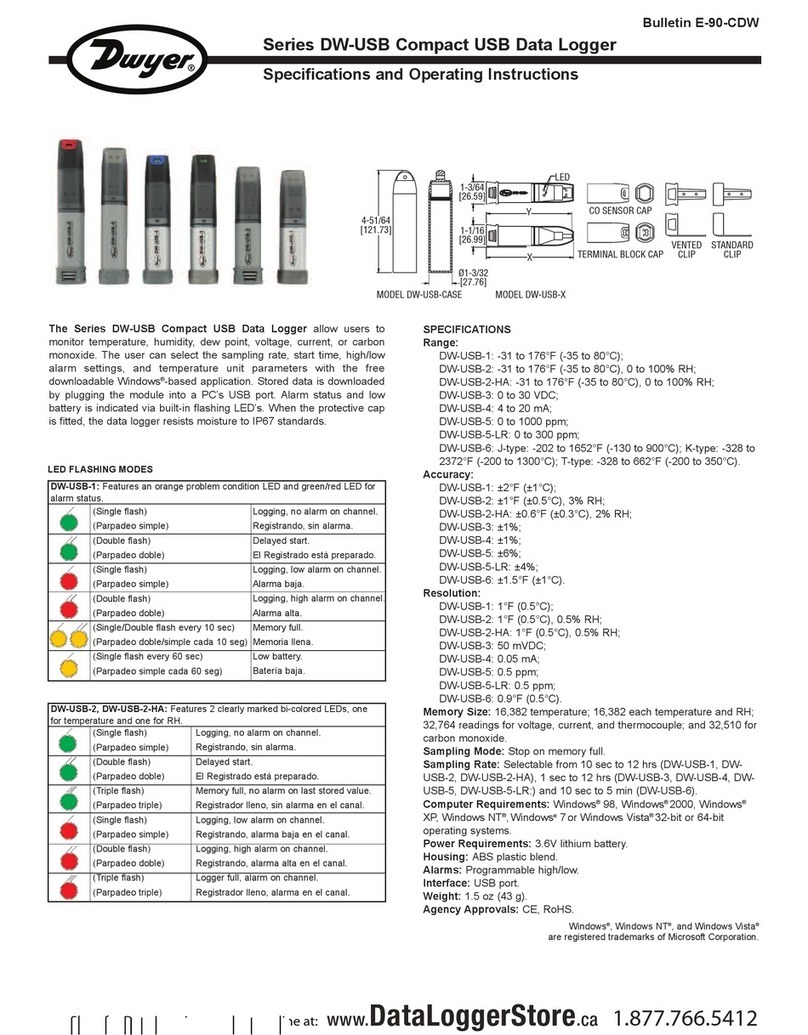
Dwyer Instruments DW-USB Series User manual

Dwyer Instruments

Dwyer Instruments DW-USB Series User manual

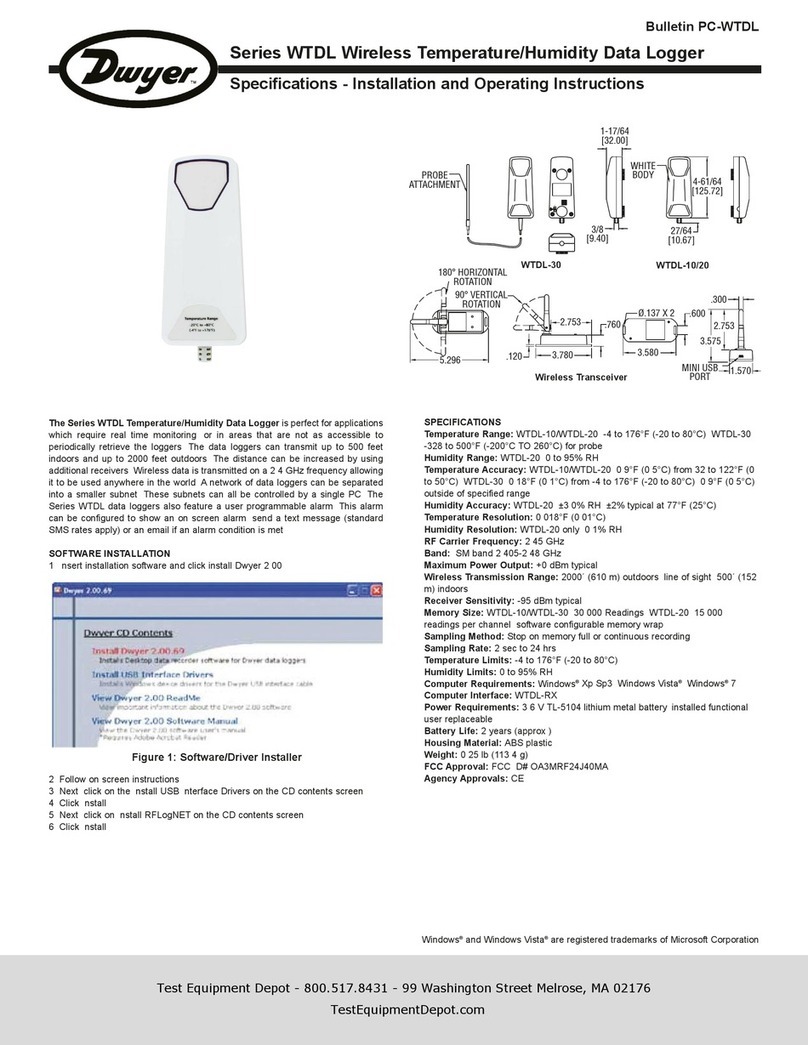
Dwyer Instruments WTDL-30 User manual

Dwyer Instruments

Dwyer Instruments WTDL-30 User manual

Dwyer Instruments DW-USB-1 Operating instructions

Dwyer Instruments

Dwyer Instruments DW-USB-1 Operating instructions

Dwyer Instruments DW-USB Series Operating instructions

Dwyer Instruments

Dwyer Instruments DW-USB Series Operating instructions

Dwyer Instruments DW-USB-1 Operating instructions

Dwyer Instruments

Dwyer Instruments DW-USB-1 Operating instructions

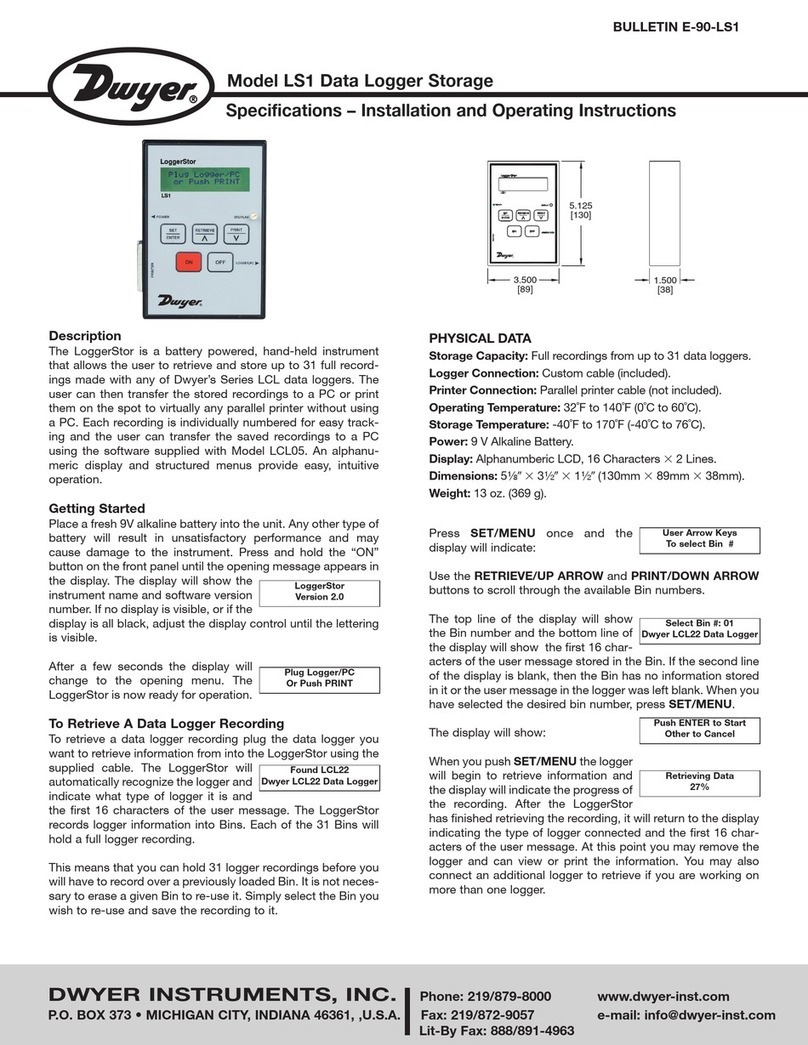
Dwyer Instruments LS1 Installation and operating instructions

Dwyer Instruments

Dwyer Instruments LS1 Installation and operating instructions

Popular Data Logger manuals by other brands

Omega OM-CP-OCTRTD instruction sheet

Omega

Omega OM-CP-OCTRTD instruction sheet

Spotsee LOG-IC 360 manual

Spotsee

Spotsee LOG-IC 360 manual

Curtiss-Wright AXN user guide

Curtiss-Wright

Curtiss-Wright AXN user guide

Goodwe EzLogger Pro SERIES user manual

Goodwe

Goodwe EzLogger Pro SERIES user manual

Monarch Track-It 5396-0321 manual

Monarch

Monarch Track-It 5396-0321 manual

Reflex IQ-LOGGER Quick reference guide

Reflex

Reflex IQ-LOGGER Quick reference guide

AlsoEnergy PowerLogger 1000 manual

AlsoEnergy

AlsoEnergy PowerLogger 1000 manual

BRUEL & KJAER 2816 Service manual

BRUEL & KJAER

BRUEL & KJAER 2816 Service manual

Acksen DS-108 User instructions

Acksen

Acksen DS-108 User instructions

SENSORMETRIX Temp USB Operation manual

SENSORMETRIX

SENSORMETRIX Temp USB Operation manual

Omega OM-CP-VOLT101A instruction sheet

Omega

Omega OM-CP-VOLT101A instruction sheet

Campbell CR510 Operator's manual

Campbell

Campbell CR510 Operator's manual

LI-COR LI-1500 instruction manual

LI-COR

LI-COR LI-1500 instruction manual

DAVIS Vantage Pro2 Updater manual

DAVIS

DAVIS Vantage Pro2 Updater manual

Hobo Pro v2 U23-001A manual

Hobo

Hobo Pro v2 U23-001A manual

Anritsu MA8100A TRX NEON user guide

Anritsu

Anritsu MA8100A TRX NEON user guide

Evenmore DL-200BT user guide

Evenmore

Evenmore DL-200BT user guide

TESTO 174 instruction manual

TESTO

TESTO 174 instruction manual

manuals.online logo
manuals.online logoBrands
  • About & Mission
  • Contact us
  • Privacy Policy
  • Terms and Conditions

Copyright 2025 Manuals.Online. All Rights Reserved.