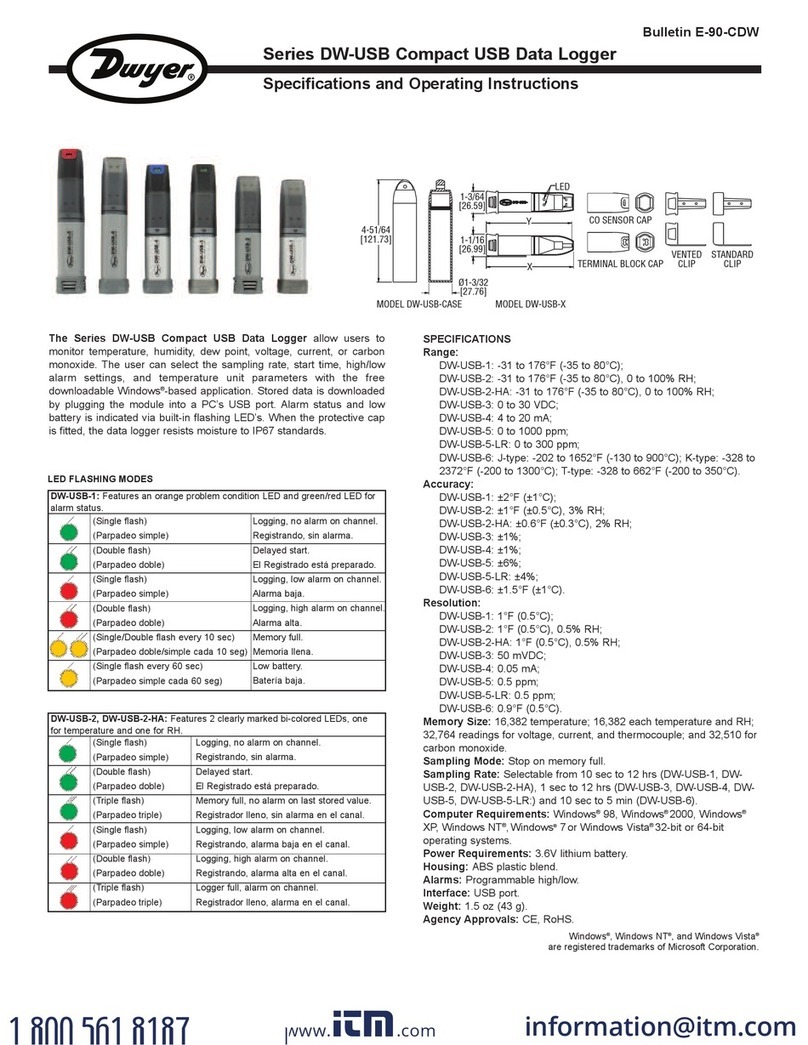
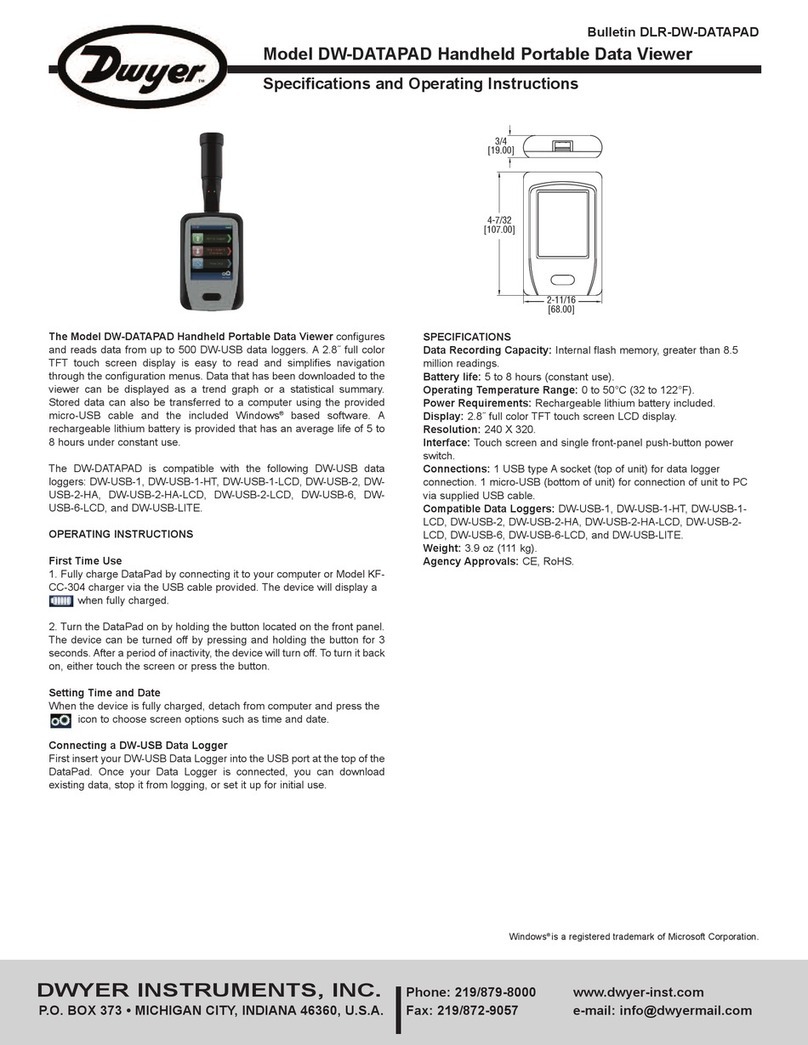
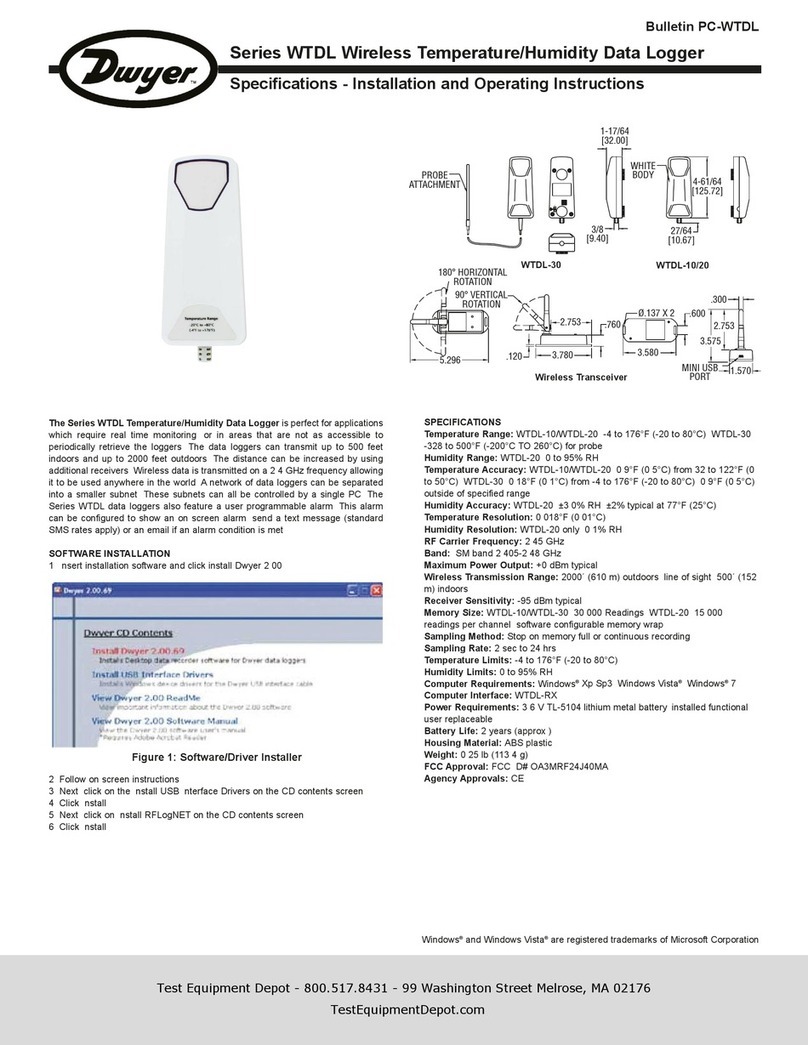
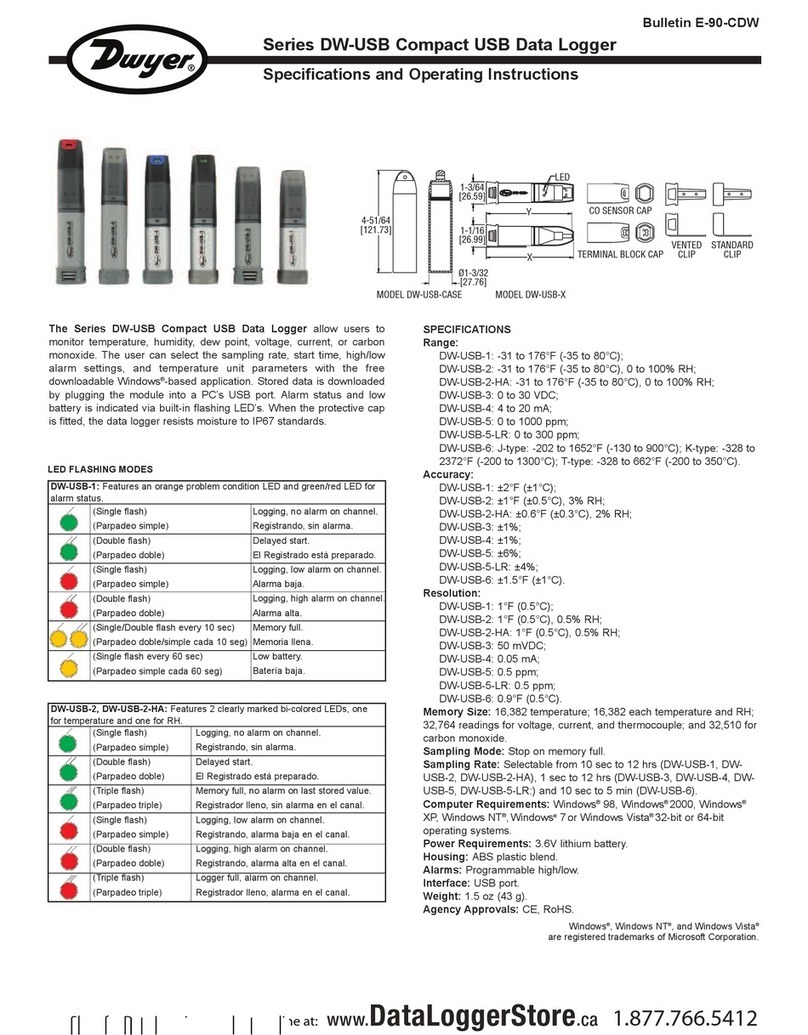
Dwyer Instruments LS1 Installation and operating instructions

BULLETIN E-90-LS1
Model LS1 Data Logger Storage
Specifications – Installation and Operating Instructions
DWYER INSTRUMENTS, INC.
Phone: 219/879-8000 www.dwyer-inst.com
P.O. BOX 373 • MICHIGAN CITY, INDIANA 46361, ,U.S.A. Fax: 219/872-9057 e-mail: info@dwyer-inst.com
Lit-By Fax: 888/891-4963
Description
The LoggerStor is a battery powered, hand-held instrument
that allows the user to retrieve and store up to 31 full record-
ings made with any of Dwyer’s Series LCL data loggers. The
user can then transfer the stored recordings to a PC or print
them on the spot to virtually any parallel printer without using
a PC. Each recording is individually numbered for easy track-
ing and the user can transfer the saved recordings to a PC
using the software supplied with Model LCL05. An alphanu-
meric display and structured menus provide easy, intuitive
operation.
Getting Started
Place a fresh 9V alkaline battery into the unit. Any other type of
battery will result in unsatisfactory performance and may
cause damage to the instrument. Press and hold the “ON”
button on the front panel until the opening message appears in
the display. The display will show the
instrument name and software version
number. If no display is visible, or if the
display is all black, adjust the display control until the lettering
is visible.
After a few seconds the display will
change to the opening menu. The
LoggerStor is now ready for operation.
To Retrieve A Data Logger Recording
To retrieve a data logger recording plug the data logger you
want to retrieve information from into the LoggerStor using the
supplied cable. The LoggerStor will
automatically recognize the logger and
indicate what type of logger it is and
the first 16 characters of the user message. The LoggerStor
records logger information into Bins. Each of the 31 Bins will
hold a full logger recording.
This means that you can hold 31 logger recordings before you
will have to record over a previously loaded Bin. It is not neces-
sary to erase a given Bin to re-use it. Simply select the Bin you
wish to re-use and save the recording to it.
PHYSICAL DATA
Storage Capacity: Full recordings from up to 31 data loggers.
Logger Connection: Custom cable (included).
Printer Connection: Parallel printer cable (not included).
Operating Temperature: 32˚F to 140˚F (0˚C to 60˚C).
Storage Temperature: -40˚F to 170˚F (-40˚C to 76˚C).
Power: 9 V Alkaline Battery.
Display: Alphanumberic LCD, 16 Characters 2 Lines.
Dimensions: 58 32 12 (130mm 89mm 38mm).
Weight: 13 oz. (369 g).
5.125
[130]
3.500
[89]
1.500
[38]
LoggerStor
Version 2.0
Plug Logger/PC
Or Push PRINT
Found LCL22
Dwyer LCL22 Data Logger
Press SET/MENU once and the
display will indicate:
Use the RETRIEVE/UP ARROW and PRINT/DOWN ARROW
buttons to scroll through the available Bin numbers.
The top line of the display will show
the Bin number and the bottom line of
the display will show the first 16 char-
acters of the user message stored in the Bin. If the second line
of the display is blank, then the Bin has no information stored
in it or the user message in the logger was left blank. When you
have selected the desired bin number, press SET/MENU.
The display will show:
When you push SET/MENU the logger
will begin to retrieve information and
the display will indicate the progress of
the recording. After the LoggerStor
has finished retrieving the recording, it will return to the display
indicating the type of logger connected and the first 16 char-
acters of the user message. At this point you may remove the
logger and can view or print the information. You may also
connect an additional logger to retrieve if you are working on
more than one logger.
User Arrow Keys
To select Bin #
Select Bin #: 01
Dwyer LCL22 Data Logger
Push ENTER to Start
Other to Cancel
Retrieving Data
27%

To View a Data Logger Recording
Once a data logger recording has been retrieved to the
LoggerStor you can view the information directly on the
LoggerStor screen. A data logger or printer does not have to
be attached to do this. You cannot, however, view a recording
while another recording is being retrieved or printed.
Press PRINT/DOWN ARROW and
display will show a print or view
message for several seconds and then
change to the menu to select a Bin to
print or view.
Use the RETRIEVE/UP ARROW or PRINT/DOWN ARROW to
scroll through the available Bins to select the recording you
wish to view.
When you have selected a Bin number to view, press
SET/MENU.
The next menu will allow you to select
the temperature reading in Fahrenheit
or Celsius.
Use the RETRIEVE/UP ARROW and PRINT/DOWN ARROW
to select the temperature scale.
Press SET/MENU to continue.
The LoggerStor will now prompt you
to select View or Print.
Press RETRIEVE/UP ARROW to continue.
The final menu item is the option to select a filter function for
the information being viewed. If the user were to view a record-
ing which used all of the memory capacity of the data logger,
this would be a very long record of 8000 data samples for
LCL20 and LCL22 and 10,000 data samples for LCL10.
To view this information would be a cumbersome and time-
consuming process. In most cases the information required
from the data recording is only when the temperature or
humidity has changed. If the temperature or humidity remains
constant, it is not necessary to view line after line of the same
information.
The LoggerStor allows the user to select from 1 to 10 degrees
of temperature change or 1 to 10% of humidity change to view.
Note that only ONE parameter may be used as a filter.
What this means is that data samples that are less than the
selected temperature or humidity change are ignored and only
when the temperature or humidity has changed by the
selected amount is a sample displayed. That temperature or
humidity becomes the new value to compare to and the
temperature or humidity will have to change again by the
selected amount before another sample is printed.
The display will show:
Press SET/MENU to view all the temperature data or press
RETRIEVE/UP ARROW to scroll from 1 to 10 degrees of
temperature filtering.
Press PRINT/DOWN ARROW to do the same for the second
temperature probe if you are using a LCL22 or for humidity if
you are using a LCL20. After selecting the desired filter press
SET/MENU to begin viewing the recording.
Use RETRIEVE/UP ARROW and PRINT/DOWN ARROW to
move through the recording samples.
You can exit the viewing function at any time by pressing
SET/MENU.
Example Display
The LoggerStor uses a display with 16 characters by 2 lines.
As a result of this, the information displayed when viewing a
recording will be compacted to fit in the display. A typical
example of a LCL22 recording will look
like the example to the right.
The first line of the display will show the temperature recorded
by probe #1 and the date in the month/day/year format. The
second line will show the temperature recorded by probe #2
and the time in the hours:minutes:seconds format. Note that
the 24 hour system is used in the LoggerStor.
Printing a Recording from the LoggerStor
Once a data logger recording has been retrieved to the
LoggerStor you can print the information directly to a printer. A
data logger does not have to be attached to do this. You
cannot, however, print a recording while another recording is
being retrieved or viewed.
Press PRINT/DOWN ARROW and the
display will show a print or view
message for several seconds and then
change to the menu to select a Bin to
print or view.
Press RETRIEVE/UP ARROW or PRINT/DOWN ARROW to
scroll through the available Bins and select the recording you
wish to print.
When you have selected a Bin number to print, press
SET/MENU.
The next menu will allow you to select
the temperature reading in Fahrenheit
or Celsius.
Use the RETRIEVE/UP ARROW and PRINT/DOWN ARROW
to select the temperature scale.
Press SET/MENU to continue.
The LoggerStor will now prompt you
to select View or Print.
Press PRINT/DOWN ARROW to continue.
The final menu item is the option to select a filter function for
the information being printed. If the user were to print a record-
ing, which used all of the memory capacity of the data logger,
this would be a very long record of 8000 data samples for the
LCL20 and LCL22 and 10,00 data samples for the LCL10—
about 120 pages of paper! To print this information would be
cumbersome and time-consuming process. In most cases the
information required from the data recording is only when the
temperature or humidity has changed. If the temperature or
humidity remains constant, it is not necessary to print line after
Print or View
Data from Bins
Select Bin #: 01
Dwyer Data Loggers
Temperature set
to Fahrenheit
Press UP to View
Press DOWN to Print
Send out all of
The Temp 1 Data
67.26˚F 10/11/98
67.95˚F 03:24:50
Print or View
Data from Bins
Select Bin #: 01
Dwyer Data Loggers
Temperature set
To Fahrenheit
Press UP to View
Press DOWN to Print
line of the same information.
The LoggerStor allows the user to select from 1 to 10 degrees
of temperature change, or 1 to 10% of humidity change to
print. Note that only ONE parameter may be used as a filter.
What this means is that data samples that are less than the
selected temperature or humidity change are ignored and only
when the temperature or humidity has changed by the
selected amount is a sample printed. That temperature or
humidity becomes the new value to compare to and the
temperature or humidity will have to change again by the
selected amount before another sample is printed.
The display will show:
Press SET/MENU to view all the temperature data, or press
RETRIEVE/UP ARROW to scroll from 1 to 10 degrees of
temperature filtering.
Press PRINT/DOWN ARROW to do the same for the second
temperature probe if your are using a LCL22 or for humidity if
your are using a LCL20.
After selecting the desired filter, press SET/MENU to begin
printing the recording.
You can exit the printing function at any time by pressing
SET/MENU.
Printer Error Messages
If a printer is not connected to the set to operate, an error
message will be displayed to alert the user to a printer prob-
lem.
There are several possible problems that may occur if the
printer is not ready. The LoggerStor will alert the user to a
problem with the printer. As each printer has its own set of
controls and settings, the user is recommended to consult the
owner’s manual supplied with the printer.
This is an error message that appears
when the printer is not connected or is
turned off. Make sure the printer cable
is attached to both the printer and the LoggerStor and that
power is supplied to the printer.
This is an error message to alert the
user that the printer has run out of
paper. Refer to the owner’s manual of
the printer for instructions on paper replacement.
This is an error message that will indi-
cate the printer has not been set to ON
LINE. Refer to the owner’s manual for
specific instructions on setting the printer controls.
Using the LoggerStor to Set a Data Logger Sampling
Interval
The LoggerStor can be used to set the sampling rate of a
LCL10, LCL20 or LCL22. This is useful when a user would like
to make a change in the field without returning the logger to a
location that has a PC available. The LoggerStor cannot
change the user information. A PC is required to do this.
To set a logger, first plug it into the LoggerStor using the
supplied cable. The display will show
the logger type and the first 16 char-
acters of the user message.
Press SET/MENU and the display will
change to the message to use the
message to use the arrow keys.
After a short delay the display will then
indicate the present sampling rate of
the logger.
Use the RETRIEVE/UP ARROW and the PRINT/DOWN
ARROW keys to select a sampling rate suitable to the appli-
cation.
For a recording to accurately reflect a series of events, it is up
to the user to select a recording interval that best suits the
particular application. In some situations maximum recording
time may be sacrificed so that more frequent sampling may be
accomplished. Frequent sampling is best suited when moni-
toring short-term events, such as defrost cycles or start up
operation, that benefit from highly detailed recording. Long
term monitoring will require less frequent sampling in favor of
longer recording times. This type of recording is often used to
monitor equipment performance over long periods of time.
After choosing a sampling rate, press
SET/MENU and the display will
change to a menu that will allow you to
save or cancel the sampling rate selected.
Push SET/MENU to save the desired sampling rate.
The display will advise that the
sampling rate has been saved and
then return to the opening display
describing the logger that is plugged into the LoggerStor.
Connecting the LoggerStor to a PC
When the LoggerStor is connected to
a PC and the DwyerLog program is
running, all functions are controlled
from the PC. The LoggerStor display will show a message
prompting you to press SET/MENU after you have finished
retrieving recordings to a PC.
This display will remain until you press SET/MENU or turn off
the LoggerStor.
The automatic shutoff is disabled while the LoggerStor is
connected to a PC, so extra care should be taken to avoid
draining the battery unnecessarily.
Select the LoggerStor function from the buttons at the top of
the screen.
After a short delay while the PC communicates with the
LoggerStor, a window will open that will display all of the Bins
in the LoggerStor.
Send out all of
The Temp 1 Data
Please connect
the Printer
Printer is Out
of Paper
Printer is not
on Line
Found LCL22
Dwyer LCL22 Data Logger
Use Arrow Keys
To Select Rate
Sampling Rate:
1 Minute
Push SET to Save
Other to Cancel
New Sampling
Interval Saved
Unplug PC & Push
SET When Done

Select one of the Bins to retrieve by pointing to the circle next
to the Bin number and clicking on it. When you have selected
a Bin to retrieve, click on OK to begin the retrieval process. The
LoggerStor will show a progress bar much like what is
displayed when retrieving information from a data logger.
After the information has been retrieved from the LoggerStor, it
will be automatically displayed as an auto-scaled graph.
At this point the information can be treated the same as if it
were retrieved from a data logger. Refer to the instructions that
came the the LCL05 package to use the various options of the
LCL software.
Erasing the LoggerStor Bins
A hidden option is available to erase all of the Bins in the
LoggerStor. This will completely remove all information stored
in every Bin. Start with the LoggerStor OFF.
Press and Hold RETRIEVE/UP ARROW and PRINT/DOWN
ARROW.
Press the ON button on the LoggerStor until the opening
message is visible.
After a brief delay the display will change to a clear memory
message.
When this message is displayed release the RETRIEVE/UP
ARROW and PRINT/DOWN ARROW buttons.
The display will prompt the user to select the erase function or
to cancel.
Push the PRINT/DOWN ARROW button to erase the informa-
tion stored in the LoggerStor Bins. Any other button will cancel
the erase function and return you to the opening menu.
Replacing the Battery in the LoggerStor
When the LoggerStor will not be used for an extended period,
or when the battery is exhausted, it is strongly recommended
to remove the battery to avoid damage to the LoggerStor from
battery leakage.
USE ONLY ALKALINE BATTERIES IN THE LOGGERSTOR.
Substitution of a different battery can result in reduced perfor-
mance or permanent damage to this instrument.
To replace the LoggerStor’s battery follow the steps below:
1. Make sure the LoggerStor is OFF. If you are using the
optional AC adapter disconnect it now.
2. Remove the rear battery cover.
3. The battery and battery clip may be extended from the
battery compartment to facilitate replacement.
4. Remove the battery from the battery clip and dispose of
properly.
5. Line up the connector of the new battery and push onto the
pins of the battery clip with a firm motion. Do NOT reverse
the battery connection, even momentarily, as this can
result in the loss of data or permanent damage to the
logger.
6. Place the battery in the battery compartment of the
LoggerStor.
7. Replace the battery cover.
MAINTENANCE
No routine maintenance is required on the Model LS1 Data
Logger Storage. Please contact Dwyer Instruments, Inc. before
returning unit for repair to review information relative to your
application and obtain a return authorization number. When
returning a product to the factory, carefully package and ship
freight prepaid. Be sure to include a complete description of
the application and problem and identify any hazardous mate-
rial used with the product.
DWYER INSTRUMENTS, INC.
Phone: 219/879-8000 www.dwyer-inst.com
P.O. BOX 373 • MICHIGAN CITY, INDIANA 46361, ,U.S.A. Fax: 219/872-9057 e-mail: info@dwyer-inst.com
Lit-By Fax: 888/891-4963
©Copyright 1999 Dwyer Instruments, Inc. Printed in U.S.A.8/99 FR R1- 443116-00
21%
Other Dwyer Instruments Data Logger manuals

Dwyer Instruments
Dwyer Instruments DW-USB-1 Operating instructions

Dwyer Instruments
Dwyer Instruments DW-USB-1 Operating instructions

Dwyer Instruments
Dwyer Instruments DW-USB Series Operating instructions

Dwyer Instruments
Dwyer Instruments WTDL-30 User manual

Dwyer Instruments
Dwyer Instruments DW-USB Series User manual

Dwyer Instruments
Dwyer Instruments DW-DATAPAD Operating instructions
Popular Data Logger manuals by other brands

Mobile Action
Mobile Action GT-120B user guide

SignalFire
SignalFire RANGER Wall Mount manual

Capetti Elettronica
Capetti Elettronica WineCapKey WSD02T-KK user manual

IBA
IBA ibaDAQ-C manual

Convergence Instruments
Convergence Instruments ACAM 64 user manual

HyQuest Solutions
HyQuest Solutions ML-IoT/C Operation manual