Graphic symbols
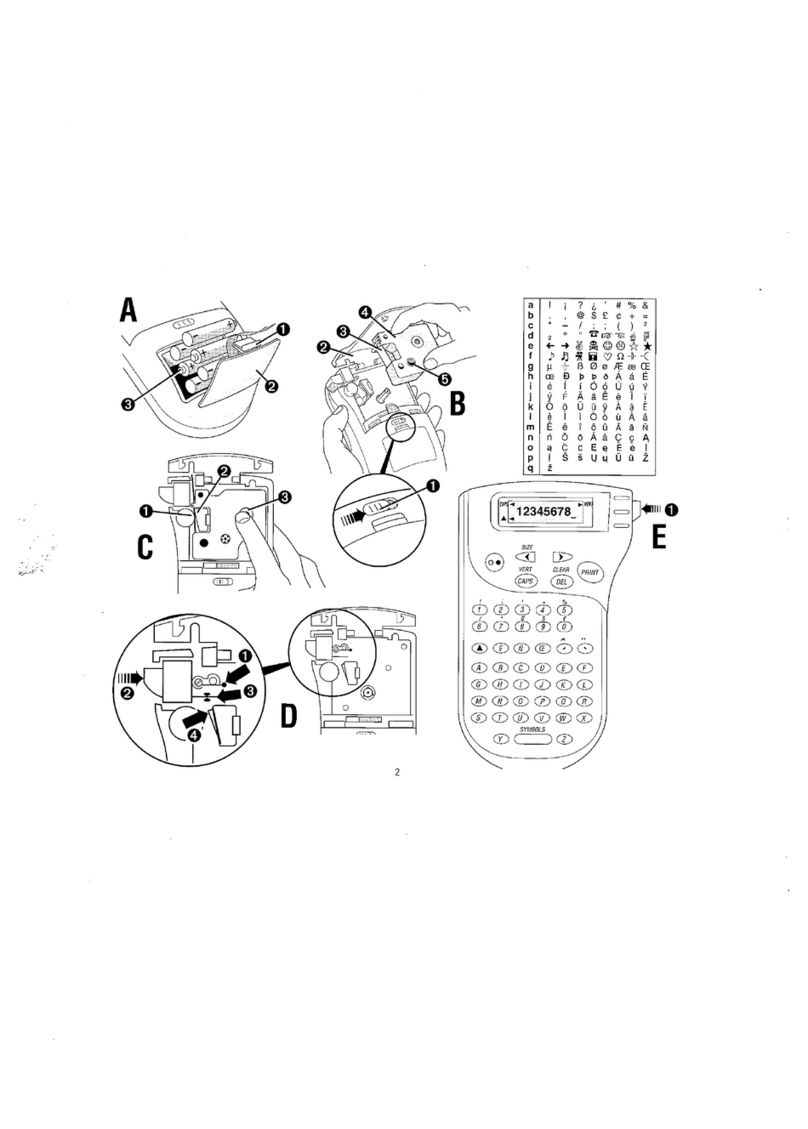
The LabelMANAGER 400 also stores 163 graphic symbols.
To insert a symbol, press . You can then scroll left and
right, up and down through the rows or columns of the
symbol chart, using the navigation key. On the right of the
display, you will see the coordinates of the symbol currently
selected (e.g. A2, F5). The display will also show you an
enlarged version of your symbol. Press to insert your
selected symbol.
When you look at the text of your label on the display, a
generic icon representing all symbols will appear on the dis-
play in the place you inserted it. When you place your cursor
under the symbol (using the Qand Rkeys), the actual sym-
bol will appear in a large format for about a second.
Inserting date or time
With the and TIME keys you can insert the date or time
into a label. You can choose the date or time printed on the
label (dynamic format), or the date or time to create the
label.
• Press the button once, and a date icon will appear
in the display. This means that the label - even if saved -
will always print the current date when the label is
printed. When you place your cursor under the date icon
(using the Qor Rkeys), it will be displayed in a large
format for about a second. You can use this to check the
date format you have selected.
• Press the TIME (+) button once, and a time
icon will appear in the display. This means that the label
- even if saved - will always print the current time when
the label is printed. When you place your cursor under
the time icon (using the Qor Rkeys), it will be
displayed in a large format for about a second. You can
use this to check the time format you have selected.
• Press the button twice, and the current date will
be inserted into the label. It will appear in full on the
display, in the date display format you have chosen. This
date now forms part of the text of your label, and will
remain unchanged, whenever you print this label.
You can edit it like normal text.
• Press the TIME (+) button twice, and the
current time will be inserted into the label. It will appear
in full on the display, in the time display format you have
chosen. This time now forms part of the text of your
label, and will remain unchanged, whenever you print
this label. You can edit it like normal text.
Text over two to five lines
You can add an additional line to your label by pressing .
If the display shows Abc ↵ 123, your label will print:
The display will show which line of a multi-line label you are
currently typing in. The example shows you are currently
typing in the second line. You can also use the Por Hkeys
to shift between different lines of your label.
Formatting labels
You can use a wide range of formatting options to change
the style in your printed label, such as font size, bold, italic,
boxed, vertical etc. The way you format your label is shown
by a combination of indicators above the text display.
Display indicators
There are 12 display indicators around the text display.
When one or more of these indicators is highlighted, it
shows the relevant formatting option is active:
Auto cut is enabled: the machine will automati-
cally cut your label(s)
Fixed length is enabled
Multiple copies are to be printed
Barcode mode has been selected
The text will be printed in a box
Abc The text will be underlined
BIG The label will be printed in big font
The font size you have selected is highlighted
The text will be printed in mirror font
STYLE A style has been selected
Displays when capitals have been selected
If you try a combination of formats which the machine can-
not produce, an error message will appear. See error mes-
sage list in Troubleshooting.
Selecting a font
The LabelMANAGER 400 can print 5 different fonts.
To select a font, press the key. The machine will
display a scroll-down menu of five different fonts, and will
show you the way the font looks:
Select the font you require, and to confirm.
