Dynojet DynoWare RT 250i User manual


©2015 Dynojet Research, Inc. All Rights Reserved.
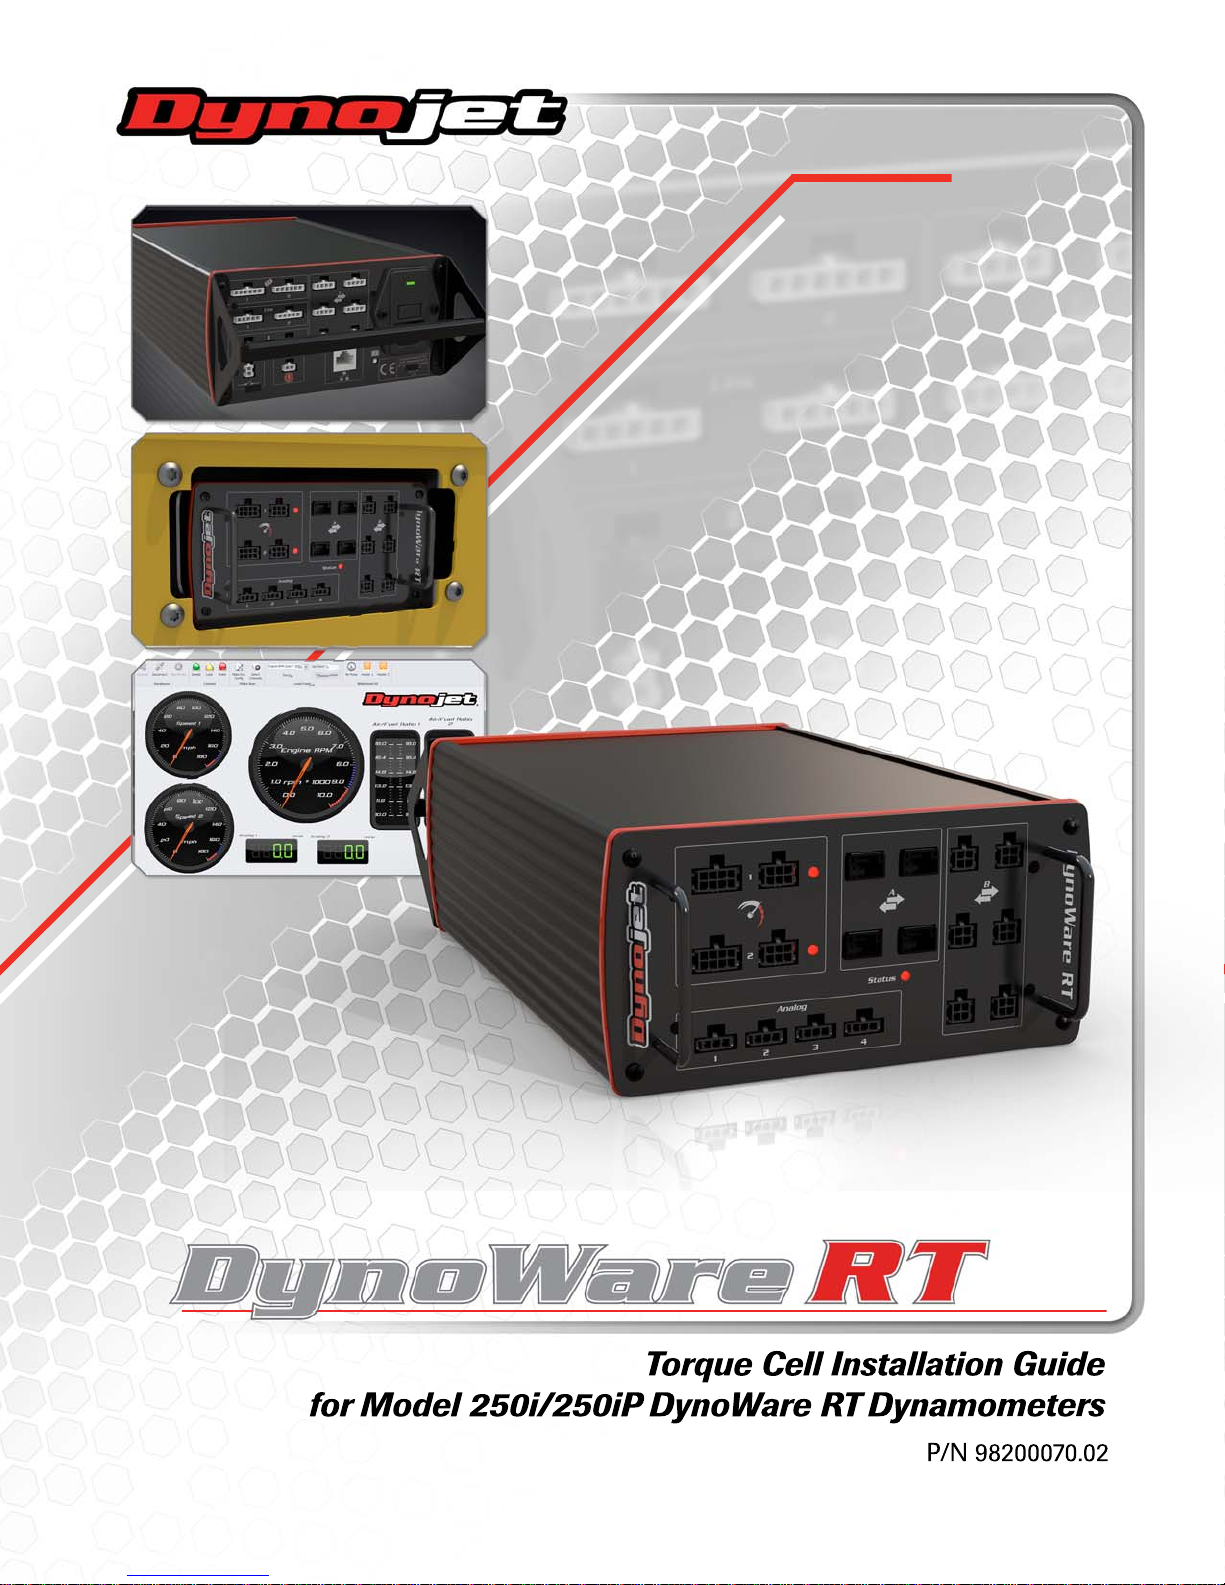
Torque Cell Installation Guide for Model 250i/250iP DynoWare RT Dynamometers.
This manual is copyrighted by Dynojet Research, Inc., hereafter referred to as Dynojet,
and all rights are reserved. This manual, and the software described in it, is furnished
under license and may only be used or copied in accordance with the terms of such license.
This manual is furnished for informational use only, is subject to change without notice,
and should not be construed as a commitment by Dynojet. Dynojet assumes no
responsibility or liability for any error or inaccuracies that may appear in this manual.
Except as permitted by such license, no part of this manual may be reproduced, stored in a
retrieval system, or transmitted, in any form or by any means, electronic, mechanical,
recording, or otherwise, without the prior written permission of Dynojet.
The Dynojet logo is a trademark of Dynojet Research, Inc.
Any trademarks, trade names, service marks, or service names owned or registered by any
other company and used in this guide are the property of their respective companies.
Dynojet Research, Inc., 2191 Mendenhall Drive, North Las Vegas, Nevada 89081, USA.
Printed in USA.
Part Number: 98200070 Version 2 (07/2015)

i
Torque Cell Installation Guide for Model 250i/250iP DynoWare RT Dynamometers
T
ABLE
OF
C
ONTENTS
Chapter 1 Torque Cell Installation
Introduction . . . . . . . . . . . . . . . . . . . . . . . . . . . . . . . . . . . . . . . . . . . . . . . . . . . . . . . . . . . . 1-2
Conventions Used In This Manual . . . . . . . . . . . . . . . . . . . . . . . . . . . . . . . . . . . . . . . 1-2
Technical Support . . . . . . . . . . . . . . . . . . . . . . . . . . . . . . . . . . . . . . . . . . . . . . . . . . . . 1-2
Main Dyno Power . . . . . . . . . . . . . . . . . . . . . . . . . . . . . . . . . . . . . . . . . . . . . . . . . . . . . . . 1-3
Connecting and Disconnecting the Power—Above Ground Dyno . . . . . . . . . . . . 1-3
Connecting and Disconnecting the Power—In Ground Dyno . . . . . . . . . . . . . . . . 1-4
Accessing the Dyno . . . . . . . . . . . . . . . . . . . . . . . . . . . . . . . . . . . . . . . . . . . . . . . . . . . . . 1-5
Accessing the Dyno—Above Ground . . . . . . . . . . . . . . . . . . . . . . . . . . . . . . . . . . . . 1-5
Accessing the Dyno—In Ground . . . . . . . . . . . . . . . . . . . . . . . . . . . . . . . . . . . . . . . . 1-8
Load Cell Installation . . . . . . . . . . . . . . . . . . . . . . . . . . . . . . . . . . . . . . . . . . . . . . . . . . . . 1-9
Routing the Load Cell Cable . . . . . . . . . . . . . . . . . . . . . . . . . . . . . . . . . . . . . . . . . . . . 1-12
Routing the Load Cell Cable—Above Ground Dyno . . . . . . . . . . . . . . . . . . . . . . . 1-12
Routing the Load Cell Cable—In Ground Dyno . . . . . . . . . . . . . . . . . . . . . . . . . . . 1-13
Replacing the Covers . . . . . . . . . . . . . . . . . . . . . . . . . . . . . . . . . . . . . . . . . . . . . . . . . . 1-14
Replacing the Covers—Above Ground Dyno . . . . . . . . . . . . . . . . . . . . . . . . . . . . . 1-14
Replacing the Cover—In Ground Dyno . . . . . . . . . . . . . . . . . . . . . . . . . . . . . . . . . . 1-17
Chapter 2 Load Cell Calibration
Load Cell Calibration . . . . . . . . . . . . . . . . . . . . . . . . . . . . . . . . . . . . . . . . . . . . . . . . . . . . 2-2


1-1
Torque Cell Installation Guide for Model 250i/250iP DynoWare RT Dynammometers
CHAPTER 1
T
ORQUE
C
ELL
I
NSTALLATION
The torque cell along with Dynojet Power Core software provides the technician with
the ability to control vehicle RPM or speed at any throttle opening. Through our
exclusive closed-loop software design, the vehicle is automatically held at your pre-
determined setting. Use the torque cell and Power Core software to measure real-time
torque, and perform sweep, step and custom load simulation tests.
This document provides instructions for installing the torque cell on a Dynojet
Model 250i/250iP DynoWare RT Motorcycle Dynamometer (dyno) and calibrating
the torque cell using Power Core software. To ensure safety and accuracy in the
procedures, perform the procedures as they are described.
Document Part Number: 98200070
Version 2
Last Updated: 07-01-2015
This chapter is divided into the following categories:
• Introduction, page 1-2
• Main Dyno Power, page 1-3
• Accessing the Dyno, page 1-5
• Load Cell Installation, page 1-9
• Routing the Load Cell Cable, page 1-12
• Replacing the Covers, page 1-14

CHAPTER 1
Introduction
Torque Cell Installation Guide for Model 250i/250iP DynoWare RT Dynammometers
1-2
INTRODUCTION
The torque cell, when added to Dynojet's market leading inertia dynamometer, results
in a complete vehicle performance test. Before installing and calibrating your torque
module, please take a moment to read this guide for installation instructions, features,
and other important information.
CONVENTIONS USED INTHIS MANUAL
The conventions used in this manual are designed to protect both the user and the
equipment.
TECHNICAL SUPPORT
For assistance, please contact Dynojet Technical Support at 1-800-992-3525, or write
to Dynojet at 2191 Mendenhall Drive, North Las Vegas, NV 89081.
Visit us on the World Wide Web at www.dynojet.com where Dynojet provides state of
the art technical support, on-line shopping, and press releases about our latest
product lines.
example of convention description
The Caution icon indicates a potential hazard to the
dynamometer equipment. Follow all procedures
exactly as they are described and use care when
performing all procedures.
The Warning icon indicates potential harm to the
person performing a procedure and/or the
dynamometer equipment.
Bold Highlights items you can select on in the software
interface, including buttons and menus.

1-3
TORQUE CELL INSTALLATION
Main Dyno Power
Version 2 Torque Cell Installation Guide for Model 250i/250iP DynoWare RT Dynammometers
MAIN DYNO POWER
This section describes how to connect and disconnect the power to both the above
ground and in ground dyno.
CONNECTING AND DISCONNECTING THE POWER—ABOVE GROUND DYNO
Use the following steps to connect and disconnect power to the above ground dyno.
Always turn the power off when connecting and disconnecting cables.
1 Use the main breaker to turn power on and off to the dyno.
The main breaker is located inside the CPI door. When the handle is in the down
position all power into the dyno is turned off.
2 Disconnect the power plug to ensure all power has been removed from the dyno
before performing certain installation procedures.
Components attached to and within the dynamometer operate with
potentially lethal voltages. The power cord must be disconnected from the
power source before servicing electrical components or wiring.
Figure 1-1: Main Dyno Power—Above Ground Dyno
MC153
main breaker
power plug

CHAPTER 1
Main Dyno Power
Torque Cell Installation Guide for Model 250i/250iP DynoWare RT Dynammometers
1-4
CONNECTING AND DISCONNECTING THE POWER—INGROUND DYNO
Use the following steps to connect and disconnect power to the in ground dyno.
Always turn the power off when connecting and disconnecting cables.
1 Use the main breaker to turn power on and off to the dyno.
The main breaker is located inside the CPI door. When the handle is in the down
position all power into the dyno is turned off.
2 Disconnect the power plug to ensure all power has been removed from the dyno
before installing the DynoWare RT electronics.
Components attached to and within the dynamometer operate with
potentially lethal voltages. The power cord must be disconnected from the
power source before servicing electrical components or wiring.
Figure 1-2: Main Dyno Power—In Ground Dyno
PD231
main breaker
power plug

1-5
TORQUE CELL INSTALLATION
Accessing the Dyno
Version 2 Torque Cell Installation Guide for Model 250i/250iP DynoWare RT Dynammometers
ACCESSING THE DYNO
Installing the load cell requires access to the dyno and eddy current brake. This
section will walk you through accessing both the above ground and in ground dyno.
Make sure you have disconnected the power to the dyno before removing the covers.
Refer to “Main Dyno Power” on page 1-3.
ACCESSING THE DYNO—ABOVE GROUND
You will need to remove the tire carriage, center panel, and eddy current brake top
cover in order to route the load cell cable to the eddy current brake driver.
1 Remove the four screws securing the bearing bracket to the tire carriage and set
aside.
2 Using the hand wheel, or the power carriage, unscrew the bearing bracket and the
carriage screw and set aside.
3 Remove the tire carriage by sliding the carriage under the carriage clamps toward
the back of the dyno and set aside.
Figure 1-3: Remove the Tire Carriage
TC080
hand wheel
carriage screw
screws
carriage clamp
tire carriage
bearing
bracket
nut block

CHAPTER 1
Accessing the Dyno
Torque Cell Installation Guide for Model 250i/250iP DynoWare RT Dynammometers
1-6
4 Remove the two 5/16-inch bolts and washers securing each of the carriage clamps
and shims and set aside.
5 Remove the three carriage clamps and shims and set aside.
6 Remove the two 5/16-inch bolts and washers securing the nut block and shim and
set aside.
7 Remove the nut block and shim and set aside.
8 Remove the six 1/4-20 x 5/8-inch pan head screws securing the center panel to
the dyno carriage and set aside.
9 Remove the center panel and set aside.
Figure 1-4: Remove the Center Panel
TC081
screw
center panel
carriage clamp
washer
bolt
shim
nut block
shim

1-7
TORQUE CELL INSTALLATION
Accessing the Dyno
Version 2 Torque Cell Installation Guide for Model 250i/250iP DynoWare RT Dynammometers
10 Remove the six screws securing the eddy current brake top cover and set aside.
11 Remove the brake top cover and set aside.
Figure 1-5: Remove the Brake Top Cover
brake top cover

CHAPTER 1
Accessing the Dyno
Torque Cell Installation Guide for Model 250i/250iP DynoWare RT Dynammometers
1-8
ACCESSING THE DYNO—INGROUND
You will need to remove the eddy current brake pit cover in order to route the load cell
cable to the eddy current brake driver.
1 Remove the four 3/8-16 x 1/8-inch button-head flange screws securing the eddy
current brake pit cover and set aside.
2 Remove the eddy current brake pit cover and set aside.
Figure 1-6: Remove the Brake Pit Cover
PD245
brake cover

1-9
TORQUE CELL INSTALLATION
Load Cell Installation
Version 2 Torque Cell Installation Guide for Model 250i/250iP DynoWare RT Dynammometers
LOAD CELL INSTALLATION
This section describes how to remove the existing bar on the eddy current brake and
install the load cell. Use the following instructions for both the above ground and in
ground dynos.
You will need the following part:
1 Verify the main dyno power is disconnected. Refer to“Main Dyno Power” on page
1-3 for more information.
2 Remove the two bolts and nuts securing the existing bar on the eddy current brake
and remove the bar. Set the bolts and nuts aside.
Figure 1-7: Remove the Existing Bar
part description
load cell and cable, above ground
P/N 76950573
load cell and cable, in ground
P/N 76950759
bar

CHAPTER 1
Load Cell Installation
Torque Cell Installation Guide for Model 250i/250iP DynoWare RT Dynammometers
1-10
3 Verify the eyelets on the load cell are spaced the same as the bar removed earlier.
Adjust the load cell spacing by loosening the lock nut and turning the eyelet.
Figure 1-8: Verify Load Cell Spacing
4 Secure the load cell to the mounting bracket using the two bolts and nuts removed
earlier.
Figure 1-9: Install the Load Cell—Above Ground Dyno
distancemustbe
the same
eyelet
bar
lock nut
load cell cable load cell

1-11
TORQUE CELL INSTALLATION
Load Cell Installation
Version 2 Torque Cell Installation Guide for Model 250i/250iP DynoWare RT Dynammometers
Figure 1-10: Install the Load Cell—In Ground Dyno
PD229
install the load cell
(the brake is not
shown for clarity)

CHAPTER 1
Routing the Load Cell Cable
Torque Cell Installation Guide for Model 250i/250iP DynoWare RT Dynammometers
1-12
ROUTING THE LOAD CELL CABLE
Use the following instructions to identify and route the load cell cable.
ROUTING THE LOAD CELL CABLE—ABOVE GROUND DYNO
1 Route the load cell cable from the eddy current brake through the air hole in the
drum bulkhead and over to eddy current brake driver.
Make sure the load cell cable is clear of any power cables or hot or rotating objects.
2 Attach the load cell cable to the eddy current brake driver .
3 Secure the load cell cable with a zip tie to the underside of the carriage assembly
bulkhead.
Figure 1-11: Routing the Load Cell Cable—Above Ground Dyno
cable brief routing description
76950573 load cell and cable—above ground dyno
76950759 load cell and cable—in ground dyno
connects the load cell to the eddy current brake driver
load cell cable
eddy current brake driver
DynoWare RT
load cell
M158C
air hole in drum
bulkhead

1-13
TORQUE CELL INSTALLATION
Routing the Load Cell Cable
Version 2 Torque Cell Installation Guide for Model 250i/250iP DynoWare RT Dynammometers
ROUTING THE LOAD CELL CABLE—INGROUND DYNO
1 Open the front panel of the CPI to access the eddy current brake driver.
2 Route the load cell cable from the eddy current brake, through the designated
communications pit conduit, and attach to the eddy current brake driver inside
the CPI.
Note: Be sure to keep the power and communications cables in different pit
conduits.
Figure 1-12: Routing the Load Cell Cable—In Ground Dyno
load cell
route
communications
cables in designated
conduit
DynoWare RT
main module
eddy current
brake driver
control panel
interface (CPI)
air fuel ratio
module (AFR)
load cell cable
P246
D

CHAPTER 1
Replacing the Covers
Torque Cell Installation Guide for Model 250i/250iP DynoWare RT Dynammometers
1-14
REPLACING THE COVERS
Before replacing the covers, verify the load cell is installed and the load cell cable is
routed to the eddy current brake driver.
Before replacing the eddy current brake top cover, be sure to calibrate your load cell.
Refer to “Load Cell Calibration” on page 2-2.
REPLACING THE COVERS—ABOVE GROUND DYNO
1 Secure the center panel to the dyno carriage using the six 1/4-20 x 5/8-inch pan
head screws removed earlier.
2 Secure the nut block and shim using the two 5/16-inch bolts and washers removed
earlier.
3 Secure each carriage clamps and shim using two 5/16-inch bolts and washers
removed earlier,
Figure 1-13: Replace the Center Panel
TC081
screw
center panel
carriage clamp
washer
bolt
shim
nut block
shim

1-15
TORQUE CELL INSTALLATION
Replacing the Covers
Version 2 Torque Cell Installation Guide for Model 250i/250iP DynoWare RT Dynammometers
4 Starting from the back of the dyno, slide the carriage under the carriage clamps.
5 Slide the carriage screw, bearingbracket, and the hand wheel toward the nut block
until the carriage screw is touching the nut block.
6 Using the hand wheel, or the power carriage, screw the carriage through the nut
block and into the screw support bracket.
7 Secure the bearing bracket to the carriage using four screws removed earlier.
Figure 1-14: Replace the Tire Carriage
TC080
hand wheel
carriage screw
screws
carriage clamp
tire carriage
bearing
bracket
nut block

CHAPTER 1
Replacing the Covers
Torque Cell Installation Guide for Model 250i/250iP DynoWare RT Dynammometers
1-16
8 Secure the eddy current brake top cover using the six bolts removed earlier.
Note: Before replacing the eddy current brake top cover, be sure to calibrate your
load cell. Refer to “Load Cell Calibration” on page 2-2.
Figure 1-15: Replace the Eddy Current Brake Top Cover
EB242
eddy current
brake cover
This manual suits for next models
1
Table of contents
Other Dynojet Measuring Instrument manuals

Dynojet
Dynojet 424 User manual

Dynojet
Dynojet 224 User manual

Dynojet
Dynojet Dynoware RT User manual

Dynojet
Dynojet sd12 User manual

Dynojet
Dynojet 250 Installation and operation manual

Dynojet
Dynojet 200iX User manual

Dynojet
Dynojet 200i User manual

Dynojet
Dynojet 424 User manual

Dynojet
Dynojet 224 User manual

Dynojet
Dynojet 250i User manual
Popular Measuring Instrument manuals by other brands

FitSense
FitSense FS-1 Athlet's Manual

Spectrum Technologies
Spectrum Technologies LightScout 3415F product manual

PEWA
PEWA WIKA CPH6300 operating instructions

FORENSICS DETECTORS
FORENSICS DETECTORS FD-311 user manual

sauermann
sauermann SI-CA 130 user manual

Veolia
Veolia Sievers TOC-R3 Operation and maintenance manua