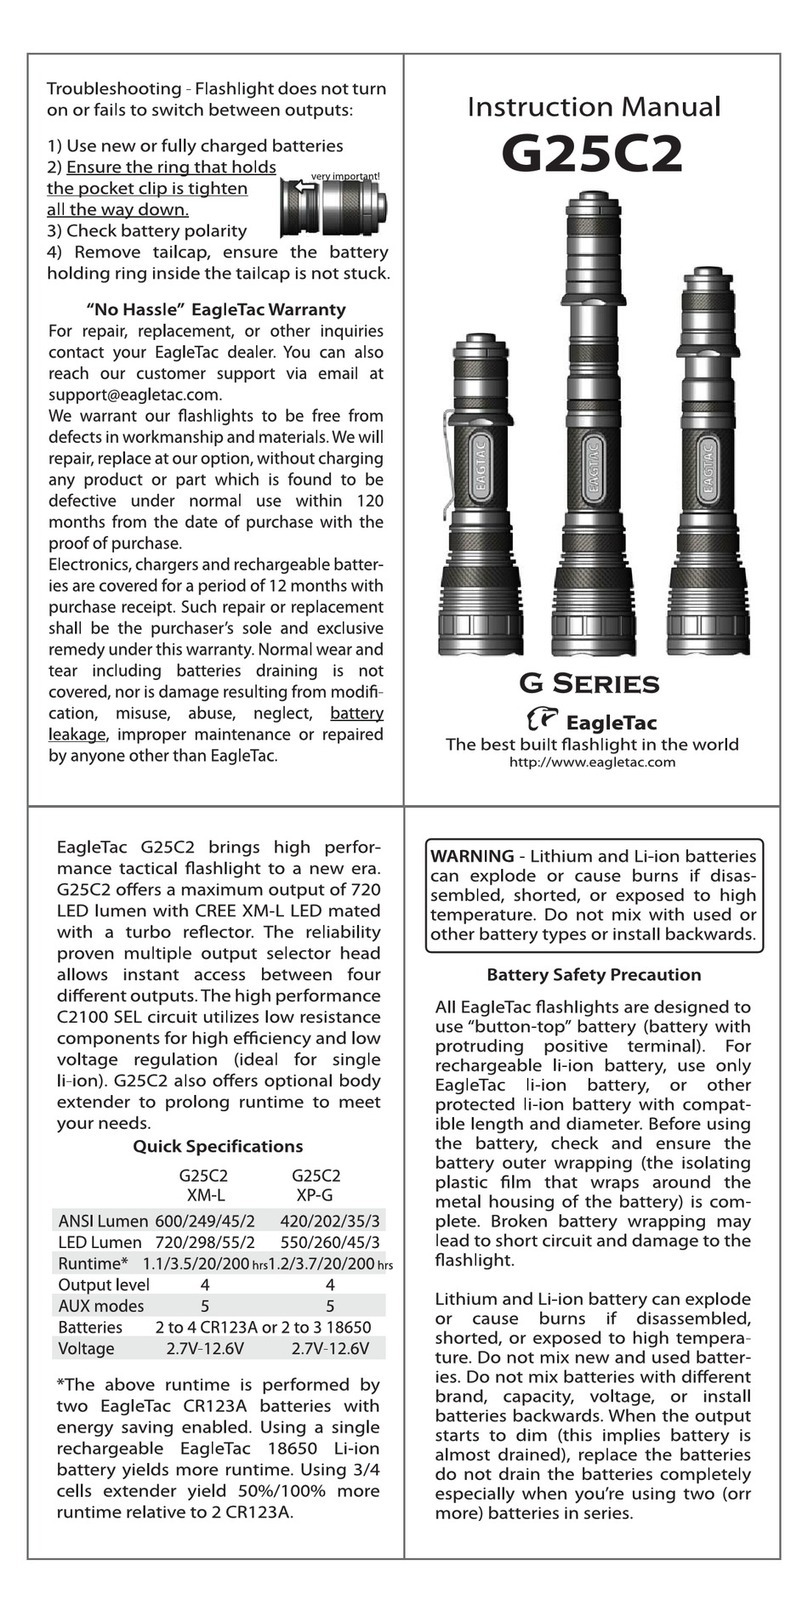
Instruction Manual
M3C4
800 O.T.F. Lumen MAX
Up to 100+ hours runtime
Five brightness levels
Three hidden blinking modes
C2800 II circuit
EagleTac
The best built ashlight in the world
http://www.eagletac.com
M3C4 quick spec - ET C2800 II circuit, ET55
reector in L.O.P. nish, HAIII nish, one-
piece ashlight head design, IPX-8 water-
proof, tail-stand tail-cap, new protective
coating for all polycarbonate parts, reverse
battery polarity protection, CNC machined
stainless steel #304 bezel, A.R. coated lens.
WARNING - If you’re planning not to use
the ashlight for an extended period of
time, remove batteries from the ashlight
or loosen the ashlight head until the light
no longer turns on.
Warranty claims
For repair or replacement, contact your
EagleTac dealer. For product inquiries, contact
Tac warrants our ashlights to be free from
defects in workmanship and materials. We will
repair, replace at our option, without charging
any product or part which is found to be defec-
tive under normal use within 120 months from
the date of purchase with the proof of
purchase. Electronics, chargers and recharge-
able batteries are covered for a period of 12
months with purchase receipt. Such repair or
replacement shall be the purchaser’s sole and
exclusive remedy under this warranty. Normal
wear and tear including batteries draining is
not covered, nor is damage resulting from
modication, misuse, abuse, neglect, battery
leakage, improper maintenance or repaired by
anyone other than EagleTac.
Superseding the legendary EagleTac M2
series, the new EagleTac M3C4 packs 11
Watt of high output LED power in a com-
pact ashlight body. The M3C4 pushes 800
out-the-front lumen at the turbo mode
(SST-50 and triple XP-G R5 models) and
oers a maximum of 100+ hours regulated
output at the low output mode (15 lumen).
The single-handed operational switch
behind the head allows users to access all
functions easily without compromise.
LED, O.T.F. Output, and Runtime
Luminus SST-50 W65S WJ LED
16/56/172/376/800 O.T.F. lumen
Triple CREE XP-G Cool White R5 LED
15/55/172/393/800 O.T.F. lumen
Triple CREE XR-E Cool White R2 LED
16/60/165/320/600 O.T.F. lumen
CREE MC-E M LED
16/52/148/312/625 O.T.F. lumen
1.5/3.5/8/28/100+ hours
*The CREE XR-E R2 has approx. 10% shorter
runtime due to its higher LED forward voltage.
Battery types (5V to 13V)
Four 3V CR123A batteries or
Two EagleTac Protected 18650 Li-ion batteries
Light activation and usage
Dial the operational switch behind the
head to toggle the ashlight on/o. Dial
the switch clock-wise to increase the
brightness output and counterclock-wise
to dim it. To access the hidden
strobe/S.O.S./beacon output, turn the ring
rapidly from the turbo mode to the
o/standby mode, then back to the turbo
mode within 1.5 seconds.
To replace batteries, unscrew the head and
unload the battery tray. Insert new batter-
ies (refer to the terminal sign on the
battery tray) and load the battery tray with
the metals connectors toward the front.
WARNING - Lithium and Li-ion batteries
can explode or cause burns if disas-
sembled, shorted, or exposed to high
temperature. Do not mix with used or
other battery types or install backwards.
ET55 Filter System - A diuser lter is
included in this package. The optional
YRGB kit includes yellow/red/blue/green
color coated lters. Unscrew the bezel ring
and attach the glass lter to use.
Troubleshooting - Flashlight does not turn
on or does not stay on.
1) Use new batteries or fully charged
rechargable batteries. Old rechargeable
batteries may not hold a charge.
2) Ensure the batteries are making good
contact with the battery tray.
3) Ensure the batteries are inserted in the
correct direction in the battery tray.


