manuals.online logo
Brands
  1. Home
  2. •
  3. Brands
  4. •
  5. StreamLight
  6. •
  7. Flashlight
  8. •
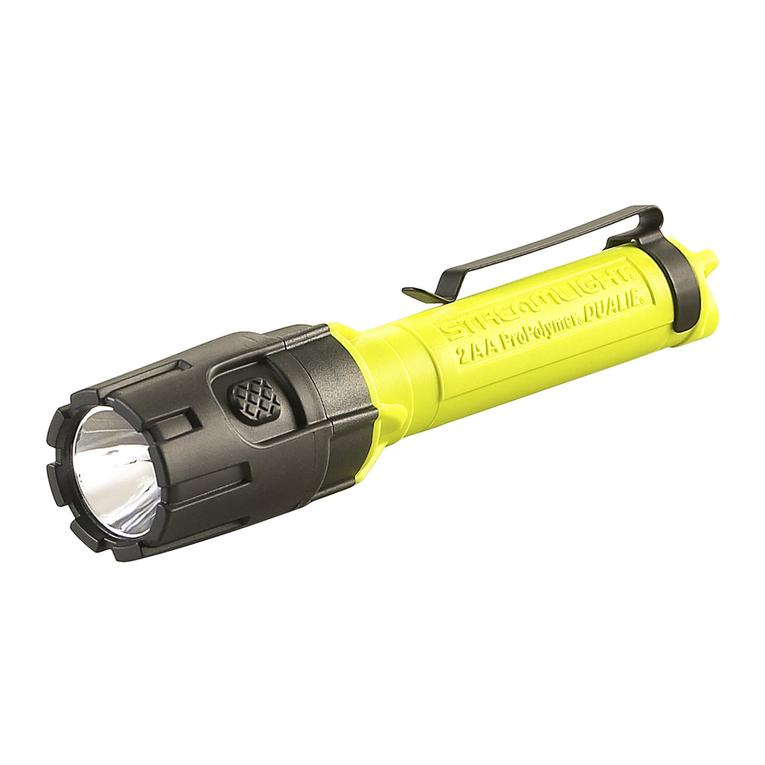
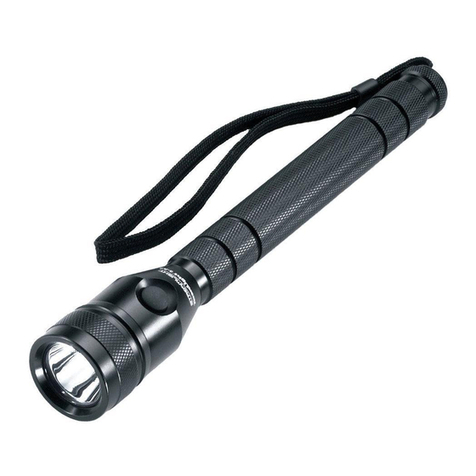
  9. StreamLight PROPOLYMER 2AA User manual

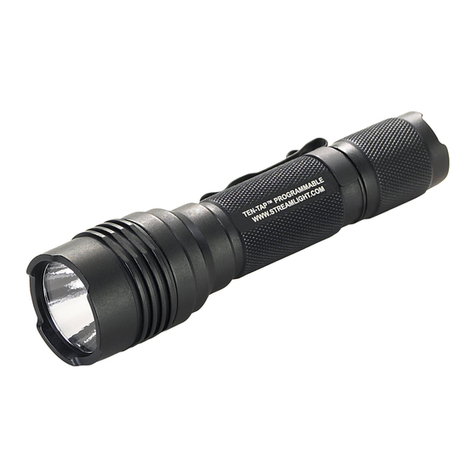
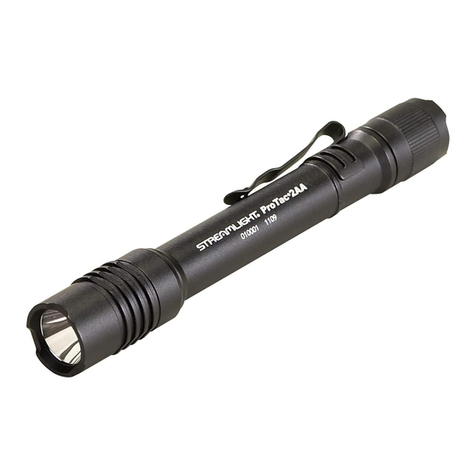
StreamLight PROPOLYMER 2AA User manual

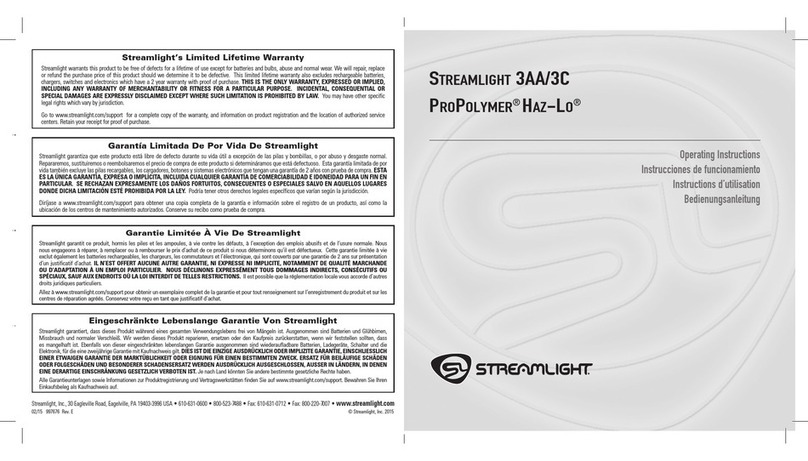
Stre mlight®Limited Lifetime W rr nty
Streamlight warrants this product to be free of defect for a lifetime of use. We will repair, replace or refund the purchase price, at
our option, of any Streamlight product that does not work or that you manage to break for as long as you own it.
Of course, this limited lifetime warranty excludes abuse, batteries and bulbs. Please return your Streamlight to our factory to
take advantage of this guarantee. Go to www.streamlight.com for the location of an authorized Streamlight repair center near you.
G r ntí de por vid limit d de 10 ños de Stre mlight
Streamlight garantiza que sus productos estarán libres de defectos durante un período de uso limitado de 10 años. Streamlight reparará, sustituirá o
devolverá el dinero de la compra (a nuestra opción) de cualquier producto Streamlight que no funcione o que se rompa durante el tiempo que usted lo
posea. Por supuesto, esta ga antía de po vida limitada excluye abuso, las baterías y las bombillas. Por favor, devuelva su Streamlight a nuestra
fábrica para aprovecharse de esta garantía. Vaya a www.streamlight.com para localizar un centro de reparación autorizado de Streamlight cerca de usted.
En cualquie país o bajo cualquie ju isdicción donde hay est icciones es pecíficas sob e ga antías de po vida limitadas,
St eamlight of ece una ga antía limitada de diez años.
G r ntie de vie limitée de 10 ns de Stre mlight
Streamlight garantit que ses produits sont exempts de défectuosités pendant une vie d’utilisation limitée à 10 ans. À notre choix, nous réparerons,
remplacerons ou rembourserons le prix d’achat de tout produit Streamlight qui ne fonctionne pas ou que vous réussissez à casser, aussi longtemps que vous
en êtes propriétaire. Il va sans dire que cette ga antie de vie limitée ne comprend pas l’utilisationabusive, les piles et les ampoules. Pour vous prévaloir
de cette garantie, veuillez retourner votre Streamlight à notre usine. Visitez le site www.streamlight.com pour connaître l’emplacement d’un centre de
réparation Streamlight agréé proche de vous. Dans tout pays ou à tout end oit où il existe des limitations pa ticuliè es quant aux
ga anties de vie limitée, St eamlight off e une ga antie limitée de 10 ans.
Stre mlights 10-jährige lebensl nge G r ntie
Streamlight garantiert 10 Jahre lang störungsfreie Verwendung seiner Produkte. Wir bieten nach unserem Ermessen entweder Reparatur, Ersatz oder
Refundierung des Kaufpreises für jedes nicht funktionierende bzw. kaputt gegangene Streamlight Produkt an.Natürlich sind Missbrauch, Batterien und Glühlampen
diese lebenslangen beg enzten Ga antie ausgenommen. Unter www.streamlight.com erhalten Sie Informationen über autorisierte Streamlight
Reparaturdienste in Ihrer Nähe. In Lände n bzw. O ten wo es besonde e Besch änkungen fü lebenslange beg enzte Ga antien
gibt, bietet St eamlight eine beg enzte Ga antie von 10 Jah en.
Streamlight, Inc., 30 Eagleville Road, Eagelville, PA 19403-3996 USA • 610-631-0600 • 800-523-7488 • Fax: 610-631-0712 • Fax: 800-220-7007 •
www.streamli ht.com
1/08 997511 Rev. D © Streamlight, Inc. 2008
Operating Instructions
Instrucciones e funcionamiento
Instructions ’utilisation
Be ienungsanleitung
STREAMLIGHT PROPOLYMER
®
2AA/4AA/3C (XENON,LED AND LUX MODELS
•
MODELOS
XENÓN,LED Y LUX
•
MODÈLES AU XÉNON,DEL ET
LUX
•
XENON -LED -UND LUX -MODELLE)
FOR 2AA LED
LED RADIATION; CLASS 1 LED PRODUCT
Maximum LED Output <2.5 mW, Per IEC 60825-1 Ed. 1.2 2001-08
RADIACIÓN LED; PRODUCTO LED CLASE 1M
Máxima potencia LED < 2,5 mW; Por IEC 60825-1 Edición 1.2 2001-08
RADIATION DEL; PRODUIT DEL DE CATEGORIE 1M
Production DEL maximum < 2,5 mW; Conformément à IEC 60825-1 Edition 1.2 2001-08
LED-ABSTRA LUNG; LED-PRODUKT DER KLASSE 1M
Maximale LED-Abgabeleistung < 2,5 mW; Gemäß IEC 60825-1, Ausgabe 1.2 2001-08
FOR 3C LED/3C LUX/
4AA LED/4AA LUX:
LED RADIATION; AVOID DIRECT EYE EXPOSURE; DO NOT VIEW DIRECTLY WIT OPICAL
INSTRUMENTS; CLASS 1M LED PRODUCT
Maximum LED output
<2.5mW Per IEC 60825-1 Edition 1.2 2001-08
RADIACIÓN LED; EVITE LA EXPOSICIÓN DIRECTA A LOS OJOS; NO LA ENFOQUE DIRECTAMENTE
CON INSTRUMENTOS ÓPTICOS; PRODUCTO LED CLASE 1M
Máxima potencia LED < 2,5 mW; Por IEC 60825-1 Edición 1.2 2001-08
RADIATION DEL; EVITER L’EXPOSITION OCULAIRE DIRECTE; NE PAS REGARDER DIRECTEMENT A
L’AIDE D’INSTRUMENTS OPTIQUES; PRODUIT DEL DE CATEGORIE 1M
Production DEL maximum < 2,5 mW; Conformément à IEC 60825-1 Edition 1.2 2001-08
LED-ABSTRA LUNG; DIREKTE BELIC TUNG DER AUGEN VERMEIDEN; NIC T MIT OPTISC EN
INSTRUMENTEN DIREKT ANVISIEREN!; LED-PRODUKT DER KLASSE 1M
Maximale LED-Abgabeleistung < 2,5 mW; Gemäß IEC 60825-1, Ausgabe 1.2 2001-08
ESPAÑOL
LINTERNA PROPOLYMER “STREAMLIGHT 2AA”,
LINTERNAS “STREAMLIGHT 4AA” Y
“STREAMLIGHT 3C”– MODELOS XENÓN,LED Y LUX
FUNCIONAMIENTO
Pulse el botón del interruptor en la tapa de cola para encender y apagar la linterna. Presione
ligeramente el botón para señalización momentánea.
CAMBIO DE LA LED
El LED nunca se tiene que cambiar.
CAMBIO DEL MÓDULO DE LA LÁMPARA DE XENÓN
Siga las siguientes instrucciones para cambiar el módulo de la lámpara de xenón ProPolymer.
Desatornille la tapa delantera y retírela para exponer el módulo de la lámpara.
NOTA: uno (1) de los empaques anulares debe quedar sobre la linterna. Retire el módulo de la
linterna.
Por medio de la siguiente guía, determine el tipo de módulo de la lámpara:
2AA (módulo de lámpara de xenón), # 67007
4AA (módulo de lámpara de xenón), # 68220
3C (módulo de lámpara de xenón), # 33004
Coloque el módulo de lámpara de nuevo en la linterna. Vuelva a colocar la tapa frontal. Su
linterna Streamlight ProPolymer debería estar lista para usarse.
CAMBIO DE LAS PILAS
Use únicamente pilas alcalinas. Cambie toda las pilas al mismo tiempo.
ADVERTENCIA
:la
instalación incorrecta de las pilas puede causar que exploten o que se produzca una fuga y
lesión personal consiguyente. No mezcle diferentes tipos de pil s ni use
pil s us d s con pil s nuev s. Observe l pol rid d dur nte l
inst l ción. Para el modelo 2AA y el 3C, instale todas las pilas con la punta positiva
hacia el extremo de la bombilla. En el caso del modelo 4AA, dos (2) pilas van hacia arriba y
dos (2) hacia abajo. Siga el diagrama que se encuentra en el interior de la 4AA. Si la linterna
no funcione, lo primero que debe hacer es revisar las pilas.
MANTENIMIENTO
La linterna se puede limpiar con jabón y agua. No use disolventes. Mantenga el empaque
anular lubricado con grasa de silicona. Mantenga el interior seco y limpio. Si la linterna no
funciona, primero revise que las pilas estén buenas y que estén instaladas correctamente.
Algunos modelos de este producto Streamlight Inc. han sido probados y aprobados para el
uso en Atmósferas Potencialmente Explosivas (véase el producto para clasificaciones
específicas).
Esta aprobación solo es válida cuando el aparato se utilice y se mantenga de
acuerdo con las instrucciones adjuntas y solamente dentro de la clase o de la categoría mar-
cada del producto mostrado. Usted, el usuario, es responsable del uso correcto de este pro-
ducto.
PRECAUCIÓN
;para uso en áreas potencialmente peligrosas:
• No abrir en un área/ zona potencialmente explosiva.
• Cumpla siempre con los procedimientos apropiados de sustitución de las pilas (véase
“reemplazo de las pilas”).
• Limpie solamente con un paño húmedo en un área no peligrosa.
• Utilice siempre recambios originales de Streamlight. Utilice solamente lámparas y pilas
“aprobadas” para el uso con el producto. El cambio puede deteriorar la seguridad.
ENGLISH
PROPOLYMER FLASHLIGHT “STREAMLIGHT 2AA”
“STREAMLIGHT 4AA” AND “STREAMLIGHT 3C”–
XENON,LED AND LUX MODELS
OPERATION
Push tailcap switch button to turn flashlight on and off.
Slightly depress the button for momentary signaling.
LED REPLACEMENT
LED never needs replacement.
XENON LAMP MODULE REPLACEMENT
Use the following instructions to replace the ProPolymer xenon lamp module.
Unscrew and remove face cap to expose lamp module.
NOTE: One (1) “O” Ring should stay on the flashlight’s head.
Pull lamp module out of flashlight.
Check with the guide below to determine lamp module type:
2AA (xenon lamp module), # 67007
4AA (xenon lamp module), # 68220
3C (xenon lamp module), # 33004
Place lamp module back into flashlight. Replace face cap. Your Streamlight ProPolymer
flashlight should be ready to use.
BATTERY REPLACEMENT
Use only Alkaline batteries. Replace all the batteries at the same time. WARNING:
Improper battery installation can cause the batteries to explode or leak and cause
personal injury. Do not mix b ttery types or new with used
b tteries. Observe the pol rity during inst ll tion. For the 2AA
and 3C install all the batteries with positive tip facing bulb end. For the 4AA, two (2)
batteries face up and two (2) down. Follow diagram inside the 4AA light. If your light
fails to operate, always check batteries first.
MAINTENANCE
The light can be cleaned with soap and water. Do not use solvents. Keep head “O” ring
lubricated with Silicone grease. Keep the inside dry and clean. If the light should fail to
operate, first make sure the batteries are good and installed correctly.
Some models of this Streamlight Inc. product have been tested and approved for use in
Potentially Explosive Atmospheres (see product for specific ratings). This approval is only
valid when the apparatus is used and maintained in accordance with the accompanying
instructions and only within the marked product class or category shown. You, the user,
are responsible for the correct application of this product.
CAUTION:for use in potentially hazardous areas:
• Do not open in a potentially explosive area/zone.
• Always observe proper battery replacement procedures (see “Battery
Replacement).
• Clean only with a damp cloth in a nonhazardous area.
• Always use genuine Streamlight replacement parts. Use only those lamps and
batteries “approved” for use with the product. Substitution may impair safety.
FRANÇAIS
LAMPE DE POCHE “STREAMLIGHT 2AA”PROPOLYMER,
“STREAMLIGHT 4AA” ET “STREAMLIGHT 3C”–
MODÈLES AU XÉNON,DEL ET LUX
MODE D’EMPLOI
Pousser le bouton interrupteur arrière pour allumer ou éteindre la lampe de poche.
Appuyer légèrement sur le bouton pour une signalisation momentanée.
REMPLACEMENT DE DEL
La diode électroluminescente ne nécessite aucun remplacement.
REMPLACEMENT DU MODULE D’AMPOULE AU XÉNON
Respectez les instructions suivantes pour remplacer le module de lampe au xénon ProPolymer.
Dévissez et retirez le capuchon avant afin d’exposer le module de lampe.
REMARQUE : laissez un (1) joint torique à l’avant de la lampe. Retirez le module de lampe.
Déterminez le type de module de lampe en vous référant au guide ci-dessous:
2AA (module de lampe au xénon), N
O
67007
4AA (module de lampe au xénon), N
O
68220
3C (module de lampe au xénon), N
O
33004
Placer le module de lampe dans la lampe de poche. Replacer le capuchon avant. Votre lampe
de poche Streamlight ProPolymer devrait être prête à l’emploi.
REMPLACEMENT DES PILES
Utilisez uniquement des piles alcalines. Remplacez toutes les piles en même temps.
AVERTISSEMENT
:En cas d’installation incorrecte, les piles peuvent exploser ou fuir, et
causer ainsi des blessures corporelles. Ne mél ngez p s les types de piles.
Évitez de mél nger des piles neuves et us gées. Respectez l
pol rité dur nt leur inst ll tion. Sur les modèles 2AA et 3C, installez toutes les
piles en orientant la partie positive vers l'extrémité de l’ampoule. Sur les modèles 4AA, deux
(2) des piles sont orientées vers le haut et les deux autres (2) vers le bas. Référez-vous au
schéma figurant dans la lampe 4AA. En cas de mauvais fonctionnement de la lampe,
commencez par vérifier les piles.
ENTRETIEN
La lampe peut être nettoyée à l’aide d’une solution savonneuse. N’utilisez pas de solvants. Le
joint torique doit toujours être enduit de graisse siliconée. L’intérieur de la lampe doit rester
sec et propre. Si la lampe ne fonctionne pas, vérifiez d’abord que les piles sont en bon état et
sont correctement installées.
Certains modèles de ce produit Streamlight Inc. ont été testés et approuvés pour utilisation
dans des atmosphères potentiellement explosives (voir valeurs nominales particulières du pro-
duit). Cette approbation est valable uniquement lorsque l’appareil est utilisé et entretenu con-
formément aux instructions qui l’accompagnent et seulement dans la classe ou la catégorie
indiquée de produit. À titre d’utilisateur, il vous incombe d’appliquer correctement ce produit.
MISE EN GARDE
:pour utilisation dans des zones qui peuvent être dangereuses
• Ne pas ouvrir dans une aire/zone potentiellement explosive.
• Toujours observer les méthodes appropriées de remplacement des piles (voir la section
« Remplacement des piles »).
• Nettoyer uniquement à l’aide d’un chiffon humide dans une zone non dangereuse.
• Toujours utiliser des pièces de rechange Streamlight authentiques. Utiliser uniquement
les lampes et les piles « approuvées » pour usage avec le produit. Une substitution
peut compromettre la sécurité.
DEUTSCH
PROPOLYMER-TASCHENLAMPE „STREAMLIGHT 2AA“,
„STREAMLIGHT 4AA“ UND „STREAMLIGHT 3C“ –
XENON -LED -UND LUX -MODELLE
BETRIEB
Die Taschenlampe wird über den Tastenschalter an der Endkappe ein- und ausgeschaltet.
Bei leichtem Druck auf die Taste leuchtet die Taschenlampe kurz zum Signalisieren auf.
LED-/GLÜHBIRNENWECHSEL
Die LED muss niemals ausgewechselt werden.
AUSWECHSELN DES XENON-LAMPENMODULS
Verfahren Sie zum Auswechseln des Xenon-Lampenmoduls wie folgt:
Schrauben Sie die vordere Kappe ab, um Zugang zum Lampenmodul zu erhalten.
INWEIS: Am oberen Kopf der Taschenlampe sollte ein (1) „O"-Ring verbleiben. Ziehen Sie das
Lampenmodul aus der Taschenlampe heraus.
Wählen Sie anhand der folgenden Liste das passende Lampenmodul aus:
2 Mignonbatterien (Xenon-Lampenmodul), Nr. 67007
4 Mignonbatterien (Xenon-Lampenmodul), Nr. 68220
3 Babybatterien (Xenon-Lampenmodul), Nr. 33004
Setzen Sie das Lampenmodul wieder in die Taschenlampe ein. Bringen Sie die Vorderkappe
wieder an. Ihre ProPolymer-Taschenlampe von Streamlight sollte jetzt funktionstüchtig sein.
BATTERIEWECHSEL
Verwenden Sie nur Alkalibatterien. Wechseln Sie alle Batterien gleichzeitig aus.
WARNUNG
:
Falsch eingesetzte Batterien können explodieren oder auslaufen und zu Körperverletzungen
führen. Verwenden Sie keine unterschiedlichen B tterietypen oder
neue B tterien kombiniert mit gebr uchten B tterien. Achten Sie
beim Einsetzen uf die Pol rität. Bei den Modellen für 2 Mignon- oder 3
Babybatterien müssen alle Batterien so eingesetzt werden, dass ihr positiver Pol auf das Ende
der Glühbirne zeigt. Bei den Modellen für 4 Mignonbatterien müssen zwei (2) Batterien nach
oben und zwei (2) nach unten zeigen. alten Sie sich an das Diagramm im Inneren dieses
Taschen-lampenmodells. Sollte Ihre Taschenlampe nicht funktionieren, überprüfen Sie immer
zuerst die Batterien.
WARTUNG
Die Taschenlampe kann mit Seife und Wasser gereinigt werden. Keine Lösungsmittel
verwenden. Fetten Sie den „O"-Ring am Kopf der Taschenlampe mit Silikonfett ein. Achten Sie
darauf, dass das Innere der Taschenlampe trocken und sauber gehalten wird. Sollte die
Taschenlampe nicht funktionieren, überprüfen Sie zunächst, ob die Batterien frisch sind und
richtig eingesetzt wurden.
Einige Modelle dieses Streamlight Inc. Produkts wurden getestet und zur Verwendung in
potenziell explosiven Umgebungen zugelassen (spezifische Einstufungen liegen dem Produkt
bei). Diese Genehmigung ist nur gültig, wenn der Apparat gemäß den beiliegenden
Anleitungen verwendet und gewartet wird, und zwar nur innerhalb der markierten
Produktklasse oder angegebenen Kategorie. Sie, der Benutzer, sind für die korrekte Anwendung
dieses Produkts verantwortlich.
Vorsichtsmaßnahmen bei Verwendung in potenziell gefährlichen Bereichen:
• Nicht in einem potenziell explosiven Bereich bzw. einer potenziell explosiven Zone öffnen.
• Beim Batteriewechsel immer nach den ordnungsgemäßen Verfahren vorgehen (siehe
„Batteriewechsel“).
• Nur mit einem feuchten Tuch in einem ungefährlichen Bereich reinigen.
• Nur echte Streamlight-Ersatzteile verwenden. Nur solche Lampen und Batterien
verwenden, die zur Verwendung mit dem Produkt „genehmigt“ sind. Andernfalls ist die
Sicherheit gefährdet.

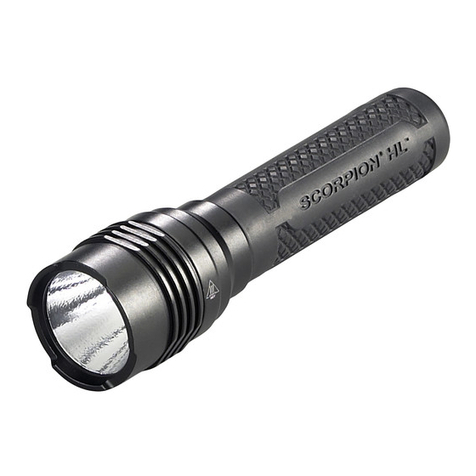
This manual suits for next models

2

Other StreamLight Flashlight manuals

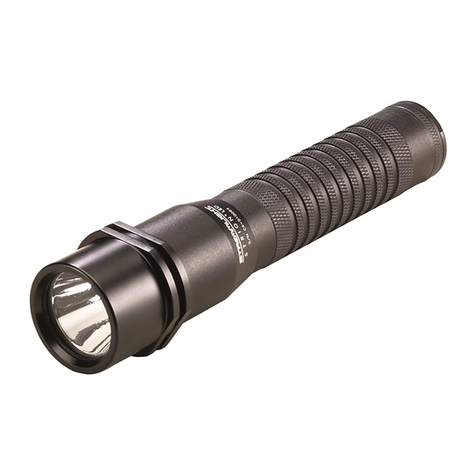
StreamLight Stinger User manual

StreamLight

StreamLight Stinger User manual

StreamLight RECHARGEABLES Flashlight User manual

StreamLight

StreamLight RECHARGEABLES Flashlight User manual

StreamLight VANTAGE II User manual

StreamLight

StreamLight VANTAGE II User manual

StreamLight Stinger LED HP User manual

StreamLight

StreamLight Stinger LED HP User manual

StreamLight LITEBOX User manual

StreamLight

StreamLight LITEBOX User manual

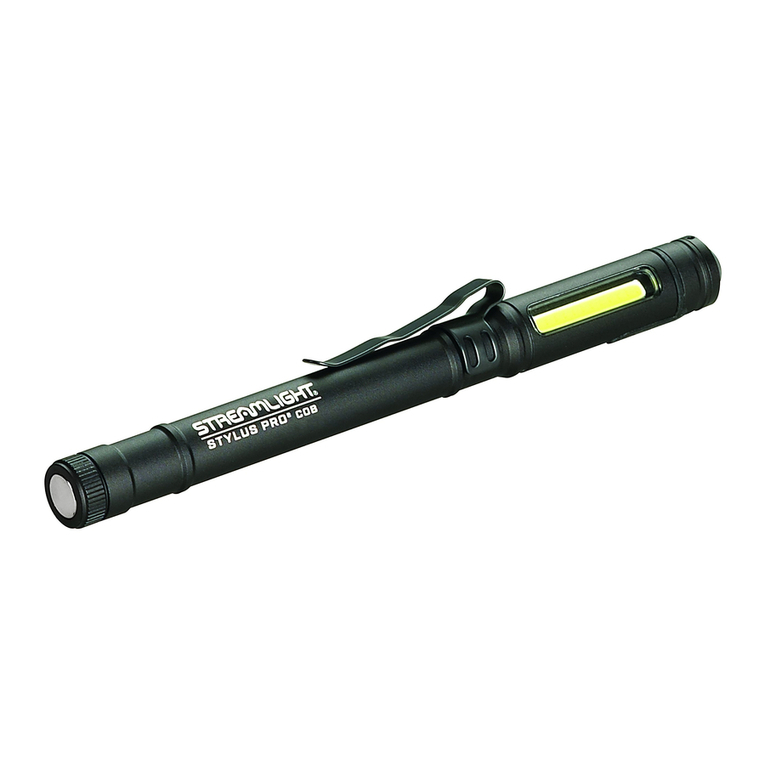
StreamLight STYLUS PRO COB User manual

StreamLight

StreamLight STYLUS PRO COB User manual

StreamLight strion User manual

StreamLight

StreamLight strion User manual

StreamLight TLR-6 User manual

StreamLight

StreamLight TLR-6 User manual

StreamLight Super Tac series User manual

StreamLight

StreamLight Super Tac series User manual

StreamLight PROTAC HL USB User manual

StreamLight

StreamLight PROTAC HL USB User manual

StreamLight Stinger LED Series User manual

StreamLight

StreamLight Stinger LED Series User manual

StreamLight Nightfighter Series User manual

StreamLight

StreamLight Nightfighter Series User manual

StreamLight Scorpion User manual

StreamLight

StreamLight Scorpion User manual

StreamLight Scorpion User manual

StreamLight

StreamLight Scorpion User manual

StreamLight ProPolymer 2AA LED User manual

StreamLight

StreamLight ProPolymer 2AA LED User manual

StreamLight DUALIE 3AA User manual

StreamLight

StreamLight DUALIE 3AA User manual

StreamLight 3AA User manual

StreamLight

StreamLight 3AA User manual

StreamLight TLR-1 HL User manual

StreamLight

StreamLight TLR-1 HL User manual

StreamLight Stylus Pro Reach User manual

StreamLight

StreamLight Stylus Pro Reach User manual

StreamLight LITEBOX User manual

StreamLight

StreamLight LITEBOX User manual

StreamLight PolyTac 90 User manual

StreamLight

StreamLight PolyTac 90 User manual

StreamLight strion User manual

StreamLight

StreamLight strion User manual

StreamLight SL-20L User manual

StreamLight

StreamLight SL-20L User manual

StreamLight Scorpion User manual

StreamLight

StreamLight Scorpion User manual

Popular Flashlight manuals by other brands

Draper CT180 instructions

Draper

Draper CT180 instructions

Klein Tools 56412 instructions

Klein Tools

Klein Tools 56412 instructions

Seiler P1181 Operation manual

Seiler

Seiler P1181 Operation manual

Axon TASER StrikeLight 2 Stun user manual

Axon

Axon TASER StrikeLight 2 Stun user manual

SKF TKRS 10 Instructions for use

SKF

SKF TKRS 10 Instructions for use

Nitecore tini user manual

Nitecore

Nitecore tini user manual

RAW DT-826437 quick start guide

RAW

RAW DT-826437 quick start guide

Miller SMITH EQUIPMENT HANDI-HEET owner's manual

Miller

Miller SMITH EQUIPMENT HANDI-HEET owner's manual

Bayco Products NIGHTSTICK XPP-5422GMX instruction manual

Bayco Products

Bayco Products NIGHTSTICK XPP-5422GMX instruction manual

UNILITE IL-850R quick start guide

UNILITE

UNILITE IL-850R quick start guide

WUBEN TO40R user manual

WUBEN

WUBEN TO40R user manual

Makita DML812 instruction manual

Makita

Makita DML812 instruction manual

TREND TCH/AT/B75R quick start guide

TREND

TREND TCH/AT/B75R quick start guide

Daniamant Dan W2 Installation and maintenance instructions

Daniamant

Daniamant Dan W2 Installation and maintenance instructions

Victor SL60 installation instructions

Victor

Victor SL60 installation instructions

Nextorch MyTorch instructions

Nextorch

Nextorch MyTorch instructions

Prolux Torch 6-1 user manual

Prolux

Prolux Torch 6-1 user manual

Excalibur Weather Channel Master Light H638S-WC-CS user guide

Excalibur

Excalibur Weather Channel Master Light H638S-WC-CS user guide

manuals.online logo
manuals.online logoBrands
  • About & Mission
  • Contact us
  • Privacy Policy
  • Terms and Conditions

Copyright 2025 Manuals.Online. All Rights Reserved.