Ear Beans POW-AU001 User manual

- 1-
Ear Beans
Bluetooth®Headset
User Manual

- 2-
1. Notice Before Using
Thank you for purchasing the Bluetooth® Ear Beans POW-AU001. Please read this
User's Manual completely before you use your Ear Beans.
Your Ear Beans are designed for listening to music wirelessly with high quality sound
delivered through the latest in Bluetooth® wireless technology. With built-in MP3,
AAC and apt-X low latency codec for high quality audio streaming. Ear Beans can be
easily connected to a mobile phone for call conversation and music listening, they
are also capable of connecting to the other Bluetooth®-enabled devices including
android tablets/iPads and MP3/iPods.
POW-AU001 Ear Beans are compliant with Bluetooth V3.0 specification, supports
HSP, HFP, A2DP and AVRCP profiles. Please make sure your phone or other device
supports these profiles.
2. Specifications
Bluetooth specification: V3.0
Operation frequency: 2.402-2.48GHz
Supported profile: HSP, HFP, A2DP,AVRCP
Operation range: Up to 10 meters
Talk time: 5 hours
Play time: 4 hours
Standby time: 240hours
Battery type: 120mAh, 3.7V, Polymer Li-ion Battery
Charge time: 2 Hours

- 3-
3. Package Contents List
Please inspect this package and refer to the package contents list below to verify all
items were included:
1) POW-AU001 Bluetooth® Ear Beans (1)
2) USB Charging Cable(1)
3) User's Manual(1)
4. POW-AU001 Bluetooth® Ear Beans Overview
①Answer
②Indicator LED
③Charging Port
④Next Track / Volume +
⑤Previous Track / Volume –
⑥Microphone

- 4-
5. Battery information
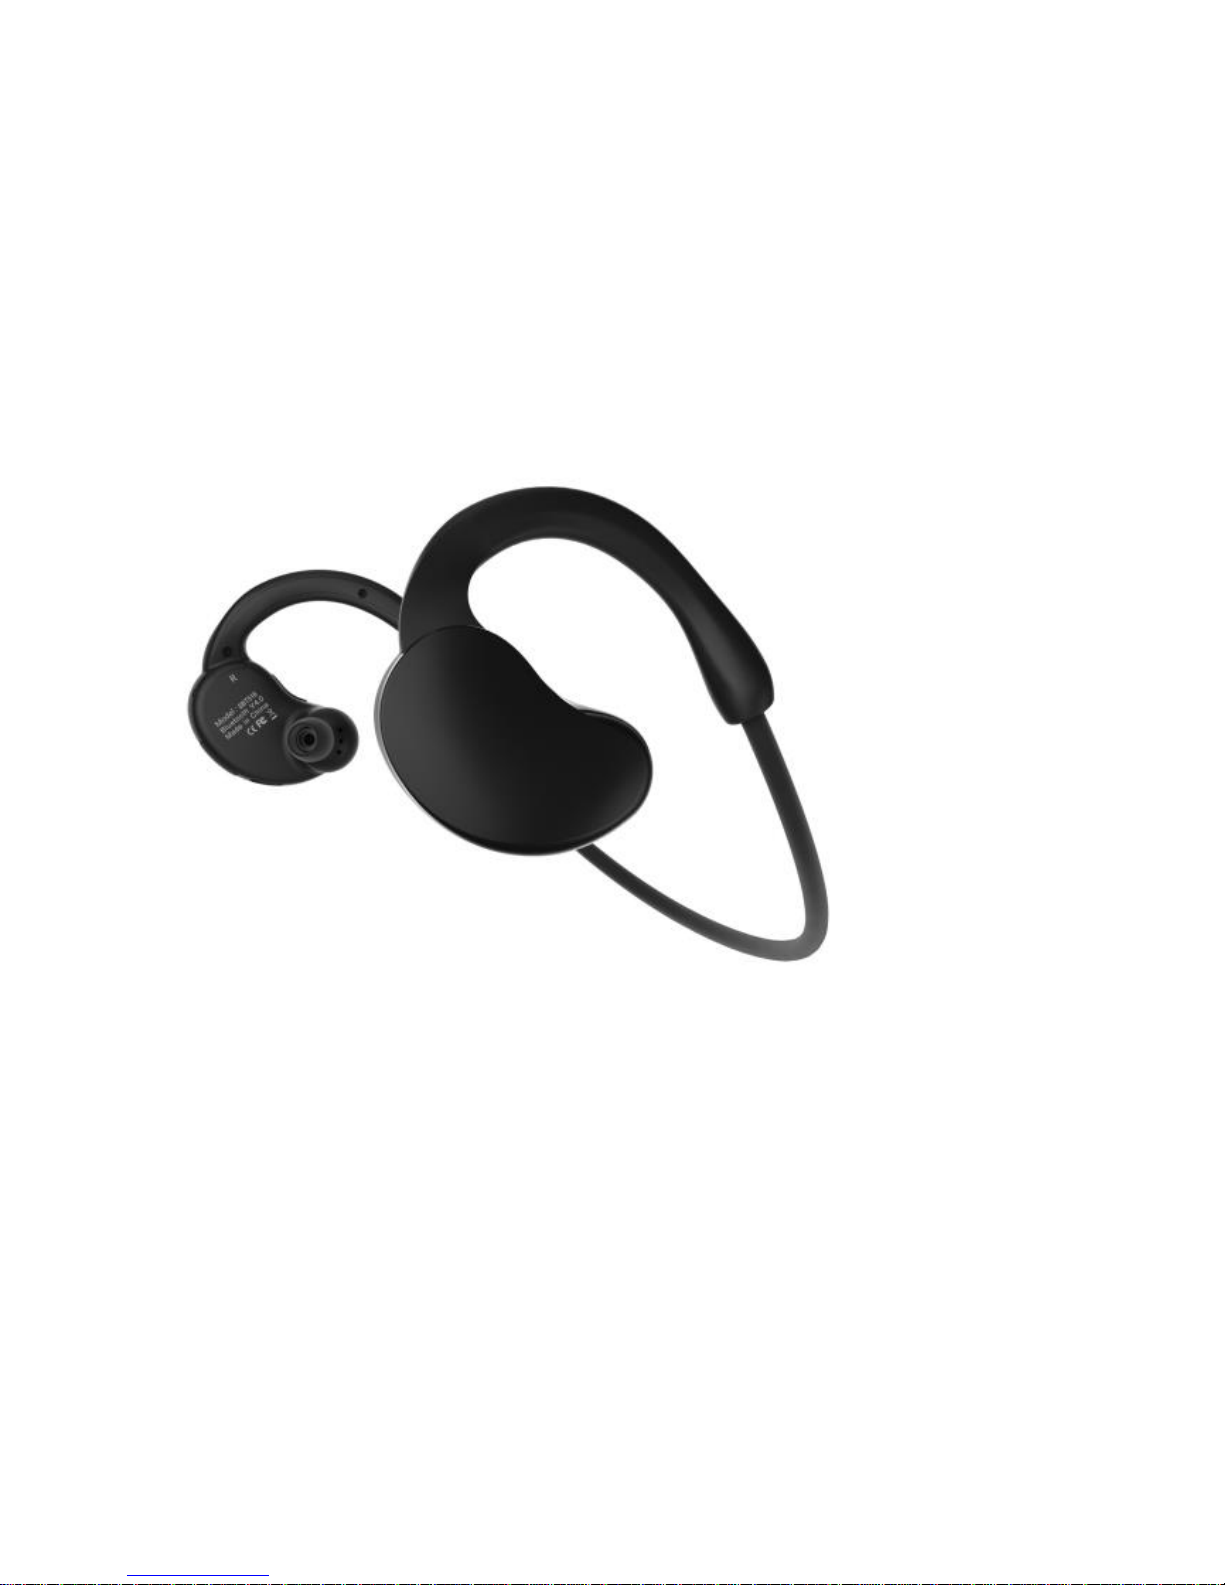
The Ear Beans are equipped with an integrated lithium-polymer battery. The battery
cannot be replaced. Do not attempt to remove the battery from the device as this
will damage the device. The full performance of a new battery is not achieved until
after two or three complete charging-discharging cycles. The battery can be charged
and discharged several hundred times, but it will lose its capacity over time.
Disconnect the POW-AU001 from the power supply as soon as the battery is fully
charged, overcharging will reduce the service life of the battery. A charged battery
will lose its capacity if it is not used on a regular basis.
Important:
To avoid a complete discharge of the battery, the Ear Beans should be charged at
least once every 6 months.
6. Charging the battery
The Ear Beans are operated with a rechargeable battery. Charge the battery
completely before its first use. Read the section "Battery information" before
starting the charging process.
1) Connect USB cable to a general USB power supplier.
2) Connect the charger cable to the charging port on your Ear Beans.
3) When the charger is connected to the Ear Beans, the red indicator light will
turn on. Charging the battery fully may take up to 2 hours.
4) When the battery is fully charged, the red indicator light will turn blue.
Disconnect the charger from the Ear Beans and the outlet. Your Ear Beans
are ready to use.

- 5-
NOTE:
- For first time use, please charge the headset fully.
- The fully charged battery has power for up to 5 hours of talk-time and 4 hours
music playing time, and up to 240 hours of standby time. However, the talk and
standby times may vary when used with different mobile phones or other
compatible Bluetooth® devices, usage settings, usage styles, and environments.
When the battery power is low, the headset will remind you by voice prompt
"Battery low" every 20 seconds, and the red indicator light starts to flash.
- For using the POW-AU001 with iPhone, an additional battery meter feature will be
activated and the remaining battery capacity will display on your phone.

- 6-
7. Pair to your Bluetooth® phone
Before you use your Ear Beans the first time, you must pair them with a Bluetooth®
enabled mobile phone. Pairing is a one-time process and is required only for the
first connection. Please note that your Ear Beans can be connected with two mobile
devices simultaneously.
1) Keep your Ear Beans within 1 meter range of a Bluetooth®-ready Mobile
device.
2) Press and hold the Play/Pause button for about 4 seconds, the indicator light
will flash red and blue intermittently, the device is now in pairing mode.
3) Find the Bluetooth® setting of your Mobile phone and start the search for
Bluetooth® devices. For further details, please read the operating
instructions of your Mobile phone.
4) From the list of devices found, select the PWRPOD EAR BEANS.
5) If required, enter the PIN code "0000" and confirm the entry. Once the
pairing process was successful, Your Ear Beans will connect to your mobile
device automatically then switch to standby mode, the indicator will flash
blue every 5 seconds.

- 7-
Note:
1) If pairing is not completed within 2 minutes, your Ear Beans will turn off.
If this happens, please repeat the pairing steps.
2) Your Ear Beans support Multi-connection that allows for the
simultaneous use of the Ear Beans with two mobile devices. After -
paring successfully with two mobile phones, switch off the headset and
switch on again, the headset will connect to both mobile phones
automatically. Otherwise, you also can connect the Ear Beans to the
mobile device manually as per the product manual of your mobile
device.
8. Turning headset on and off
Turn on your headset
Slide the power switch to On to activate your Ear Beans. If your Ear Beans have
completed the pairing process successfully, when the Ear Beans are turned on, they
will automatically connect to the device you last connected to. Please ensure your
Device's Bluetooth® function is active.
Turn off the headset
Slide the power switch to Off to turn off the Ear Beans.
Note:
To conserve power, if the Ear Beans are not connected to a device for approximately
10 minutes, the Ear Beans will turn off automatically.

- 8-
9. Using for music play
Play / Pause
Press Power / Play button to make the music play or pause.
Next / Previous song
Push and hold toggle switch to track the song to next or previous.
Increase / Decrease volume
Push toggle switch to increase or decrease volume.
Note:
Your Ear Beans support the A2DP profile that allows stereo music streaming from a
Bluetooth phone. The music will pause automatically when you begin either making
or receiving a call, and resume when the call conversation has ended.

- 9-
10. Using for phone calls
Last number re-dialing
At standby status, double press the ANSWER to re-dial the last number you dialed.
Note: the last number re-dialing is available only for the first device if two Mobile
phones are connected. The connection sequence can be determined by
reconnecting manually.
Answering a call
Press ANSWER quickly to answer an incoming call.
Reject an incoming call
Press and hold ANSWER for 2 seconds to reject the incoming call.
Transferring a call
Press and hold Volume (+) for 2 seconds to transfer the call between the phone and
headset.
Ending a call
Press ANSWER shortly to end a call.
Call-waiting
1) If there is an incoming call while a call is in progress, press ANSWER shortly
to accept the waiting call and end current calling.
2) If there is an incoming call while a call is in progress, press and hold ANSWER
for 2 seconds to accept the incoming call and place the current call on hold.

- 10-
Note: The same operation could be performed in case of Multi-connection.
Volume adjusting
Push toggle switch to increase or decrease volume.
Mute
While a call is in progress, push the toggle switch for 2 seconds to mute the headset.
A reminder tone will sound every 10 seconds until you return to the call. Repeat the
operation to un-mute.
11. Safety and general information
1) Please read this User's Manual carefully and follow all instructions.
2) To avoid any damage or malfunction of the device do not drop the device
from high places.
3) Keep device away from humidity, water and any other liquid. If the device is
exposed to water, moisture and other liquids do not operate it to avoid any
electrical shock, explosion and damage to the device or yourself.
4) Do not place or keep this device near any heat sources, such as, direct
sunlight, radiators, stoves or other apparatus that produce heat. This may
cause an explosion, degrade the performance and/or reduce battery life.
5) Do not modify, repair or disassemble device (Especially the battery). Doing
this will void the warranty.
6) Do not place heavy objects on the device.
7) Use only the supplied and approved chargers.

- 11 -
8) Unplug this device when unused for long periods of time and during lightning
storms.
9) The battery used in this device may present a risk of fire or chemical burn if
mistreated.
12. FCC & IC Statement
Operation is subject to the following two conditions:
1) This device may not cause harmful interference.
2) This device must accept any interference received, including interference
that may cause undesired operation.
Note: The manufacturer is not responsible for ANY interference, for example RADIO
or TV interference, caused by unauthorized modifications to this equipment. Such
modifications could void the user's authority to operate the equipment.

- 12-
13. EC Declaration of Conformity
Operation is subject to the following two conditions:
(1) This device may not cause harmful interference.
(2) This device must accept any interference received, including interference that
may cause undesired operation.
Note: The manufacturer is not responsible for ANY interference, for example RADIO
or TV interference, caused by unauthorized modifications to this equipment.
Such modifications could void the user's authority to operate the equipment. This
product is CE certified according to the provision of the R&TTE Directive (99/5/EC).
This declares that this product is in compliance with the essential requirements and
other relevant provisions of Directive 1999/5/EC. Please note that this product uses
radio frequency bands not harmonized within EU.
Within the EU this product is intended to be used in Austria, Belgium, Denmark,
Finland, France, Germany, Greece, Ireland, Italy, Luxembourg, The Netherlands,
Portugal, Spain, Sweden, and United Kingdom and within EFTA in Iceland, Norway
and Switzerland.

- 13-
14. Warranty
The condition of this warranty and supplier's responsibilities under this warranty are
as follows:
Warranty is non-transferable and is limited to the original purchaser only.
- You must be able to prove the date of original purchase of the unit with a dated
receipt.
- The warranty is not applicable if the product has been subject to physical abuse,
improper installation, modification or repair by an unauthorized third party.
- Supplier's responsibility shall be limited to the repair or replacement of the
product at its sole discretion.
- Specifically exempt from any warranty are limited-life consumable components
subject to normal wear and tear such as batteries, decorates and other accessories.
- Supplier is not responsible, for failure resulting from accident, abuse, misuse, or
any unauthorized repair, or modification.
- Modification and repair of the unit should be done by an authorized and qualified
service center or returned to the manufacturer.
- This warranty gives you specific legal rights, and you may also have other rights,
which vary under local laws.
Table of contents