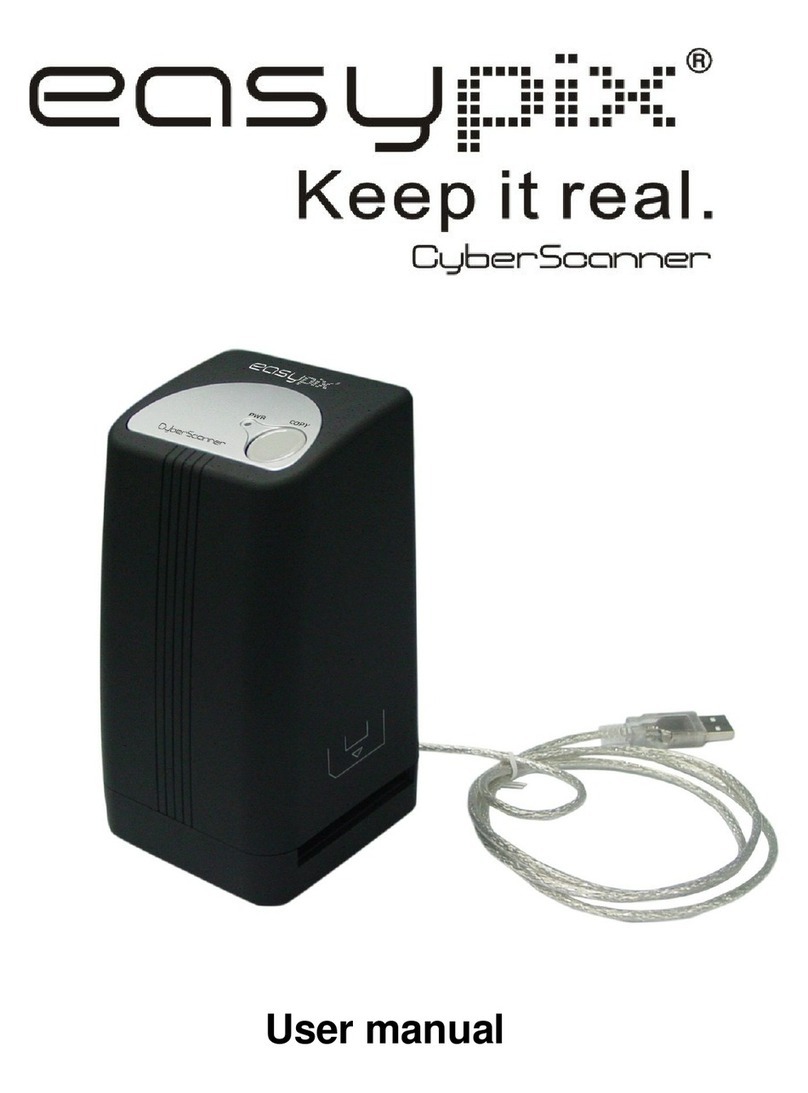
Easypix Foto/Name Card User manual

0

1
Contents
1. Introduction .................................................................2
2. Preparation .................................................................3
Package Contents............................................3
Scanner Overview............................................4
3. Installation & Operation ..............................................5
3.1 Initial Setup ................................................5
3.2 Power on the Scanner ...............................6
3.3 Scan an Original ........................................8
3.4 Power off the Scanner ...............................9
4. Connecting to a Computer........................................ 11
4.1 How to connect the scanner to a computer
……………………………………………………11
4.2 Disconnecting the scanner from a computer
.......................................................................13
5. Maintenance .............................................................14
5.1 Cleaning the Roller of the scanner……....14
5.2 Calibrating the scanner……………………15
5.3 Cleaning the Image Sensor .....................16
6. Troubleshooting ........................................................17
6.1 Frequently Asked Questions ....................17
7. Arcsoft BizScanner ...................................................19
7.1 Install BizScanner………………………….19
7.2 Run BizScanner……………………………21
7.3 Start to use BizScanner…………….……. 22
7.4 System requirements…………………….. 31
8. Specifications............................................................32

2
1. Introduction
Congratulations on your purchase of the scanner. Now you
can scan and store your printed photos directly to your
memory card or flash disk without connecting to any
computer. If you want to store your photos directly into your
computer, just connect the scanner with SD card to the
computer.
Before you install and operate the product, please take a
few minutes to read through this manual. It provides proper
instructions for you to install, operate and maintain the
product.
Precautions
Keep the product out of direct sunlight. Direct
exposure to the sun or excessive heat may cause
damage to the unit.
Do not install the product in a humid or dusty place.
Be sure to use the proper AC power source.
Place the product securely on an even, flat surface.
Tilted or uneven surfaces may cause mechanical or
paper-feeding problems.
Retain the product box and packing materials for
shipping purposes.
System Requirements
Free USB 2.0 port
Windows
®
XP
Windows
®
Vista™
Windows
®
7 (32 / 64 bit or later version)

3
2. Preparation
Package Contents
Scanner CD
QSG Roller Cleaning Tool
Sensor Cleaning Swab Calibration Card
AC Power Adapter USB cable

4
Scanner Overview

5
3. Installation & Operation
3.1 Initial Setup
1. Connect the plug on the power adapter cable to the
power connector on the scanner.
2. Plug the power adapter into a power outlet.
3. Insert a memory card into the memory card slot or a
flash disk into the flash disk slot.
Note : The SD card is
the high priority when you insert the SD card and
flash disk together.

6
3.2 Power on the Scanner
1. Press and hold the Power button for about 0.5 seconds.
The power indicator green light blinks.
2. Wait until the power indicator stops blinking then
change to orange and stays on to indicate the scanner
is ready.

7
The indicator light patterns represent function status as
follows:
Light Function Status
1. Green
Blinks
The scanner is power on and initiating.
2. Orange
Steadily on
The scanner is ready for use.
3. Orange
Blinks
Continuously
Initializing system and memory card.
Please wait until the initialization process
is complete before using the scanner.
Busy scanning and storing image files.
Please wait until the process is complete
before scanning another original.
Sensor cleaning in progress. Please wait
until the process is complete before
performing any operations.
4. Red
Blinks
Paper jam. Press the Custom button for
about 0.5 seconds; the scanner will back
out the original so you can remove it
from the input slot.
Memory card error. Remove the memory
card to clear this error status.
Calibration failed. Error indication only.
5. No light The scanner is powered off.

8
3.3 Scan an Original
1. Insert your photo or name card with the side to be
scanned facing upward and in correct orientation, place
the left edge of the original against the left edge of the
feed slot, and then adjust the guide lever so that it is
against the right side of the original. Do not apply any
force to the original.
2. Gently push the original into the feeding slot and let
go when it begins to feed into the slot.
3. When the scan is completed, the scanner will
automatically create a folder titled “Photo1” on your
memory card or flash disk, which will hold the first 9999
scans. Then “Photo2” folder will be created for the next
9999 scans, and so on.
(Each scanned image is given a file name with the prefix
scan followed by a 4- digit sequential number in the
order the images are stored. For example,
IMG 0001.jpg, IMG 0002.jpg, etc.)
Note
:
Do not remove the memory card or disconnect the power
supply while the indicators are blinking.
This scanner only supports output images in JPEG (.jpg)
format, and the date/ time attribute will not be added.
If the memory card is near full (lower than 1MB), the power
indicator light blinks. Use another card or delete some files on
it if necessary.
Insert only one original at a time, and insert the next original
only when the previous one is done and the blinking has
stopped, otherwise the scanner may malfunction.
9
3.4 Power off the Scanner
After all originals were scanned, press and hold the power
button until the indicator blank. Now you can safely
disconnect the power and remove the memory card or flash
card from the scanner.
Important:
1. Insert only one photo at a time, and insert the next one
only when the previous one is done, and the indicator
light stops blinking. Otherwise, the scanner may
malfunction.
2. The acceptable paper size is 2”x 2” ~ 4” x 6”.
3. Do not use the following types of originals for scanning;
otherwise the scanner may malfunction or cause the
original to jam in the slot.
Originals thicker than 0.5mm
Originals with either side shorter than 50mm(below 2”)
Originals with lots of black or dark colors
Originals with dark colors surrounding the edges
Transparencies(filmstrips, celluloid, etc.)
Printed images (pictures on newspapers, magazines,
etc.)
Soft and thin materials (thin paper, cloth, etc.)
Originals that exceed or below the acceptable size
4. The scanner has a built-in cropping function that is
capable to detect and crop the edges of an original.

10
The max cropping size is 1.5mm per edge, as
illustrated below:
5. If the photo is incautiously skew in the feeding slot, the
four edges of the scanned image will become dark as
illustrated.
Max. 1.5mm

11
4. Connecting to a Co puter
You may use the scanner as a memory card reader by
connecting it to the computer through the USB cable, so
that you can freely copy, paste or delete files to and from the
memory card. The images in the card can also be
downloaded to the computer by other computer devices.
4.1 How to connect the scanner to a co puter
1. Connect the plug on the power adaptor cable to the
power connector on the scanner.
2. Insert a memory card or flash disk that contain your
scanned images into the memory card slot.
3. Connect the mini end of the USB cable (included with
scanner) to the Mini USB connector on the scanner.

12
4. Power on your PC, and then connect the large end of the
USB cable to a USB port on your PC.
5. Press and hold the Power button for 0.5 seconds.
6. When the scanner connects successfully with a
computer, a Removable Disk (F) (F represents the
removable drive letter) will be shown in Windows
Explorer. If a memory card or flash disk is inserted to
the scanner, the Removable Disk will be replaced with
the name of the memory card or flash disk.
7. After your scan, a folder titled PHOTO1 is added to the
memory card or flash disk and the scanned image will
be saved in JPEG file format.
Each scanned image is given a file name with the prefix
scan followed by a 4- digit sequential number in the
order the images are stored. For example, IMG0001.jpg,
IMG0002.jpg. If the file name reaches IMG9999.jpg in
the Photo1 folder, a new folder titled Photo2 will
automatically be created to store subsequent new files,
and so on.
8. You can now view or edit the files on the memory card
or flash disk using your own graphic editing software.

13
4.2 Disconnecting the scanner fro a co puter
1. On the Windows System Tray, click the hardware
removal icon.
2. Click the ‘Safely remove USB mass Storage device’
message with the corresponding Drive.
3. When the ‘Safe to Remove Hardware’ message
appears, you can safely remove the scan engine’s USB
cable.

14
5. Maintenance
5.1 Cleaning the Roller of the scanner
If the scanned image has lines or photo has dust, clean the
roller by supplied roller cleaning tool. Using only the
recommended and supplied tools.
Follow the instructions of Cleaning the Roller on the
preceding section to clean the roller.
1. Connect the power supply to the scanner.
2. Insert the SD card or flash disk.
3. Press and hold the power button for about 0.5 seconds
to power the scanner on.
4. Press the Custom button and release immediately.
5. Place the supplied roller cleaning tool on the feeding
slot.
6. The cleaning tool will be brought into the feeding slot
automatically, and the cleaning process will begin.
7. When the cleaning process is completed, the cleaning
tool will be ejected from the feeding slot.

15
5.2 Calibrating the scanner
If the scanned image color looks unnatural, the scan engine
may need calibrating in order for the sensor to resume its
original precision. To calibrate the scan engine:
1. Connect the power supply to the scanner.
2. Insert the SD card or flash disk and move the guide
lever to the end of right side.
3. Press and hold the power button for about 0.5 second
to power the scanner on.
4. Press and hold the Custom button until the indicator
LED blinks.
5. Insert the calibration card to the feed slot in 5 seconds.
6. The scanner starts calibrating.
7. The calibration chart will move and stop some time then
reject when calibrate done.
Notice : Always keep the calibration card clean and avoid
dirty, scrape or wrinkle that will affect the calibrating
result.

16
5.3 Cleaning the I age Sensor
If the scanned image looks fuzzy or there are strange
stripes on it, the image sensor may need cleaning in order
for the sensor to resume its original clean. To clean the
image sensor:
1. With the scanner powered off and disconnected from
the power supply, insert the sensor cleaning swab into
one end of the input slot.
2. Gently slide the sensor cleaning swab back and forth
from one end of the input slot to the other five or six
times consecutively.
3. Remove the sensor cleaning swab, store it in a safe
place and protect it from dust.

17
6. Troubleshooting
If you have problems with the operation of the product,
please check the following troubleshooting hints.
6.1 Frequently Asked Questions
Question: There are strange lines on the scanned
image, or the image is not clear.
Answer: Check the following:
Are there scratches on the original, or is the
original clean? Remove any stains or dust from
the original before scanning.
Has the scanner been used for a long period of
time without cleaning and calibration? Follow
the instructions for "Cleaning the Scanner" and
“Calibrating the Scanner", and then try again.
Question: The original gets stuck halfway in the
feeding slot.
Answer: Press the Custom button. The scanner will back
out the original so you can remove the jammed
original from the output slot.
Question: The status indicator blinks rapidly and no
scan is possible.
Answer: Check the following:
Is the memory card inserted properly into the
memory card slot? Re-insert the card and try
again.
Is the SD card locked (set to write-protect)?
Unlock the card.
Is the memory card full? The indicator blinks
when the free space on the memory card is
below 1MB. Use another card if necessary.
Make sure the memory cards are in FAT or

18
FAT32 file formats only, not NTFS or any other
file format.
Did you insert the next original before the
scanning process of the previous one was
completed? Power the scanner off and back on
and try again. Make sure that you scan the next
original only after the scanning process of the
previous one has completed.
Does the length of the original exceed the
maximum acceptable size?
Question: The scanner feels warm to the touch.
Answer: It is normal for the scanner to emit a small
amount of heat (around 30-45 degrees Celsius)
after prolonged use. However, if there are
strange odors coming from the scanner or the
scanner feels hot to the touch, disconnect the
scanner immediately from the power supply or
the computer.
Question: Photo with dark edge cropping problem
Answer: For a very darkedge(edges) photo, the scanner
will not read the dark portion and will be
cropped away. This kind of photo is not suitable
for scanning.

19
7. Arcsoft BizScanner
This simple application uses advanced OCR technology
and scans the images of your business cards. It quickly and
easily captures contact information from business cards and
adds it to the application's database, saving you a great
deal of time and effort by eliminating the need to manually
type in names, phones, and other key information.
BizScanner also provides convenient tools for you to
manage all business cards. With just a few clicks, you can
synchronize the application's database with other programs,
such as Microsoft Office Outlook and so on.
7.1 Install BizScanner
1. Insert the installation CD into the CD-ROM drive and click
‘BizScanner’ and start to install BizScanner.
Table of contents
Other Easypix Scanner manuals

Easypix
Easypix Easy-Scan User manual

Easypix
Easypix PixDoc User manual

Easypix
Easypix Cyber Scanner Basic User manual

Easypix
Easypix easy-scan User manual

Easypix
Easypix easy-scan User manual

Easypix
Easypix CyberScanner Basic User manual

Easypix
Easypix CyberScanner P500 User manual

Easypix
Easypix TSN510 User manual